Do you send out Christmas cards? Every year I mean to send them and then run out of time! So how do you get around that? Make them now!
I decided to use the Oh What Fun Cards and Envelopes Pack along with all the new Doodle Cuts and Doodle Stamps to make a set of Christmas cards.
For the first card I kept it very simple. I used a piece of Lily White Candy Stripe Sprinkle Petite Prints for a mat and cut the scalloped end using the Borders and Edges Doodle Cuts dies. I then decorated using the Oh What Fun Puffy Words and Puffy Icons.
For my second card I used the Happy Holidays Doodle Cuts to make my fun Santa. I matted the card with Limeade Gingham Linen Petite Prints. I used the Puffy Words again for my sentiments.
For my third card I cut a rainbow of trees using the Merry Christmas Doodle Cuts. I cut only the trees that don't have a trunk since that area was going to be covered up. I used a blending brush and inks to ink a little coordinating halo behind the different trees. I blended along the bottom in red. I then added a white strip and topped that with a Ladybug Plaid Polka Dot strip. My sentiment is cut with the die set but I cut it several times out of white and layered them together before topping with the red sentiment.
For the next two cards I stamped and colored the images from the Oh What Fun Doodle Stamps set and cut them with the coordinating dies. There is a little tag die on that set that I used for the front of this card. I added two 1 1/4" wide strips of Limeade Gingham Linen Petite Print to look like ribbon on a package. I tied Ladybug Chunky Twine on my tag and adhered it with foam tape. The sentiment is from the Puffy Words.
The next card I matted with a 4 1/2" x 4 1/2" Candy Stripe Sprinkle Petite print. I used the Puffy Words again for my sentiment on a strip of white cardstock that I lightly inked with red ink. I put all my little colored gingerbread men at the top and my ornaments at the bottom. I added some Ladybug Doodle Twine to make an ornament garland or sorts.
For my last card I used the Deck the Halls Doodle Cuts to make a shaker. I filled the shaker with the new Christmas Confetti and Peppermints Shakers. I matted the front with Bumblebee Dot Stripe Petite Prints topped with a white panel that had been lightly inked in pink. I finished it off with the sentiment from the Puffy Words and some snowflakes from the Snow What Fun Shape Sprinkles.
I have a process video for you, detailing my cards on my YouTube channel!
8983 Oh What Fun Cards & Envelopes 8966 Oh What Fun Puffy Icons 8967 Oh What Fun Puffy Words 8977 Deck the Halls Doodle Cuts 8978 Merry Christmas Doodle Cuts 8979 Happy Holidays Doodle Cuts 8975 Oh What Fun Doodle Stamps 8976 Oh What Fun Doodle Cuts 8953 Snow What Fun Shape Sprinkles 8963 Christmas Confetti Shakers 8964 Peppermints Shakers 6739 Borders and Edges Doodle Cuts 2988 Ladybug Doodle Twine 4806 Ladybug Chunky Twine 9001 Oh What Fun Petite Prints 8089 Lily White Candy Stripe Sprinkles Petite Print
I will miss summertime, but I really believe that Fall is the best season! The colors, the cooler temps, the apple cider donuts.... it is my favorite time of year! And Farmers Market is one of my all time favorite collections! I decided I wanted to play with the So Thankful Doodle Cuts and turn them into a 3D box card. Take a peek...
How cute is that little truck?? I pieced the truck "sides" together using papers from the 6x6 pad, the coordinating textured cardstock pack and some petite prints. I created a second, mirror image of the truck side by cutting the die pieces from the opposite side of my patterned papers. I added some Fall assortment sprinkles to my tires for a little dimension and shine.
To attach the sides of my truck together to form my box, I cut two pieces of paper, each 1 1/4" w x 3/4"h. (one from the bon bon cardstock, one from the orange plaid paper from the 6x6 pad) I scored each paper at 1/8" and 1 1/8" along the long side. I glued the tabs to each end of the truck, approximately 3 1/16" apart. (see below). I then added the other side of the truck to complete my "box."
To add my puppy and veggies to the inside of the truck, I created an insert strip using our heavyweight clear acetate. It measured 3 9/16" w x 3/4"h. I scored each end 1/4" in, and glued it to my front and back truck sides, centered inside the box. I added stickers from the Farmers Market and Veggie Garden Puffy stickers to create my little "scene." Here are some close ups...
A hint when working with stickers... I use a powder tool to "de-stick" my stickers first. I add adhesive where needed and insert them into my card. This prevents the card from sticking together when folding into an envelope. I finished my card by hand cutting a little speech bubble, and stamping the HELLO sentiment from the It's Fall Y'all Doodle Stamps.
If you're using Farmers Market to scrap your fall memories, be sure to tag @doodlebugdesign on socials. We love to see your creations. That's it for me, thanks for stopping by to peek!
5061 lemon swiss dots petite prints 5442 kraft gingham-linen petite prints 8090 stone gray candy stripe - sprinkles petite prints 5429 mandarin gingham-linen petite prints 8378 Acetate Paper - Clear
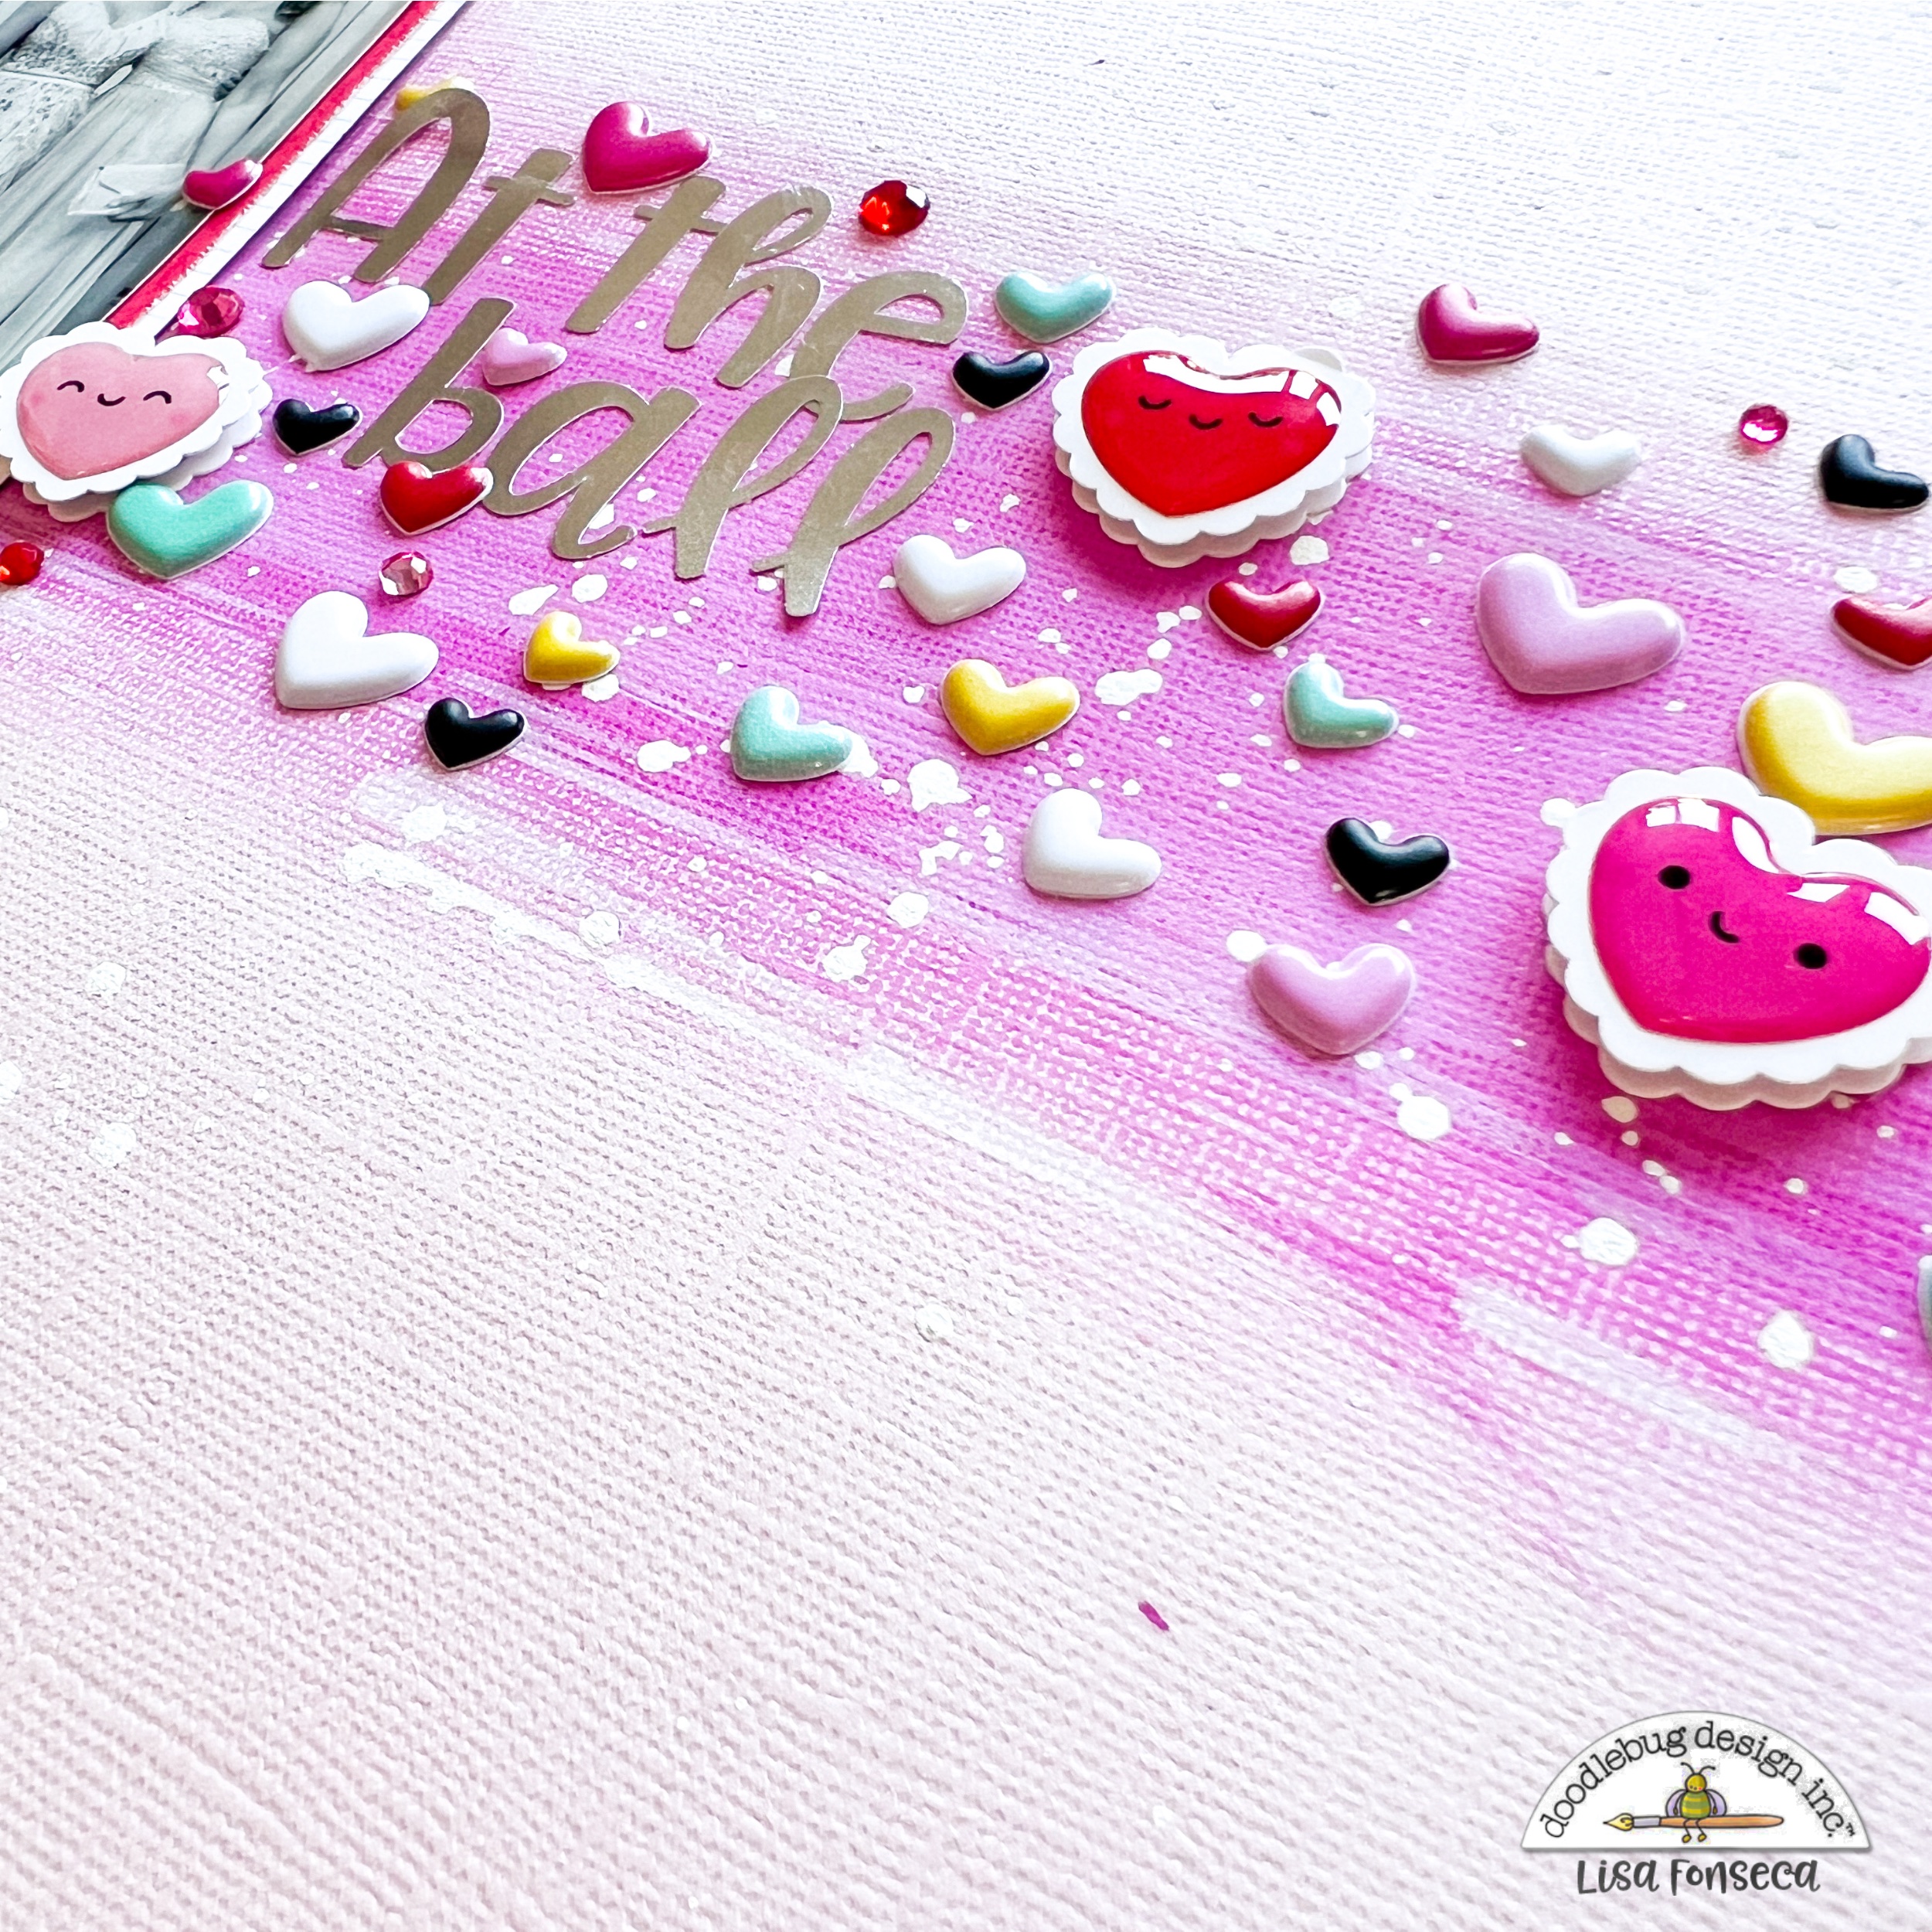
This week we're focusing on Doodle Pops and puffy heart stickers! I went through my Doodle Pops and since, I already needed to use the puffy hearts, I decided to go with some Doodle Pop hearts too. The idea was to use as many hearts as possible... :)
To start, I created a background on a cotton candy cardstock sheet, using mixed media. I used a large dauber, grabbed some pink and white acrylic paint and smooshed the color onto the paper, creating this cross design. Then I used my white Montana Marker to splatter some white paint on top.
I used a black and white photo, so I could stick to my color scheme. I chose this photo, I took a few years ago, where I'm dressed like a princess...;) I matted it on four different pieces of patterned paper from the Lots of Love collection and adhered it in the middle of the cross, using foam tape.
I then went ahead and used all of those cute little Doodlepop hearts that I had left. Since I had two packs of those and only used one on a previous layout, I still had nine hearts left. Then I took the puffy heart stickers in turquoise, black, white, pink, red and yellow and added a ton of those to the stripes.
The last little detail, was adding some jewels in matching colors. That's it :)
I really love the color combo on this layout and of course, I love all the hearts. Any Lisa-layout needs hearts. The more, the better. :) I hope you like the layout and I wish you a wonderful day. See you soon!
DOODLEBUG PRODUCTS USED
Lots of Love 6x6 Pad Lots of Love Doodle Pops Lots of Love Mini Jewels Cotton Candy Textured Cardstock Abigail Alpha Stickers Puffy Heart Stickers
Given that it is almost Easter, it is almost time for a little bunny to be hopping through my house. So it seems appropriate that I spent some time with the "pops" at my crafty table - you know "hops"..."pops"...okay, I know it was a stretch. But you know what isn't a stretch - that Doodlebug Doodle Pops are really one of the best product out there. They make even the simplest project - well, adorable!
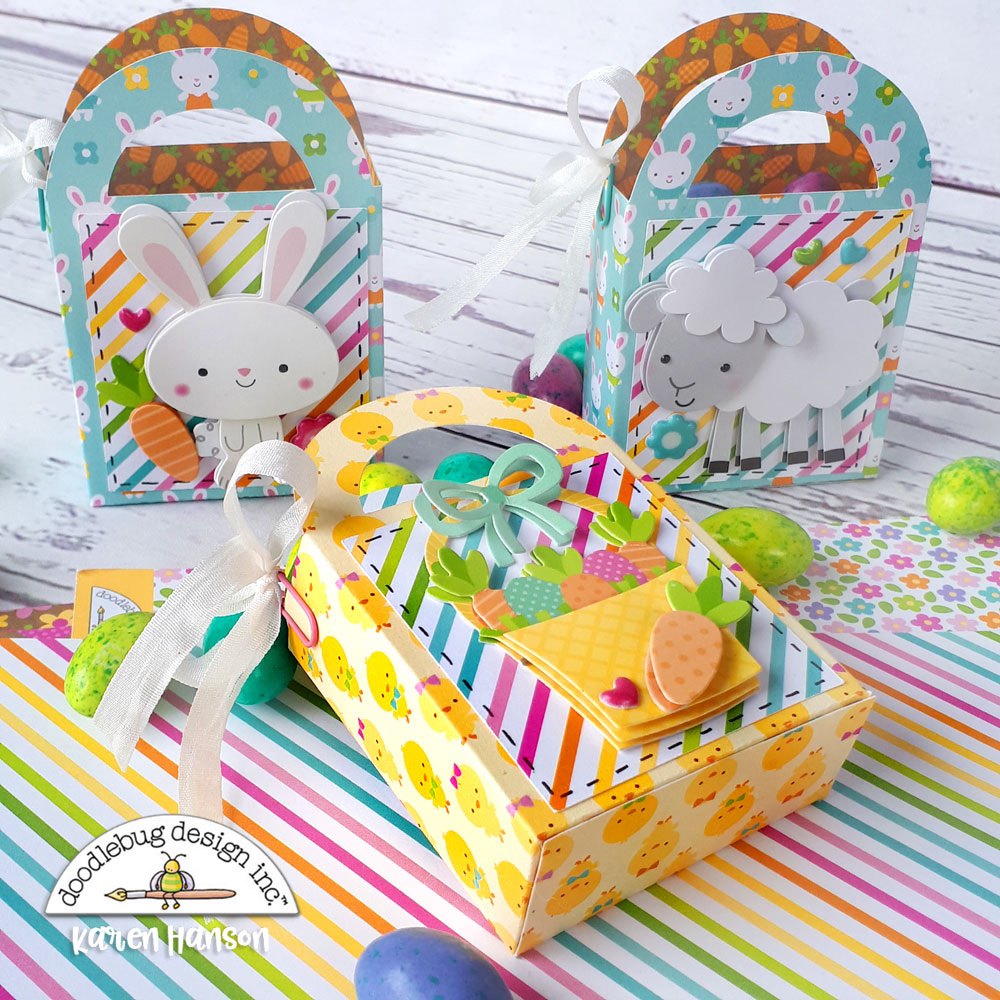
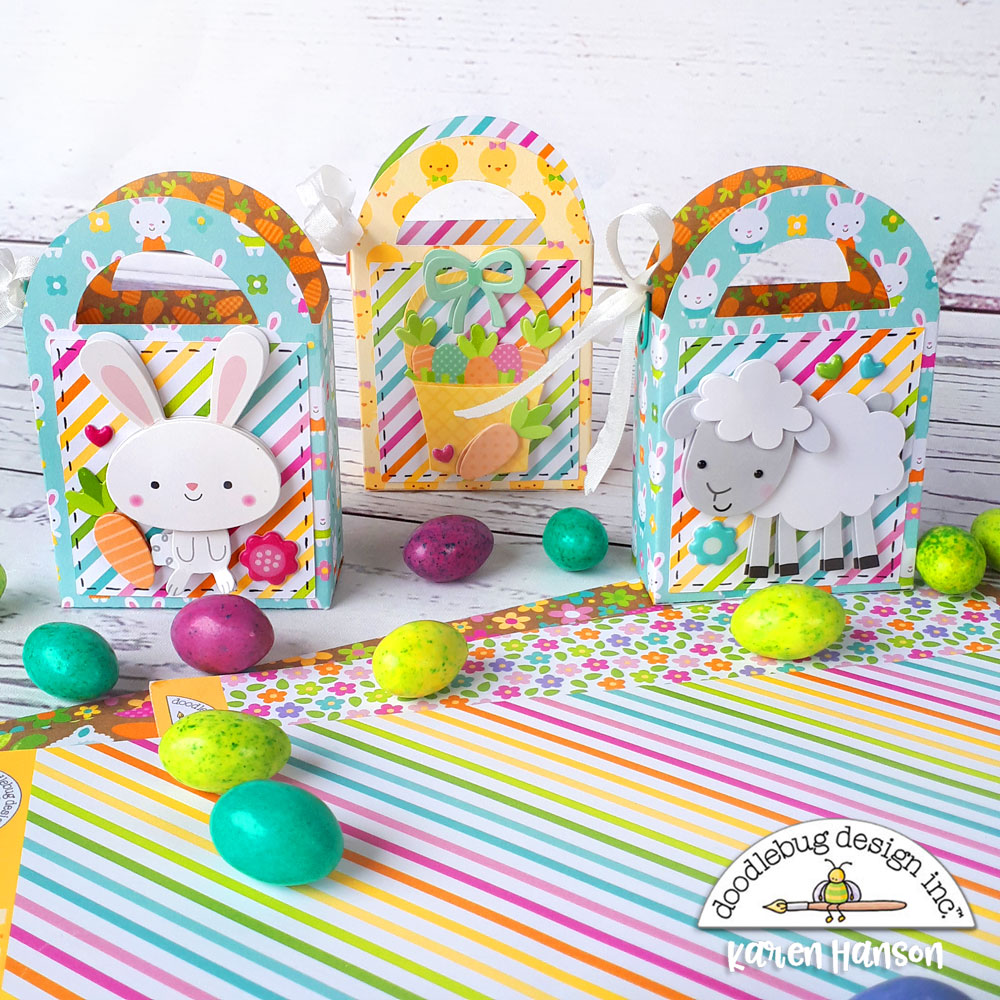
Take for example these simple little treat bags that I created from my crafty stash. I went way back in time to the Easter Parade collection to make some cute containers for chocolate that can sit on my Easter table.
But the real "ace up my sleeve" were the Doodle Pops that I may or may not have been collecting over the last few years!
Look, don't judge! Doodle Pops are the best. I mean, check out the Easter Basket featured on this treat container. The detail is amazing. I even embellished it a bit more with another small carrot Doodle Pop from Mr. Bunny, and a puffy icon sticker from the Over the Rainbow collection. Yes. that's right - a Doodle Pop on a Doodle Pop!
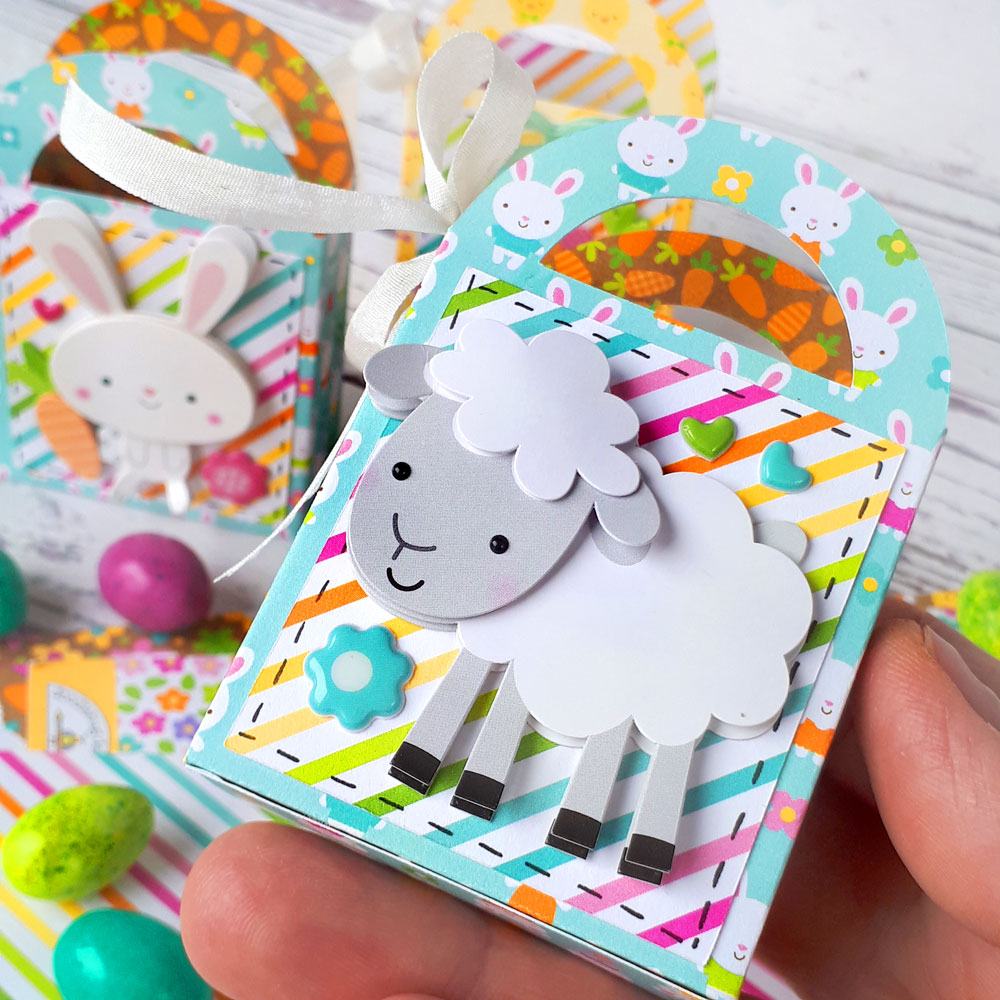
Oh, and here a little tip for you: don't be afraid to fold the top layers of the Doodle Pops up a bit when you have them in place on your project. For Little Lamb, I actually pulled up a bit on his ears and legs to add a bit more dimension (don't worry - no animals were injured in pursuit of this project). I did the same on the Easter Basket bow. it adds just a bit of extra shape to the Doodle Pop and the material it is made out of is strong enough to bend and hold the shape!
And because I love a little bow and Doodlebug's mini paper clips, I decided to embellish the side a bit too. These simple little containers may just steal the show on Easter! in fact, I may even search through the collection to make even more...maybe! :) Thanks for stopping by! Hugs,
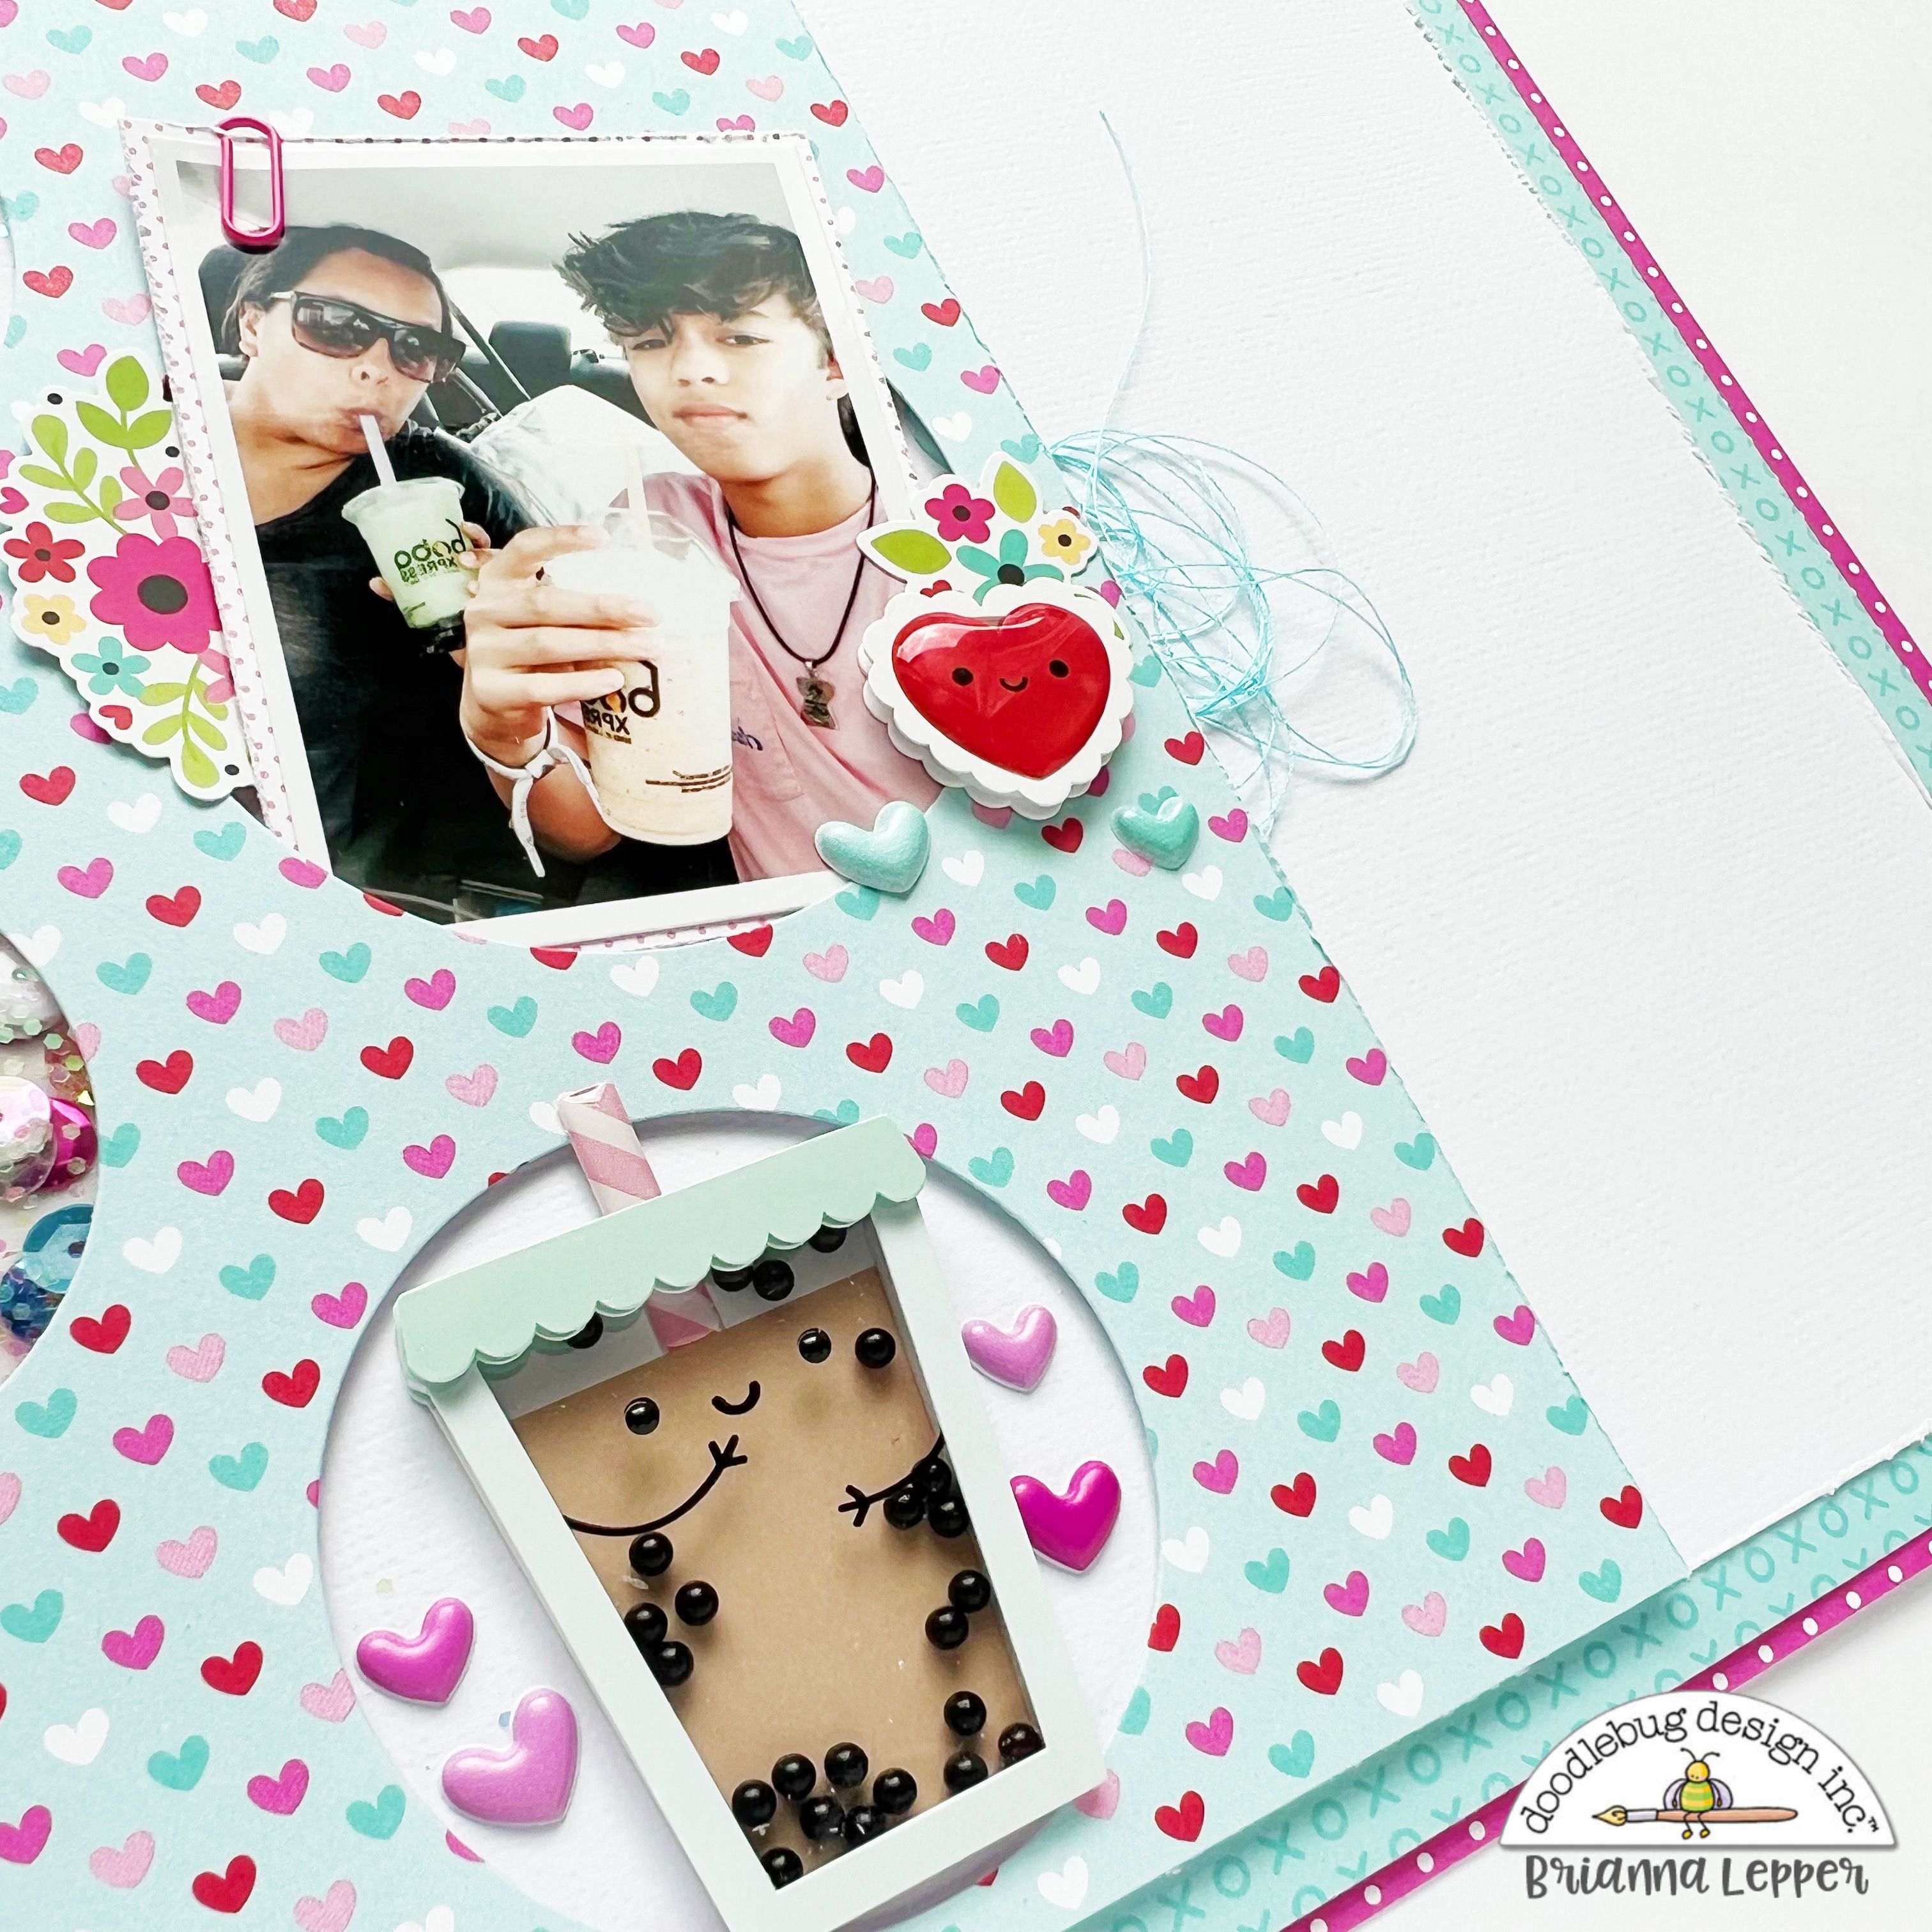
Hey friends! Brianna Lepper here today sharing a fun, interactive layout that focuses on both Doodle Pops and Puffy Stickers. I also used the super sweet Lots of Love collection. Here's my page:
In order to highlight the Doodle Pops and Puffy Stickers, I thought it would be super creative to die cut some circles in one of the patterned papers from the collection. Once I die cut them, I popped the entire panel up on foam tape so that each circle would stand out even more. I took it a step further and created sequin shakers in two of the circles. To do this, I adhered clear acetate to the backside of both circles to create the windows. I then applied foam tape around the perimeter and carefully spooned in some Doodlebug Sequins and also shook in some Sugar Coating glitter in matching colors. I love that extra sparkle they gave each one! I backed the shakers with vellum to close them up and they were complete! Super simple and easy.
In one of the other circles, I tucked in one of my photos that I matted with the one of the Swiss Dot 6x6 papers. I also added the "Love You" phrase from the Bouquet of Love Doodle Pop pack. The circles created the perfect places for my photos, title and embellishments!
My photos are of me and my oldest son drinking our boba teas and the Sweetea Doodle Pop was too adorable not to include on this page. It also fit perfectly in one of the bottom circles. I added a few Puffy Hearts in the Bubblegum assortment around it for some extra pops of pink.
I created my title using the Alphabet Soup stickers in Cupcake and then added one of the All My Love Doodle Pops right in the center. I also sprinkled a few more around the rest of my page. They're so adorable and they add extra pops of color and dimension.
To embellish the rest of my layout, I added a few stickers from the Mini Icon sticker sheet and a floral piece from the Chit Chat pack.
Here's one last look at this fun layout:
Thank you so much for stopping by today, I hope that I inspired you in some way. Have you tried creating shapes in paper similar to what I did here? They create the perfect spots for shakers, embellishment clusters, photos, journaling and your title/subtitle. See you next time friends!