Tuesday, March 31, 2020

EASTER LAYOUT | with Tegan

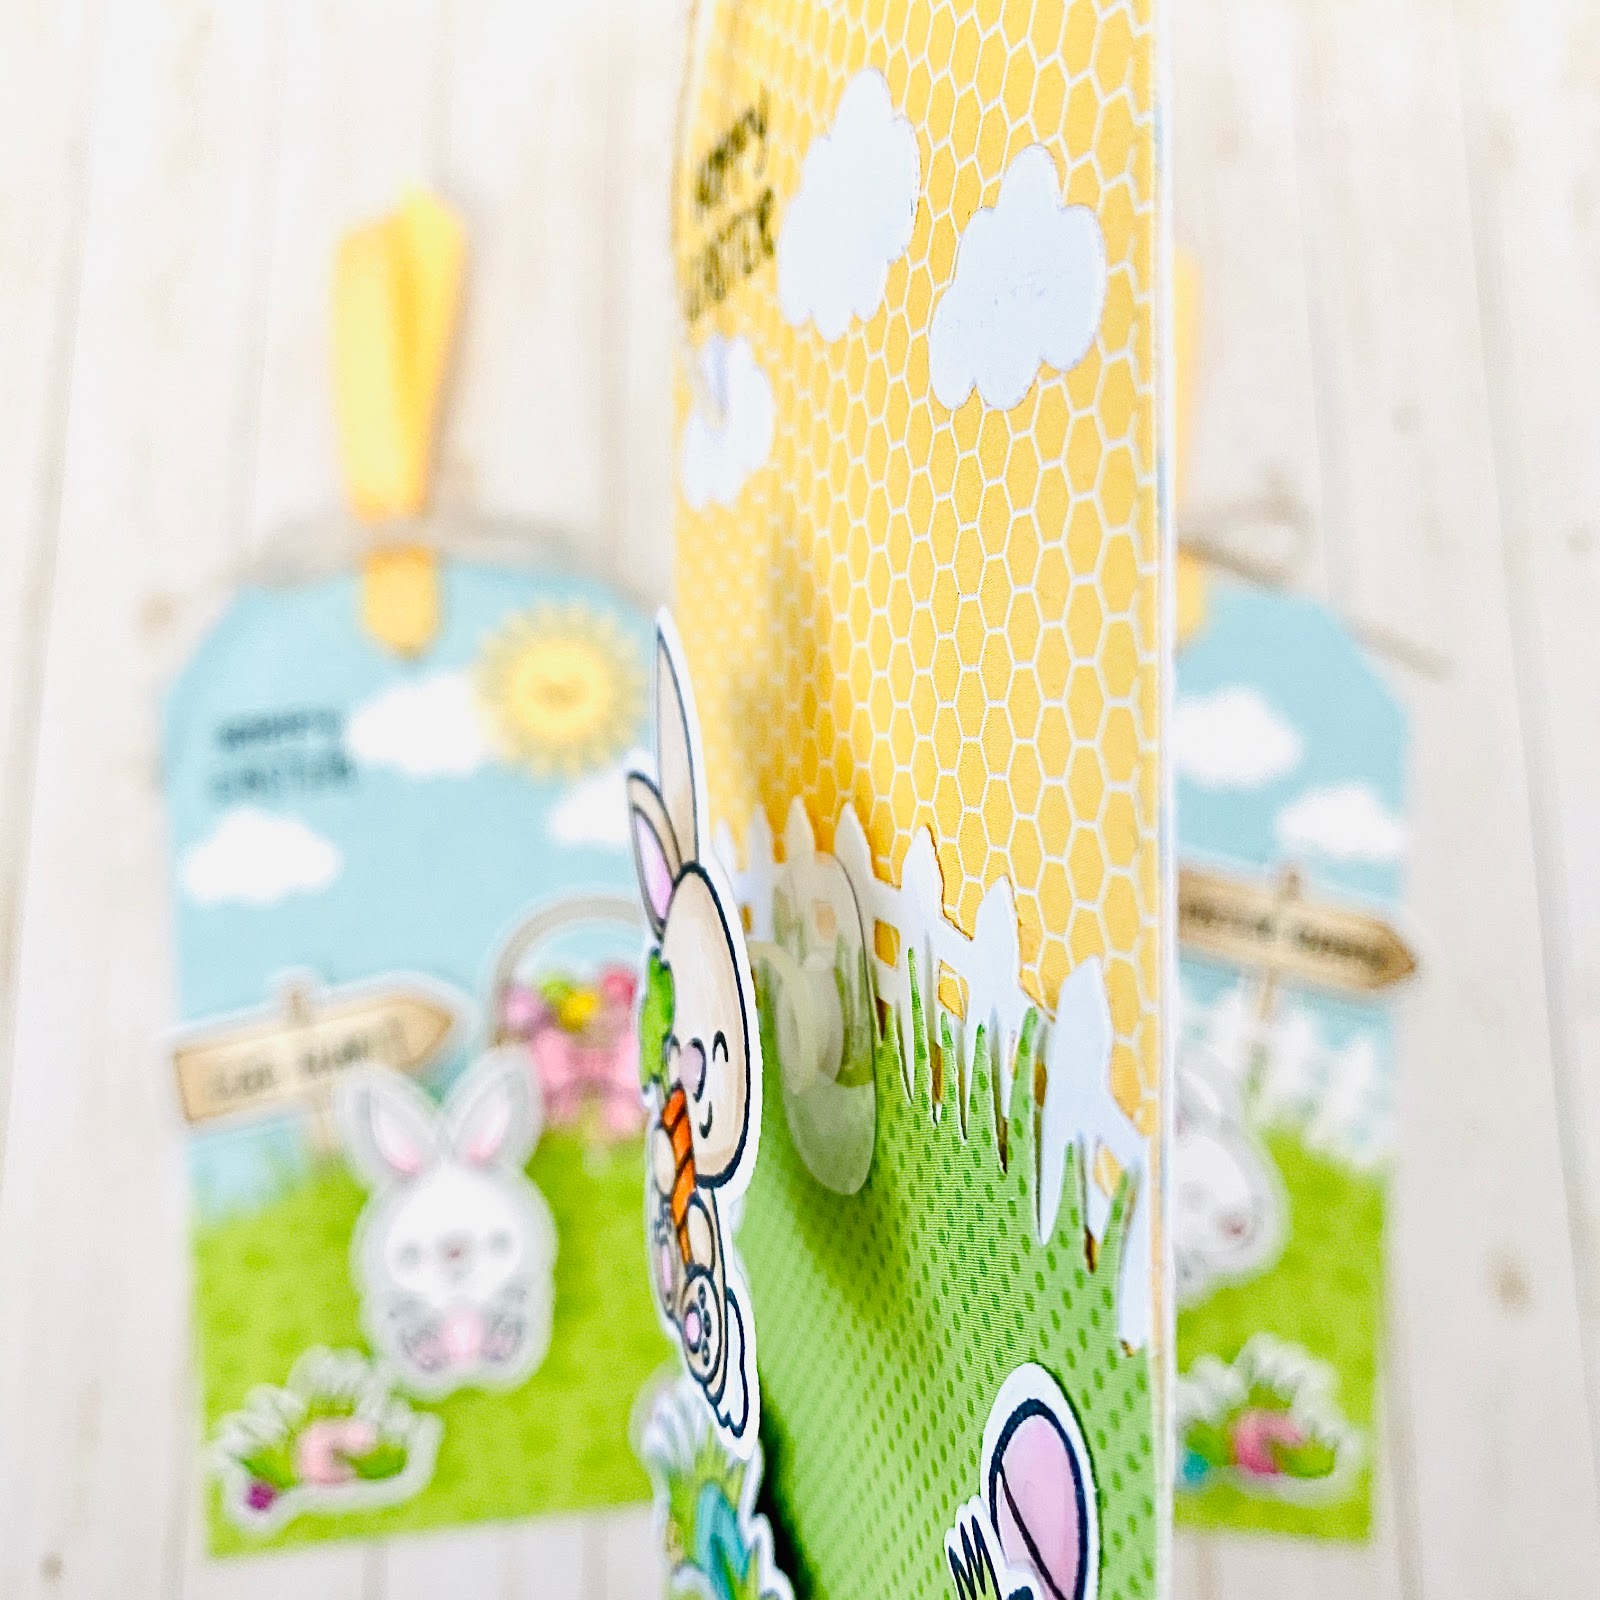
Hippity Hoppity Easter is on it's way! And what better way to celebrate than to grab some of the Hoppy Easter collection! I love the bright colors in this collection and the little critters are just the cutest!! I started this layout by using the fun Doodlebug Design Jelly Beans Cut File to create a fun background design. I then backed the jelly beans with some of the more solid papers from the collection. 

​I anchored my photo with a few of my favorite Hoppy Easter patterned papers. I then embellished my photo with a butterfly Icons Sticker, a This & That Sticker, and an ephemera die cut speech bubble. 


​ I used the Doodlebug Design Chick in Eggs Cut File, Doodlebug cardstock, and Hoppy Easter Patterned Papers to create this adorable page element. Isn't he just the cutest?! 

I created my title using a This & That Sticker, an Ephemera Die Cut word, and the Abigail Alphabet Stickers in Tangerine. And of course I had to add the adorable bunny die cut jumping over it! 
I hope you love this colorful jelly bean background as much as I do! I can't wait to take more Easter pictures this year so I can use the Hoppy Easter collection again!  
​ Thanks for joining me today! I hope I have inspired you to grab some adorable Doodlebug Design Cut Files and the Hoppy Easter collection for your next layout!


Doodlebug Design Products Used:
​ Hoppy Easter Sunday Dress Patterned Paper
​ Hoppy Easter Easter Egg Hunt Patterned Paper 
​ Hoppy Easter Hoppy Easter Patterned Paper
​ Hoppy Easter Jellybean Plaid Patterned Paper
​ Simply Spring Dot to Dot Patterned Paper
​ Simply Spring Under My Umbrella Patterned Paper
​ Hoppy Easter Odds & Ends
​ Hoppy Easter Icons Stickers
​ Hoppy Easter This & That Stickers
​ Bunnies Shape Sprinkles
​ Cardstock - Sunshine
​ Cardstock - Raspberry
​ Abigail Alphabet Stickers - Tangerine
​ Matte Sprinkles Bright Assortment

​  


​  


Monday, March 30, 2020

EASTER TREAT CONTAINERS | with Karen

Every Easter, I find myself on a crafty mission to create treat containers. I would like to say that my intentions are honourable, but the truth is that creating treat containers this time of the year might be ever so slightly self-serving! You see, when a crafter creates treat containers, like these ones that I created using Easter Parade, some Doodlebug textured cardstock and Petite Prints, you have to fill them up with something. And invariably, as I am filling them up, a "few" might happen to end up in your mouth! But just a "few" of course! So in case you needed an excuse to craft and snack at the same time, I thought I would share the sketch I created for these easy milk carton-inspired boxes using a piece of textured cardstock cut to 11.5" x 5.75"(you can get 2 out of every 12 x12 sheet).
One you do all your cutting and scoring, it will look like this:
Note: when I created these initially, the top part of my carton was wider than I decided to keep it so the top flap in this picture are wider than your will be. Follow the sketch as your guide for the measurement. I love the size of these because they are big enough to hold my favourite chocolate egg treats as well as some of the mini ones too!
I embellished them with the Easter Parade paper matted on white paper and then topped them off with some Doodlebug Sprinkles. The tops were trimmed with a flower I created with Petite Prints , a mini doily and mini clothes pin. I then grabbed my Hoppy Easter stamp set for a sentiment and my new set Occasions - Holidays for the sweet little bunny and these were all done! And while these would make a great addition to an Easter hunt, I think they would also be great as favours on your Easter table. Or perhaps send a few off to those you love because it certainly true that we could all use a little chocolate and Doodlebug sunshine right now, don't you agree? Look, if you are anything like me, you don't need an excuse to indulge every once and awhile! But a little work of advice - buy the big bag of chocolately treats to fill up these beauties when you make them because you deserve a treat too!
Thanks for stopping by!

Doodlebug Design Product:
Easter Parade Collection
Textured Cardstock
Petite Prints Occasions
Holidays Doodle Stamps
 Hoppy Easter Doodle Stamps
Mini Clothespins Mini Doilies
Other Products:
White Cardstock
 Alcohol markers Ink

Friday, March 27, 2020

TAGS & TREAT BOXES PERFECT FOR EASTER | with Stephanie

Today I am sharing tags and treat boxes featuring the cute Hoppy Easter Doodle Stamp images and 6x6 paper from Simply Spring and Hoppy Easter.  To add a little extra interest and dimension I attached mini action wobbles to the bunnies to make them wiggle.  


First I stamped and die cut an assortment of bunnies, baskets, carrots, colored eggs and grass, and colored them. I die cut some gift tags and arranged little grassy scenes with the bunnies front and center.  

I tied some ribbon and twine to the top of the tags. 

Here's a peek at the action wobble behind the bunny.  


I die cut 2 treat boxes an arranged and adhered similar scenes to the front of the boxes.

To finish I put some pastel paper shred and some Easter candy inside my boxes.  


These adorable little bunnies make me smile, I hope they bring a little smile to you too!  Thanks for stopping by today!  

Doodlebug Products Used:
Hoppy Easter 6x6 Paper pad
Simply Spring 6x6 Paper pad
Hoppy Easter Doodle Stamps
Hoppy Easter Doodle Cuts
Petite Prints Swiss Dots Kraft

Other Products Used:
White Card stock 
Alcohol Markers 
Tag and Treat Box Dies
Mini Action Wobbles 
Ribbon & Twine 


Thursday, March 26, 2020

MIX 'N' MATCH MINI ALBUM | with Traci

I love making handmade gifts that come together quickly and are fun to put together. Today, I'm sharing a sweet mini album that I created for a friend.  Let's see how many Doodlebug collections I used in this little book!
For the cover, I used the adorable gingham check paper and bird die cut from Simply Spring. The "Friend" title and heart banner are from the Hello collection, and the sun die cut came from the I💗Travel line. 
How cute is that little butterfly?  He was part of the Spring Things Odds & Ends. I think that's 4 collections so far!  
Ready?  That precious yellow heart paper is from So Punny, and what project would be complete without some floral Petite Prints!  We're up to 6!
The cute little "Hello Lady" card and "Bloomin' Bugs" paper were also from the Simply Spring line.
See the floral paper on the pocket?  That one's from Bunnyville!
And finally, the jellybean plaid above is from Hoppy Easter! I used 8 different collections in this little mini!  That's one of my favorite things about Doodlebug ... my older collections will always match the new ones.  Well, that and sprinkles, of course!
If you'd like to make this cute little album, I'll have a few kits available for purchase in my Artsy Albums shop today.  Thanks for letting me share it with you!  I hope I've inspired you to use all of your Doodlebug collections together!
Blog | Facebook | Instagram | SHOP

Doodlebug Design Products Used:
Simply Spring Odds & Ends
Simply Spring 12x12 pattern papers
Hello Odds & Ends
Spring Things Odds & Ends
I Love Travel Odds & Ends
Bunnyville 12x12 paper
Hoppy Easter Jellybean Plaid
So Punny 12x12
Citrus Floral Petite Prints
Bubblegum Floral Petite Prints
Other:
Heidi Swapp 5x7 Foil Chipboard tabs

Wednesday, March 25, 2020

DOODLE STAMPS ON LAYOUTS | with Maryám

Have you seen the brand new stamps from Doodlebug Design? 8 new gorgeous sets with endless possibilities and I'm so excited to be playing with some of them. For today's post, I have created an 8 1/2 x 11" inches layout and I'm going to show you fun ways on how to incorporate stamping into your pages.
The inspiration from this page came from the stamp sets' packaging. Once I received the stamps I put them on my desk and organized them in rainbow order. I just love how they looked so I wanted to create something similar for my layout.
I started by cutting 1" inch strips from different pattern papers and vellum paper in banner shape. Next, I grabbed my stamps and inks and looked for some little images, like stars and hearts, and stamped them repeatedly to create my own "pattern paper", just like you see in the image below.

In addition, I stamped different words and sentiments from the stamp sets in rainbow order as well and cut them in banner shapes.

Following this, I gather all the elements and adhered them to my page using double-sided tape, except for the word's banners for which I used foam dots. Next, I put two photos, one at the top and another one at the bottom with their corresponding journaling.

To embellish my page I used stickers from the Love Notes Collection as well as some sprinklesTM. I also used Fancy Frills border stickers and tucked them under some of the banners to add some more fun.

Here are some close-ups:

Last but not least, I grabbed Calendar - Typewriter Stamp Set and stamped the year and month of the photos. Now it is your turn to grab your favorite stamps and create something fun! I hope you guys enjoyed this new project and liked the ideas I shared. Also, don’t forget that if you have any questions you can leave a comment below and I’ll be happy to help you.

Have a wonderful day!


Doodlebug Products Used:
Doodle Stamps - Many Thanks
Doodle Stamps - All Occasion
Doodle Stamps - Love You
Doodle Stamps - Happy Birthday
Doodle Stamps - Calendar Typewriter
Love Notes Collection
Sprinkles Glitter Assortment - Tangerine
Buttons - Frosty Assortment
Fancy Frills Cardstock Stickers - Bumblebee
Fancy Frills Cardstock Stickers - Limeade
Fancy Frills Cardstock Stickers - Swimming Pool
Washi Tape Candy Stripes Assortment
6 x 6 Swiss Dot Rainbow Petite Prints

Other Products Used:
Dye Inks
Vellum Paper

Tuesday, March 24, 2020

PLANNER PAGES USING 'ALL OCCASION STAMPS' | with Nathalie

I had lost my planner-decorating mojo lately but as soon as I received the new All Occasion collection stamps I couldn't wait to jump back into it! The Holidays and Everyday sets are perfect for planners, not to mention the Calendar stamps!
They have tons of icons including some hard to find like Canada Day or Hanukkah. I paired the stamps with the Simply Spring collection to decorate my March monthly pages in a Doodlebug Travel Planner insert.
I have filmed part of my process so that you could see how I approached this spread. I was excited to find that the numbers from the Handwritten Calendar set fit perfectly into the tiny flag stamp from the Holidays set.
I followed by selecting icons from both the Holidays and Everyday sets to record events during the month. I love how cute they look! I finished with stickers, washi tapes, patterned papers and a Doodle Pop.

I love how Springy my pages ended up looking. A pretty planner is definitely more motivating!
How will you use your All Occasion stamps? I'd love to see so make sure to use the tag #doodlebugdesign if you share on Instagram or link us to your projects in the comments here!
INSTAGRAM | BLOG

DOODLEBUG PRODUCTS USED:
All Occasion Collection stamp Everyday
All Occasion Collection stamp Holidays
All Occasion Collection stamp Calendar-Handwritten
Simply Spring Collection
Travel Planner insert
Washi tape: Tuxedo and scallop assortment

OTHER PRODUCTS USED:
Ink pads 
Pens

Monday, March 23, 2020

SIMPLY SPRING WATERING CAN BOX CARD | with Kathy

Need a card to send to someone for a special occasion, or maybe just to brighten their day?  I created this watering can box card, and it would be perfect for a number of different occasions including Easter, Mother's Day, Birthdays, Spring or just because!  Take a peek...

This box card is based on the Watering Can from the Simply Spring Collection.  I used a combination of papers from the Love Notes, Petite Prints and Spring Things Collections to piece it together then added a sentiment to the tag using the new All Occasion Doodle Stamps.  These stamps are just awesome, there is a sentiment for almost any occasion!  I finished the card with some sprinkles for my flower centers!


I created an SVG file for this card so you can make and send your very own!  It is available exclusively in the Lori Whitlock SVG Shop here.  Following is a quick assembly tutorial ...


1) Start by cutting the pieces.  Add the decorative panels to the box card base and add the flower pieces to the insert.
2) Glue the two pieces of the handle together.  Do not add adhesive to the tabs on either end.  Repeat with the spout pieces.
3 & 4) Insert the handle into the two slots on the card base.  Turn over and fold "open" the tabs.  Glue the tabs to the inside of the box.  Repeat process with the Spout.


5)  Glue the box into shape, tab goes on the inside of the box.
6)  Add adhesive to the tabs of the insert.  Fold them back.
7)  Slide the Insert into the box, align the tabs with the back of the box and press the tabs to the sides to adhere.

All that is left is to pick your sentiment for the tag that is included with the card and tie it around the watering can!


I'm sure there are many folks who would just love to receive a card in these days of social distancing, and this would certainly bring a smile to the recipient's face!  That's it for me today, thanks for stopping by to peek!


DOODLEBUG PRODUCTS USED
Love Notes Collection
Petite Prints Collection
Spring Things Collection
Doodle Twine
Sprinkles
All Occasion Doodle Stamps


Pin It button on image hover