Friday, December 29, 2017

Doodlebug Kitty Cut Files with Anita

Cats have always been a big part of our lives so I wasn't surprised when my oldest daughter asked  me to make a kitty cat card for her birthday on Christmas Eve.  To be honest, I thought the idea was just purrrfect!


I stayed with a simple design as I knew the kitty cuts would take up most of the card.
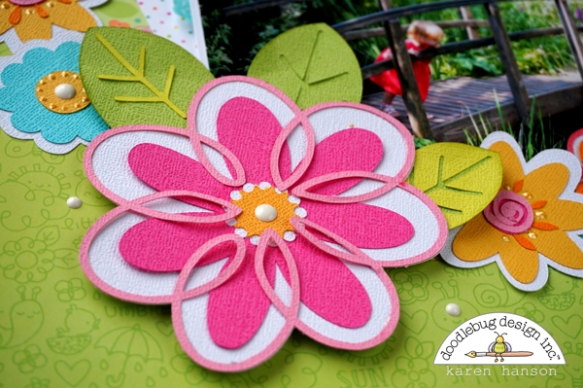
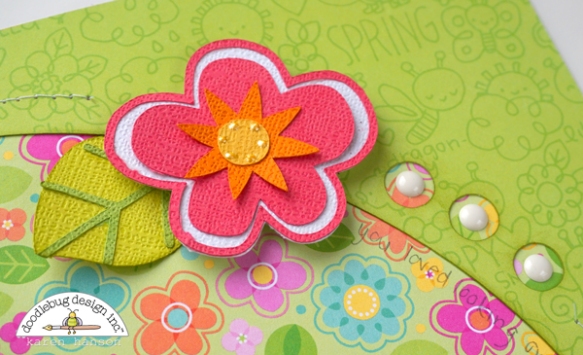
Each card was layered with patterned paper from the Fairy Tales collection and a machine stitched border around the edge to hold everything in place and add that little something extra.


And because those kittens are just too cute 
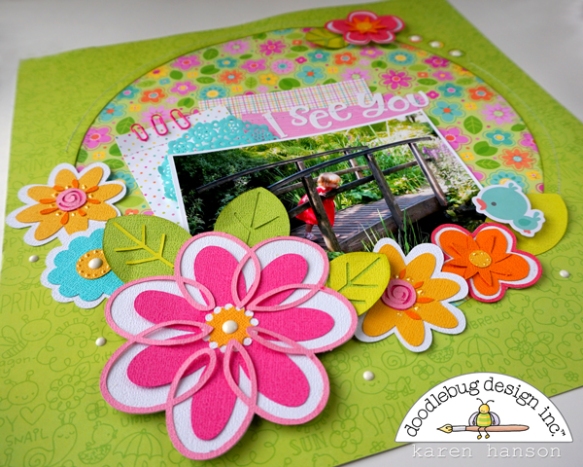
I created a layout of my cat sleeping underneath our Christmas tree before it was decorated.


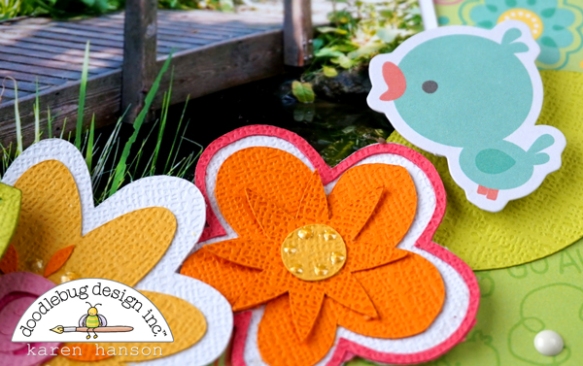
I thought it would be fun to change up the traditional Christmas colors and bring in some orange. 


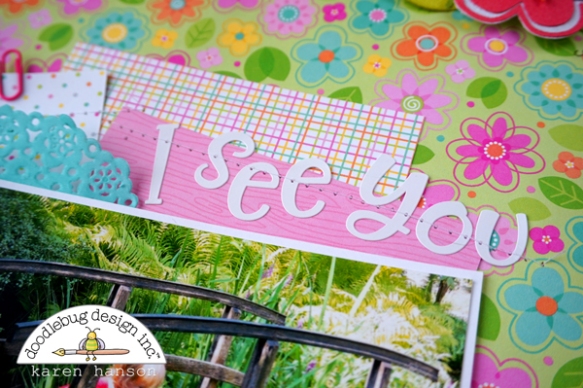
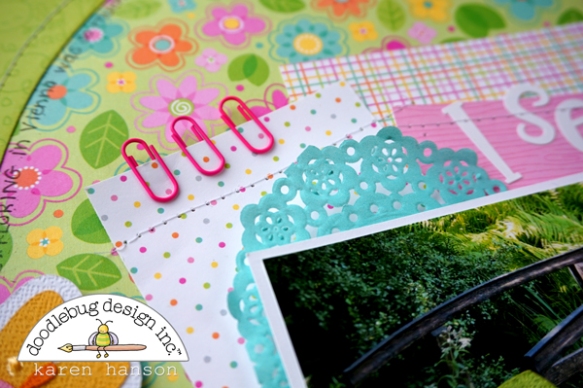
I began with a background using the Swiss Dots Petite Prints patterned paper for the border of my layout before using a single tangerine mini doily cut in half and tucked underneath the edge of the white cardstock to balance out the color over the entire layout.


The addition of the Milk and Cookies Collection patterned paper behind the photo was to bring in more of the traditional Christmas colors.


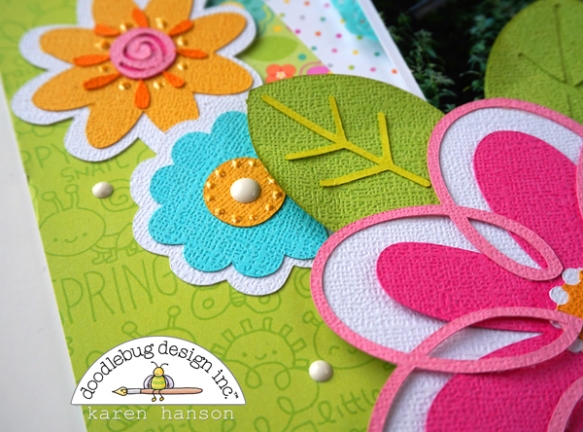
To add a touch of dimension I placed adhesive foam behind my stars which gave that hint of a shadow giving them a look of floating.


product used

5689: fairy tales 6x6 paper pad

3587: bright textured cardstock asst 12x12 
3588: pastel textured cardstock asst 12x12 
076: rainbow swiss dot petite print assortment pack
3444: rainbow textured cardstock asst 12x12 
3437: beetle black teensy type CS stickers 
5762: sweet spruce doodlepops 
5766: milk & cookies odds & ends
5764: mini hearts cute clips
5776: milk & cookies this & that sticker 
5791: merry berries double-sided cardstock 
5794: tree festival double-sided cardstock 
4599: tangerine mini doilies
4542 lillywhite glitter sprinkles

Thursday, December 28, 2017

Doodlebug Cut Files: I See You layout by Karen

I don't know about you, but I am plum worn out from the holidays! But I did decide to warm myself up by scrapping some memories from warmer times, featuring some super cute Doodlebug cut files available in the Lori Whitlock store from the super cute Spring Things collection.


A couple of years ago, we took a trip to visit family in Vienna, and some of our favourite places to visit were the amazing gardens. I took enough pictures to create a whole album just in the gardens alone. So I thought it would be fun to feature the beautiful flower svgs in this collection for this layout.


Paired together with Doodlebug's amazing textured cardstock, the cut files are fun and whimsical! I used a combination of the brights and rainbow collection for the different flowers featured on the layout which co-ordinated beautifully with the patterned paper from the Spring Things patterned paper collection.


And of course, I had to sneak in a little cutie from the Odds and Ends collection, because for me, the Odds and Ends are my favourite Doodlebug product...


...although the new Abigail letters are a close runner up...


...right beside the mini paperclips...


...and the Sprinkles! Oh, how I love me some Sprinkles!

 
In the end, I have to say that I just love the dimension you can create with the cut files! perfectly coordinated with this Doodlebug collection, you could actually change up the colours an pair them with other collections you have as well. Change the size slightly and/or placement and you would have a totally different layout!


In fact, I might head off to make another one right now! But not before I say - thanks for stopping by! Hugs, Karen

Wednesday, December 27, 2017

Doodlebug Cut File Print & Cut Desk Calendar with Kathy

Hi Everyone!  It's Kathy today with a cute little desk calendar I created using a number of Doodlebug Cut files available in both the Lori Whitlock SVG Shop and in the Silhouette Design Store.  Take a peek...


I wanted to create a few gifts for friends this holiday season, but needed to keep the project manageable, lol.  I decided to make some cute little print and cut calendar pages using Doodlebug Cut files and this calendar file from Lori Whitlock (found here in the Silhouette Store).   I simply backed them with some Gingham Linen Petite Prints and added them to a frame!  Here are some close-ups of the individual months and links to the files used.  I was able to make the pages both horizontal and vertical because the frame can be set either way...


Here Comes Santa - Snowman  (Lori Whitlock SVG Shop, Silhouette)
Here Comes Santa - Birds  (Lori Whitlock SVG Shop, Silhouette)
Here Comes Santa - Snowflakes 1  (Lori Whitlock SVG Shop, Silhouette)
Milk & Cookies- Snowflakes  (Lori Whitlock SVG Shop, Silhouette)


Cream & Sugar - Candy  (Lori Whitlock SVG Shop)
Cream & Sugar - Borders  (Lori Whitlock SVG Shop, Silhouette)


Fairy Tales - Rainbow with Clouds  (Lori Whitlock SVG Shop, Silhouette)


Spring Things - Umbrella  (Lori Whitlock SVG Shop, Silhouette)
Spring Things - Rain Cloud  (Lori Whitlock SVG Shop, Silhouette)
Easter Express - Mr. Chick  (Lori Whitlock SVG Shop, Silhouette)


Spring Things - Bee  (Lori Whitlock SVG Shop, Silhouette)
Spring Things - Flower Cluster  (Lori Whitlock SVG Shop, Silhouette)


Spring Things - Bird in a Tree (Lori Whitlock SVG Shop, Silhouette)
Spring Things - Rain Clouds (Lori Whitlock SVG Shop, Silhouette)
Fun in the Sun - Sun  (Lori Whitlock SVG Shop, Silhouette)


Yankee Doodle - Wagon  (Lori Whitlock SVG Shop, Silhouette)
Yankee Doodle - Flower Cluster  (Lori Whitlock SVG Shop, Silhouette)
Yankee Doodle - Flower  (Lori Whitlock SVG Shop, Silhouette)


Under the Sea - Seaweed  (Lori Whitlock SVG Shop, Silhouette)
Under the Sea - Shells  (Lori Whitlock SVG Shop, Silhouette)
Anchor's Aweigh - Fish  (Lori Whitlock SVG Shop, Silhouette)


Back to School - Pencil  (Lori Whitlock SVG Shop, Silhouette)
Back to School - Push Pins  (Lori Whitlock SVG Shop, Silhouette)
Back to School - Apple and Worm  (Lori Whitlock SVG Shop, Silhouette)


Booville - Candy  (Lori Whitlock SVG Shop, Silhouette)
Booville - Ghosts  (Lori Whitlock SVG Shop, Silhouette)
Booville - Fat Pumpkin  (Lori Whitlock SVG Shop, Silhouette)
Booville - Halloween Kitty  (Lori Whitlock SVG Shop, Silhouette)
  Boos & Brews - Bat with Moon and Stars  (Lori Whitlock SVG Shop, Silhouette)


Flea Market - Mice  (Lori Whitlock SVG Shop, Silhouette)
Flea Market - Sun Flowers  (Lori Whitlock SVG Shop, Silhouette)
Flea Market - Pumpkins and Acorn (Lori Whitlock SVG Shop, Silhouette)


Milk & Cookies - Santa  (Lori Whitlock SVG Shop, Silhouette)
Milk & Cookies - Mrs. Claus   (Lori Whitlock SVG Shop, Silhouette)
Milk & Cookies - Kitty   (Lori Whitlock SVG Shop, Silhouette)
Milk & Cookies - Puppy   (Lori Whitlock SVG Shop, Silhouette)
Milk & Cookies - Gumdrops   (Lori Whitlock SVG Shop, Silhouette)

My friends really liked them!  That's it for me today, thanks for stopping by to peek!


Tuesday, December 26, 2017

Doodlebug Design Cut File Tutorial by Brigit Mann

Hello Doodlebug Fans, it's Brigit here with a quick and easy Silhouette Studio tutorial on how I made these sweet candy kiss boxes using the Cream & Sugar candy cut file. You can get Doodlebug cut files in svg format from Lori Whitlock's shop here and from the Silhouette Online Store here.


 I kept them pretty simple just adding some ladybug, bubblegum and swimming pool chunky twine to hold the tops together and Christmas glitter sprinkles for the cheeks.


I only needed one candy from the file to make the box so I deleted the other two, but kept all three of the labels since I was making three boxes. I sized the height of the box to 4" leaving the aspect ratio locked.


I rotated the candy to straighten it then used the knife tool and sliced across the bottom. I made a duplicate of the candy and black layer and set aside.


I created a 2" x 6 1/2" rectangle and aligned it on the grid, centering the candy. I drew two lines at the 1/2" mark from top and bottom of the rectangle. I selected the candy and made a mirror image down and moved that with my arrow keys aligning the bottom of each candy with the lines I just made.


Double clicking on the rectangle brings up the point editing, I clicked and made two points close to the side of both candies. I dragged the point closest to the candy down to the bottom corner of it and the other point I move slightly over. You can see in the photo above.


I continued to point edit the other side and then added two vertical lines, I changed all the lines I made to score lines and grouped them together.


Selecting the two candies and rectangle box I welded them all together, then grouped the box and score lines.


You can either put the black layer for the eyes and mouth inside or you can do a release compound path on the box and get rid of the eyes and mouth and use the duplicate layer for the top. That's what I did so I could use 6 x 6 pieces from the Cream & Sugar paper pad.

I hope you've enjoyed this tutorial, thanks for stopping by and have a wonderful day!

Saturday, December 23, 2017

Mix it Up Challenge: Bright Cheery Cards by Tya

Hello there -Happy Holidays everyone! It's Tya here and I am sharing with you a couple of handmade cards. Winter is here, and I don't know about you but I can sure use a splash of color and sunshine right about now! I turned to the Fun in the Sun and the Spring Things line to make these cards.

This first card was made with one of the Limeade Create a Card card bases. I found a few different patterns from the 6x6 paper pads from the two lines and from the Gingham -Linen Petite Prints. I trimmed them in to 1/2 x 1 1/4 inch and 1/2 x 2 inch strips of paper and glued them in rows on some white cardstock. This is a great way to use up some of your smaller scraps of paper.
I added the "Me and You" sticker from the Fun in the Sun This and That sticker sheet. I also added the Dainty Daisy Doodlepop from the Spring Things line to the card with some foam tape. I added a small strip of the border paper in the 6x6 paper pad. I also added a pink striped border sticker from the Spring things line and a blue dot ric rac border sticker from the Fun in the Sun This and That sticker sheet.
I added a Swimming Pool Boutique button, some bakers twine and a couple of matte sprinkles to the card for some finishing touches.
The second card is also made with a Limeade Create a Card base. I cut a small piece of the butterfly net paper as a background and then began layering some fun shapes on the card front.
I added a few stickers from the Spring Things Icon sticker sheet, a fancy drink  and sunshine die cut from the Fun in the Sun Odds and Ends.
Along the bottom of the card I added a strip of Surf Stripe paper from the 6x6 paper pad.  I added the "Good Times" banner sticker from the Spring Things This and That sticker sheet to the card with some foam tape. I added a length of bakers twine along the bottom. I also added a couple of matte sprinkles to the flower centers.
It was so much fun to mix these two adorable lines together - and the lovely thing about mixing and matching lines is the colors always match no matter what line you use! It makes it so easy to use up all of the different pieces of collections and use them in fun ways. I hope I have inspired you to make a few of these cards of your own! Happy Crafting!

Products used:
Fun in the Sun 6x6 paper pad
Spring Things 6x6 paper pad
Fun in the Sun This and That
Spring Things This and That
Swimming  Pool Boutique Button
Spring Things Icon Sticker Sheet
Fun in the  Sun Odds and Ends
Gingham-Linen Petite Prints 6x6 paper pad
Fall Assortment Twine
Spring Assortment Matte Sprinkles
Dainty Daisy Doodlepop
Limeade Swiss Dot card
Limeade Square Baroque card

Friday, December 22, 2017

Mix it Up Challenge: Falling in For You Layout by Caroli

Hello there, how are you my dear Doodlebug Design friends? Carol here and today I'm thrilled to share this layout I made for the Mix it Up Challenge.

Had it happened to you that you listen to one song and immediately feel like it was written for you? This happens to me all the time for different reasons, and when I listed to "Still Falling for You" by Ellie Goulding I immediately loved it and decided to make a layout with it featuring me and my love. 

We've had a rough year this 2017, but against all odds, we made it through and I must say I'm still falling for him  so I made a layout with the lyrics of the song to document this happy feeling.

This is how my layout came out:


As you can see, I used very little amount of products in this layout, because the title and the journaling was the main focus here. I went for white cardstock as base, some embellishments from the Odds&Ends package of Spring Things collection, and I mixed and matched different alphas.


I cut my title in silver foil cardstock using Better Together free font and my Silhouette Cameo, love how this came out 


Here you can see how I mixed my own handwriting with different alphas. I used new Abigail alphas in Cupcake and Mint colors, and also some Teensy Type alphas in Swimming Pool, Bubblegum and Cupackae colors. 

I used my sewing machine for a special details here and there, and left some lose twine for make it funnier.


I love this layout, alphas by Doodlebug Design are always so cute and I was so wanting to use Abigail ones, specially mint one ♥ Hope you liked this idea and dare to feature one fave song in your projects. 

Biggest hugs!


Pin It button on image hover