
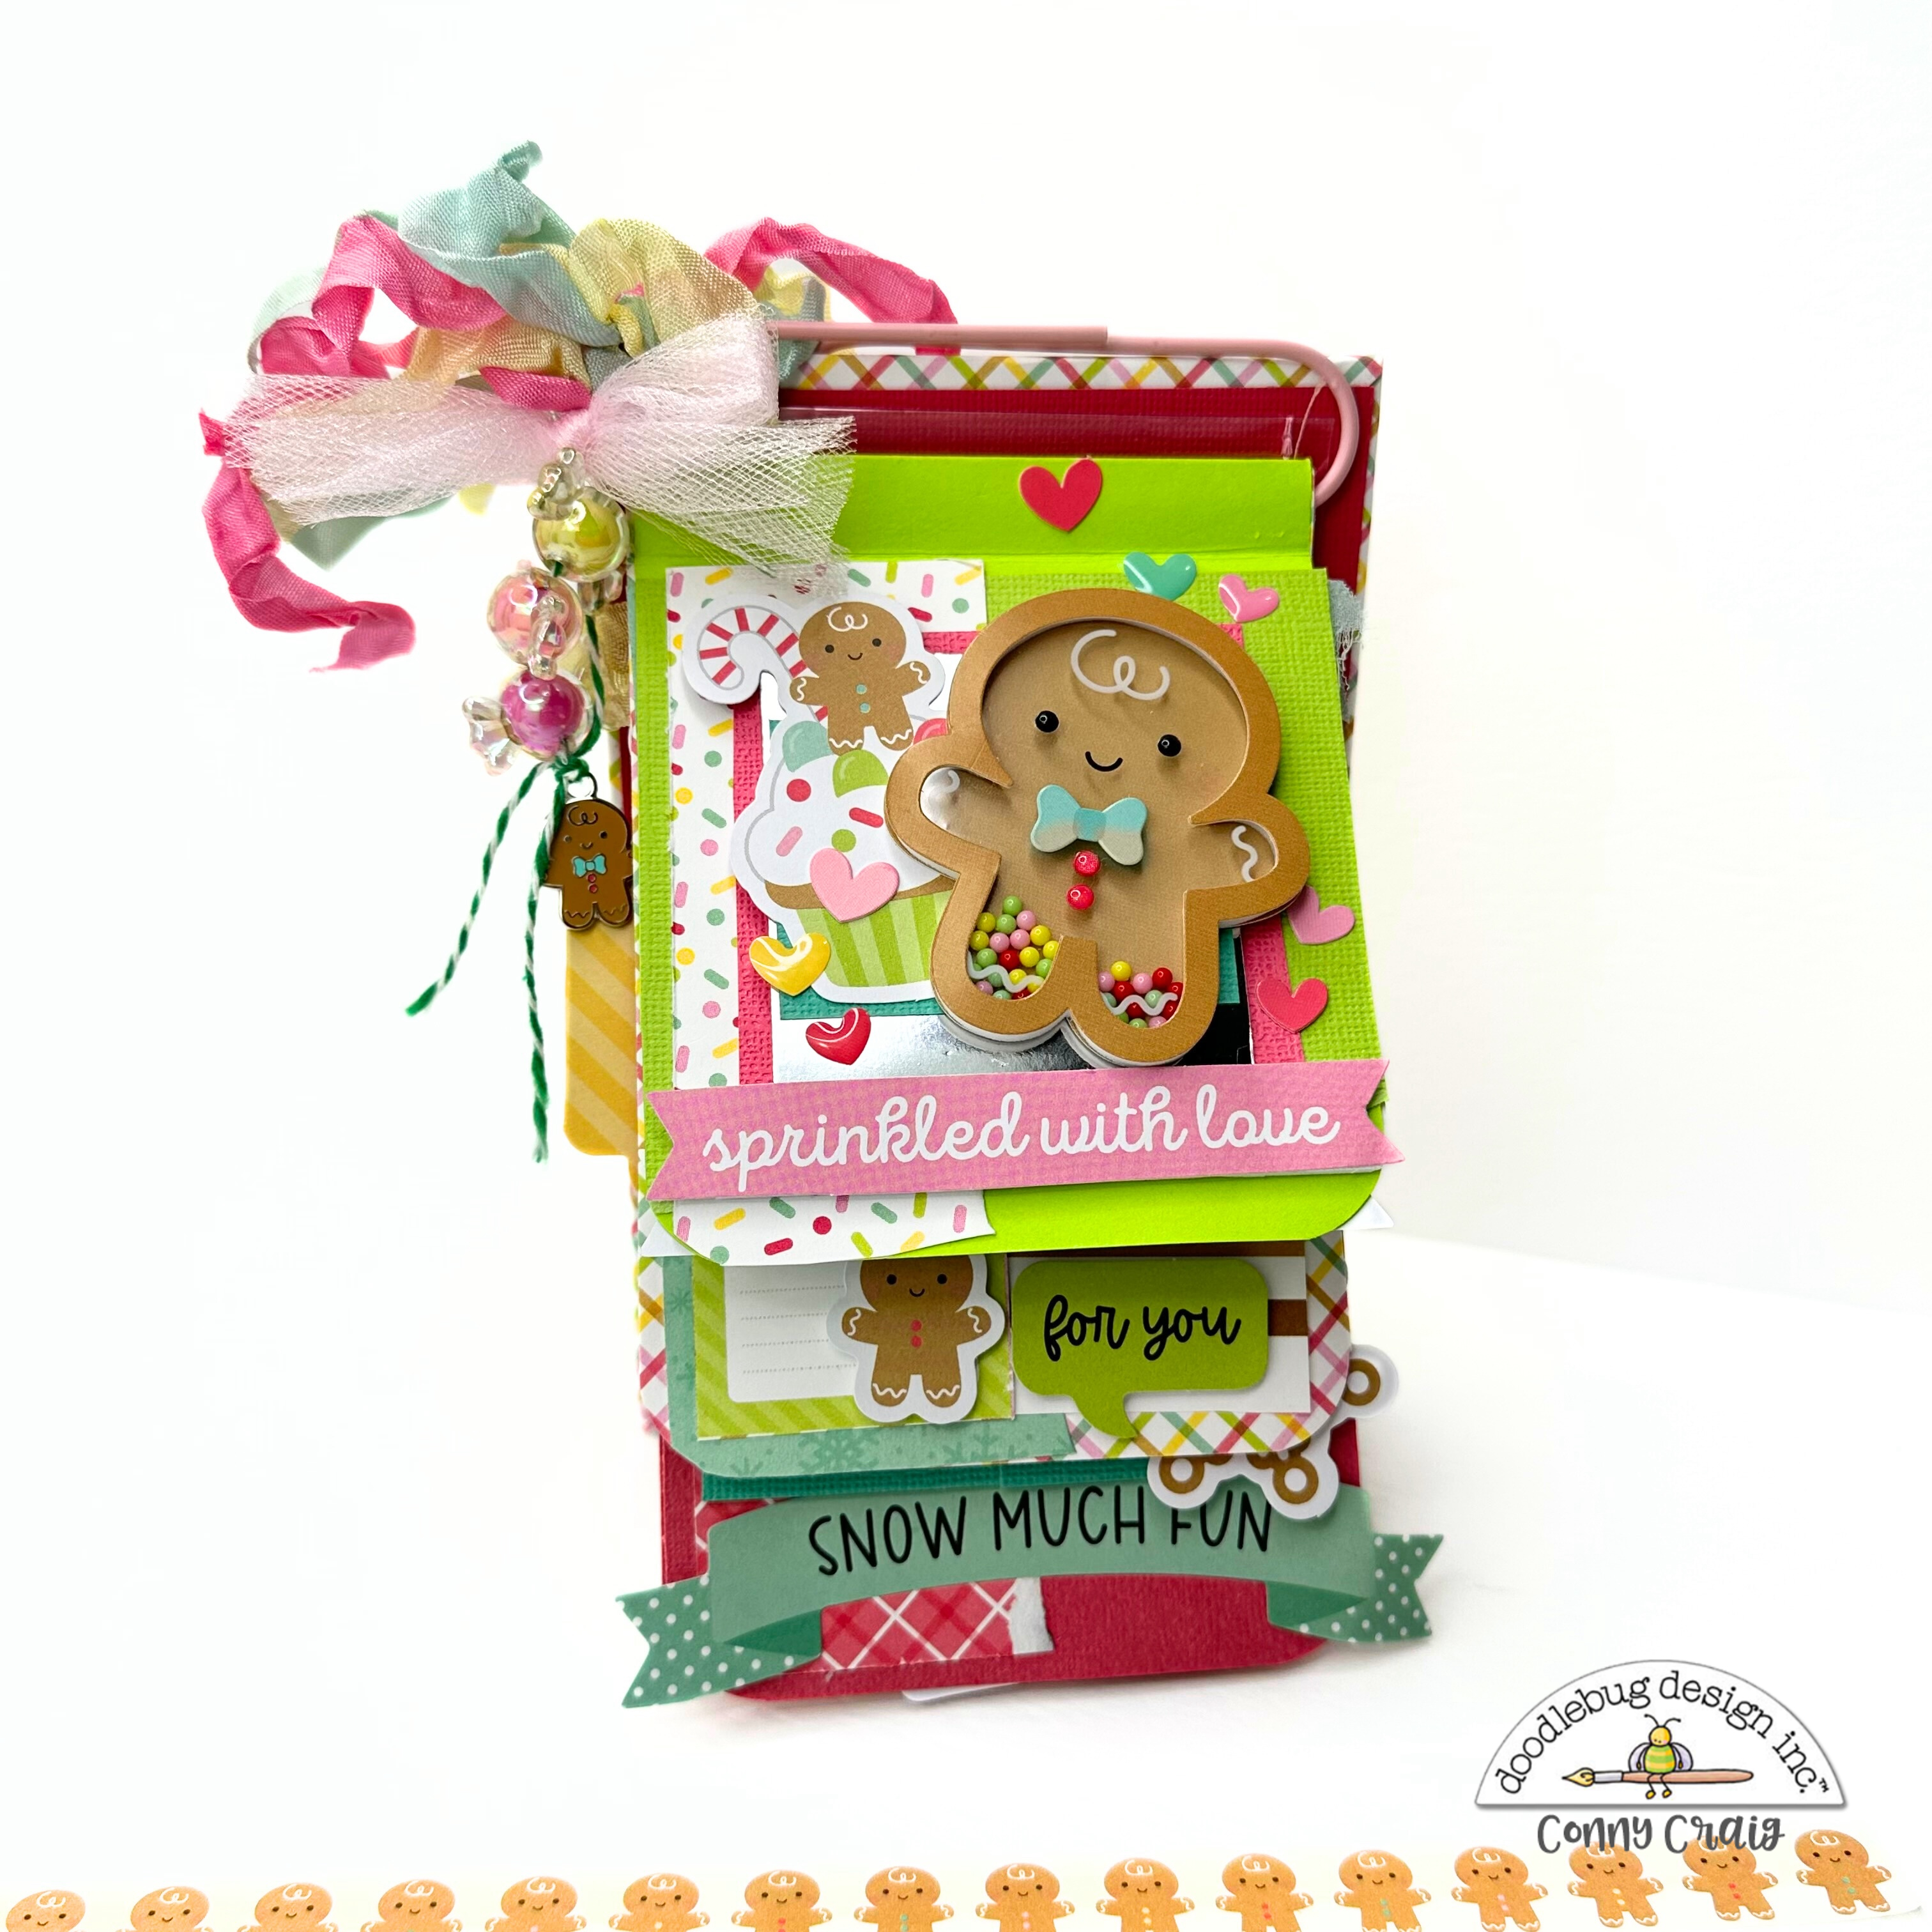
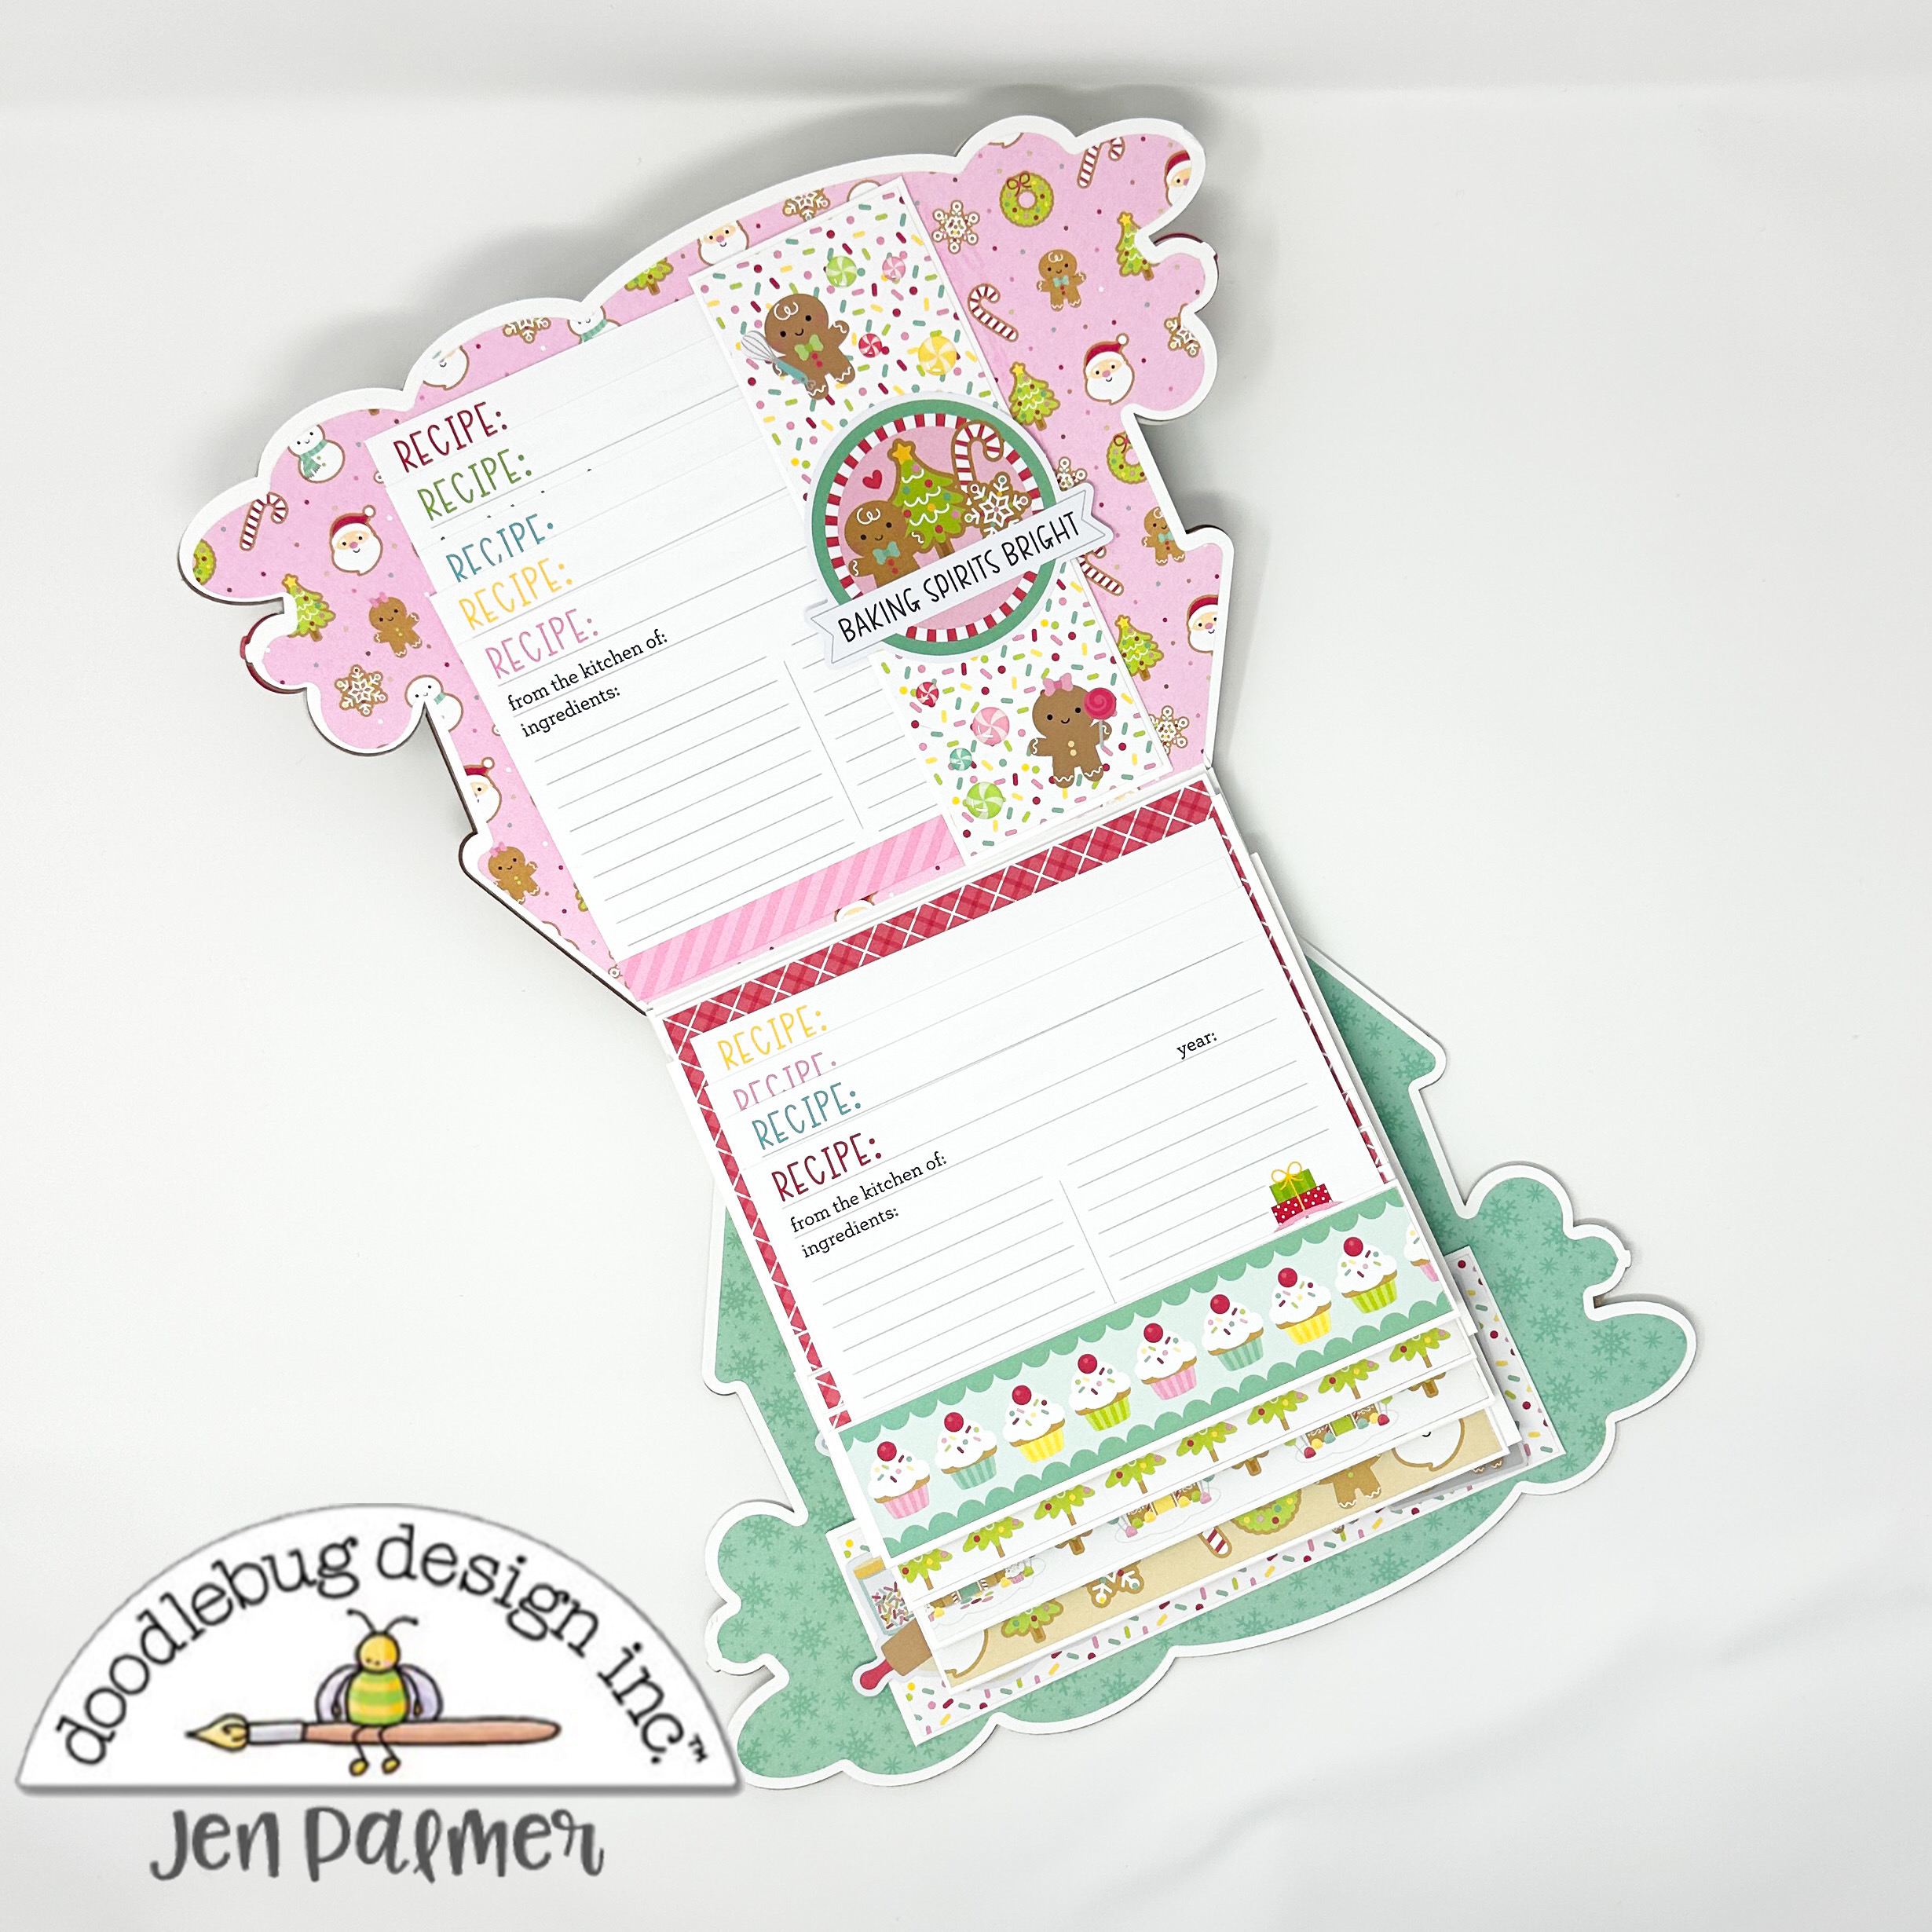
Hello, crafty friends! This is Conny. It has been a wonderful year creating all these projects using Doodlebug's beautiful collections. I wanted to take a moment to wish you all a prosperous and happy New Year! Today, I am sharing this paper clip album as a fun project to close out the year and send some happy mail. To begin, I chose three papers from the Gingerbread Kisses Collection and coordinating textured cardstock pack. I scored them all at the half mark, but you can score them differently to achieve a cascading effect.

Here are the measurements I used:
3.5" by 12" score at 6 inches
3.5" by 10" score at 5 inches
3.5" by 8" score at 4 inches
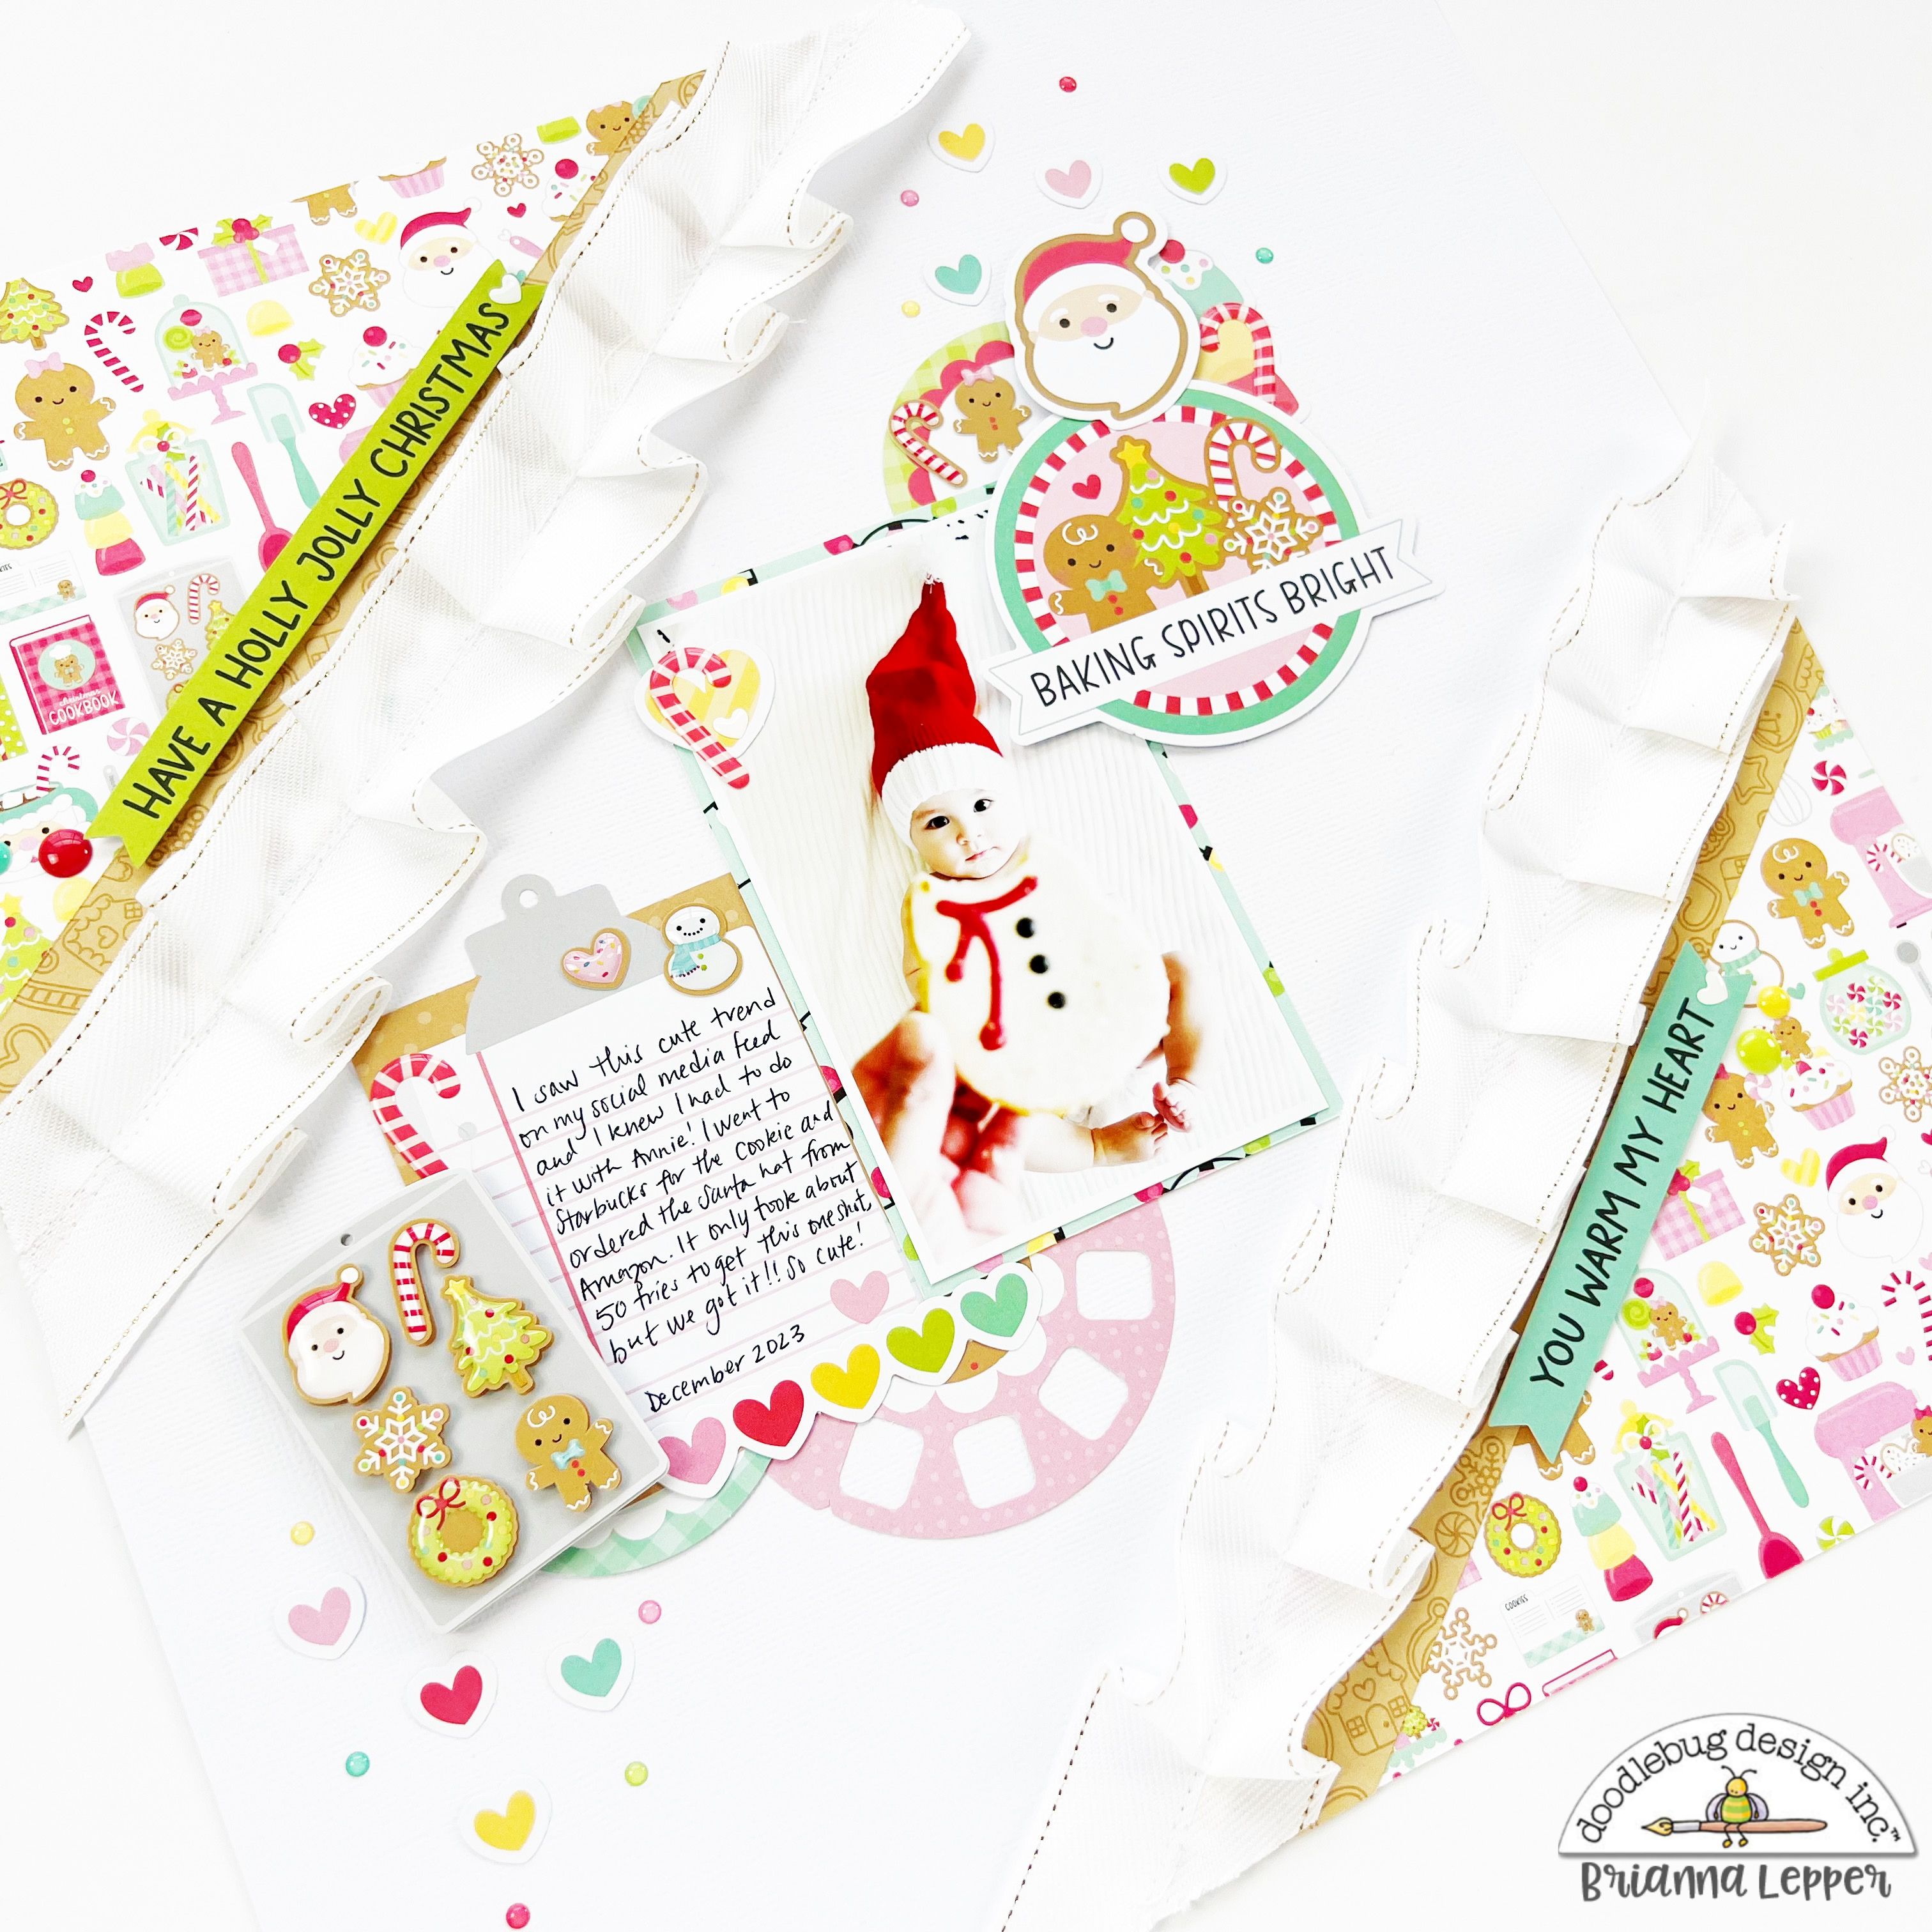
On the cover page, I decorated using the Gingerbread Kisses Shaker Pop, Odds and Ends Pieces, and Chit Chat Pieces. Additionally, I added ribbon, beads, and the Little Gingers Little Charmers for a cookie theme. I also layered multiple papers from the collection through the album.
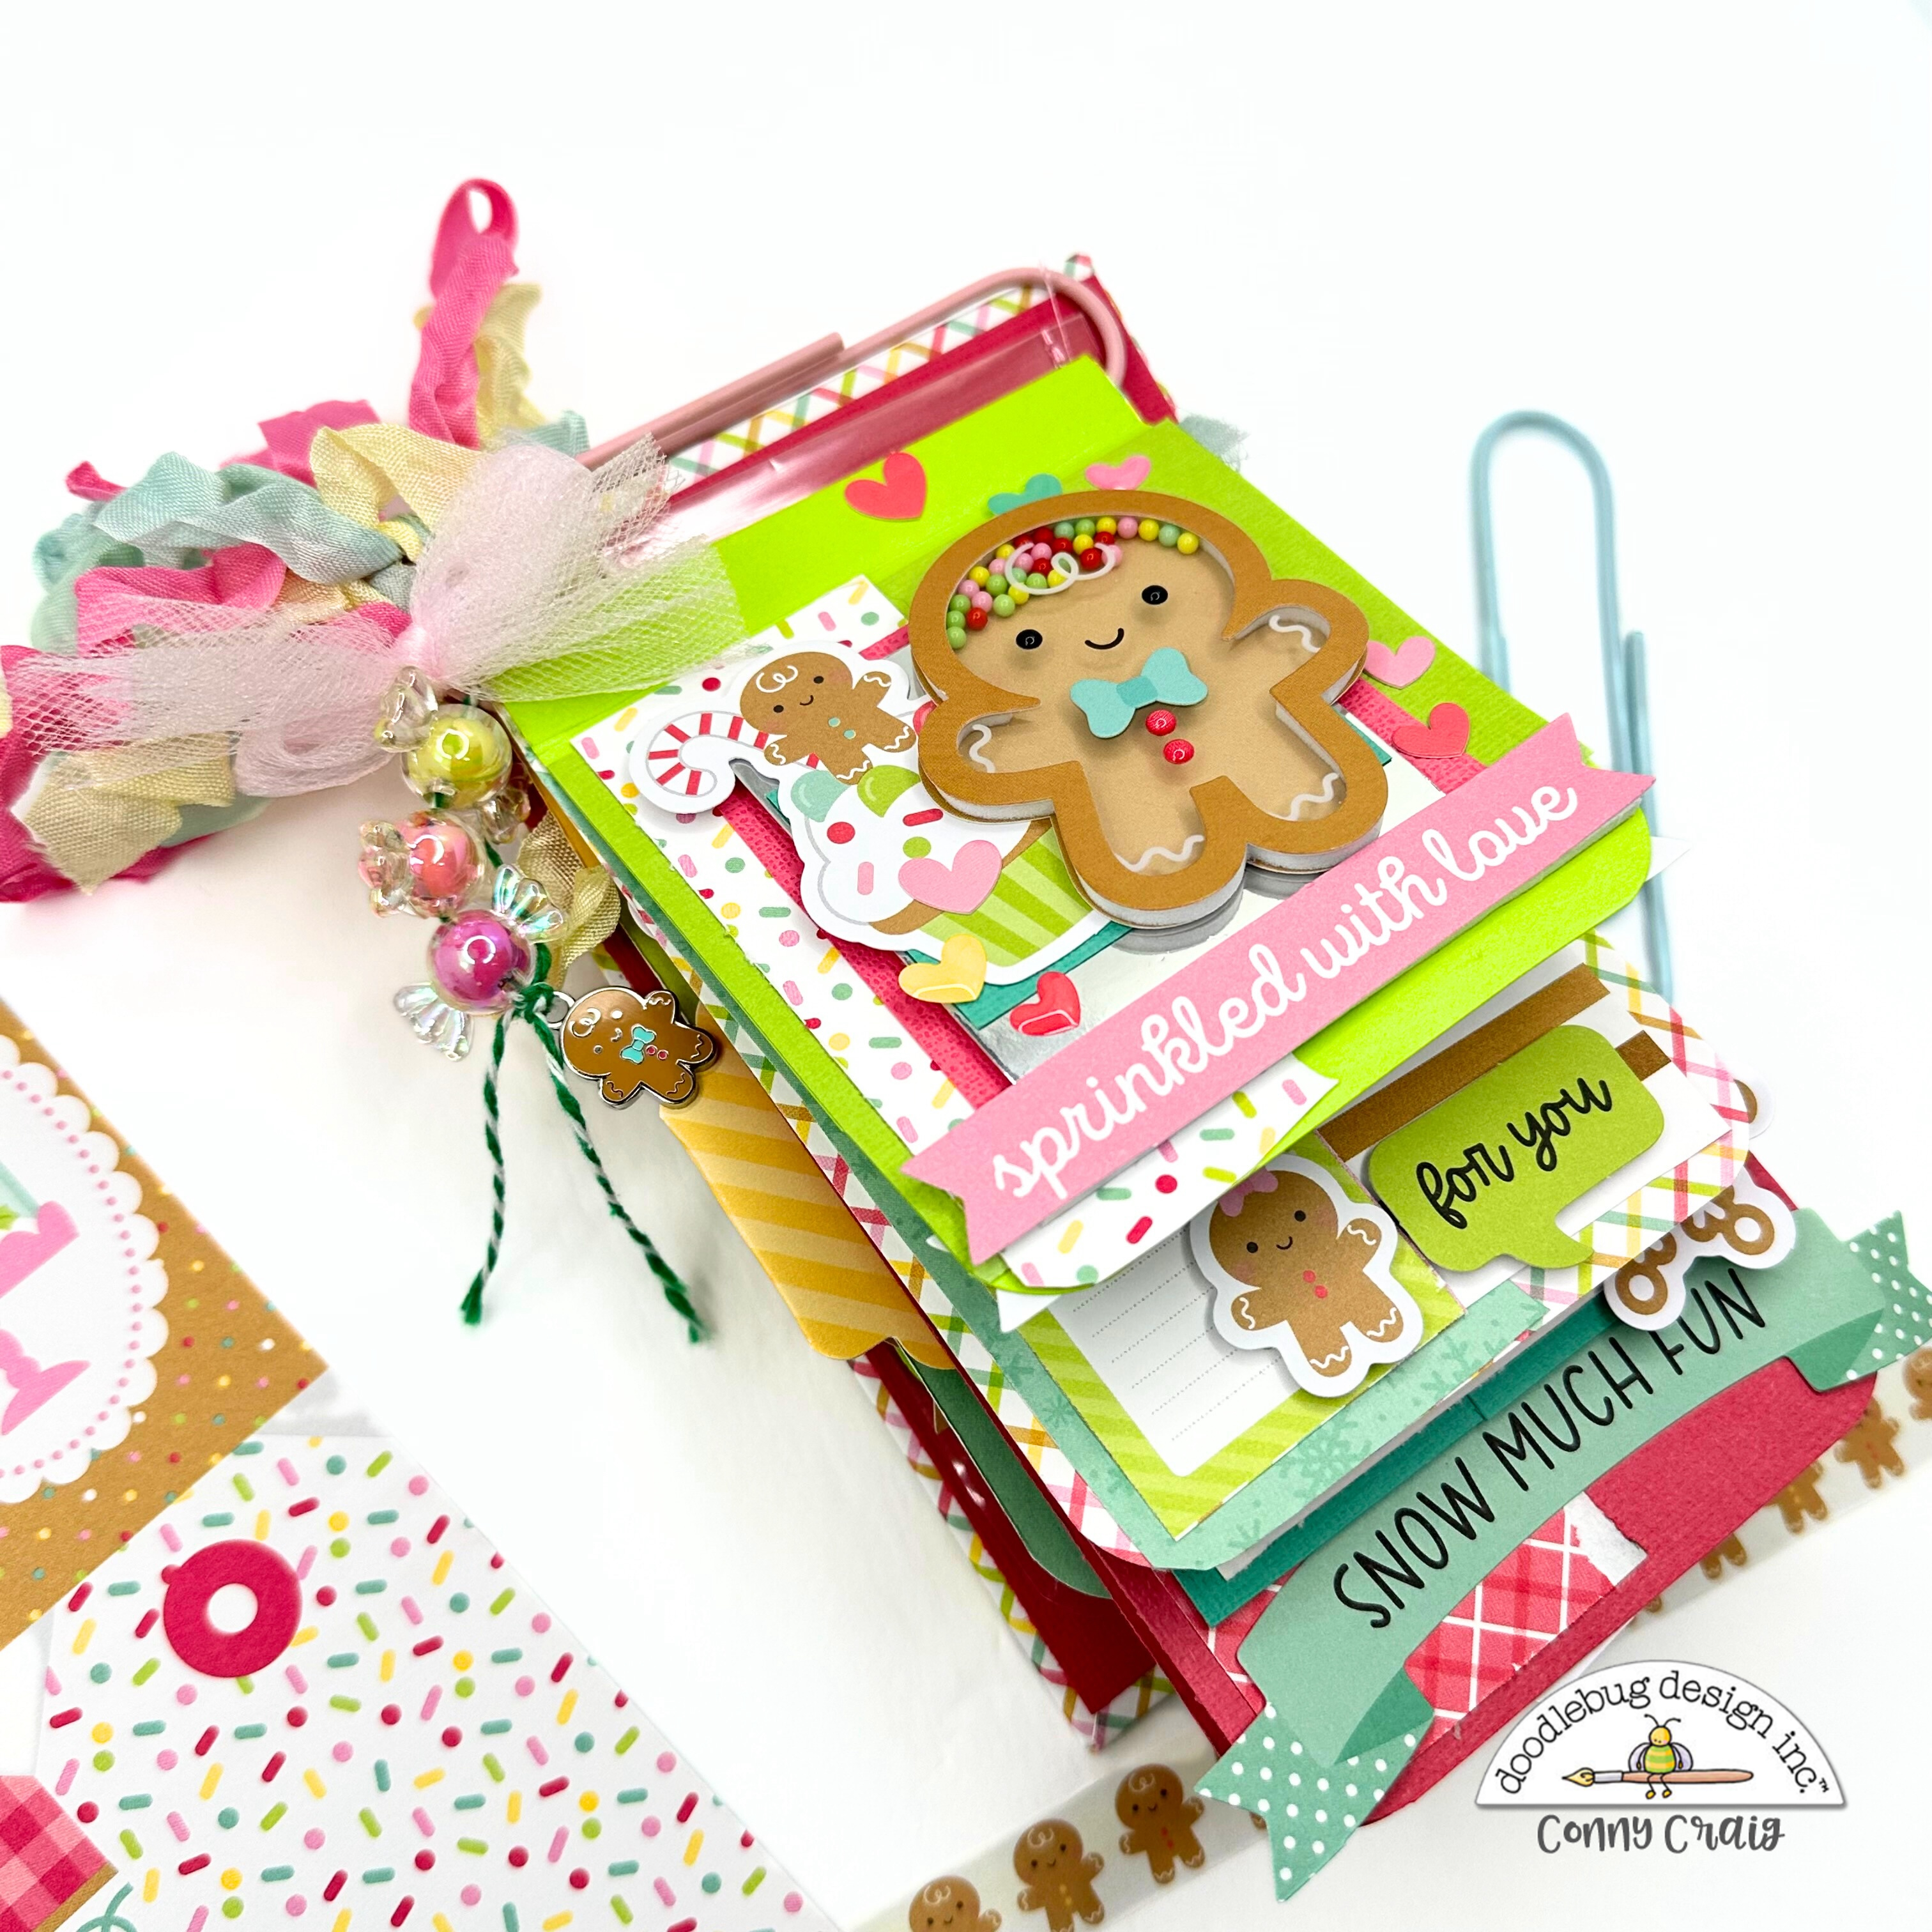


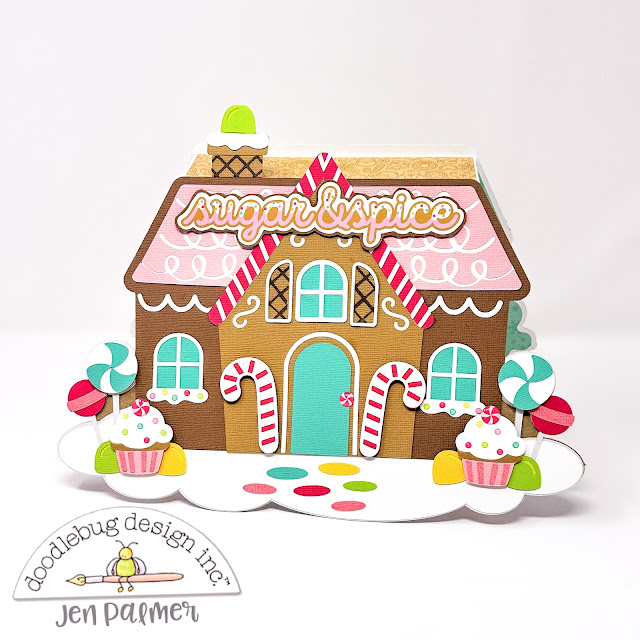
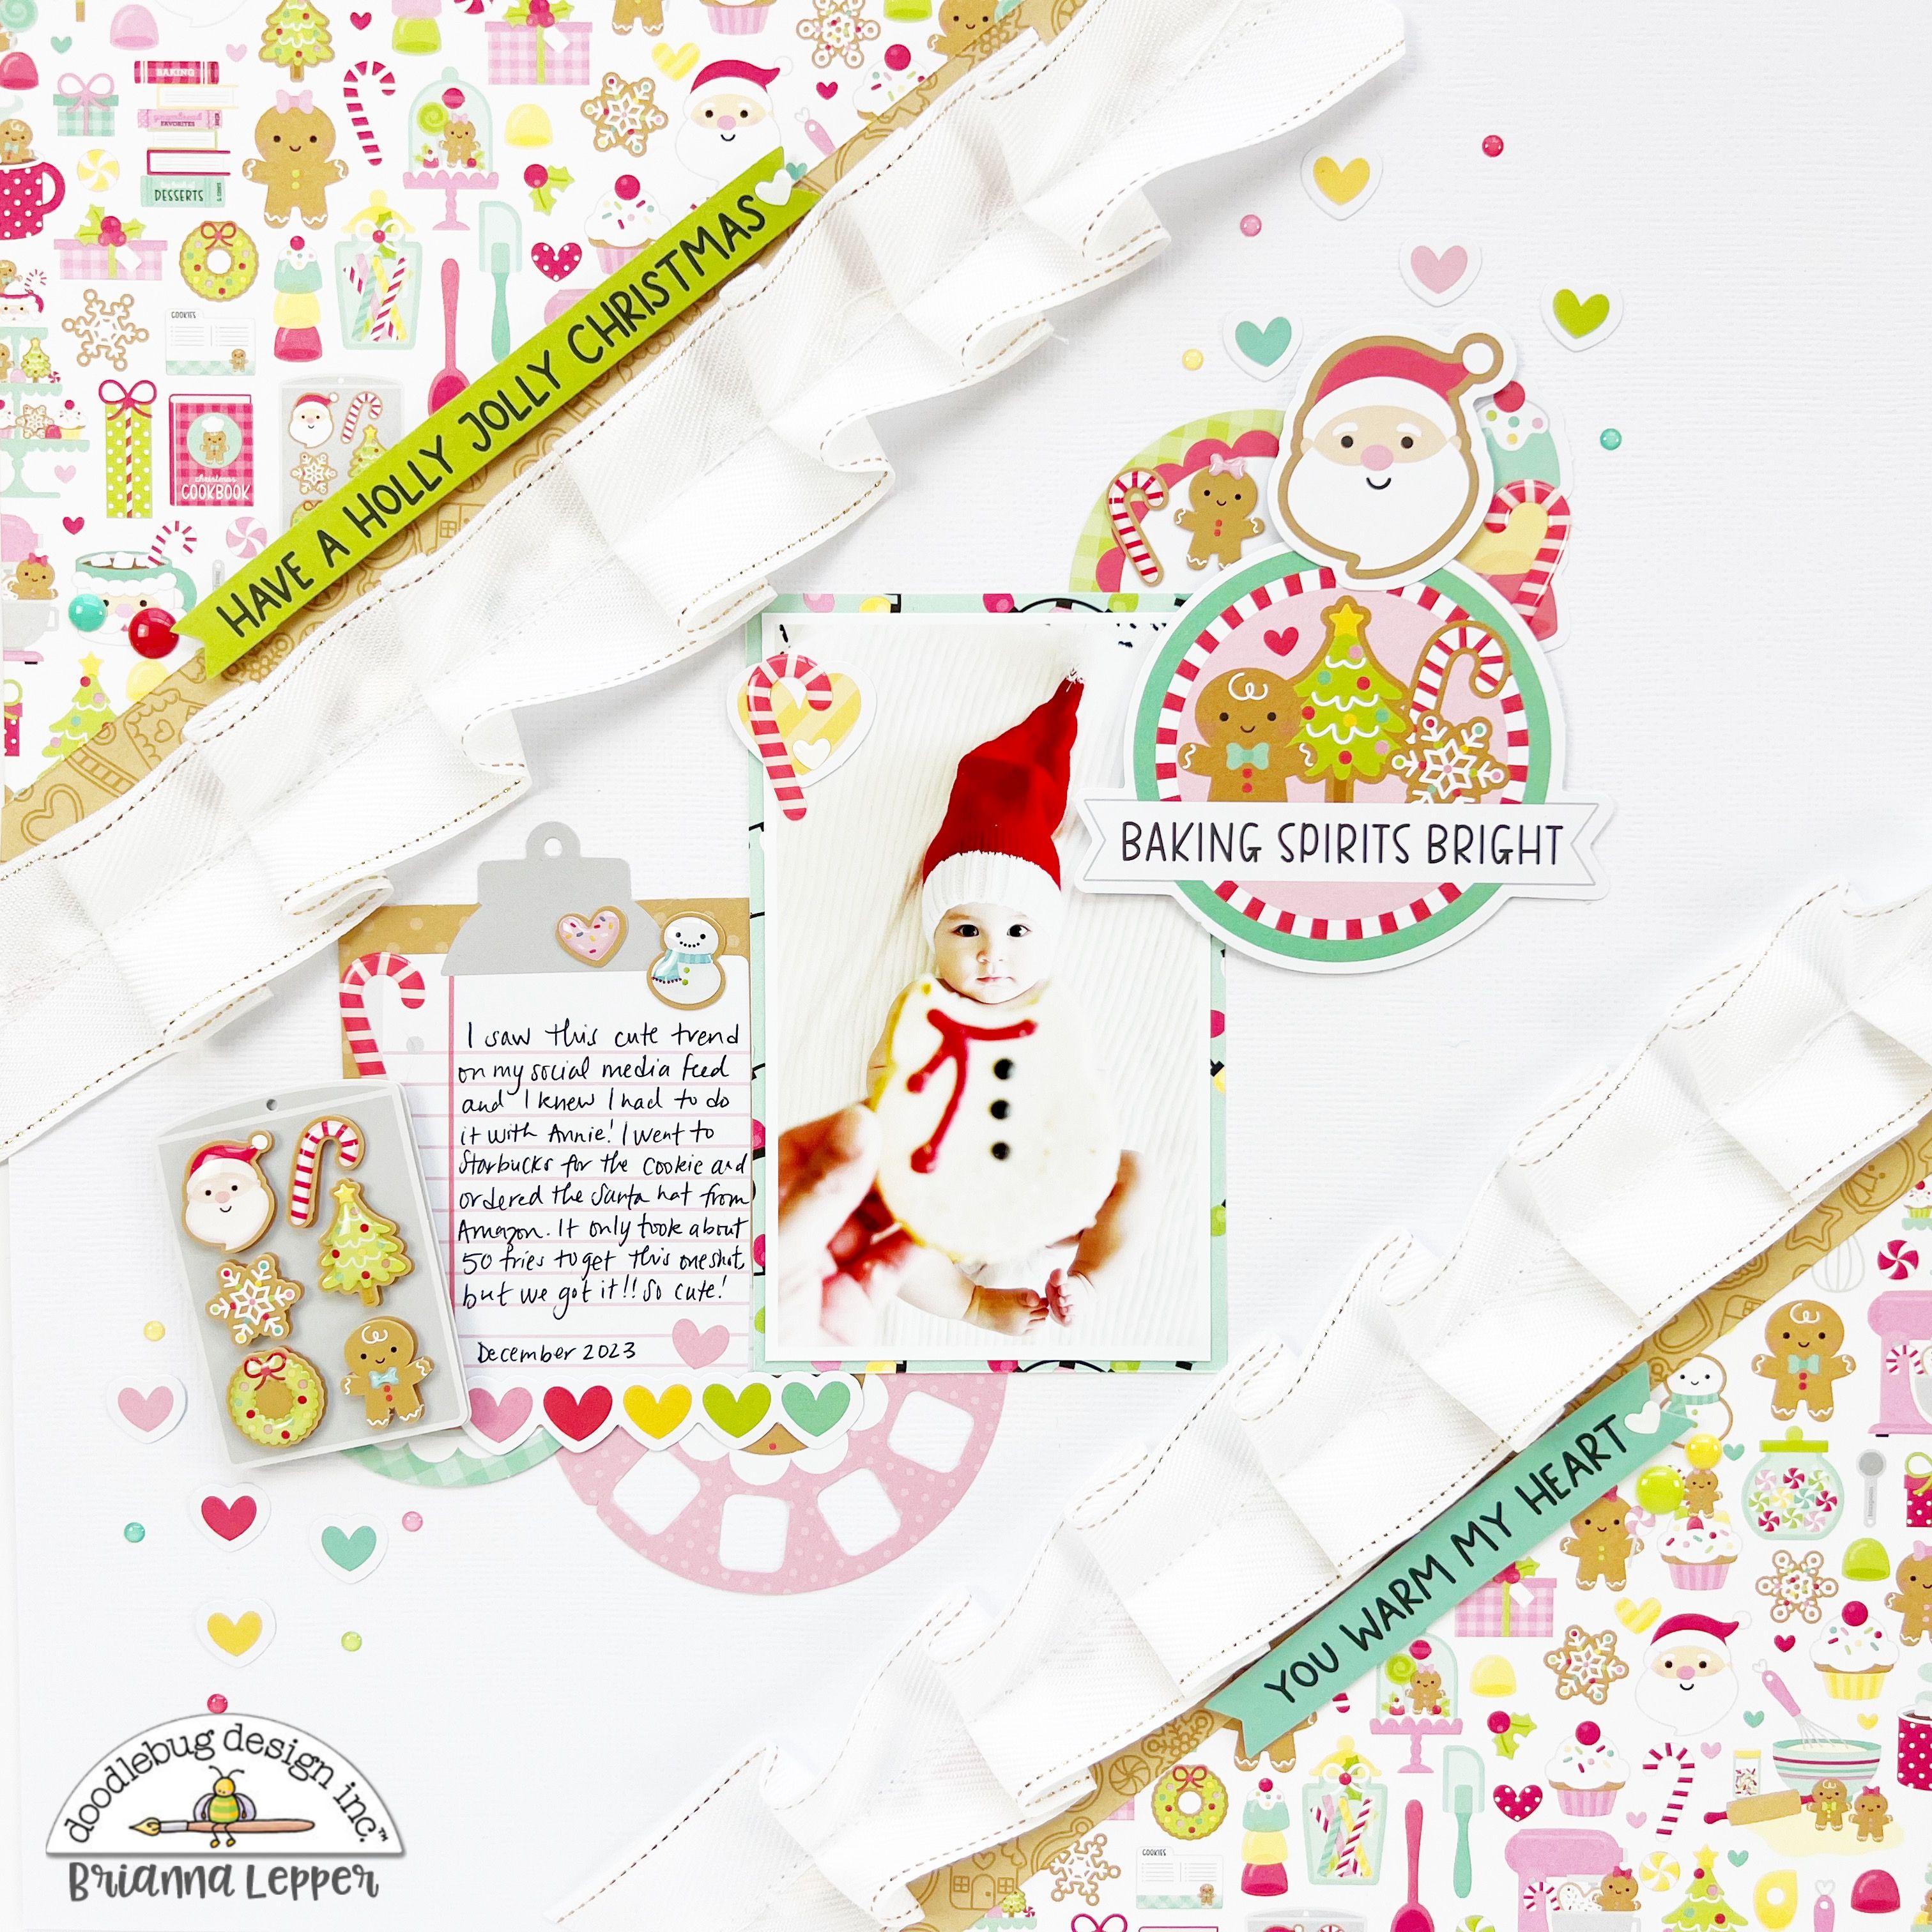
I had a lot of fun creating my album! To add some personality, I chose to use a few journaling cards from the Deck The Halls paper. Plus, I added some extra charm with the Seasons Greetings tags. Overall, it turned out to be a lovely project!


I spruced up the card with a cute little envelope and added some extra flair! Take a look and let me know what you think.

With a touch of creativity and attention to detail, I added a pack of colorful sprinkles and pinned the completed album to a beautifully wrapped chipboard adorned with papers from the collection. It's amazing how a small finishing touch can bring a project to life!

Thank you so much for stopping by, Happy New Year. Love Conny!


(5).png)


(8).png)
(7).png)
(6).png)
(3).png)
(2).png)
(1).png)
.png)