Showing posts with label Christmas Layout. Show all posts

Wednesday, December 27, 2023

GINGERBREAD KISSES CHRISTMAS LAYOUT | with Erica

Creating layouts with background cut files is one of my absolute favorite designs! I found a great cut file that is just perfect with the Doodlebug Design Gingerbread Kisses collection.

This Gingerbread Man Background cut file is adorable and I had fun backing it with 6x6 papers from the Gingerbread Kisses collection. I decided to add faces to each of the gingerbreads so I cut some out onto white textured cardstock.

Once my file was backed I added foam adhesive all over the back to pop it up onto some white textured cardstock that I had trimmed down to 11.50x11.50. I matted this onto some pattern papers from the Gingerbread Kisses collection. Next I trimmed down my photos and matted them onto some textured cardstock from the Gingerbread Kisses 12x12 Assorted Cardstock.

I adhered the photos to my layout and picked out one of the title pieces from the Gingerbread Kisses chit chat pieces. I adhered it to some of the coordinating cardstock to help it stand out against the background. I popped up the title piece along the bottom of the photos and then added some embellishment clusters to the left and right of my photos.

I just love how this layout turned out! I love the colorful happy gingerbread cookies and all the fun patterns! Thanks so much for stopping by the Doodlebug Blog today! I hope you enjoyed my layout today!

DOODLEBUG PRODUCTS USED

Gingerbread Kisses Collection

OTHER

Gingerbread Man Background cut file

Wednesday, December 15, 2021

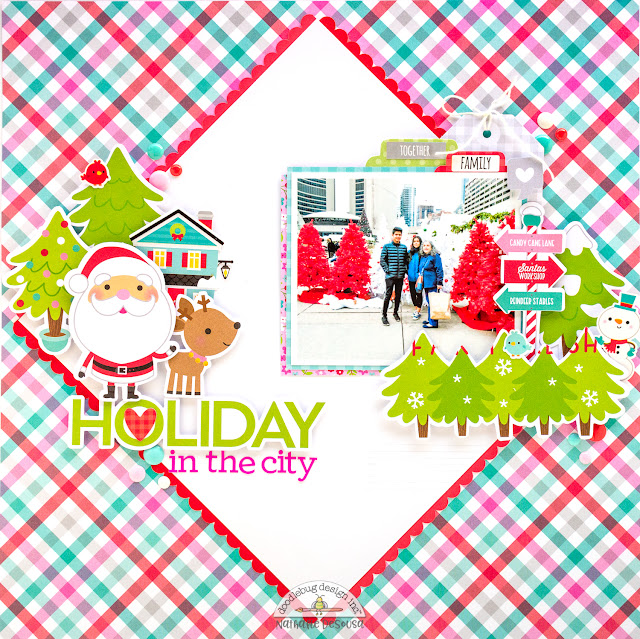
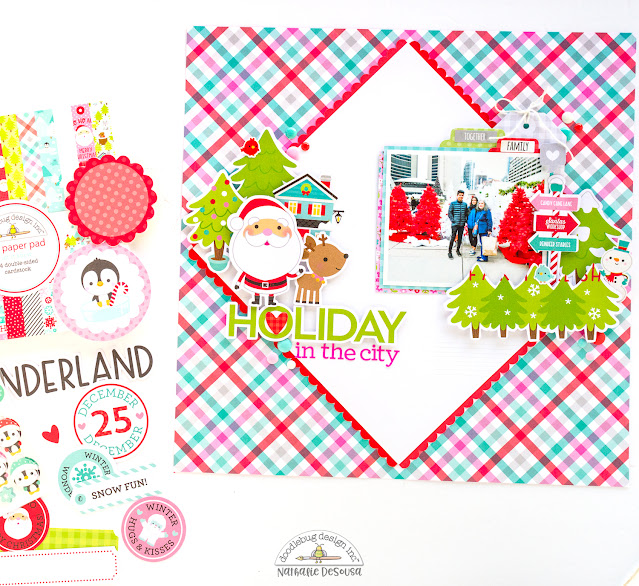
LET IT SNOW HOLIDAY IN THE CITY LAYOUT | with Nathalie

And we are counting down the days until we can all gather to enjoy some time together whether at home or somewhere in the city, the Holidays are always better spent together.  The new Let It Snow collection was just perfect to document one of our past Holiday traditions...

The design in the Heartwarming paper was the inspiration for the page. I simply attached pieces of Paper Frills to an 8" square of cardstock, and attached it to the center of the page.

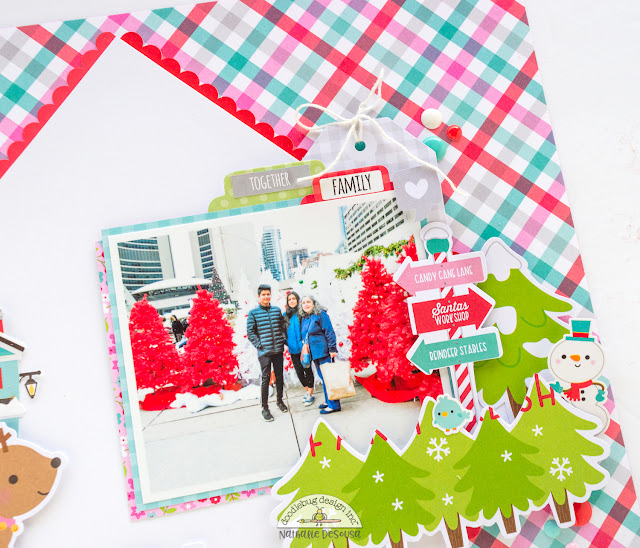
I backed my photo with papers from the 6x6 paper pad.  There are so many cute embellishments in this collection, it was so easy to cluster them together next to the photo,

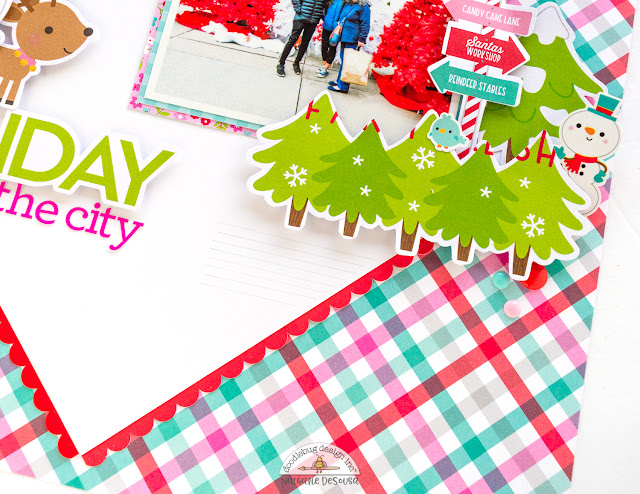
I am a huge make-the-paper-work-for-you promoter, that means not being afraid to trim pieces off the embellishments to fit in your pages.  You will be surprised at how your scrapbooking mojo will fly if you just do so!  Just check the row of trees, I trimmed the sentiments out of it, and added it on my cluster.


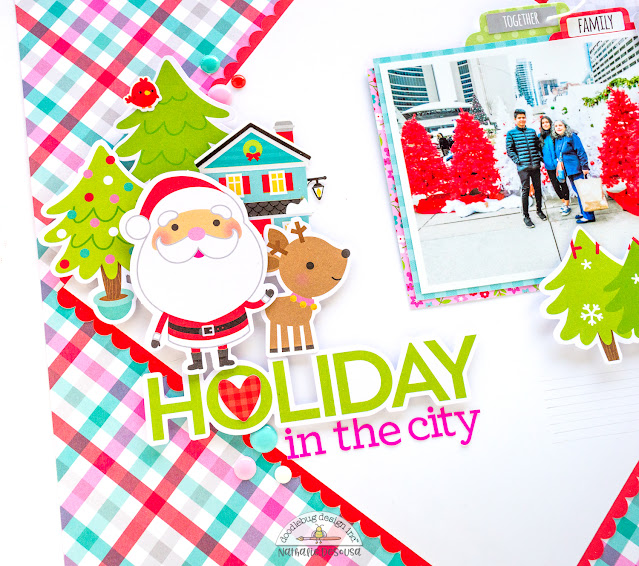
I chose to create a large cluster of ephemera opposite the photo placement.  This helps to balance the page and create the perfect placement for a title.

I am loving the new Let It Snow collection, there are so many directions you can  take with it to help you document your memories.  Remember to check it out!  XOXO

Instagram | Blog | YouTube 

SUPPLIES:

Let It Snow Collection
Paper Frills - Ladybug
MyType Alpha Stickers - bubblegum
Sprinkles

Thursday, November 26, 2020

NIGHT BEFORE CHRISTMAS ALL IS CALM LAYOUT | with Erica

Happy Thanksgiving everyone!  

Big title cut files are one of my favorite ways to start a layout. I knew I really wanted to showcase the colors and some of the pattern papers in the new Night Before Christmas collection from Doodlebug Design.  
 I used a large title cut file from my friend Lacey Ann Designs Etsy shop! I love the font and wider border of this cut file. It makes it easy and quick to back with pretty papers. I used papers from the Night Before Christmas 6x6 paper pad and some from one of the Doodlebug Design petite prints. I wanted to pull in some of the soft pink color in the collection.  
 I am documenting photos of our youngest Liam Jay and his first Christmas season. I know this is a boy layout but there is no reason why you can't use the color pink on your boy layouts! I love how all the colors are soft and sweet like the photos of baby Liam.  
 I added a few mini icon stickers around my photos and one of the banners in the Night Before Christmas chit chat pieces. When using a big title piece like the cut file I also like to add die cuts and stickers around the cut file. The little mice were perfect to add around my page! To finish off the page I trimmed down my white base to 11.50x11.50 and matted it on the beautiful Snow Magical pattern paper from Night Before Christmas. I used my We R Memory Keepers typewriter to type out my journaling and cut into strips to add to the bottom of my page. Here is a look at my completed page using the new Night Before Christmas collection.  


 Doodlebug Design Products Used 
 Night Before Christmas collection 
 Petite Prints 6x6 Gingham and Linen 

 Other Products Used 
 Silhouette Cameo 
 We R Memory Keepers Typewriter 

Friday, November 2, 2018

Christmas Town Layout | with Virginia

Happy November! Hope everyone had a fun Halloween night and that you had a chance to sneak a few treats for yourself too!  Is it too early to ask 'Are you excited for the Christmas and holiday season?'  The Christmas Town collection is certain to have you 'fa la la' in love with all the cute Winter and Christmas themed icons!


For my page, I went with a repeating circle shapes to surround the photos for my page. I used a 1.75 inch circle punch to cut out various cute images from the 12x12 Countdown paper.  The asymmetrical placement of the circles gives contrast to the square gird placement of the photos.
For a little extra lift I curled the edges of the circles up to add a some dimension and interest.

I kept the negative space simple and just added a little texture with some dry embossing of a piece of card stock that matches the page base and added a few sequins for a touch of sparkle.


Thanks for stopping by the blog, hope you are inspired to do some holiday crafting!


Pin It button on image hover