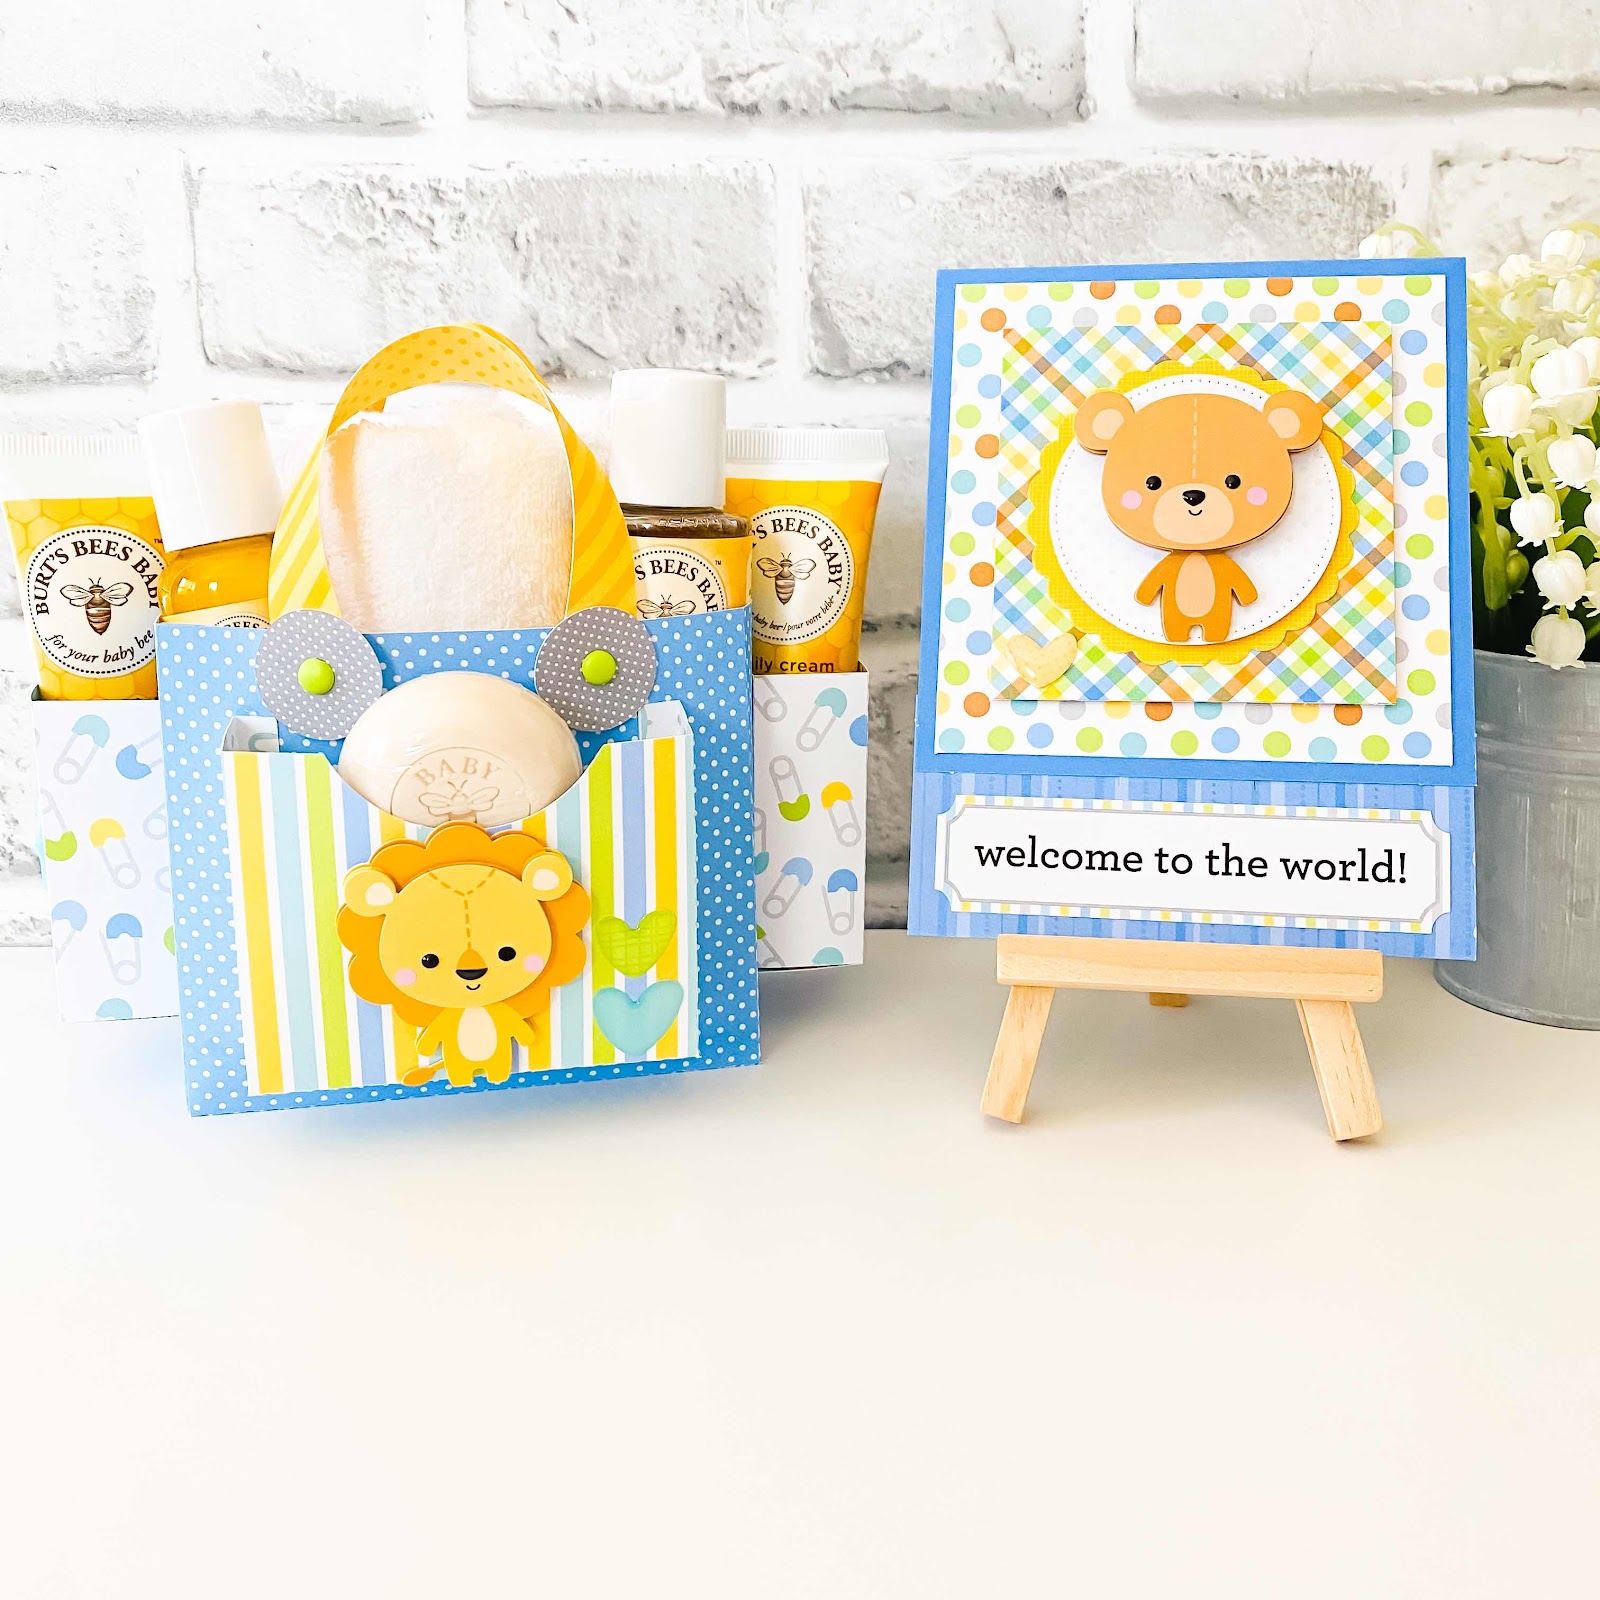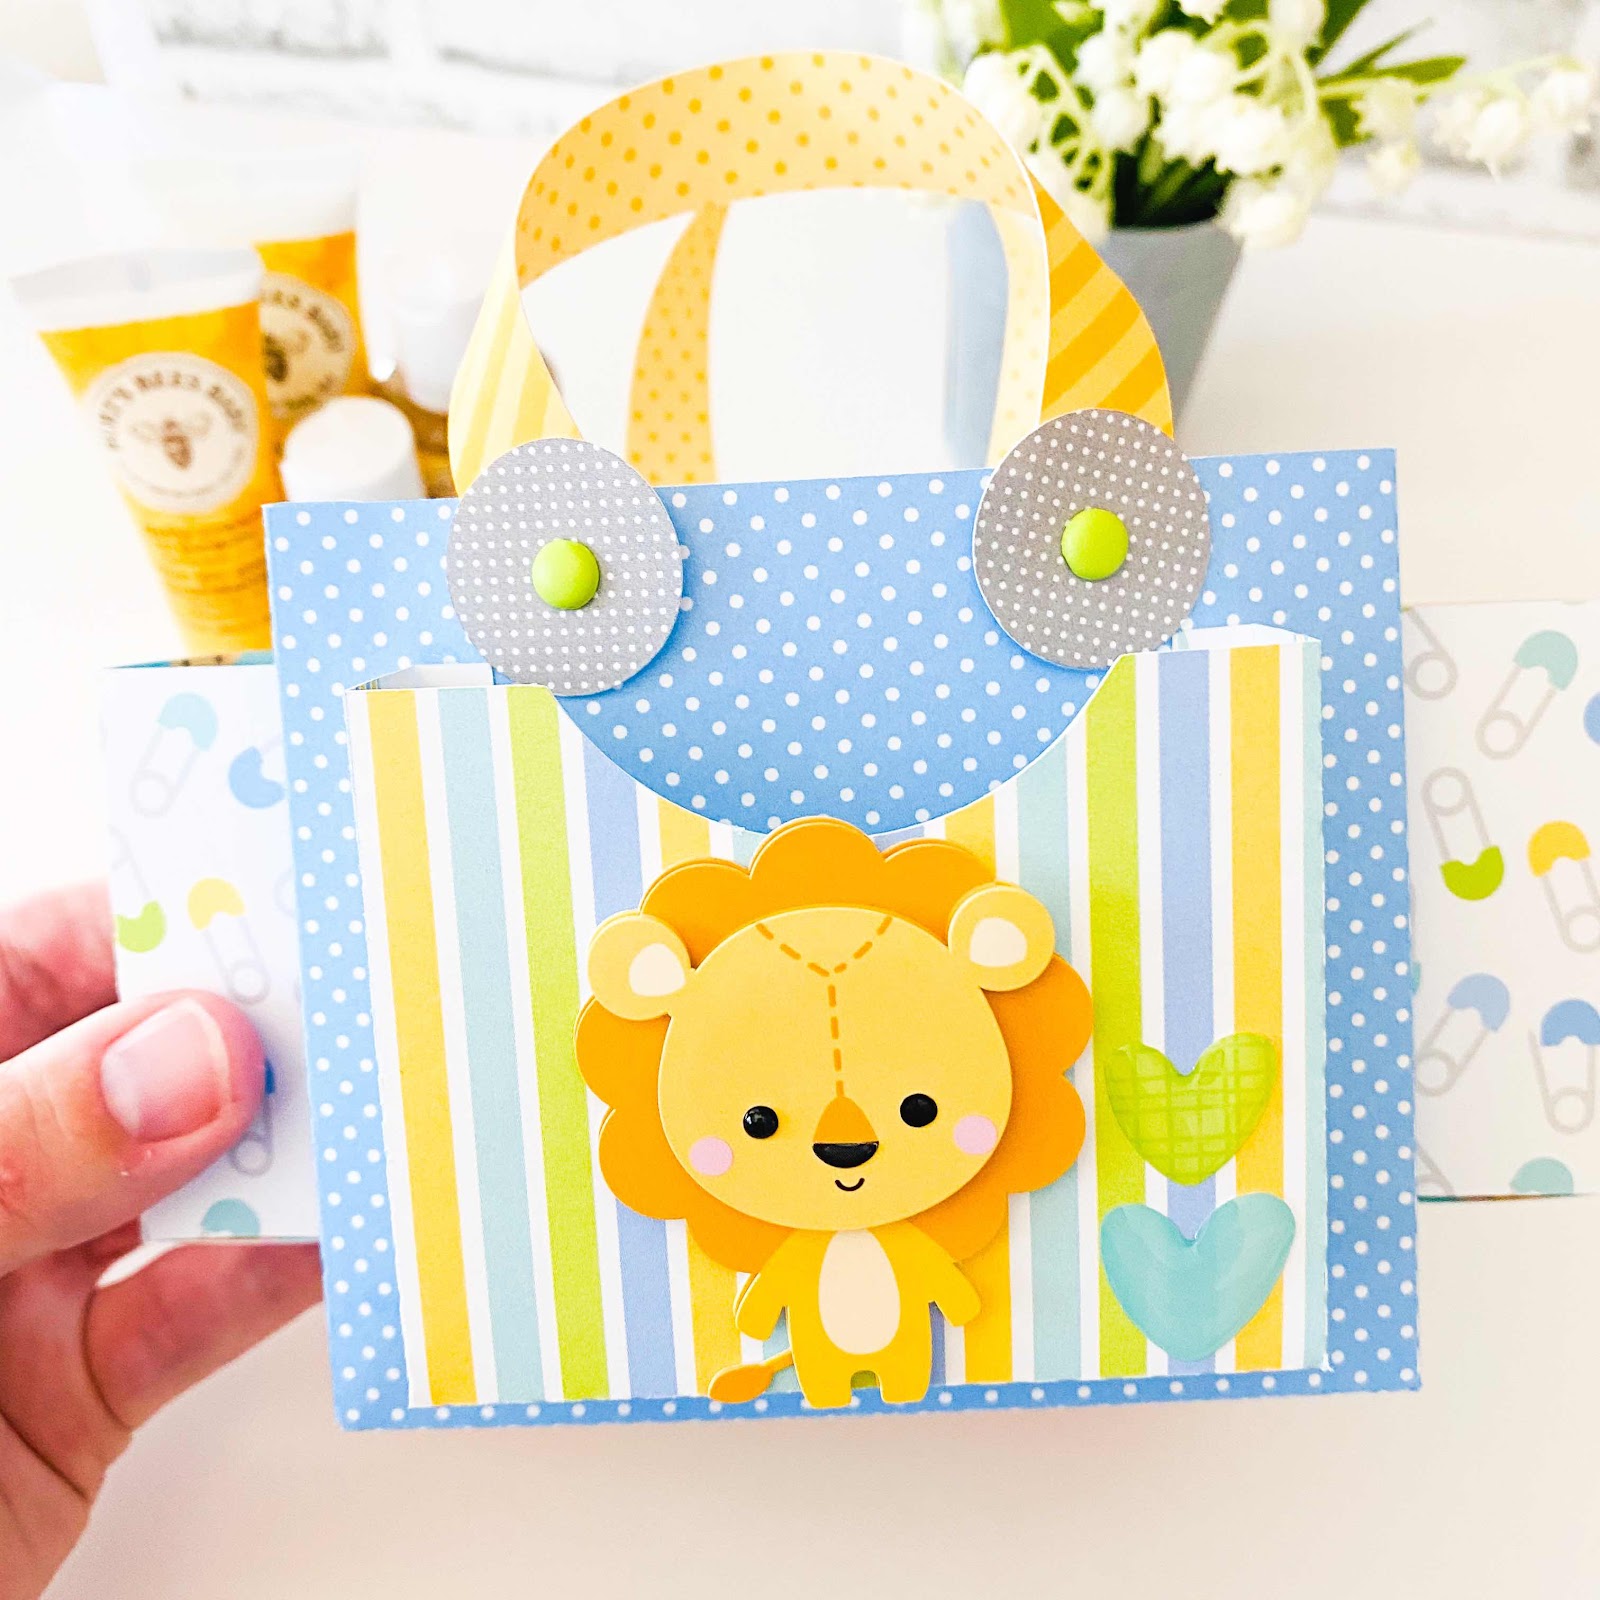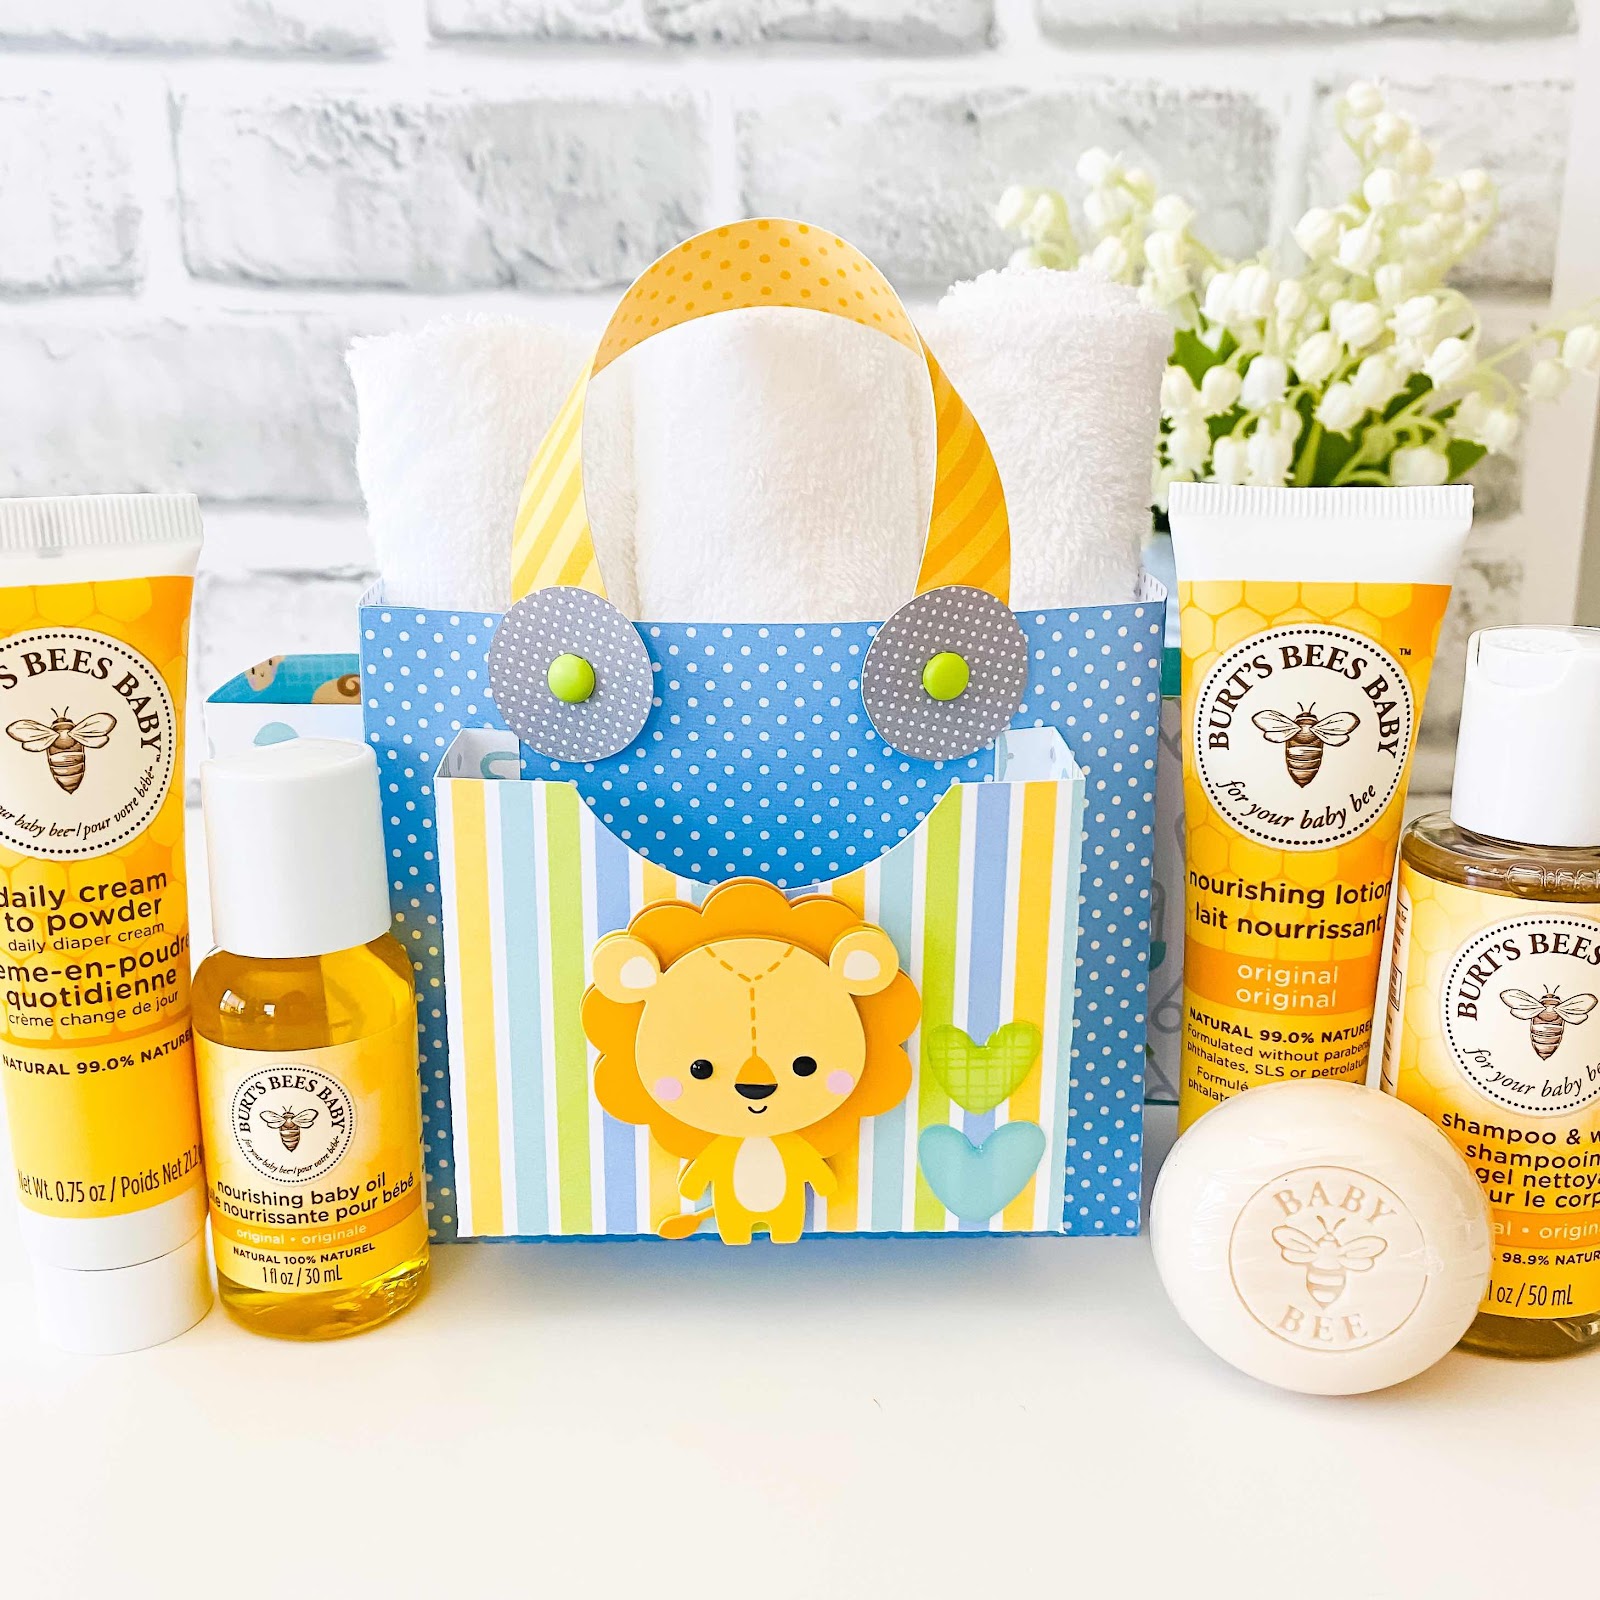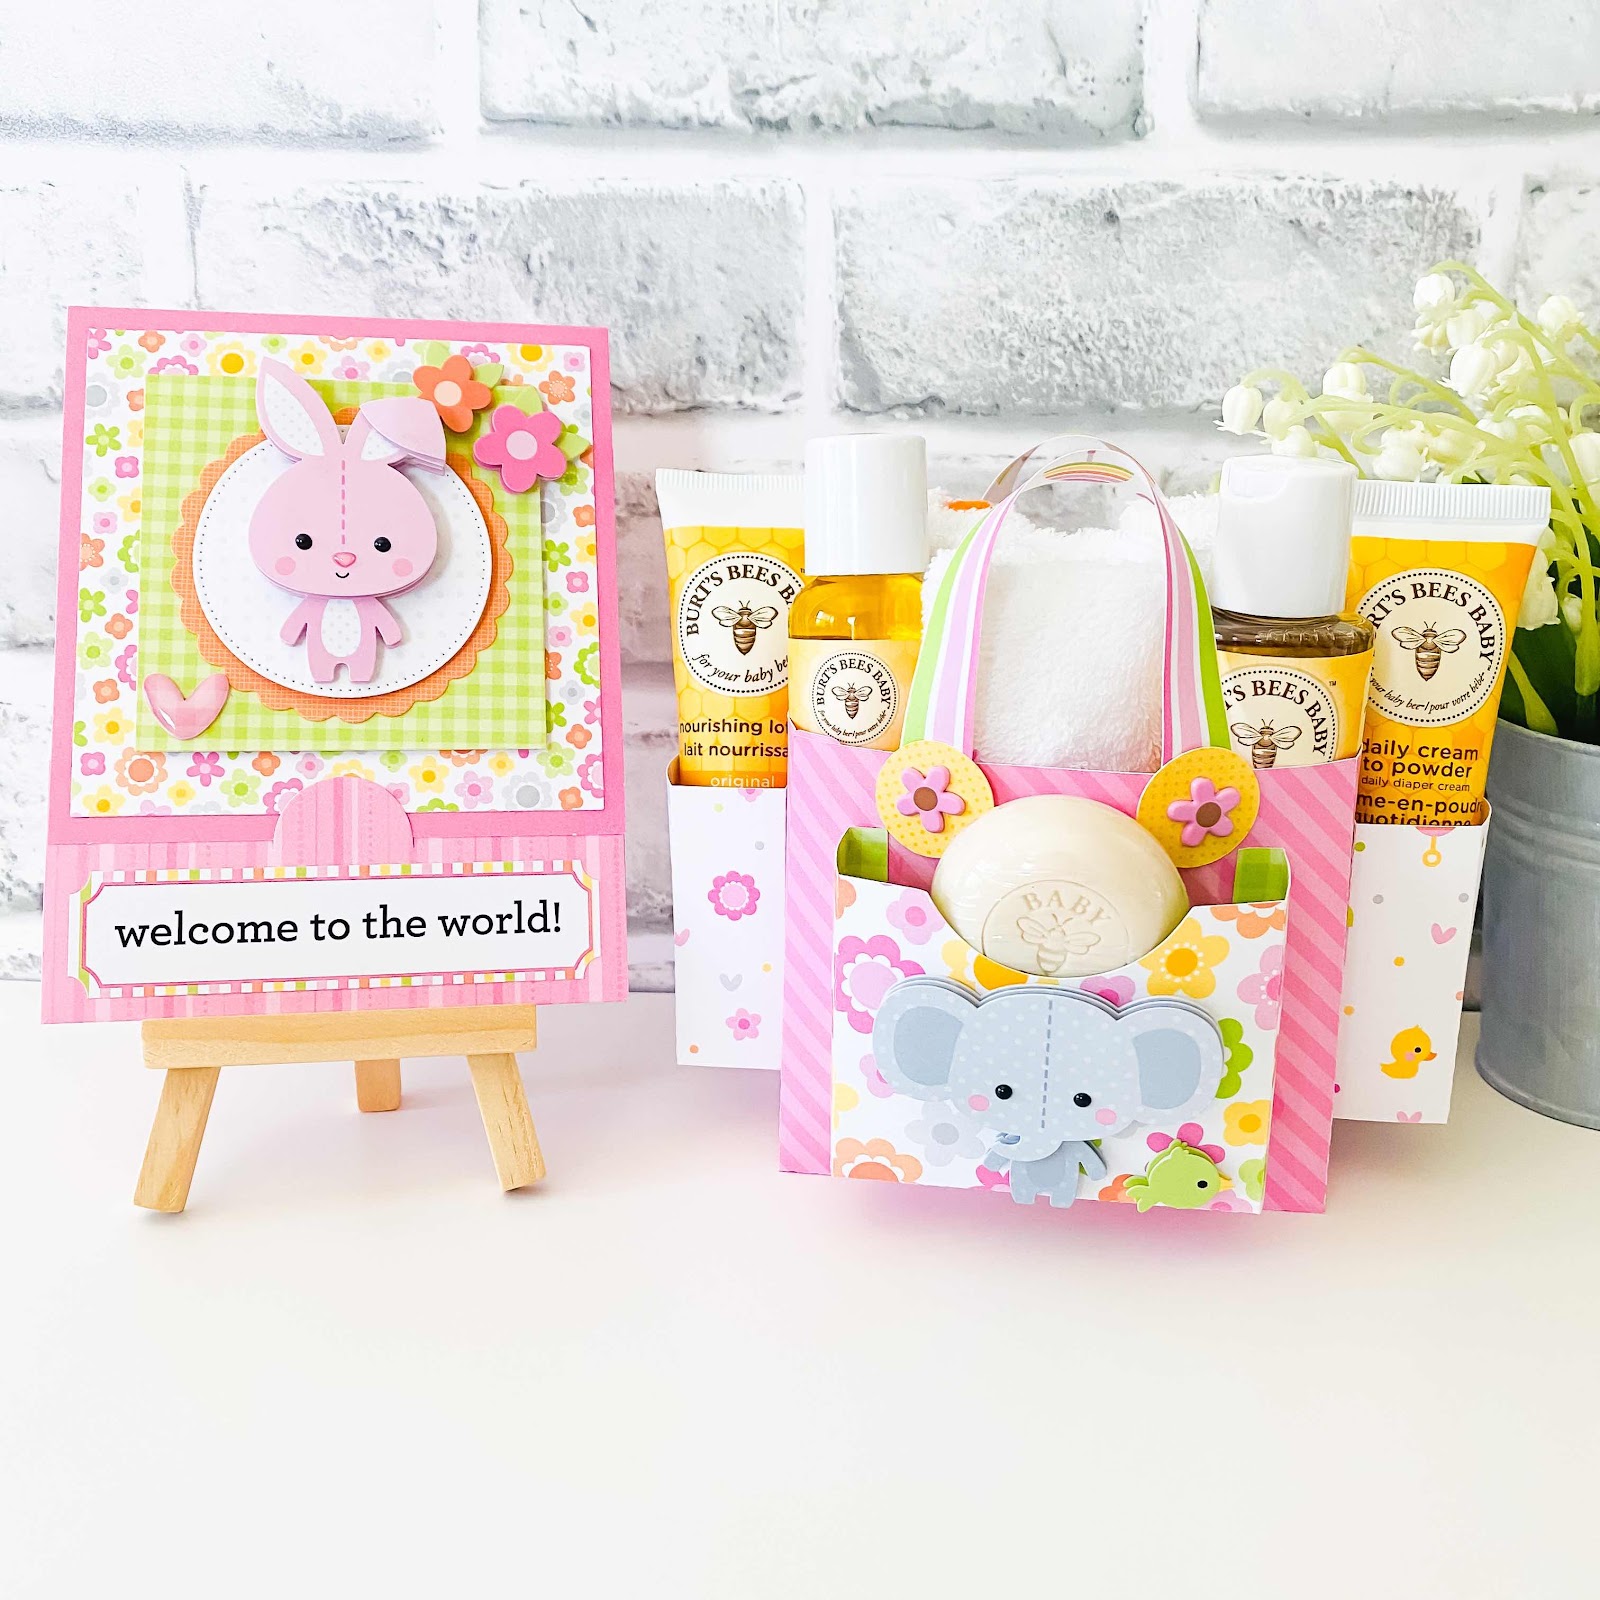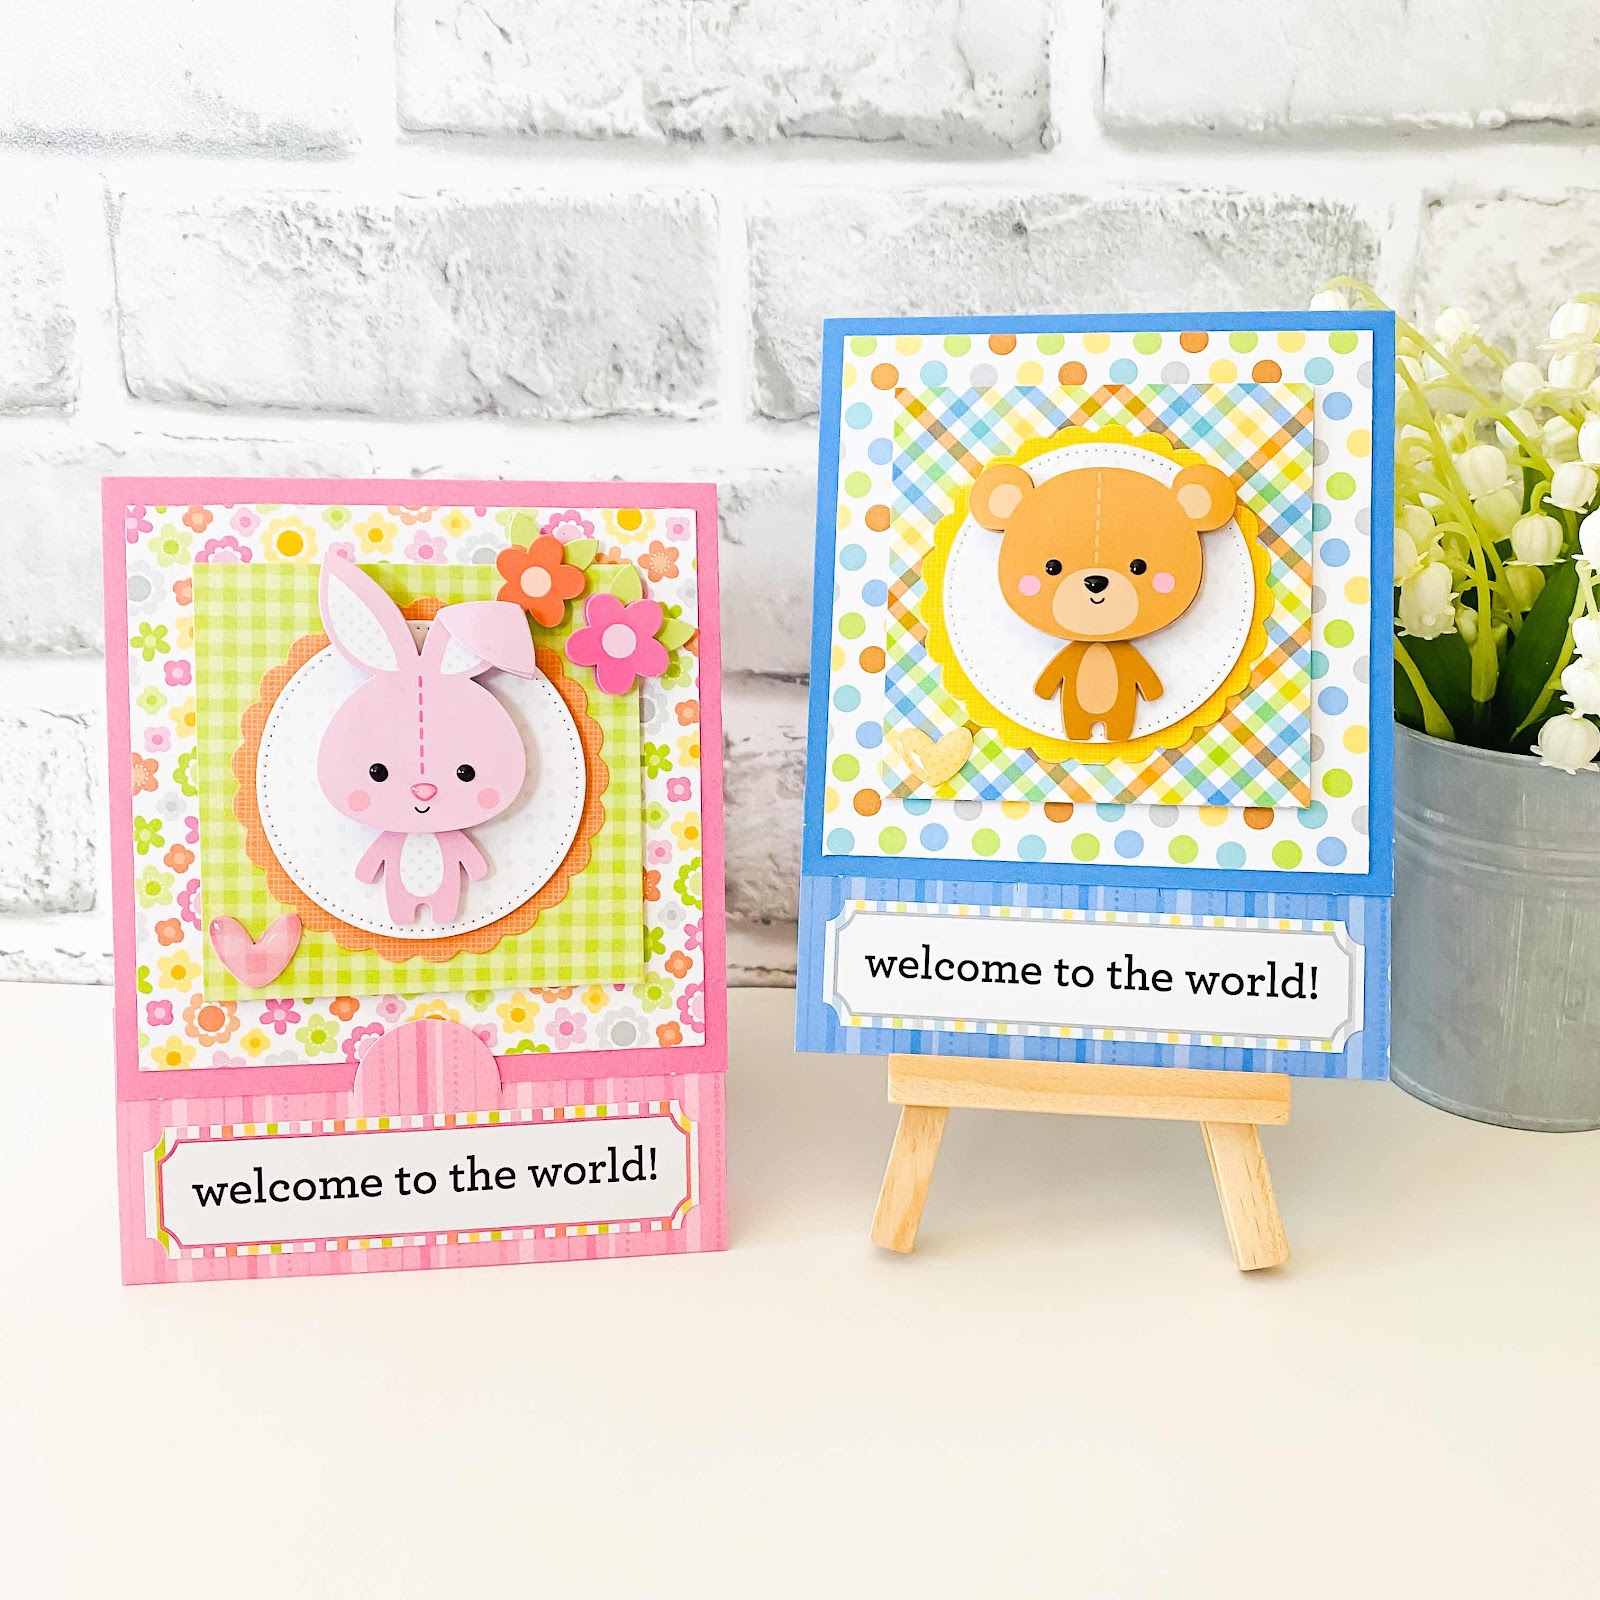
The variety of cute characters in this collection is simply outstanding! And with matching Doodle Cuts to making cutting them out a breeze, pulling together a card for a little person in your life is easy-peasy!

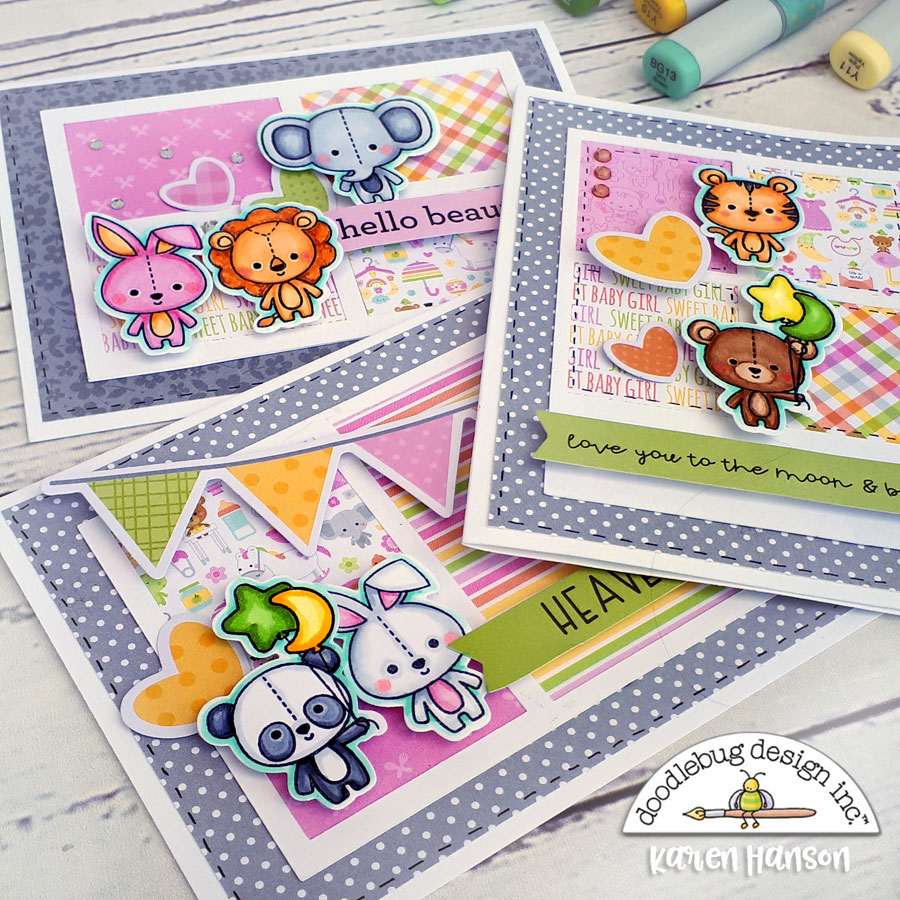
I grabbed some of the Petite Prints in different gray patterns to compliment the papers and patterns I chose from the 6X6 stack...

...coloured up the stamps with some alcohol markers and topped everything off with some of the great shapes from the Chit Chat and Odds & Ends die cut packs that coordinate with the collection. These pieces are perfect for sentiments and to balance out the stamps a bit, adding a bit of extra texture and dimension.

At the end of the day, these little animal friends make great baby and toddler cards, but I also can't wait to use them for some other cute cards in the near future! Stay tuned! Thanks for stopping by!
Doodlebug Design Product:
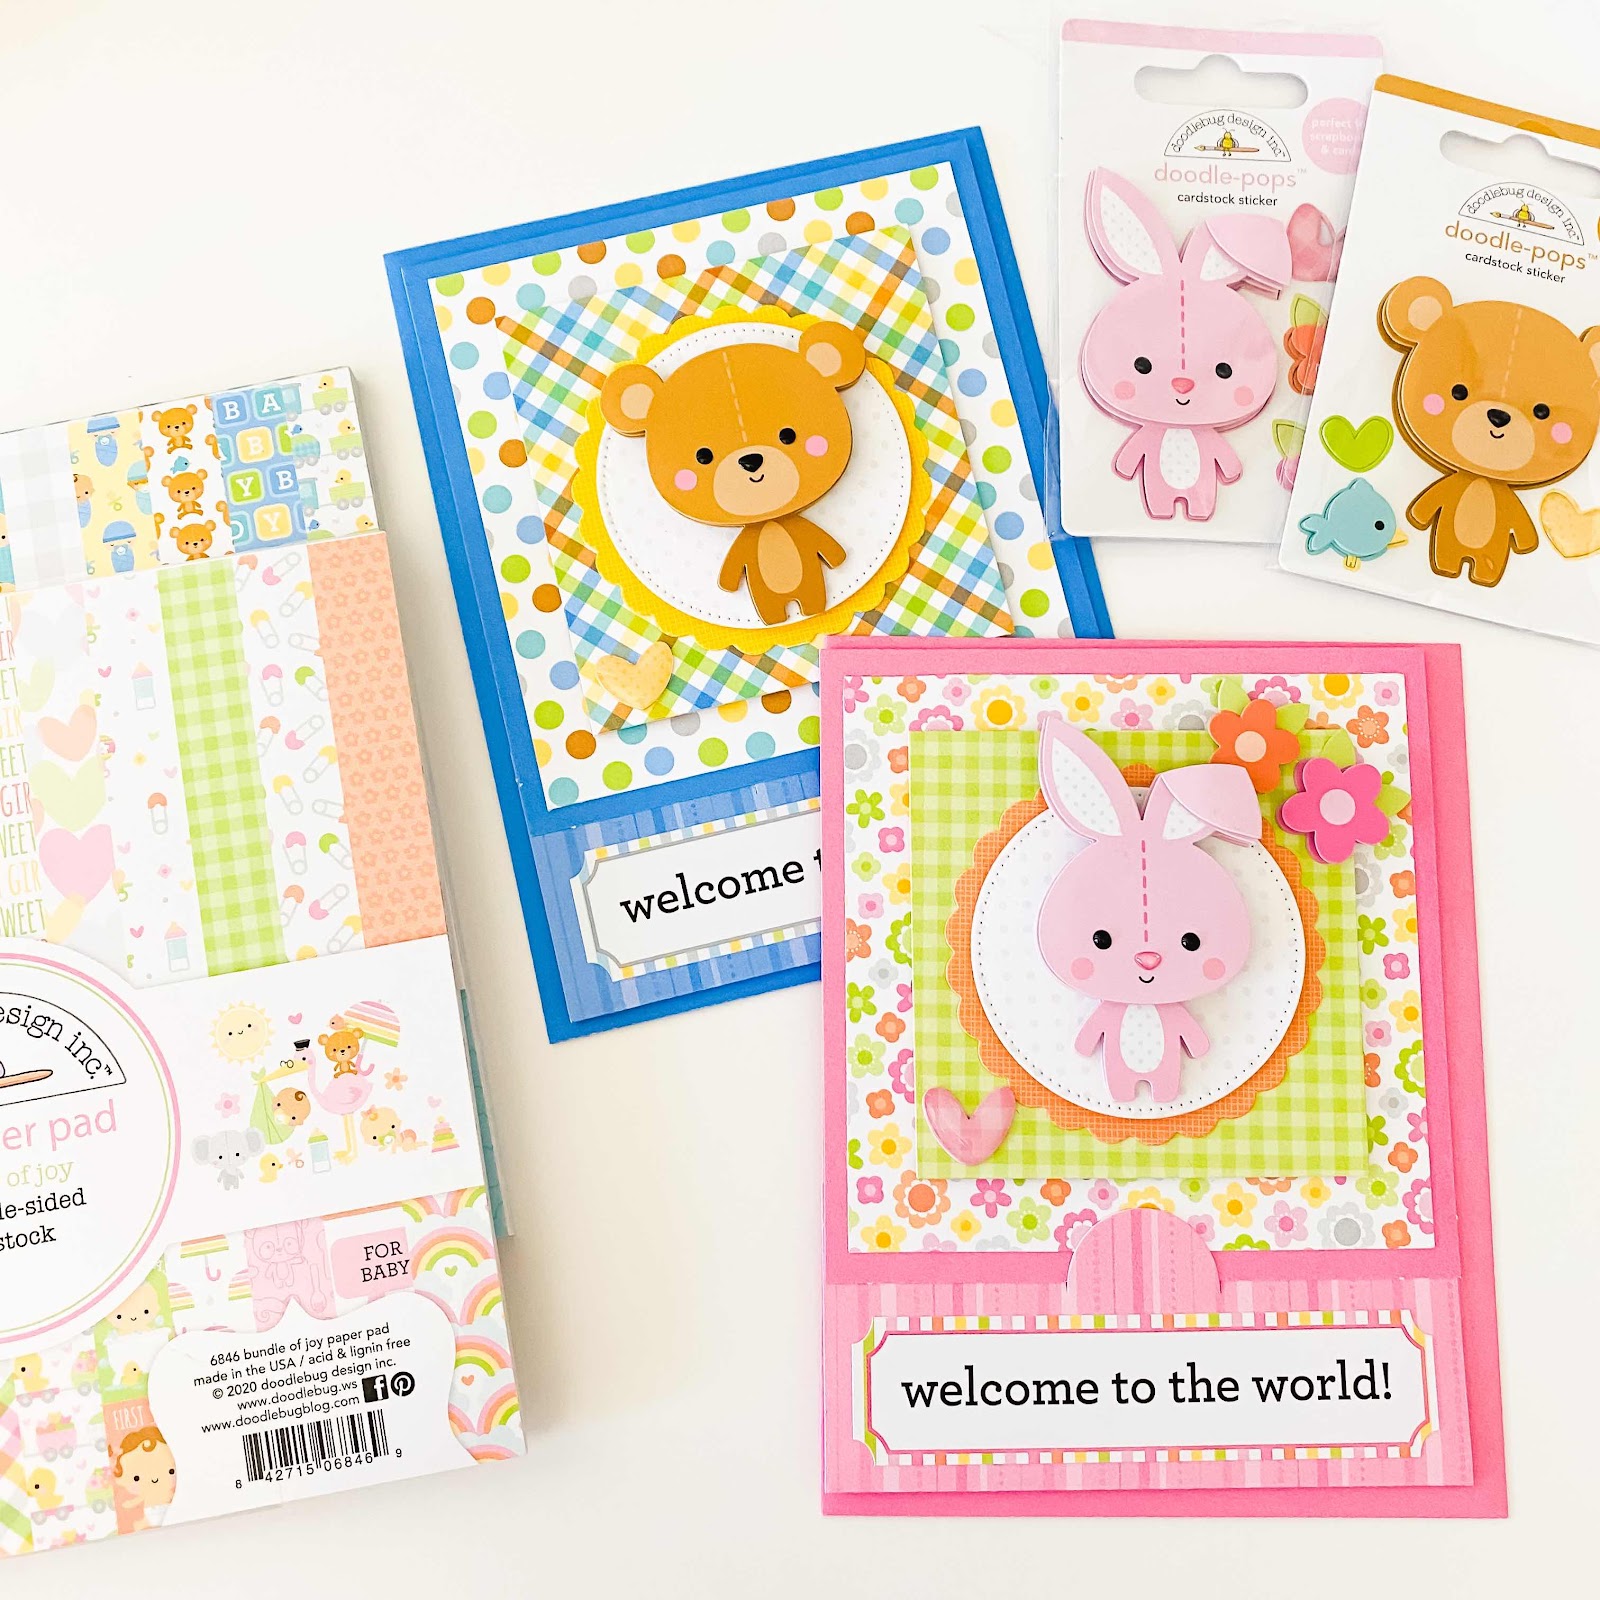
Bundle of Joy Collection
Toy Box Doodle Stamps
Toy Box Doodle Cuts
Nursery Friends Doodle Stamps
Nursery Friends Doodle Cuts
Other Products:
White cardstock
Alcohol markers
Ink