Thursday, December 31, 2020

NIGHT BEFORE CHRISTMAS STAMPED CARDS | with Maryám

Aren't the Doodle Stamps the cutest thing ever?! I was so excited to receive the new wonderful stamps and die sets from the Night Before Christmas Collection in my mail. As soon as I saw them, I knew that I wanted to create some holiday-themed cards for friends and family so I prep my desk, grabbed some paper and started working.

To create my cards I started by stamping some of the images from the Visions of Sugarplums and Night Before Christmas Stamp Set onto white smooth cardstock with an alcohol-friendly black ink. Then, while I was stamping some of the candies from Visions of Sugarplums Stamp Set, I decided that instead of having each image as an individual piece, I would turn them into a pattern instead and that way make my own DIY "pattern paper".


After I finished stamping the images, I first colored the candy pattern I created using some Copic markers. Since there were several images to color in this pattern, the whole panel took me a few hours to complete but was worth every second because I had lots of fun! Once the coloring was done, I added some glossy accents in some of the candies to make them look more realistic. Following up, I trimmed the panel at 4" x 5 1/4" inches, mounted it onto an A2-size top folding card, added a sentiment, and the card was done!


For my second card, I colored three more images- a gingerbread house and two trees- again, using some Copic markers and also added some glossy accents in some areas for extra detail. Next, I created a nice Christmas scene with the colored images and added some pattern paper from the Night Before Christmas 6 x 6 Paper Pad, a sentiment, and some sequins and sprinkles to finish it all up.


Now for the last card, I decided to try a different approach and create a super fun shaker card. To create my window shaker I used the Nesting Scallops Doodle Cuts and backed it up with an acetate piece. I then grabbed some Sugar Coating Glitter and some Sequins and filled the window with a mix of them. Last but not least, for the sentiment, I went with the classic "Merry Christmas" and finished up the card by adding some sequins, mini jewels, and sprinkles.


That is it for today. I hope you guys enjoyed this post and liked the ideas I shared. If you have any questions just leave a comment below or send me an email. I'll be happy to help you

Have a great day!


Doodlebug Products Used: 
Night Before Christmas Collection
Borders & Edges - Doodle Cuts
Nesting Scallops - Doodle Cuts
Sugar Coating Glitter
Sequins - Rainbow Assortment

Other Products Used:
White Smooth Cardstock
Black Smooth Cardstock
Embossing Ink and Embossing Powders
Alcohol Friendly Black Ink
Copic Markers
Acetate Sheet
Manual Die-Cutting Machine
Foam Adhesive & Liquid Adhesive

Wednesday, December 30, 2020

NIGHT BEFORE CHRISTMAS STAMPED CARDS & TAG | with Stephanie

Hello friends, it’s still December so I’m still Christmas crafting! Today I thought I would practice my coloring on some cute Doodlebug stamped images from Night Before Christmas.  I created two simple cards and a tag pictured below.   

 
For each card I started with a kraft cardstock base cut to regular A2 size.  I wanted some of the kraft color to be visible so I layered two pieces of pattern paper together so there was about a quarter inch of kraft showing on the top and bottom of the card.  The red dot layer was cut to a height of 3 1/2 and width of 5 1/2 inches. The red and white striped layer is 2 1/4 by 5 1/2 inches. The thin strip in the middle is a border cut out piece from the 6x6 paper pad. I die cut a scalloped stitched rectangle for my scene and blended some blue distress inks onto white cardstock for the background. I used a white shimmer spray on my ink background, though it’s hard to see the shimmer in the photo.  I popped the scene layer and my images up on foam squares. I colored my santa and reindeer images with copic markers and then die cut them with the coordinating Doodle Cuts. I added glitter to the trim and pom of Santa's hat. I die cut a small white banner and stamped the Happy Holidays sentiment and adhered it above the scene. 


For the tag, I die cut a scalloped stitched circle tag out of white cardstock and ink blended the same blue distress inks for the background.  I cut a small strip of white glitter cardstock to create snow at the bottom of the scene. I colored and cut out a Christmas tree and two presents and adhered those with foam squares. I added glitter to my ornaments. I die cut and stamped my banner sentiment and tied it to the tag with ladybug doodle twine.  
 
 
The second card is the same style and pattern as the first with a gingerbread theme. These images are from the Visions of Sugarplums set.  Such a cute little gingerbread house! For this scene I added chunky glitter to the chimney, rooftop and steps for a snowy feel and some glossy accents to the windows and some of the candy on the house.  


That does it for my project today. The stamped images are all a great size to create small scenes especially for someone (like me) who is a little intimidated by all the amazing coloring artists out there. It was fun watching these adorable images come to life using my markers. Thanks for stopping by today! 


  Doodlebug Products Used:
Night Before Christmas Collection
 6x6 Paper Pack
Glitter Shape Sprinkles
Night Before Christmas & Visions of Sugarplums Stamps and Doodle Cuts
  
  Other Products Used: 
White and Kraft Cardstock
White and Chunky Glitter
Glossy Accents & White Shimmer Mist
Copic Markers
Liquid Adhesive & Foam Squares 
Scallop Stitched Rectangle and Circle Tag Dies
 

Tuesday, December 29, 2020

MADE WITH LOVE WINNERS!

Thank you to each and every one of you who took the time to enter our Made with Love Giveaway and for all the fabulous comments!  We appreciate your sweet words!  

We would like to congratulate our winners...

Would the winners please send your mailing information to Tonya@doodlebug.ws.  Thank you!

NIGHT BEFORE CHRISTMAS PLAY WITH ME LAYOUT | with Traci

Hi Doodlebug friends!  I hope everyone had a wonderful holiday.  I had a great time with my family, and especially enjoyed playing with this sweet girl!  Since she was old enough to talk, she has always said, "Play with me Nini!" and I can't say no.  So this pretty picture, and those adorable toy die cuts, inspired this layout.


I started by layering two sheets of swimming pool and lilywhite dot/stripe petite prints for my base.  I added layers of pattern paper from the Night Before Christmas collection, and used Sunshine alpha stickers for my title.


For embellishments, I used some of the cute toys from the Night Before Christmas Odds & Ends, and that little blonde doll is actually a sticker from the mini icons.  I also love the DoodlePop birds and heart sprinkles so they made an appearance on my page too!


Even though these papers and die cuts are from Night Before Christmas, it's not a Christmas layout and I love how it turned out.  It's fun to challenge yourself to use supplies you have on hand for other themes or occasions.  Challenge accepted?  I'd love to see your projects so please tag @doodlebugdesign and @artsyalbums to share!  Happy scrapping!!


DOODLEBUG PRODUCTS USED
Night Before Christmas Collection

Monday, December 28, 2020

NIGHT BEFORE CHRISTMAS REINDEER KISSES | with Kathy

Have you ever wondered what Santa's reindeer do off season?  Being in quarantine I've had a lot of time to think about this question. (Maybe a little too much time? lol)  My answer came in the form of a fun little 3D card.  Take a peek...

My guess is that he's getting ready for Valentine's day by manning the North Pole's kissing booth!  I always love finding ways to use seasonal collections like the Night Before Christmas off season projects.  It's a great way to challenge yourself.  To make the card I altered this file from Lori Whitlock.  I added the kissing booth, and lots of goodies from the Night before Christmas Odds & Ends, including a little heart banner.


I love how you can use this type of card for seasonal décor as well.  The card folds flat to fit in an envelope to send to my favorite valentine!

If you have found fun new ways to use your seasonal Doodlebug Collections, be sure to tag us on Facebook and Instagram!  We love to see your creations.  That's it for me today, thanks for stopping by to peek!


DOODLEBUG PRODUCTS USED
Night Before Christmas Collection
Buffalo Check - Woodgrain Petite Prints
Doodle Twine

OTHER
Silhouette Cameo
Printer

Thursday, December 24, 2020

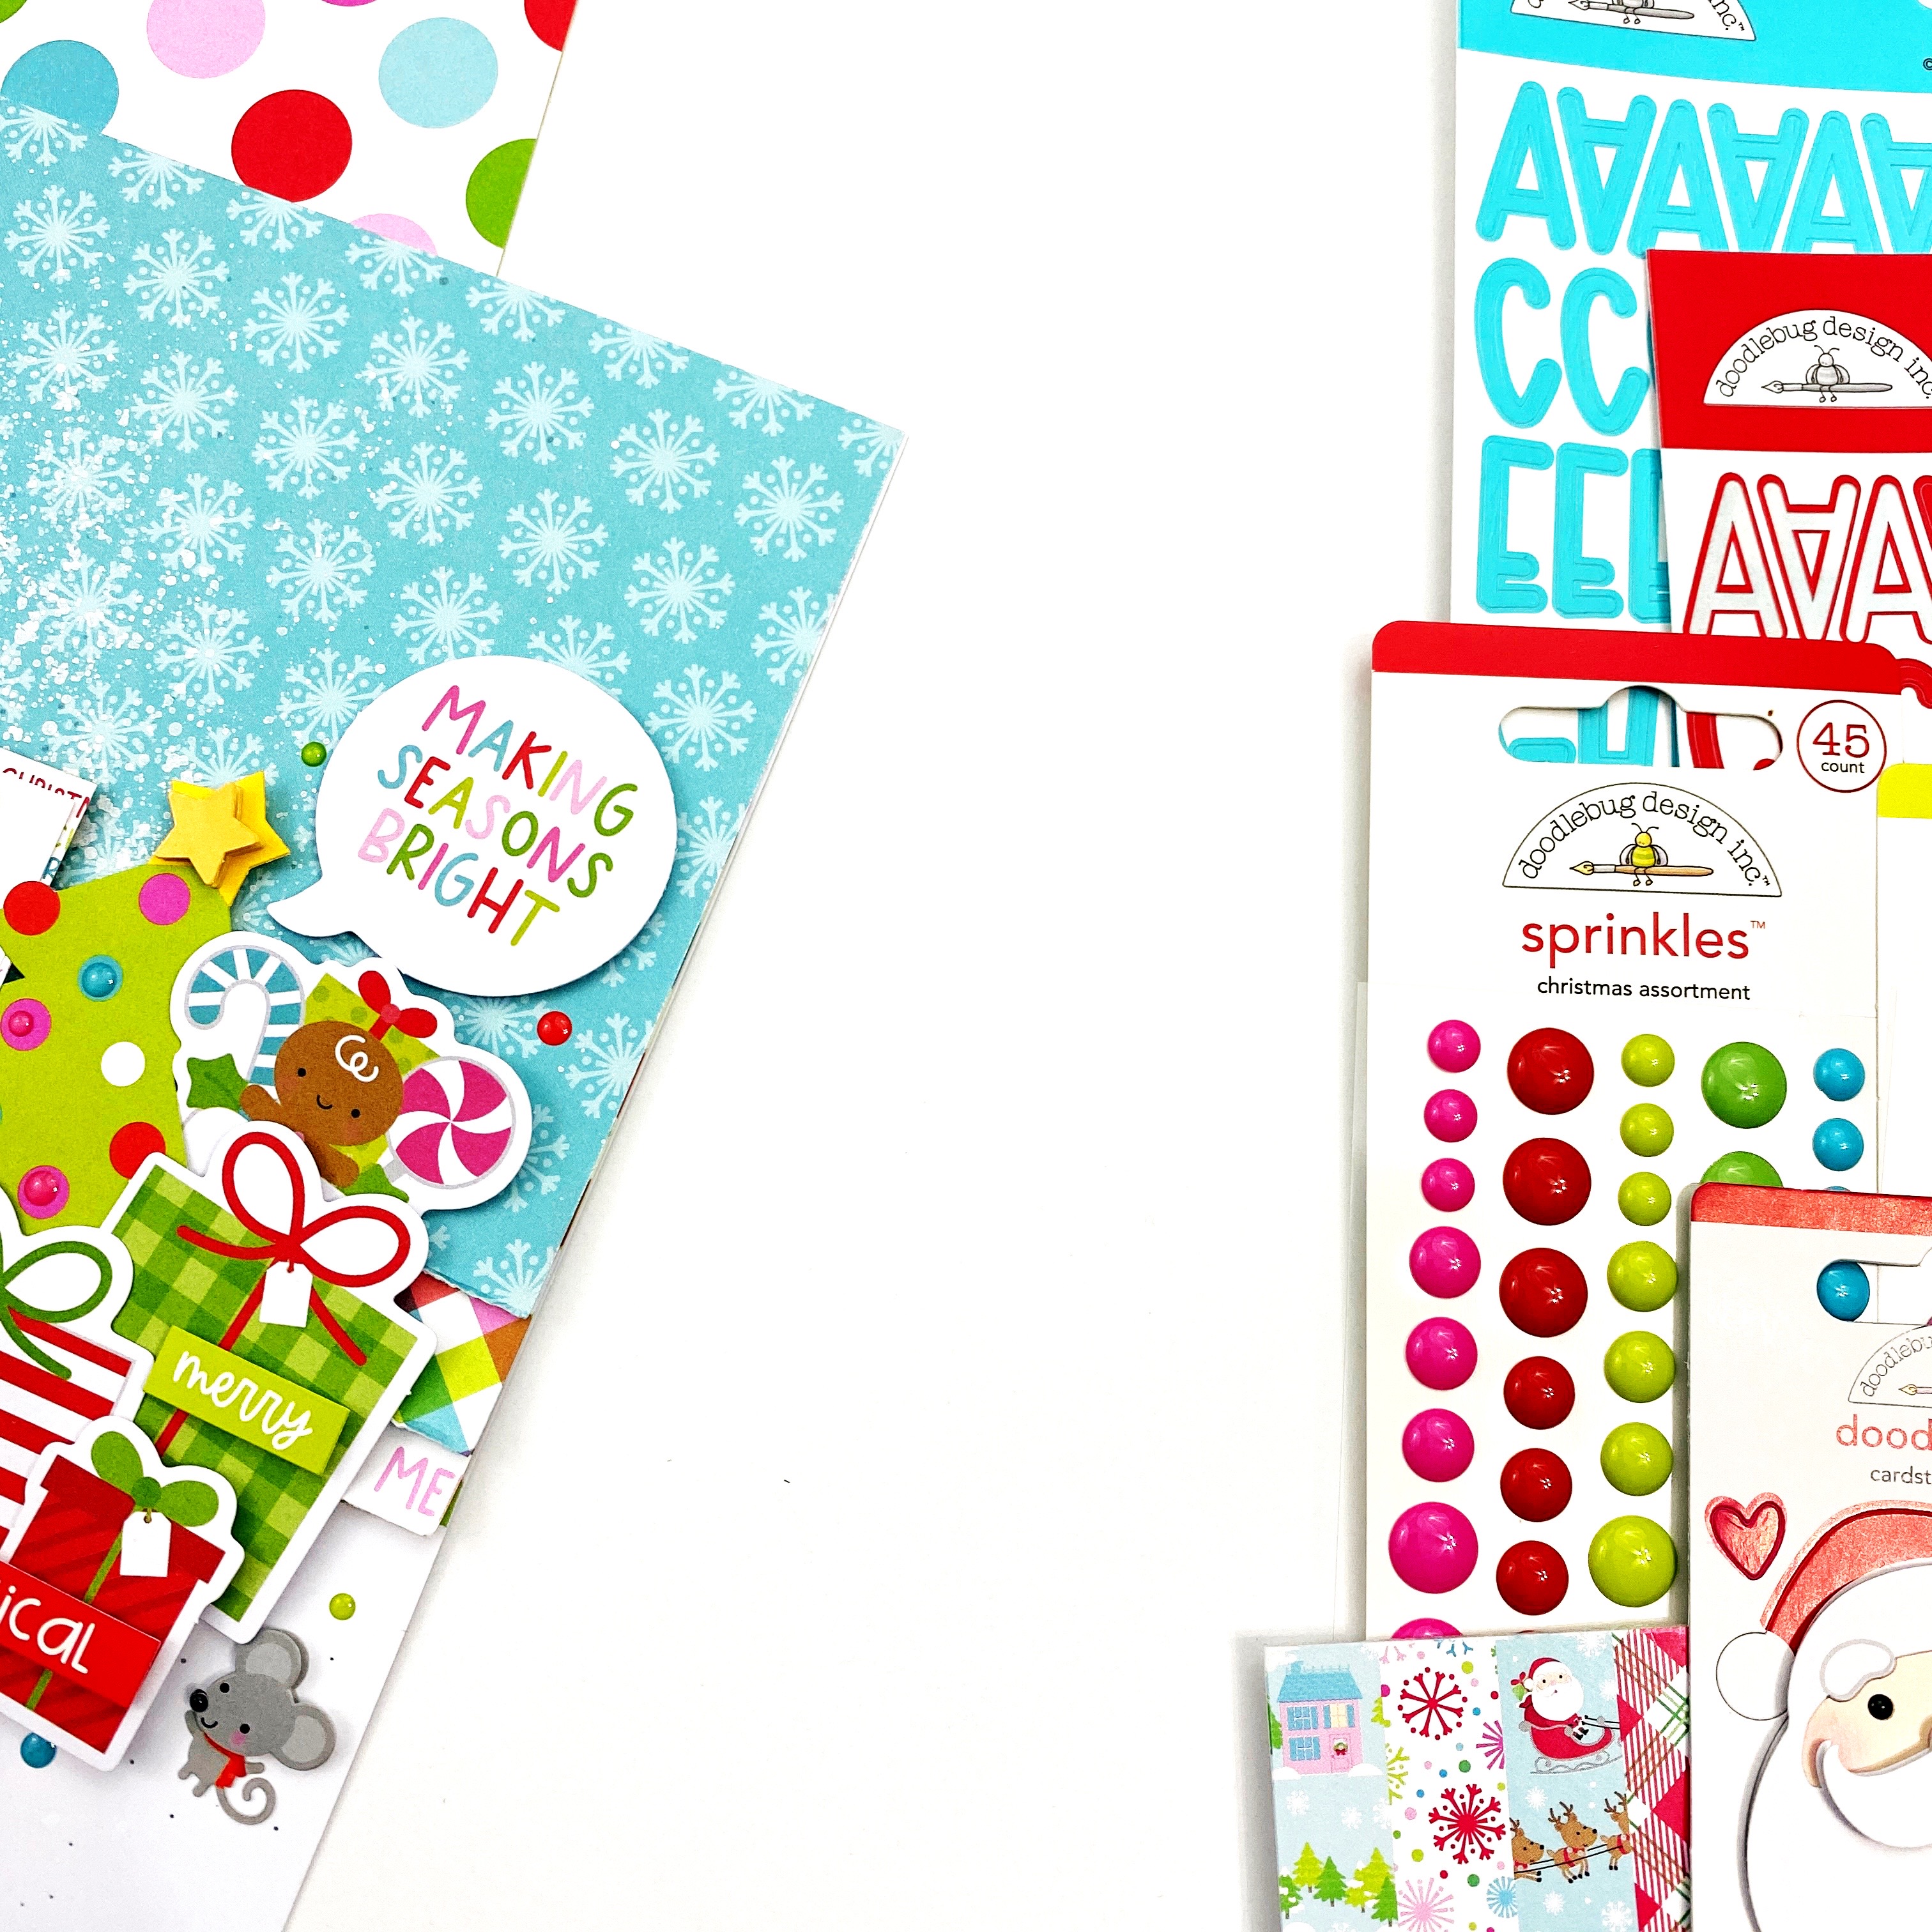
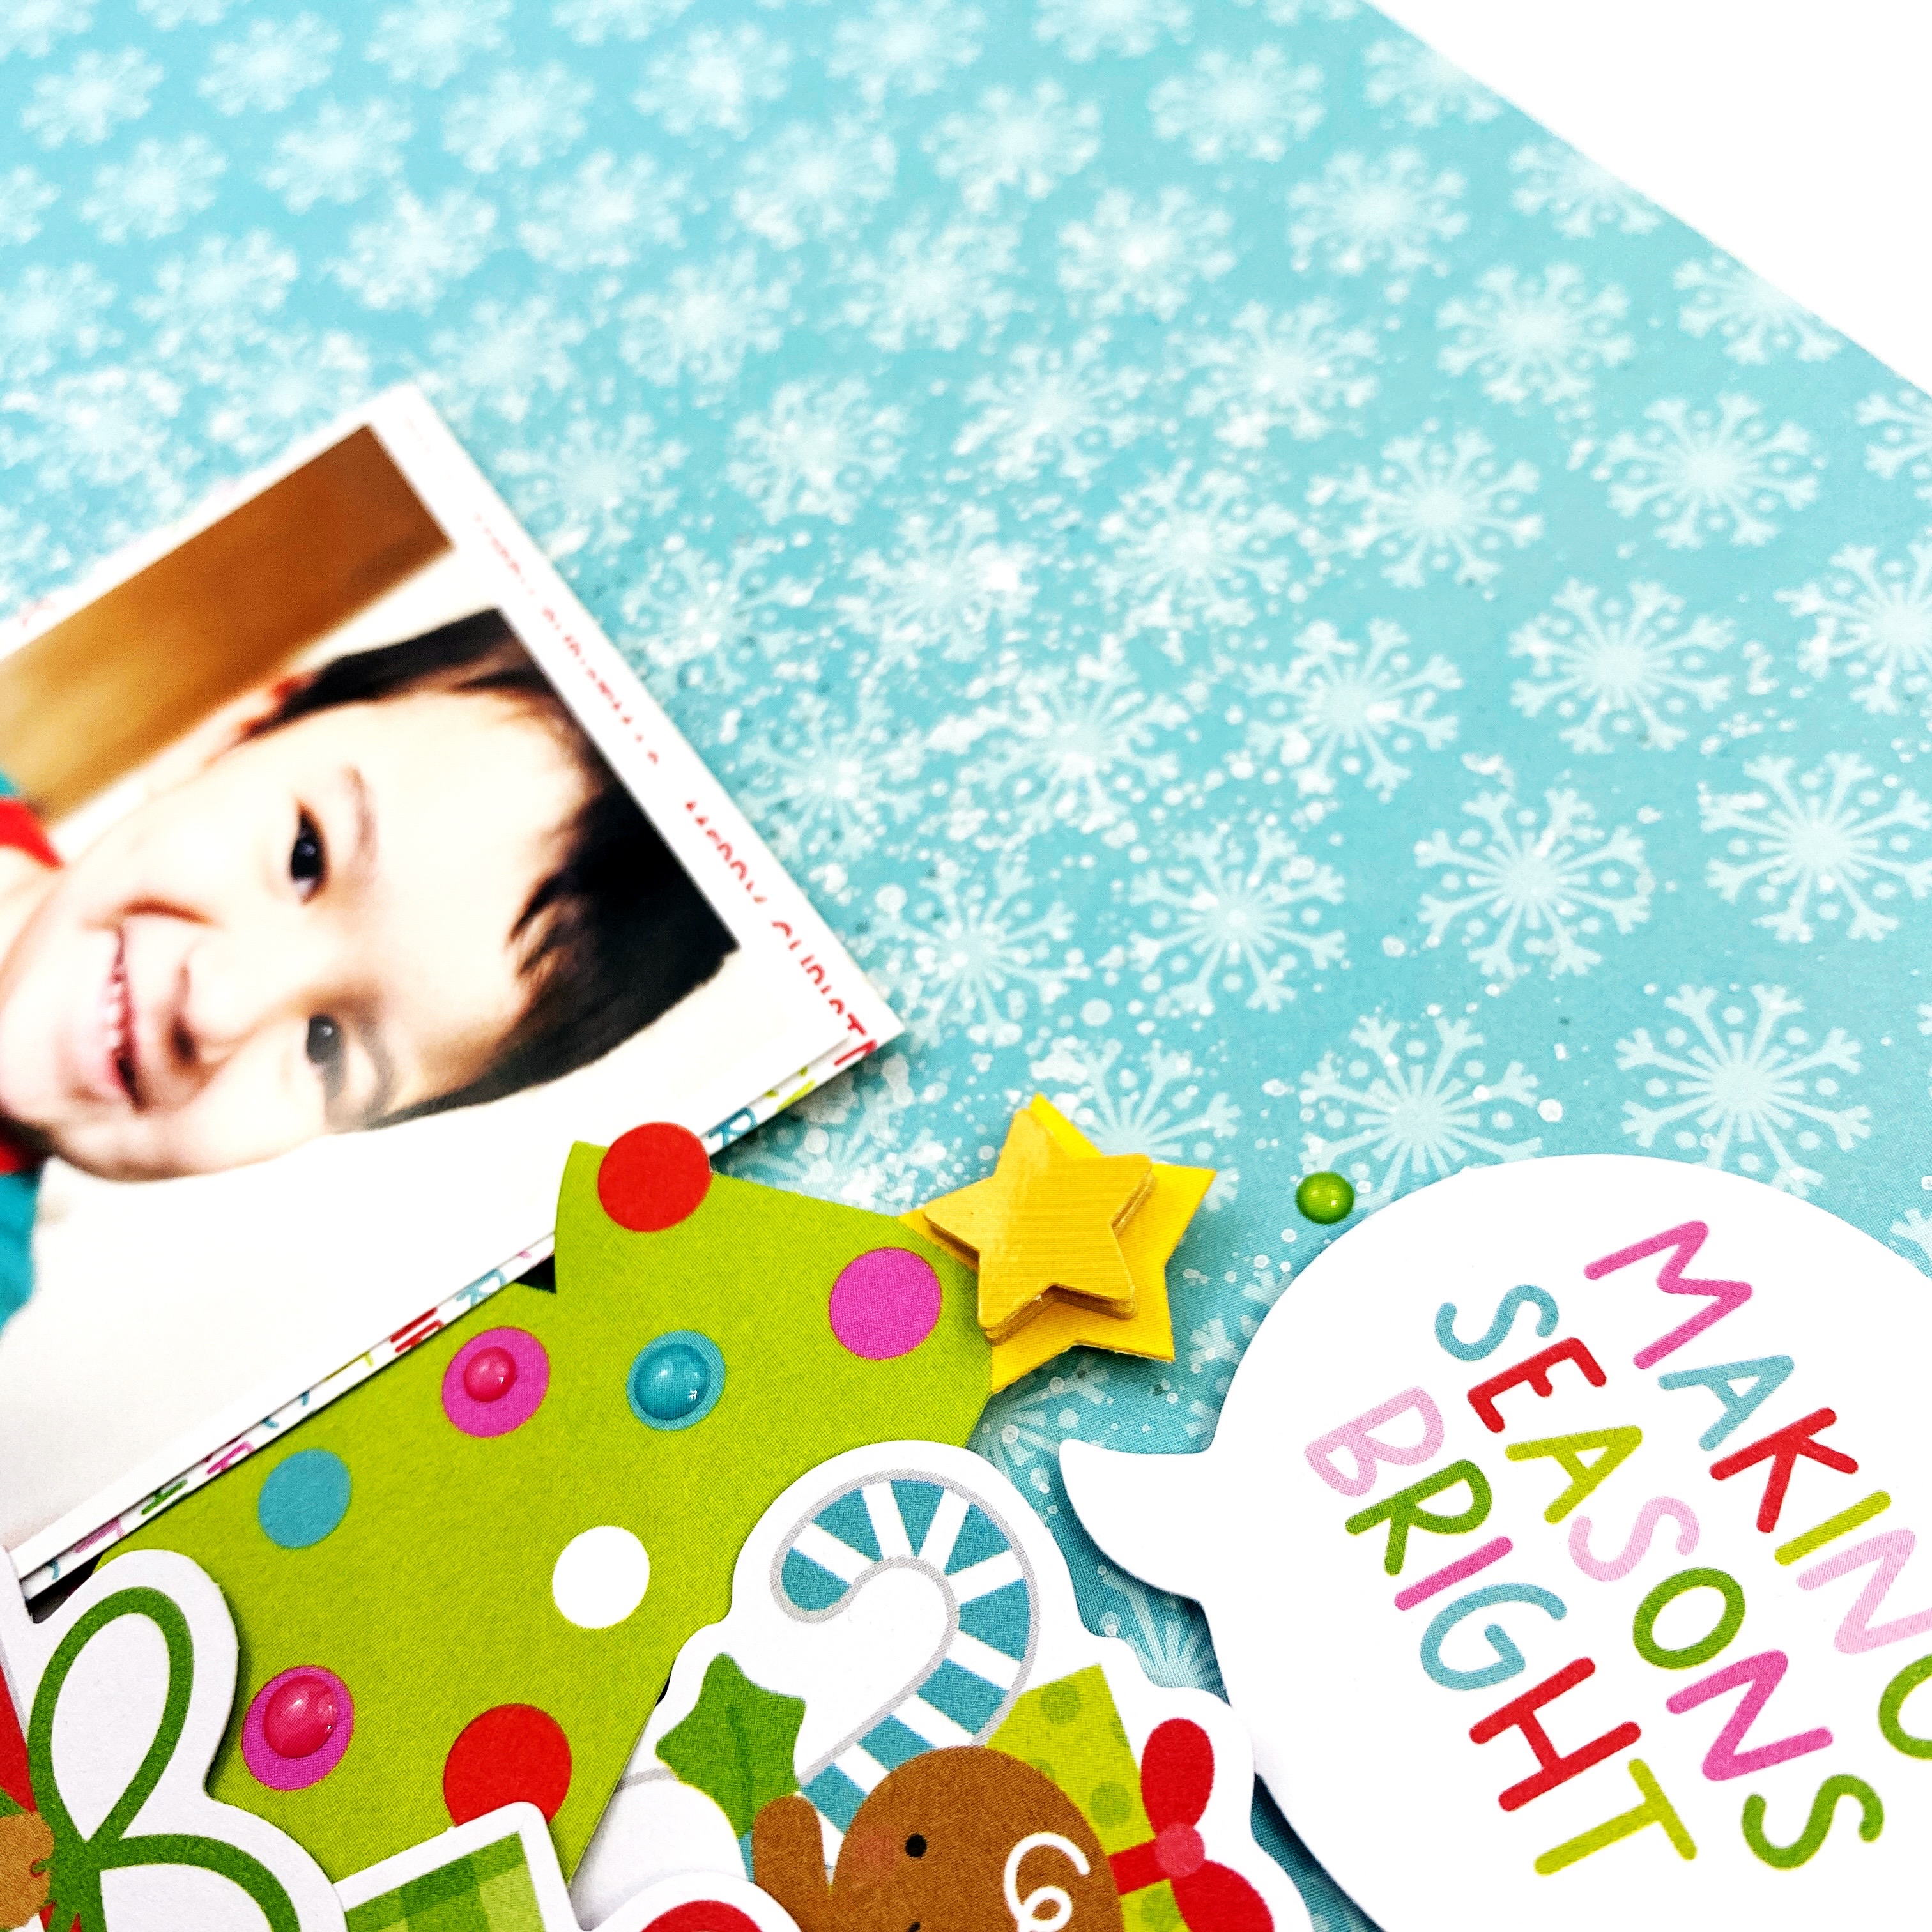
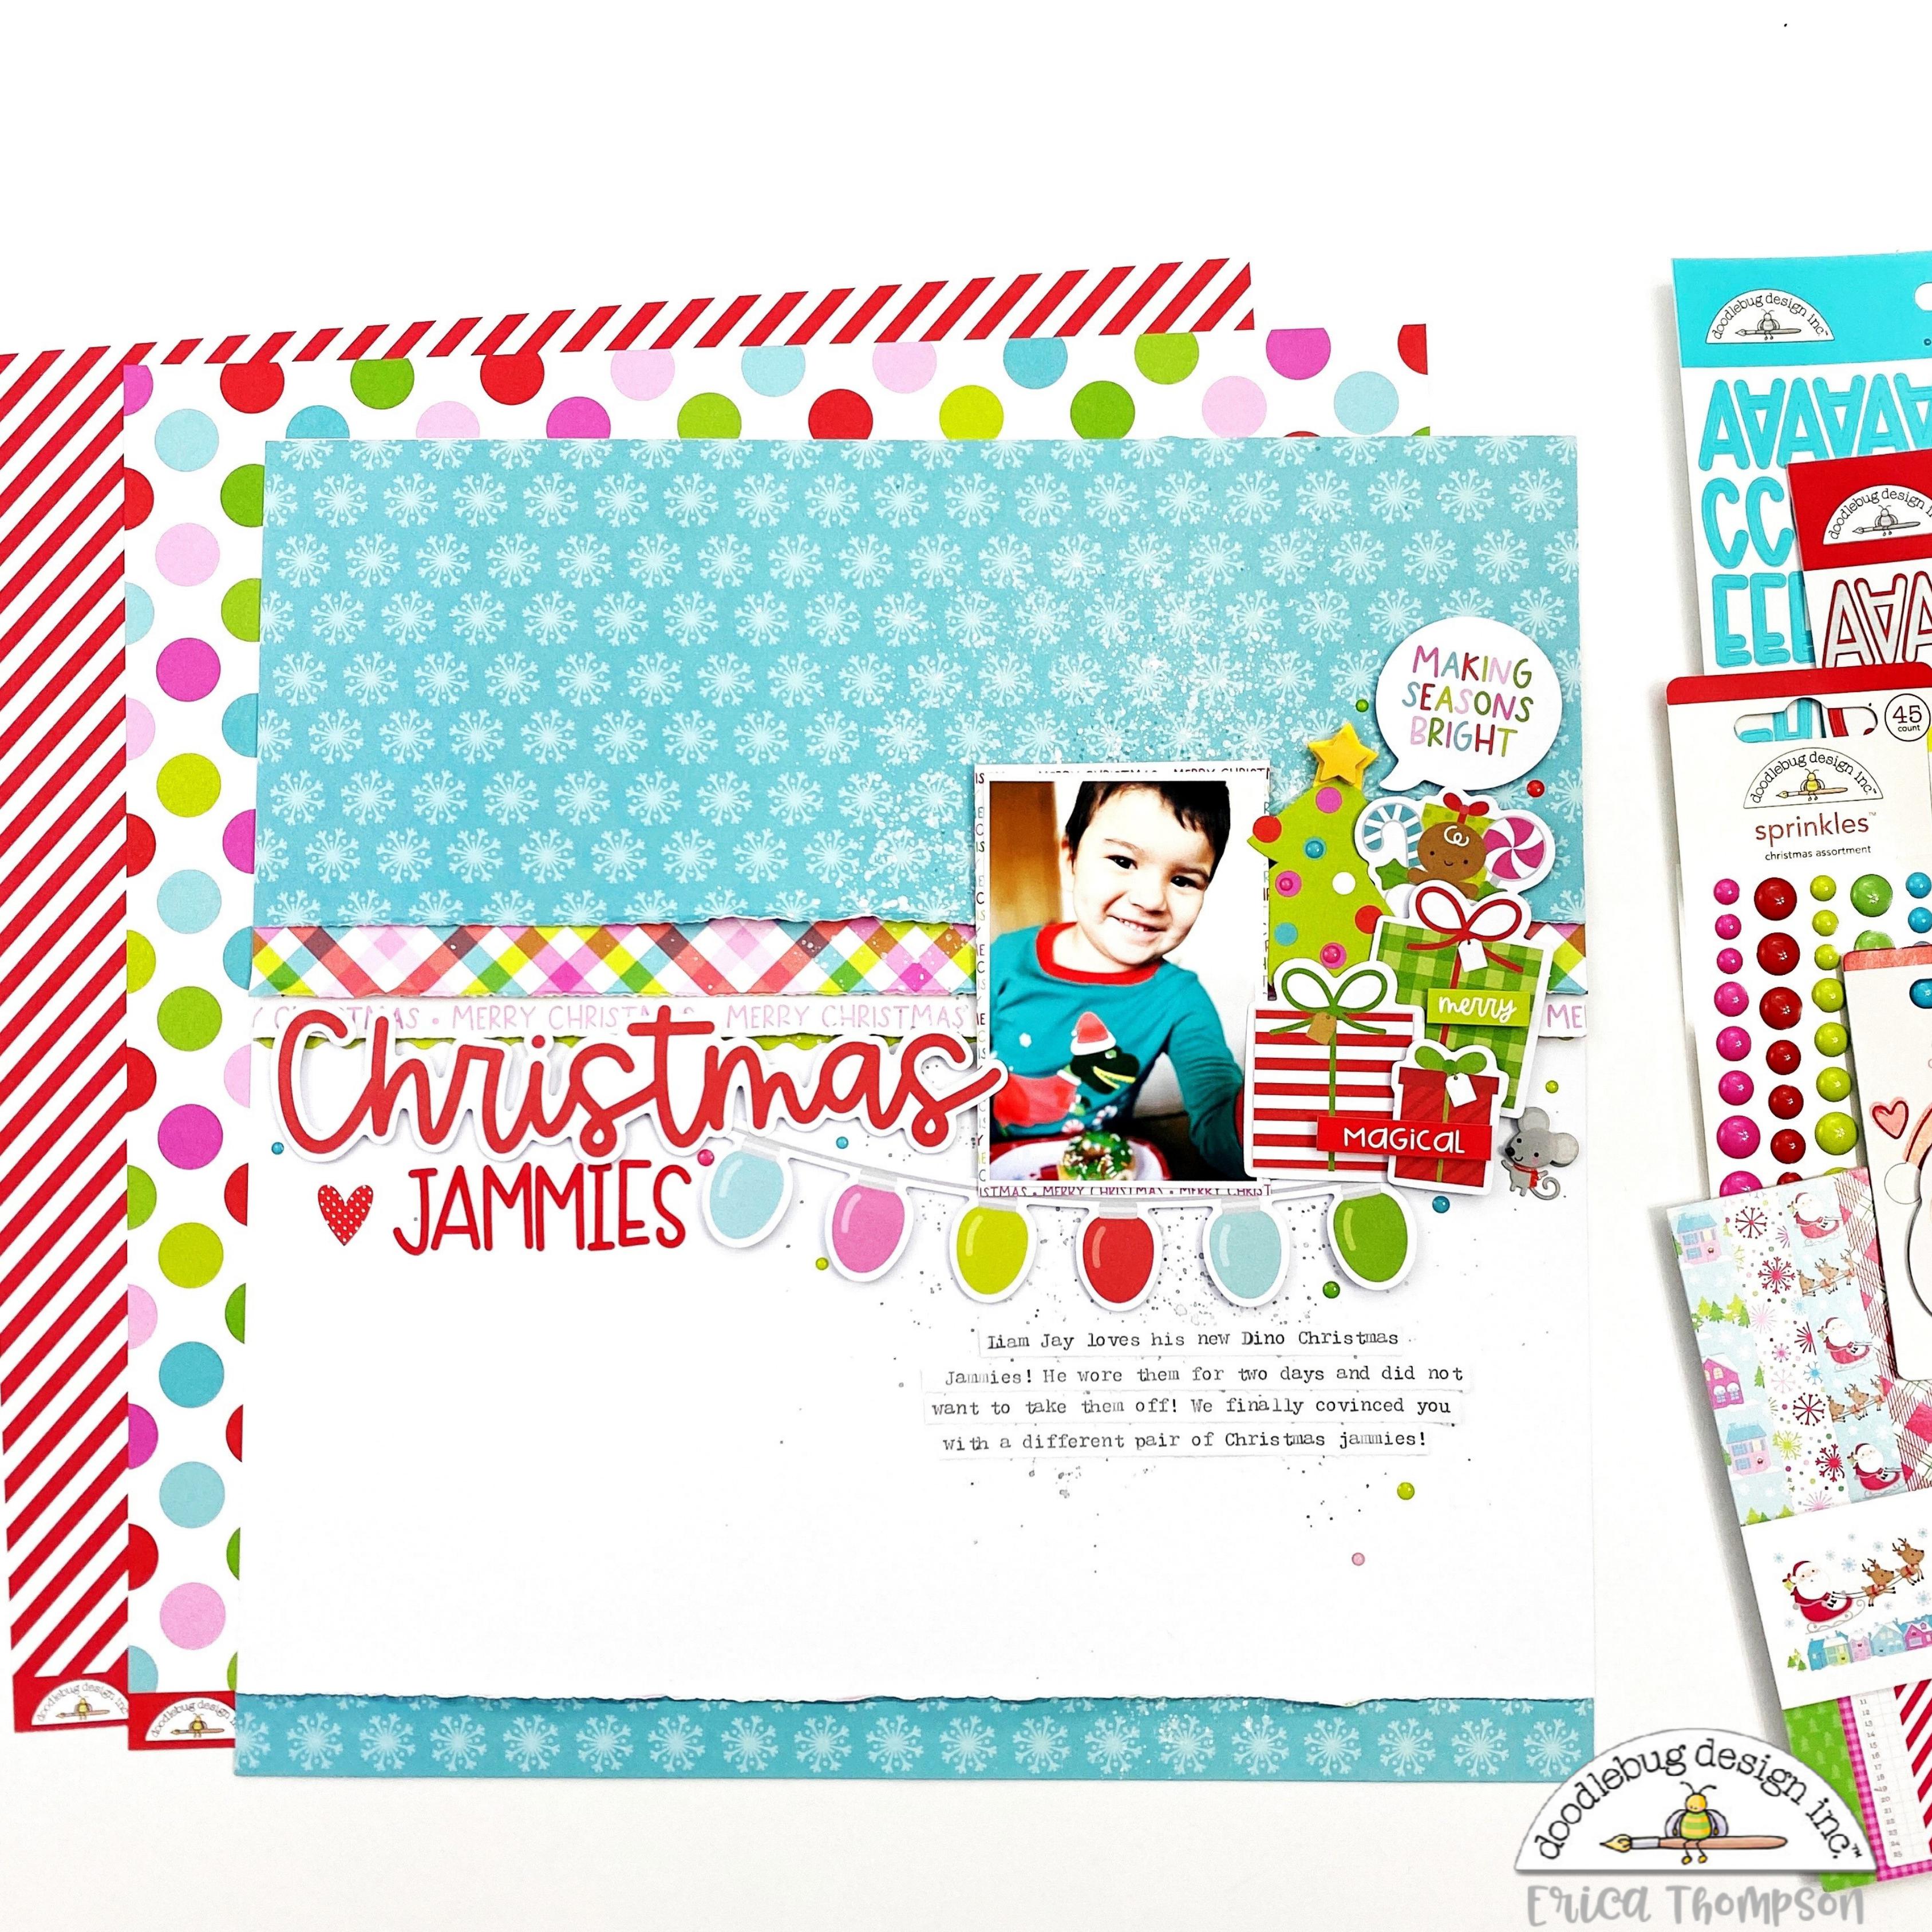
NIGHT BEFORE CHRISTMAS - CHRISTMAS JAMMIES LAYOUT | with Erica

One of my favorite holiday traditions with our kids is new Christmas pajamas! They each get a new pair on Christmas Eve but I also get a pair for them to wear during the month of December and I had to document baby Liam's dino jammies! He is really loving dinosaurs right now so a Christmas dino jammie set was a must! I wanted to create a simple but fun layout so I pulled out different pattern papers from the Night Before Christmas collection.
 
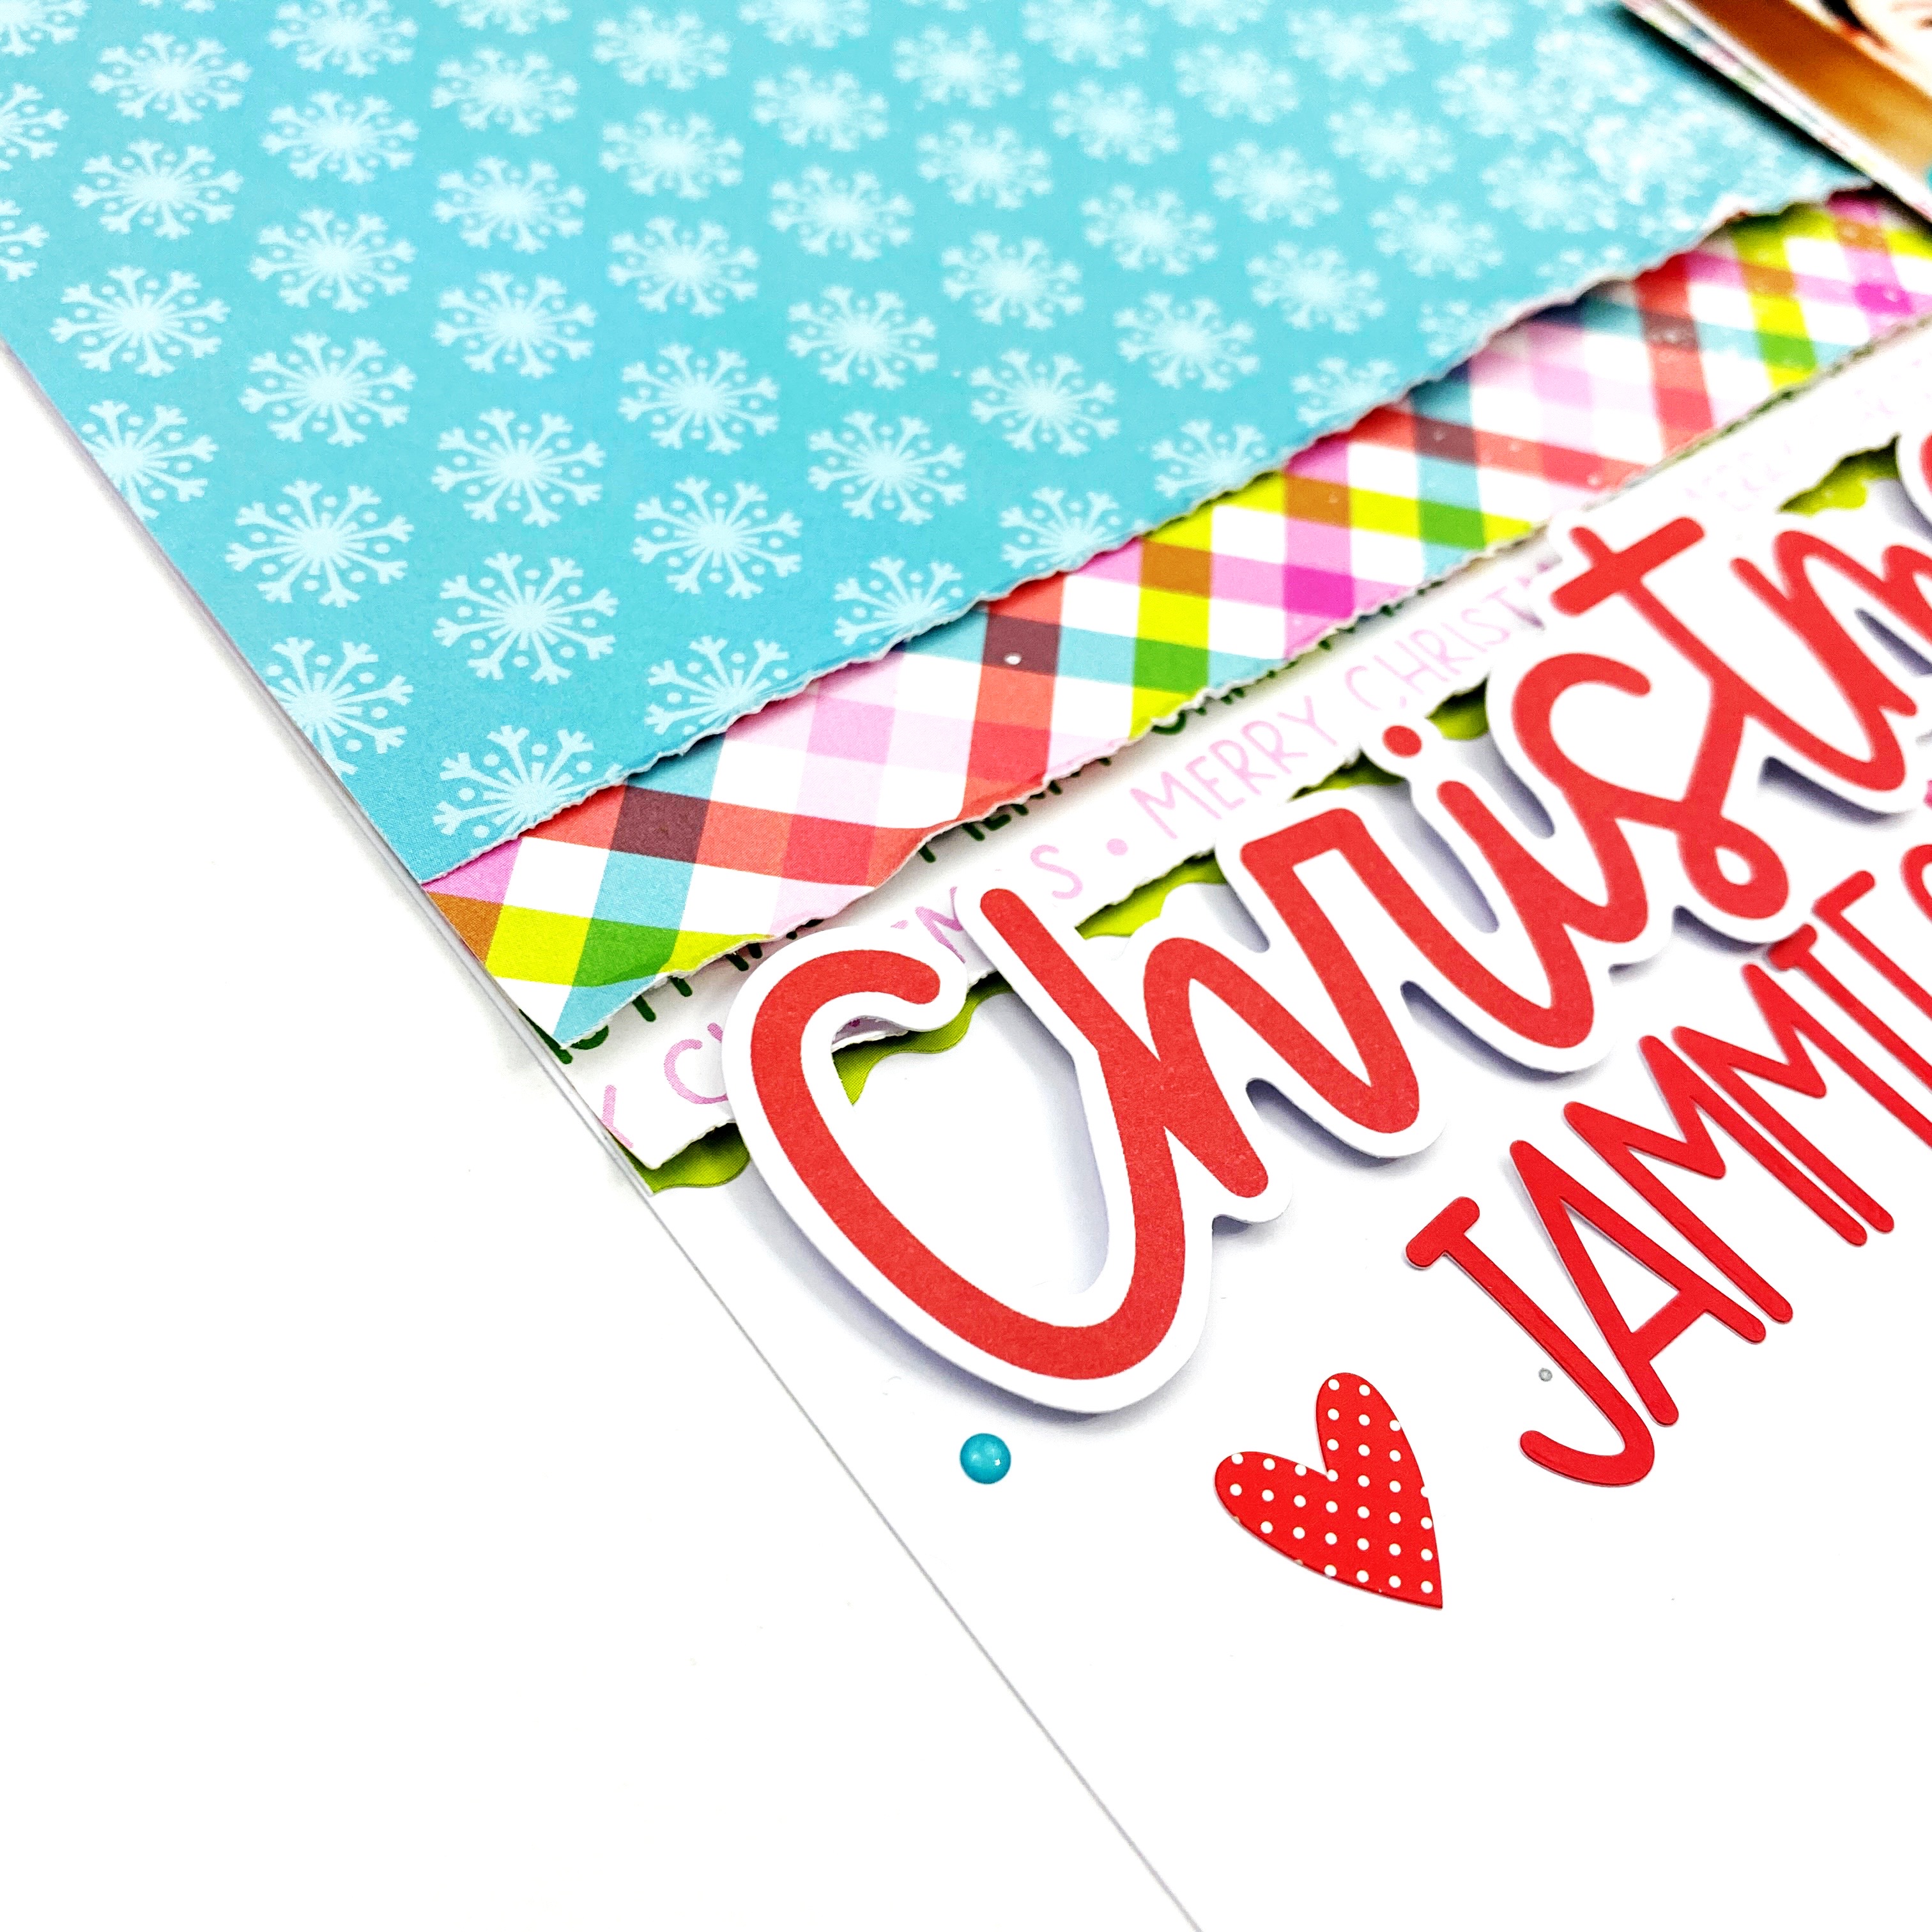
I started with a white cardstock base and layered some pattern papers at the top. I distressed the edges of the papers to add some texture. I tucked in one of the boarder stickers from the 12x12 Night Before Christmas sticker sheet to add a small pop of green to the page.  
I wanted to add a little something to the background so I used some silver mist from Heidi Swapp to sprinkle around the page. I also used some white acrylic paint to add some white splatters. It is just a nice little detail to add to the background and it reminds me of snow!  
I created a small embellishment cluster to the right of my photo using Night Before Christmas odds & ends and some stickers. I pulled out one of the large title pieces from the Night Before Christmas chit chat package to use as part of my title.  
To finish my title I used the Sunshine Alphas in Ladybug to spell out jammies! I tucked the string of lights die cut under the title and my photo! I used my We R Memory Keepers typewriter to add some journaling and sprinkled some fun dots around the page from the Snow Much Fun Shape Sprinkles! This layout was so fun to put together and I just love this sweet memory of Liam Jay and his new Christmas jammies! Thank you so much for stopping by today! Do you document your favorite holiday traditions? Let me know in the comments below if you do and what your favorite holiday tradition is. Have a wonderful day! 


Doodlebug Products Used 
Night Before Christmas Collection 

Other Products Used 
 white acrylic paint 
 Heidi Swapp Tinsel color shine 
We R Memory Keepers typewriter

Wednesday, December 23, 2020

NIGHT BEFORE CHRISTMAS DECORATED FRAME | with Shellye

I love to sit down with my Doodlebug Stamps, markers and just color the hours away!  After die-cutting the completed images (from the Night Before Christmas Stamp Set), I knew that I wanted to stage them on snowy hills, so I grabbed a wooden tray from my stash and got started:


My wooden tray measures 7"X18".  I first cut the blue snowflake paper to 7" wide and added it first.  From the Lily White Buffalo Check and the multi-snowflake papers, I cut the pieces as shown above.  I free-handed the shapes to form three different snowy hills.  The pieces were then layered on to the blue paper with foam adhesive to give dimension!


Next, I outlined the snowy hills with chunky twine and then staged the die-cut pieces and attached them with foam adhesive or glue. 


The sticker sentiments from the This & That Sticker Sheet were added to each cluster.


I finished the design off with various Sprinkles and Gems!  I would love to find a square size...maybe two...and create another collage to hang along with this one!  I just love the way it turned out :)  Thank you for joining and Merry Christmas Wishes!


Doodlebug Design Products:
Night Before Christmas Collection Kit
Night Before Christmas Stamps & Doodle Dies
Christmas Sprinkles
Christmas Jewels
Lily White Buffalo Check Petite Prints
Ladybug Chunky Twine

Tuesday, December 22, 2020

NIGHT BEFORE CHRISTMAS STAR TREAT BOXES | with Tegan

Eeeek! I can't believe Christmas will be here before we know it! I needed to make some quick and adorable gift boxes so I grabbed the Night Before Christmas collection. I love the mix of darling graphics and fun Doodlebug Christmas colors in this collection!

I started by using the darling Lori Whitlock Star Shaped Pillow Box and the striped Dancing Sugar Plums patterned paper to cut out my first box using my Silhouette Cameo machine. I embellished th e box with an Odds & Ends reindeer piece, a cute epoxy candy cane sticker, and some Doodle Twine. Isn't that little reindeer just the cutest?!

I then used the Tinsel Time patterned paper and the Star Shaped Pillow Box cut file to create my second box. I embellished it with Odds & Ends pieces, epoxy stickers, and I again wrapped the Doodle Twine around the box. I love the star shaped boxes- I think they turned out so cute!

On this last pillow box, I used the Cookies for Santa patterned paper to create the Star Shaped Box. I embellished it with This & That Stickers, epoxy stickers, and more red Doodle Twine. How cute are those little gingerbread men, eh?! 

Thanks for joining me today! I hope I have inspired you to grab some of the Night Before Christmas collection for your next projects! 


Doodlebug Design Products Used:
Night Before Christmas Collection


Monday, December 21, 2020

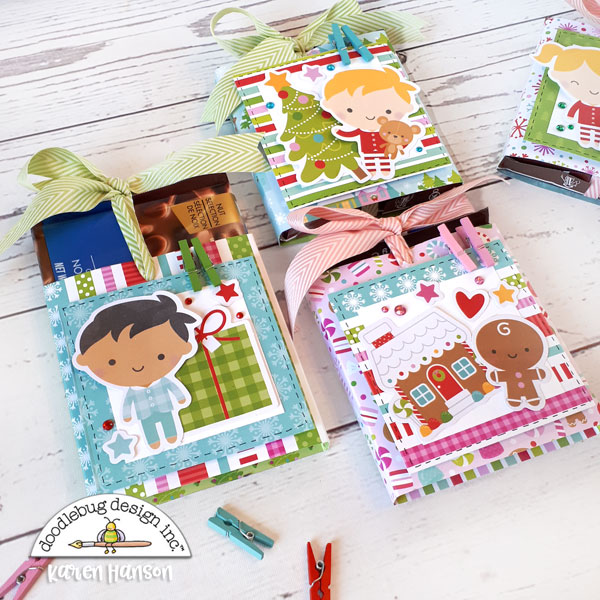
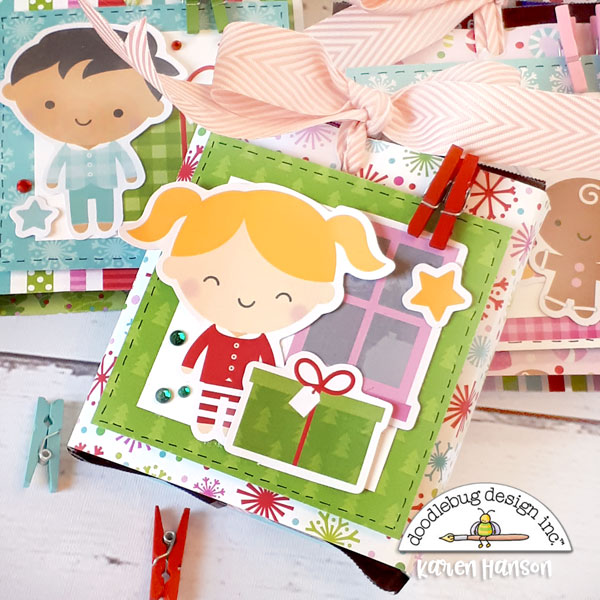
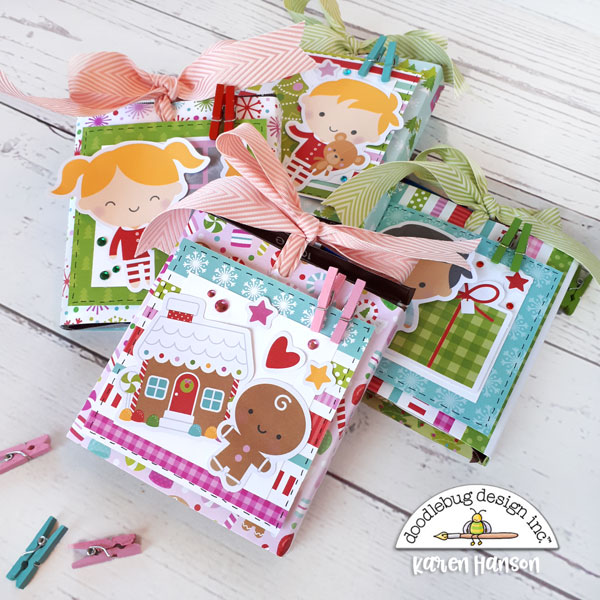
NIGHT BEFORE CHRISTMAS CHOCOLATE BAR SLIDERS | with Karen

It's almost Christmas! I know,. I know - some of you are totally ready! And some of you are probably like me and are...well...not! In fact, it's probably safe to say that I won't be ready until the night before! So it's a good thing that Doodlebug has the new collection Night Before Christmas! It's like it was made for me! So I thought I would share these quick little chocolate bar sliders with you today. 


This is a "go to" project for me! I love that a Christmas greeting can turn into a treat as well! And if you want, you can also add a little gift card tucked into the ribbon as well. Because of the way these are tied, they stay safely in place. 

And I know that many of you are obsessed with Doodlebug stamps as I am, but I wanted to show you that you can also use the adorable Odds and Ends die cuts as well! In fact, if you are little pressed for time, these die cuts are a life-saver! Before Doodlebug started designing stamps, I used these on every project I created! Bend up the ends a bit for some added dimension or even adhere them on with foam squares. The little scenes that are created are so cute!
   
Oh, and if you are not sure how these sliders are created, here's a link to a simple tutorial I created a while back for Doodlebug for these sleeves! So to all of you last minute Christmas people - craft on! And to everyone - Merry Christmas, and here's to an amazing 2021!  Thanks for stopping by!

BLOG | INSTAGRAM

Doodlebug Design Product:
Night before Christmas Collection
Other Products:
White cardstock Ribbon

Sunday, December 20, 2020

NIGHT BEFORE CHRISTMAS MERRY & BRIGHT WALL HANGING | with Jennifer

Hello Doodlebug friends. Can you believe Christmas is just a few days away? Today I'm sharing a custom piece that is a combination of a couple of projects I've done before so it may look a little familiar. This time, however, I used the Night Before Christmas collection.

The project's base was cut from wood. The ledge was made from a combination of wood and foam board to reach a 3/4" thickness. A cutting file was used for the two smaller houses on each side, and the windmill was designed in the Silhouette Designer program.

This wall hanging is full of fun little details. Here are some of them.

Two doodle-pop stickers were added to the Santa and his sleigh die-cut. One for his head and part of a stocking filled with toys to fill his sack. Chipboard or wood was used to reinforce all of the die-cuts.

I added some snowmen doodle-pops on either side of the piece. These are from an older collection but worked beautifully on the piece.

More doodle-pops and a wood snowflake were used to embellish the windmill. I used white paper frills and borders for even more detail.

The ledge was covered with some border strips and edged with twine. I always try to add a title to my pieces, and for this one, "Merry and Bright" seemed to fit. Just for fun, I added a wood bell, some more die-cuts, and sprinkles underneath the ledge.

Thanks so much for stopping by today and Merry Christmas! :)

  Blog | Etsy | Pinterest

DOODLEBUG SUPPLIES:
Night Before Christmas Collection
 Paper Frills
 Chunky Twine
 Snow Buddies Doodle-Pops
Petite Prints
 
Candy Cottage Cutting File

OTHER
 
wood
chipboard
paint
foam board
hanging hardware
wood bell
Pin It button on image hover