Showing posts with label 12x12 Layout. Show all posts

Thursday, June 25, 2026

COLOR ME CRAFTY 12x12 PAGE LAYOUT | with Traci

Hello crafty friends!  It's Traci and I'm excited to be on the blog today with another Color Me Crafty project!  Aren't you just loving this new collection?? Oh my goodness, the colors and the adorable icons and patterns are so much fun to create with!  Today I'm sharing a 12x12 page that I plan to add photos to after an upcoming retreat.

I absolutely love how a stripe looks as the base of a page, so I layered the sheet called Colorway with citrus and white pieces of card stock.  I cut some circle shapes with my Cricut out of Bubblegum card stock and added them to the center of my background.

Crafty Weekend Girl was the perfect title for my page.  These pieces come in the Chit Chat pack along with 99 (!) other adorable phrases, word strips, and cute sentiments.
The flowers are from the Bits & Pieces pack, and those fun scissors are from the Odds & Ends.  Die cuts are my favorite crafty embellishment, well ... next to enamel dots and sprinkles of course!  :)

How cute is that layered camera, flowers, and photos piece!!?  That is also in the Bits & Pieces and it fit perfectly clustered over my colorful little photo mats.  Some shape sprinkles, a couple This and That stickers, and a few more die cuts finished off my page.  I love all of the color and can't wait to add my pictures!

I hope my page has inspired you to create something fun with Color Me Crafty!  


DOODLEBUG PRODUCTS USED

9103 Colorway double sided cardstock
9099 Plaid It's Purple double sided cardstock 
9112 Textured Cardstock Assortment
9096 Color Me Crafty This & That Sticker Sheet
9065 Garden of Color Shape Sprinkles
9062 Color Me Crafty Sprinkle assortment
9091 Color Me Crafty Chit Chat
9090 Color Me Crafty Odds & Ends
9092 Color Me Crafty Bits & Pieces



Wednesday, June 24, 2026

COLOR ME CRAFTY - CRAFTY FRIENDS LAYOUT | with Inessa

I'm back with my second 12x12 scrapbook layout featuring the Color Me Crafty collection! It's perfect for documenting all of your crops, craft days with friends and events. 


I started with the "plaid it's purple" paper as my foundation. Next, I trimmed a sheet of lily white cardstock to approximately 11½" x 11½" and adhered it to the pink floral side of the "rows of ribbons" paper.  I trimmed around it leaving about a ⅛" border around the edge.

 
For the focal point of the layout, I cut out two tags from the "colorway" paper. After hole punching the tops, I threaded them with limeade and cupcake doodle twine. I added 3" x 3" photos to the front of each tag and layered them on the right side of the layout. When positioning the tags, be sure to leave some room above and below for embellishments, banners, florals, and the title.

On the left side of the page, I created a decorative accent using a block from the "crafty colors" paper. To give the appearance that it was wrapped around the page, I added cupcake doodle twine across the top and bottom and finished it with small bows for an extra touch of whimsy.

For the title, I used the chit chat pack to spell out "Crafty Friends." The title is adhered with foam adhesive to add dimension and help it stand out from the background.

To finish the layout, I embellished with florals from the Bits and Pieces pack along with a mix of BFFs and Tools of the Trade doodle pops. The dimensional embellishments add so much personality and tie the crafty theme together perfectly.  A few puffy icon hearts and sprinkles add cute and fun details.

This bright and cheerful design is a great way to celebrate the special friendships we make through crafting while showcasing favorite photos from crops, retreats, and creative adventures together.


DOODLEBUG PRODUCTS USED

9101 rows of ribbons double-sided cardstock

9103 colorway double-sided cardstock

9109 crafty colors double-sided cardstock-1

9099 plaid it's purple double-sided cardstock

9096 color me crafty this & that cardstock stickers

9092 color me crafty bits & pieces

9091 color me crafty chit chat

9077 color me crafty puffy icons

9062 color me crafty assortment sprinkles

9068 bff's doodle-pops

9071 tools of the trade doodle-pops

3402 lily white cardstock

2986 cupcake doodle twine

2990 limeade doodle twine


Tuesday, June 16, 2026

COLOR ME CRAFTY I LOVE SCRAPBOOKING LAYOUT | with Tarrah

The new Color Me Crafty collection is so gorgeous and fun for documenting this hobby we all love! I recently got Chat GPT to create a fun photo of me crafting away at my desk! This page celebrates all things creative with bold color, playful details, and a whole lot of personality.


I used an  'I Love Scrapbooking' cut file (linked below) and cut it from white cardstock.  I backed all of the open spaces from the various patterned papers in the 6 x 8 paper pad, from rainbows and florals to soft pastels and playful prints—creating a patchwork effect that perfectly reflects the fun and variety of crafting. I trimmed down another sheet of white cardstock and adhered it to the Rows of Ribbons patterned paper. I also took 2 of the scalloped border strip stickers from the This and That sticker sheet, placing 1 at the top and 1 at the bottom of the layout.


The mix of patterns brings the whole composition to life while still keeping everything cohesive thanks to the collection’s signature color palette.
The tiny banner at the top spelling 'Crafty' adds a playful finishing touch and ties in perfectly with the theme.


On the right side, the photo becomes part of the story—a vibrant, illustrated image of a crafter surrounded by tools and supplies. The colors and details in the photo blend seamlessly with the Color Me Crafty collection, making it feel like a natural extension of the layout.

Layered embellishments around the photo—including tabs, labels, and icons—help build a visual cluster without overwhelming the design.


This design shines because it balances boldness with structure:

  • The large title anchors the layout
  • The rainbow borders frame the design without overpowering it
  • The embellishments are playful but thoughtfully placed
  • The color palette stays consistent while still feeling energetic

This scrapbook page is a joyful tribute to the love of crafting. The Color Me Crafty collection makes it easy to combine bright colors, whimsical icons, and meaningful sentiments into a layout that truly celebrates creativity.

If you’ve ever wanted to document your passion for scrapbooking (or crafting in general), let this page inspire you—go big with your title, mix those patterns, and most importantly… make time to create!


DOODLEBUG PRODUCTS USED

9092 Color Me Crafty - Bits & Pieces pack
9091 Color Me Crafty - Chit Chat pack
9077 Color Me Crafty - Puffy Icons stickers
9078 Color Me Crafty - Puffy Words stickers
9096 Color Me Crafty - This & That sticker sheet
9094 Color Me Crafty - 6' x 8' paper pack
9091 Color Me Crafty - Rows of Ribbons patterned paper
9071 Color Me Crafty Doodle Pop - Tools of the Trade

OTHER

White cardstock
Black journal pen
Date stamp
Black ink

Wednesday, June 10, 2026

COLOR ME CRAFTY MEMORIES LAYOUT | with Inessa

Today I’m sharing a colorful 12x12 scrapbook layout featuring the brand new Color Me Crafty collection! This collection has the most gorgeous color palette and celebrates all things scrapbooking, which makes it an absolute favorite of mine.

Since this collection is all about our creative hobby, I knew it would be perfect for documenting a special event I had the opportunity to teach at this past February alongside Cynthea and several other talented educators that many of you know and love. It was such a wonderful experience and one I definitely wanted to preserve in my scrapbook.


To create the layout, I started with a sheet of Lily White cardstock. I added strips from the magical memories paper along the top and bottom edges of the page and then layered scallop sticker borders above each strip. I absolutely adore the rows of ribbons paper in this collection, so I fussy cut each color scallop and arranged them across the page, starting about 2½ inches from the bottom.

For my photo, I used a 4x4 image and matted it with the colorway paper and a layer of white cardstock to help it stand out against the colorful background. Once my photo was in place, I began building embellishment clusters around it.

I popped up many of the embellishments with foam adhesive to add dimension and gently bent the flower petals and leaves for extra texture. I also incorporated several doodle pops and a tab element to help create layers and visual interest around the photo.

To finish the layout, I added sprinkles and some of the adorable tiny puffy flower stickers throughout the page. One of my favorite details was placing the puffy flower icons in the centers of the larger flowers to give them a little extra zhuzh.

For the journaling details, I used the typewriter Doodle Pop to document the location and date of the event. I also added my name to the "Hello My Name Is" lanyard located within the embellishment cluster at the bottom left of the photo. I love taking advantage of this little detail whenever possible because it adds a fun, personal touch to the page. It's one of those small details that helps tell the story and makes the layout feel uniquely mine.

I had so much fun creating this layout and documenting such a special memory. I hope it inspires you to pull out your favorite crafty photos and create something colorful and meaningful with the Color Me Crafty collection. I can't wait to see what you create and share!


DOODLEBUG PRODUCTS USED

9101 rows of ribbons

9102 magical memories paper

9103 colorway

9096 color me crafty this & that cardstock stickers

9092 color me crafty bits & pieces

9090 color me crafty odds & ends

9077 color me crafty puffy icons

9062 color me crafty assortment sprinkles

9066 just a note doodle-pops

9073 making memories doodle-pops

3402 lily white cardstock


Monday, June 8, 2026

COLOR ME CRAFTY LETS GET CRAFTY LAYOUT | with Brianna

Hey friends! Brianna here sharing a layout using the brand new Color Me Crafty collection. This collections color palette is so dreamy and the crafty icons are perfect for so many crafty memories. Here's my page:


I chose the Lily White cardstock for my base and then added two .5 x12" vertical strips of the adorable Crafty Colors striped paper. I absolutely love the look of the stripes on each side of the layout and I feel that it brings the viewers eyes towards the center of the page. I then took the Garden Girl, Color Me Crafty and Bitty Blossoms papers and trimmed them down to 9x3.5 panels. I arranged them down the center of my page and then adhered the Orchid, Swimming Pool and Bubblegum cardstock papers right on top. I had each of those trimmed down to a 7x3 size. It gave each panel a nice bold pop of color on top of the busy patterns.


For the bottom panel, I took a journaling piece from the Bits & Pieces pack and once I added my journaling, I adhered it to the right side of the panel. I then went through the Odds & Ends pack and selected the row of albums pieces since it was the perfect size to be a foundation for a subtitle piece that I grabbed from the Bits & Pieces pack.


I thought the top panel would be perfect spot for my title and chose a few words from the Chit Chat pack to create it. I also embellished around it using some of the larger florals from the Bits & Pieces pack. And then to jazz it up a bit more, I brought in a few of the adorable Puffy Icons and some of the Shape Sprinkles into the centers of my florals. Those tiny paint brushes and scissors?? So CUTE!


The center panel held my trio of photos and they're of my sweet girl scrapbooking with me. Well, she saw my finished layout for Doodlebug and wanted to add some extra embellishments to it. I couldn't wait for her to be interested in creating with me and when she finally wanted to climb in my chair and do it, I was so excited! She's the best crafting partner in my opinion!


For some finishing touches, I sprinkled in a few phrase pieces from the Chit Chat pack and a few more Puffy Icons. This page is so colorful and fun and I can't wait to hang it on my wall! Here's one last look: 


Thanks so much for stopping by today, I hope that I've inspired you in some way! I'll see you in my next post friends!


BLOG INSTAGRAM | YOUTUBE

DOODLEBUG PRODUCTS USED

color me crazy collection
9112 solids assortment
9109 crafty colors paper
9100 garden girl paper 
9098 color me crafty paper
9108 bitty blossoms paper
9077 color me crafty puffy icons 
9062 color me crafty sprinkles 
9063 crafty girl shape sprinkles
9090 odds & ends
9092 bits & pieces
9091 chit chat
9095 icons

Monday, March 11, 2024

BUNNY HOP EASTER TOGETHER LAYOUT | with Brianna

Hey friends! Brianna Lepper here and I'm so excited that it's almost Spring!! Bring on the sunshine and all of the soft and pretty colors. The new Bunny Hop collection is so adorable and I had a lot of fun using it to document some photos of my boys on Easter a few years back. Even as teenagers, they still love to hunt for eggs and I hope to continue it year after year. Here's my page:

To start, I went through the patterned papers and chose both the Springtime Stripe and Everything Easter 12x12 papers. I loved the stripes from the Springtime Stripe paper and trimmed two strips of it to adhere to the sides of the Everything Easter paper. I wanted my photos and embellishments to pop, so I adhered a piece of white cardstock to the center of my page and then added stitching using my sewing machine.

Next, I matted my photos using the 6x6 Paper Pad and layered a large journaling piece from the Bits & Pieces pack. Since I had two photos, I needed one more to go behind my other photo, so I used one of the stickers on the Cardstock Sticker sheet. It was perfect! I then added some floral pieces from the Odds & Ends pack and layered them into the four corners of my page.


For my title, I used two words from the Chit Chat pack and adhered them to the center of my page. I popped the 'together' word up on foam tape to make sure it stood out a bit more. I also thought it would be cute if I framed it using a few eggs from the Colored Eggs Shape Sprinkles and the Odds & Ends pack.

Here's my other photo cluster that I adhered to the bottom left of my page. I felt like the top left and bottom right corners needed some large ephemera to fill in the space, so I pulled in two adorable bunnies and adhered them down.

Next, I added a few more embellishments using the Icons stickers and some of the Puffy Icons stickers. I also added in some sparkle with the Easter Mini Jewels.

This color palette and all of the adorable elements make me so happy! I can't wait to create with it again! Here's one last look:

Thank you so much for stopping by today, I hope that I've inspired you in some way! I'll see you in my next post friends!

BLOG INSTAGRAM | YOUTUBE


DOODLEBUG PRODUCTS USED

Bunny Hop Collection


OTHER

Gold Spray
Sewing Thread

Tuesday, January 31, 2023

LOTS OF LOVE SO HAPPY TOGETHER LAYOUT | with Nathalie

It is time to celebrate all the things about love! And what better way than with the beautiful Lots of Love collection. I just love all the colors and designs in the collection, they are perfect to document all the things and people you love in such a cute way. Let me show you what I have created:

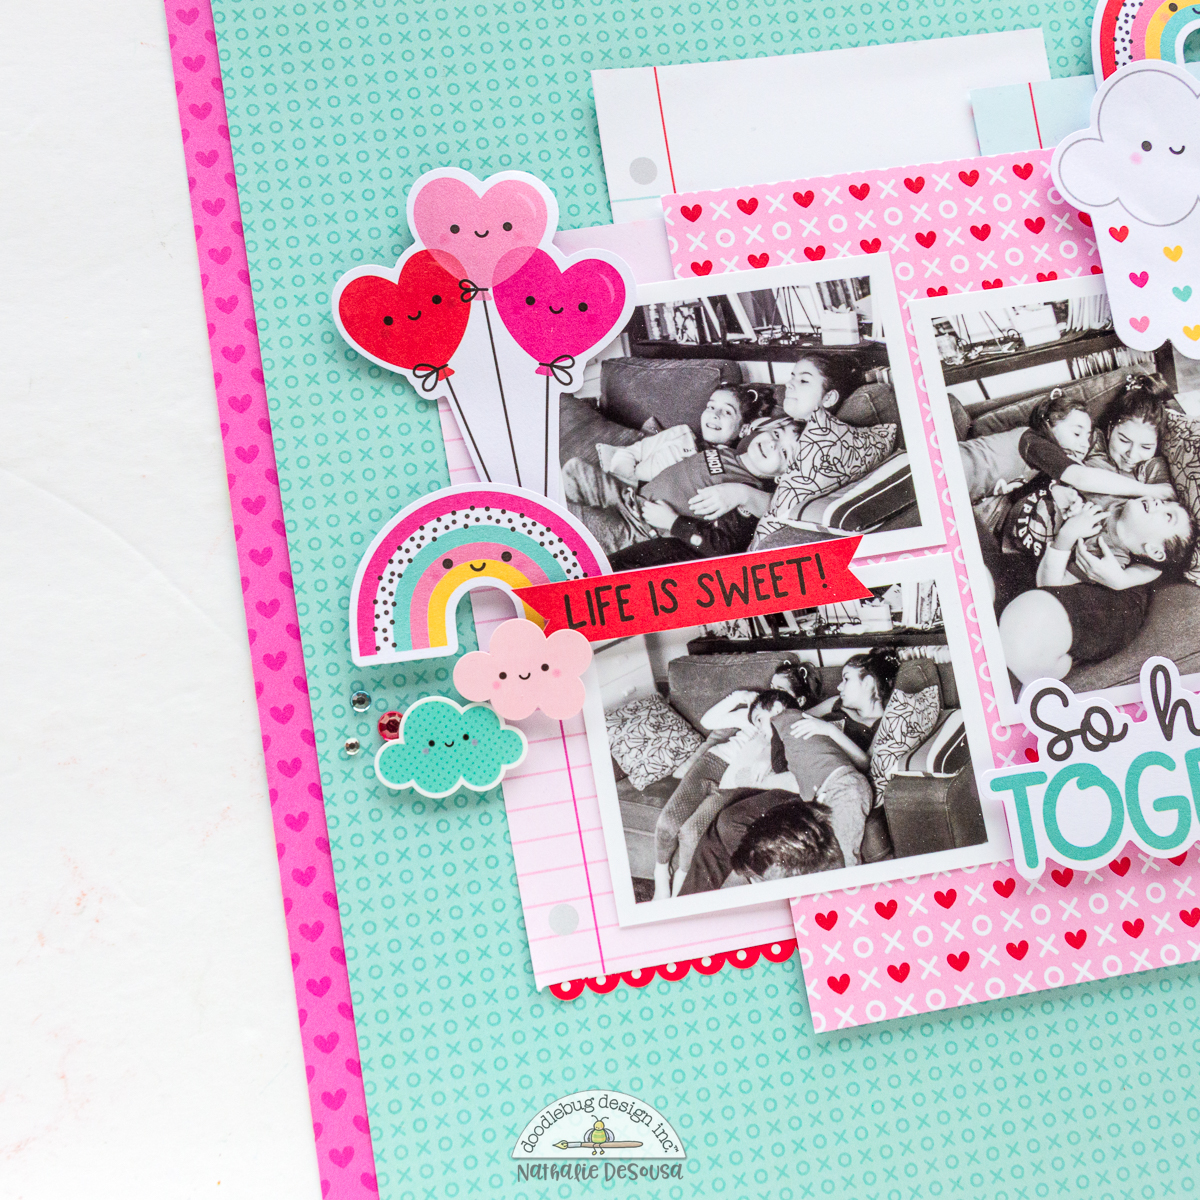
My daughter loves her little cousins, and the feeling is mutual. I just wanted to document them all together in their happiest moments.

I started by sticking to a small color palette ( white, teal, pink and fucshia). The patterned papers in the collection are just perfection, so it was all about playing with pieces of them to create a layered look for the page.

There is nothing happier than a rainbow to brighten a mood. I decided to combine pieces from the Odds and Ends pack, Stickers, and sprinkles to bring rainbows to the page. I clustered a few clouds and have rainbows peeking from them... just so cute!!!
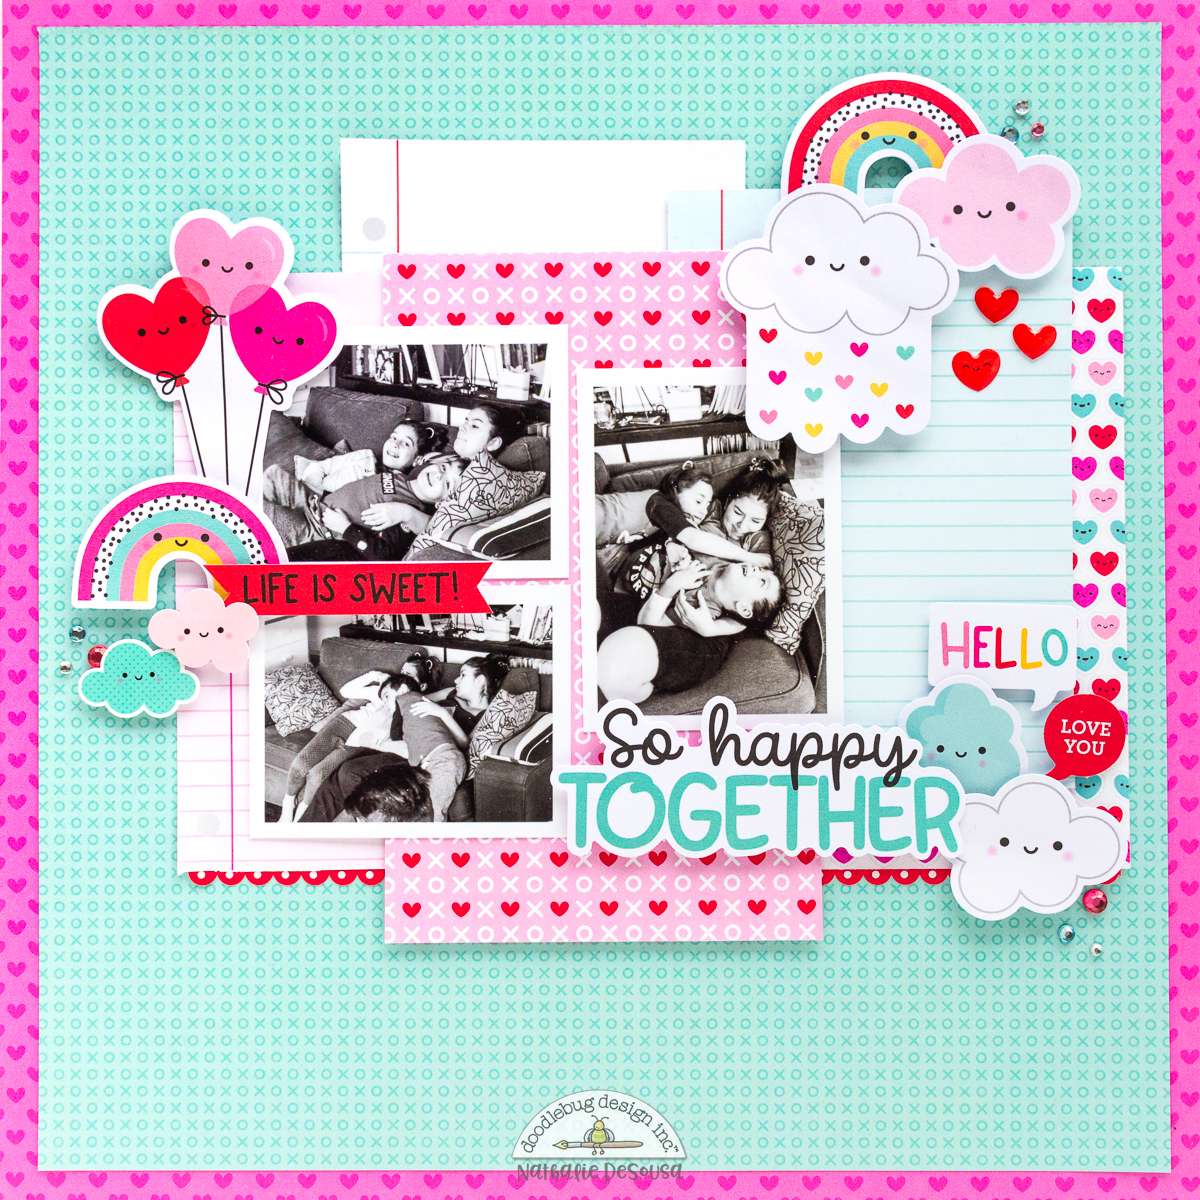
Chit Chat pieces always make for the perfect title. And the design just worked to have the title placement on point. I repeated the cloud clusters, and added a few sparkles to complete the spread.

I hope this gives you a bit of inspiration to document all your love things with the gorgeous Lots of Love collection from Doodlebug. XO

INSTAGRAM | BLOG | YOUTUBE

DOODLEBUG PRODUCTS USED

Lots of Love Collection
Sprinkles


Friday, January 20, 2023

DAY TO DAY AUGUST CALENDAR | with Kathy

Have you enjoyed the Design Team's Day to Day inspiration?  There are so many ways to use this collection... you can use it as a planner, a way to document your memories... they would even make a fabulous calendar gift with photos for friends and family!  I'm completing our posts with the month of August!  Summer is a fun time in our world... we spend our weekends with friends and family on the water! Again, I used the Day to Day collection as a way to document our activities.  Take a peek...


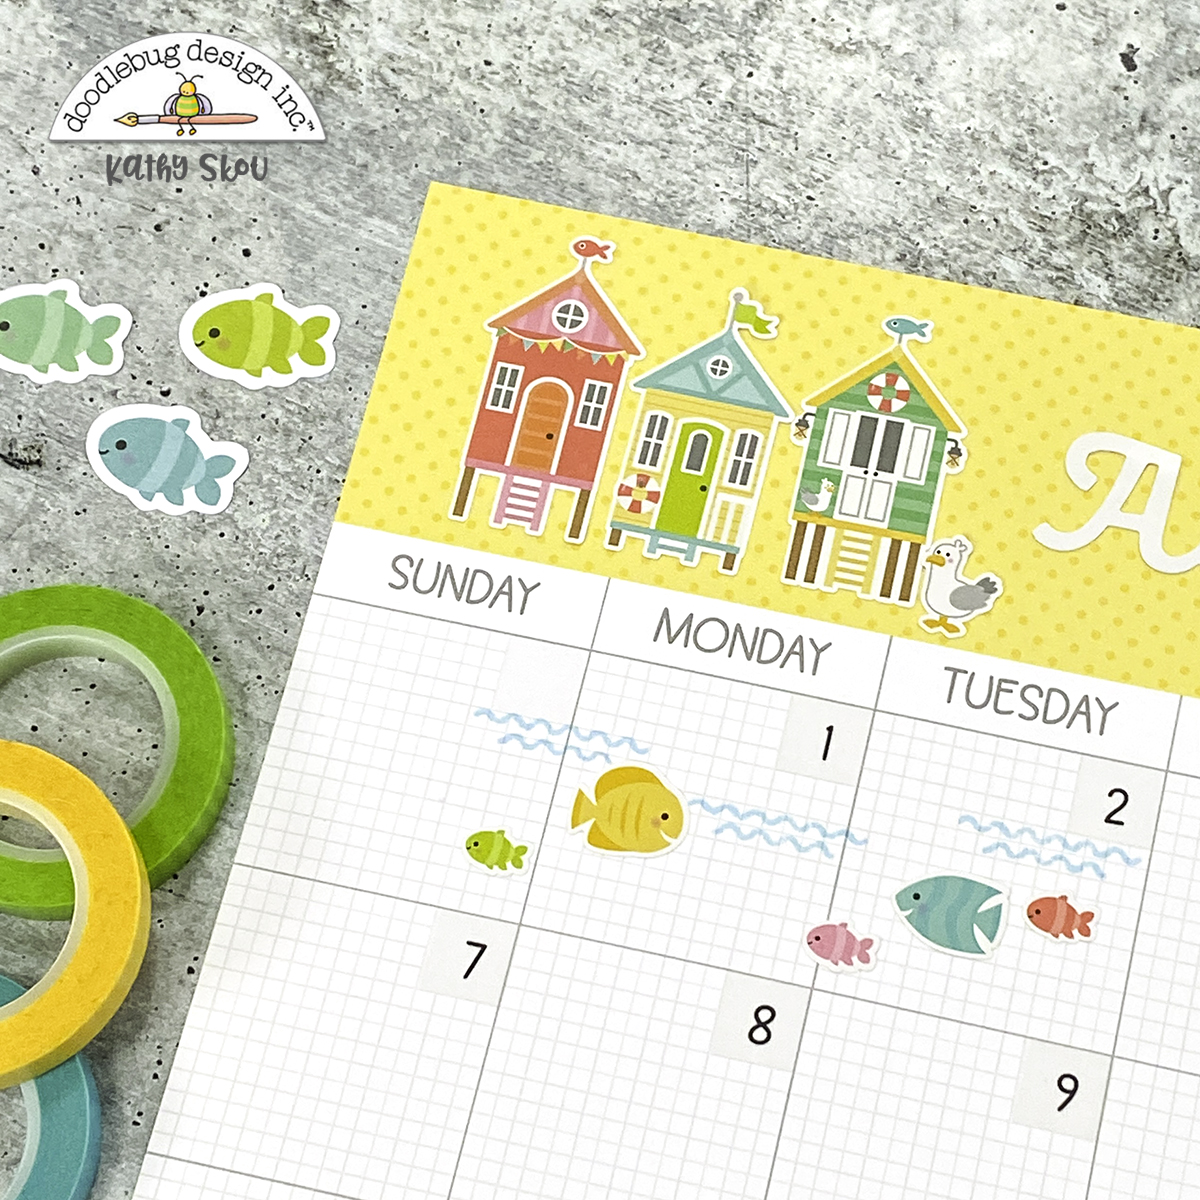
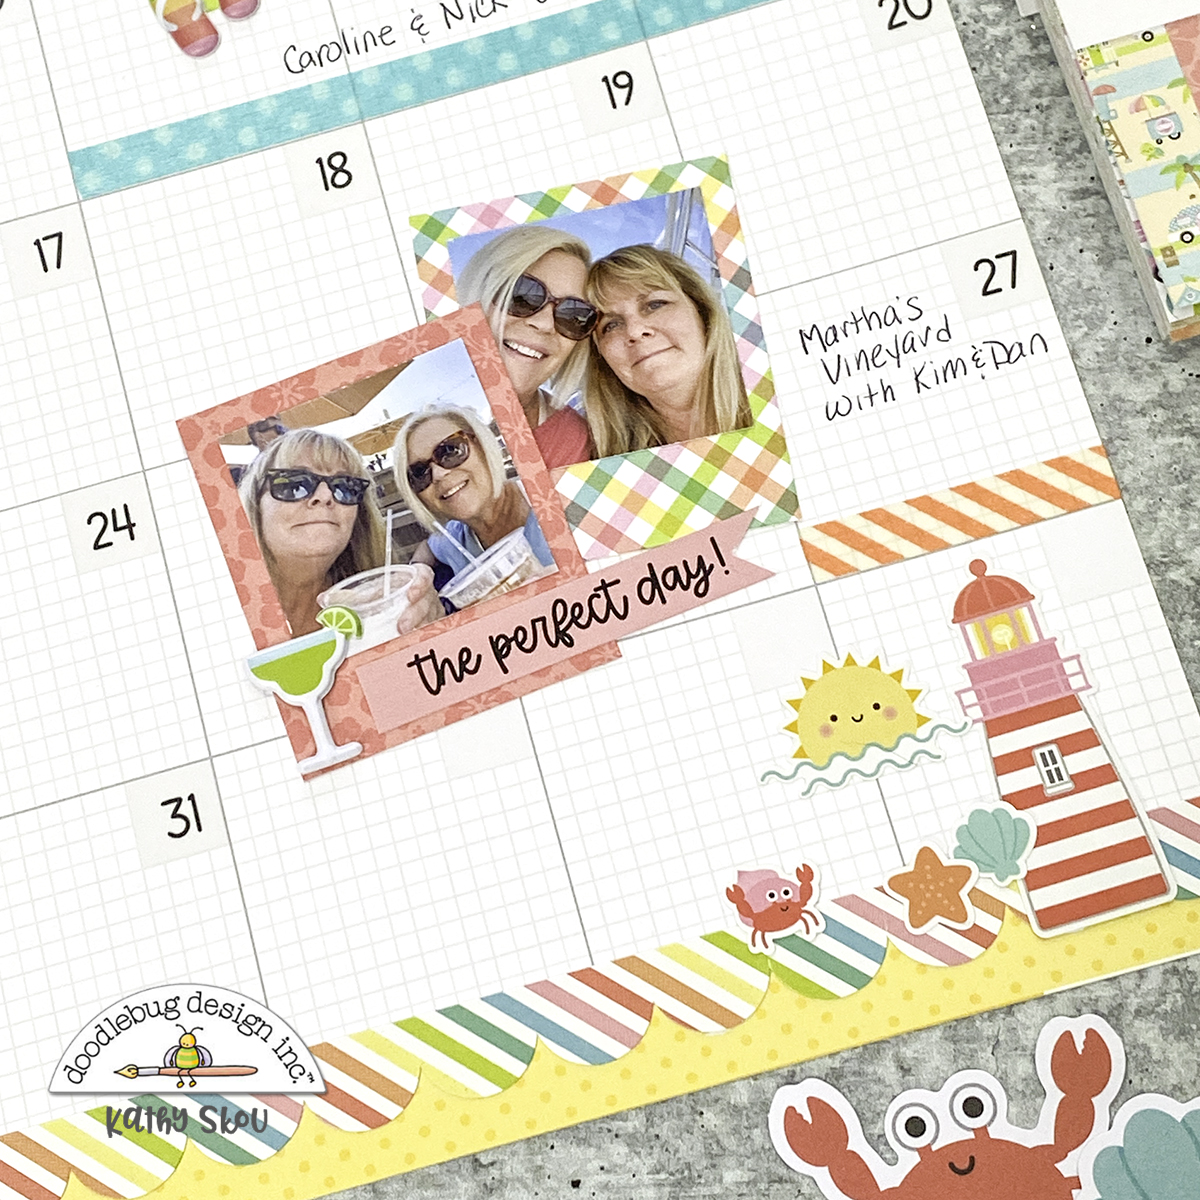
I used elements from the Seaside Summer Collection to embellish my calendar.  I also used my Insta photo trick, as I did on my July Calendar.  It's really easy to get this look.  I printed my photos 1.5" square.  I then cut papers from the Seaside Summer 6x6 pad and some petite prints to be 1.875" x 2.25", and then positioned my photo on the upper part of the paper to get the look.


The great part of these calendars is there is a lot of space to "play."  You can decorate the top banner of the page, and also the blank days of your calendar.  I used the water stamp from the Seaside Summer Doodle Stamps and some fish from the Mini Icons to add some fun to the open space.


In addition to the Mini Icons, I used a lot of the Seaside Summer Puffy Stickers to add some dimension to my layout.  That board was the perfect way to embellish the photos of my daughter & her boyfriend paddleboarding!


The word stickers on the This and That Cardstock Stickers are perfect as captions for your photos! And that margarita puffy sticker... perfection!


I added a bit more color to the bottom banner using one of the 12" stickers from the This & That Sheet.
I've had so much fun with these calendars. So much so that I'm planning a 2023 album featuring a page a month!  I think it would be a fun way to keep up with my monthly scrapbooking!  That's it for me today, thanks for stopping by to peek!


DOODLEBUG PRODUCTS USED

Day to Day Collection
Seaside Summer Mini Icon Stickers
Seaside Summer Puffy Stickers
Seaside Summer This & That Cardstock Stickers
Seaside Summer 6x6 Pad
Petite Prints
Candy Stipe Washi Tape - tangerine
Stripe Washi Tape - bumblebee
Polka Dot Washi Tape - swimming pool


Pin It button on image hover