Showing posts with label Doodlebug Sequins. Show all posts

Monday, April 3, 2023

DOODLE POPS & PUFFY STICKERS BOBA DATE LAYOUT | with Brianna

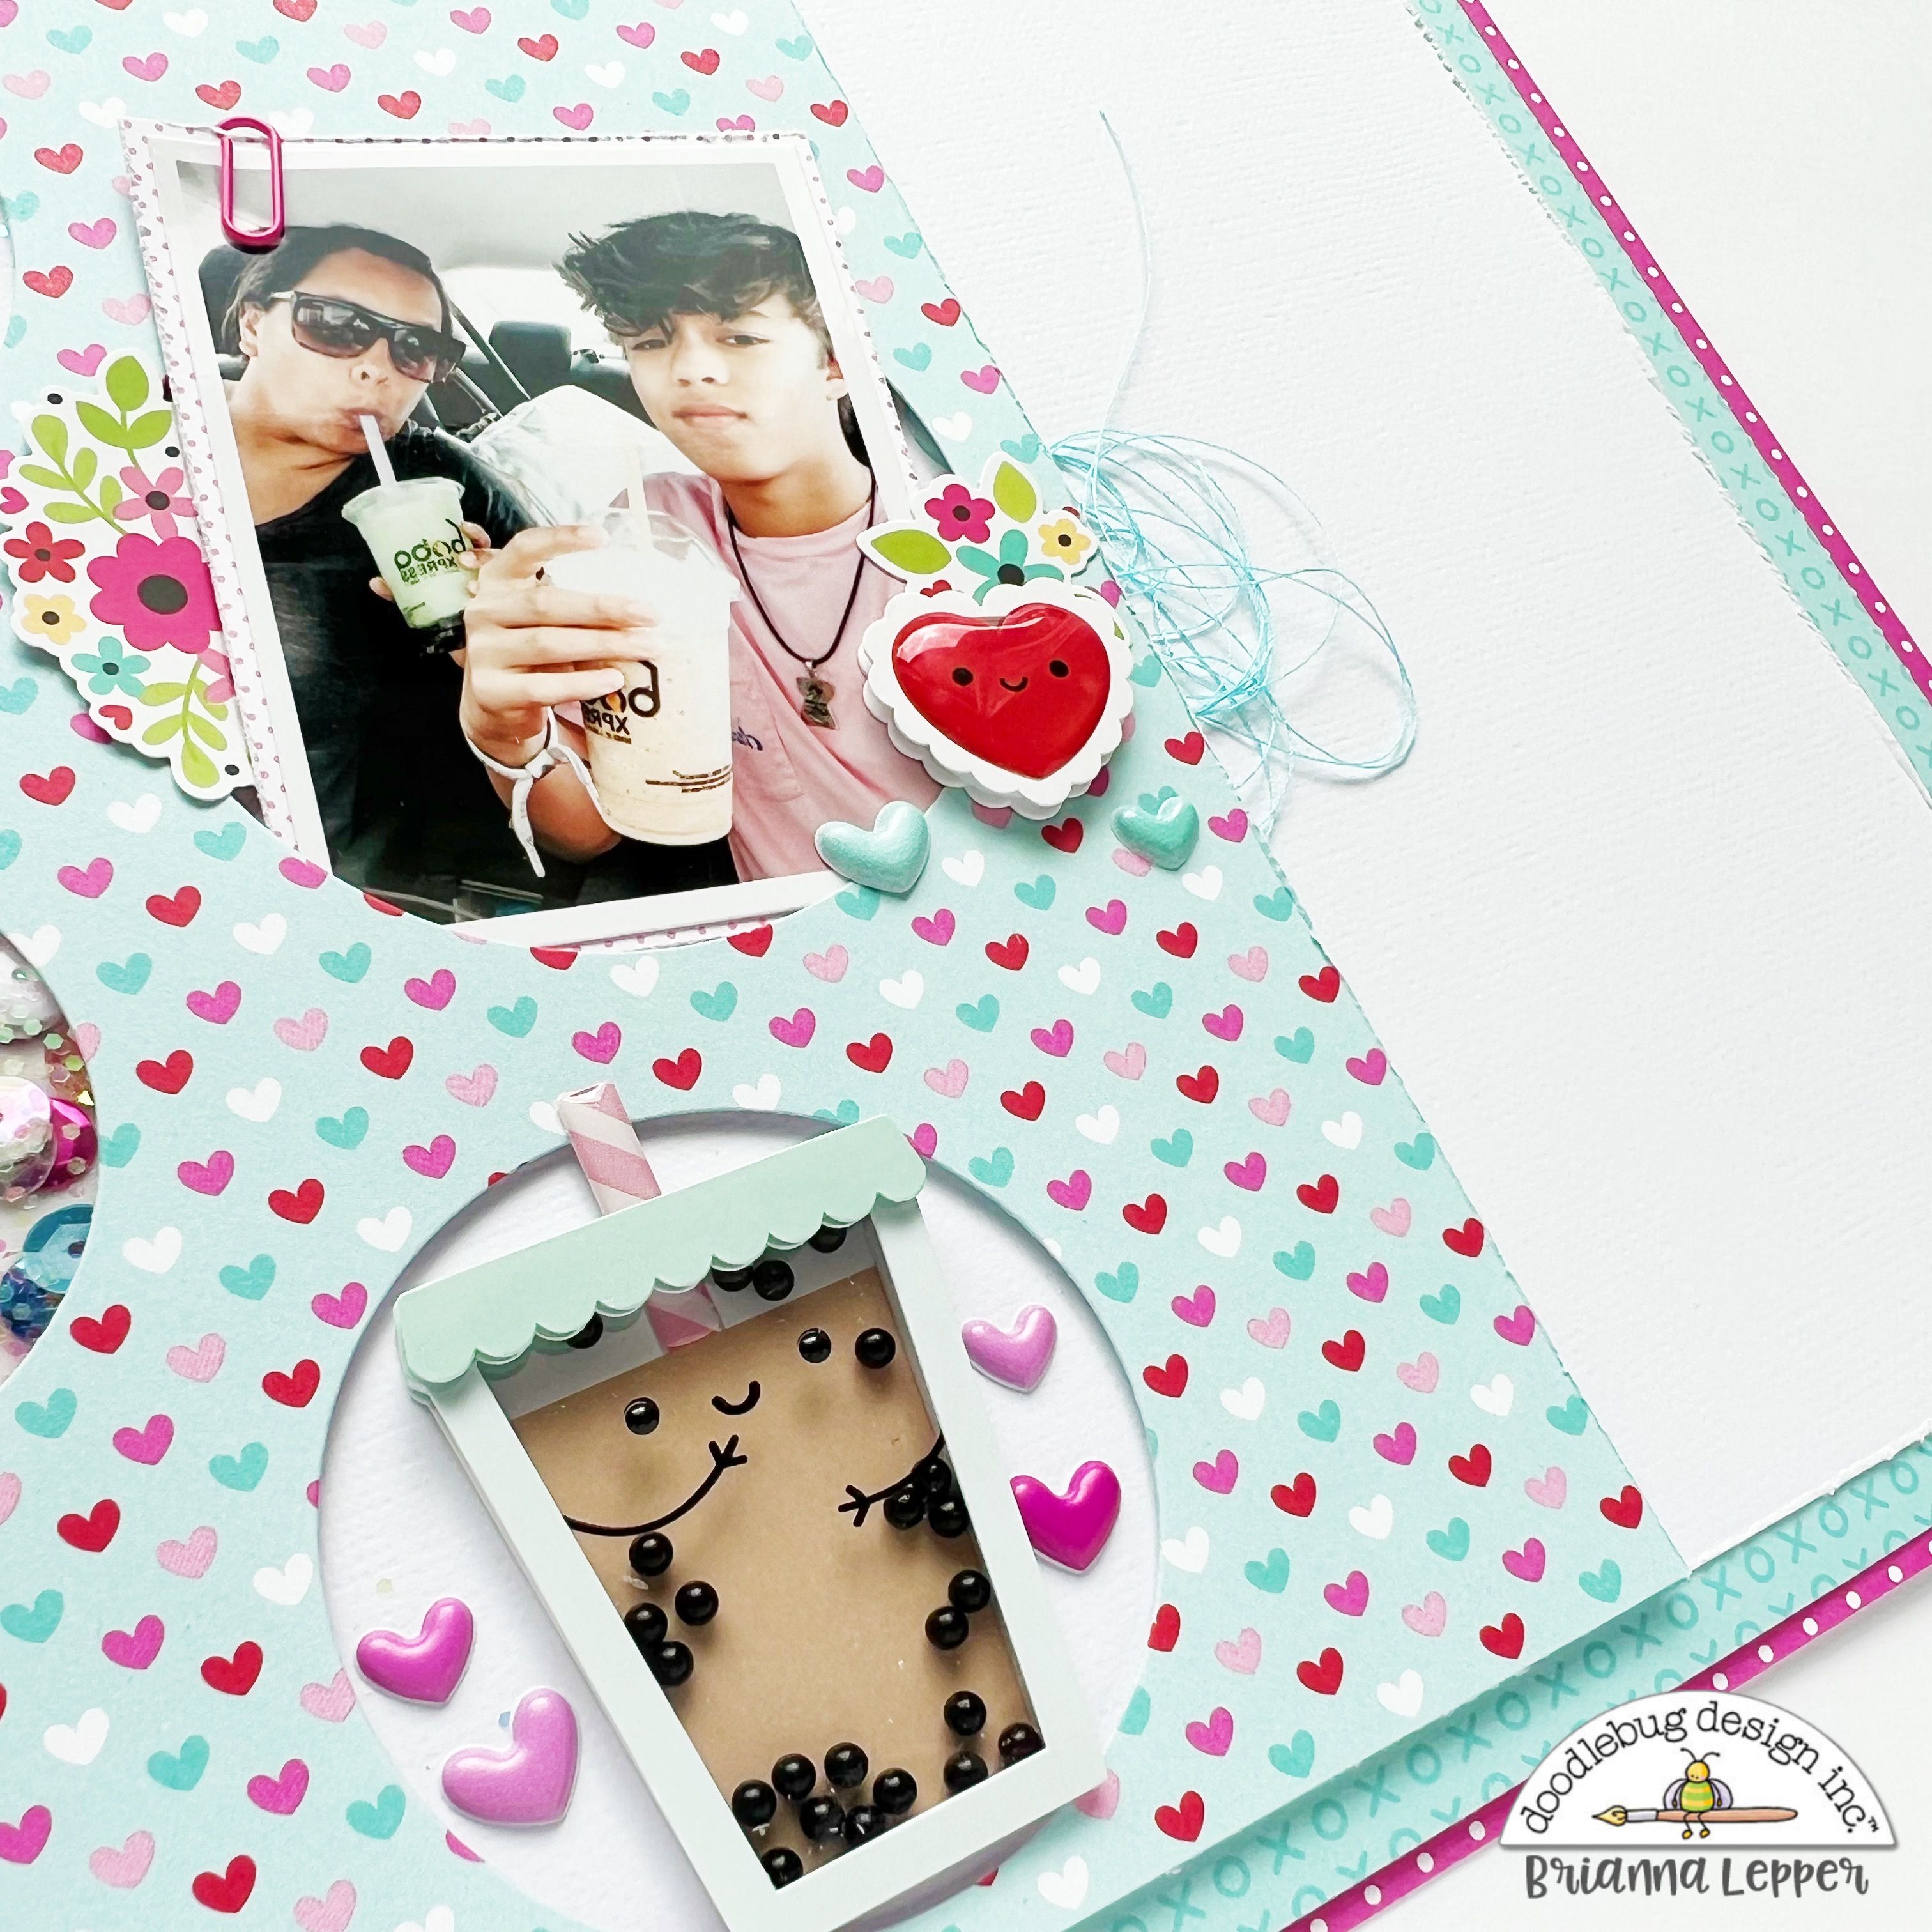
Hey friends! Brianna Lepper here today sharing a fun, interactive layout that focuses on both Doodle Pops and Puffy Stickers. I also used the super sweet Lots of Love collection. Here's my page:


In order to highlight the Doodle Pops and Puffy Stickers, I thought it would be super creative to die cut some circles in one of the patterned papers from the collection. Once I die cut them, I popped the entire panel up on foam tape so that each circle would stand out even more. I took it a step further and created sequin shakers in two of the circles. To do this, I adhered clear acetate to the backside of both circles to create the windows. I then applied foam tape around the perimeter and carefully spooned in some Doodlebug Sequins and also shook in some Sugar Coating glitter in matching colors. I love that extra sparkle they gave each one! I backed the shakers with vellum to close them up and they were complete! Super simple and easy.


In one of the other circles, I tucked in one of my photos that I matted with the one of the Swiss Dot 6x6 papers. I also added the "Love You" phrase from the Bouquet of Love Doodle Pop pack. The circles created the perfect places for my photos, title and embellishments!


My photos are of me and my oldest son drinking our boba teas and the Sweetea Doodle Pop was too adorable not to include on this page. It also fit perfectly in one of the bottom circles. I added a few Puffy Hearts in the Bubblegum assortment around it for some extra pops of pink.

I created my title using the Alphabet Soup stickers in Cupcake and then added one of the All My Love Doodle Pops right in the center. I also sprinkled a few more around the rest of my page. They're so adorable and they add extra pops of color and dimension.


To embellish the rest of my layout, I added a few stickers from the Mini Icon sticker sheet and a floral piece from the Chit Chat pack.


Here's one last look at this fun layout:


Thank you so much for stopping by today, I hope that I inspired you in some way. Have you tried creating shapes in paper similar to what I did here? They create the perfect spots for shakers, embellishment clusters, photos, journaling and your title/subtitle. See you next time friends!


DOODLEBUG PRODUCTS USED

Lots of Love Collection
Alphabet Soup Alphas
Puffy Shapes Heart Assortments
Sequins
Sugar Coating
Mini Paper Clips
Swiss Dot Rainbow Petite Prints 6x6 Paper Pad
Swiss Dot Rainbow Petite Prints 12x12 Paper

OTHER

Circle Metal Dies
Acetate
Vellum
Narrow Foam Strips
Sewing Thread
White Cardstock



Saturday, October 1, 2022

WORLD CARDMAKING DAY BLING CARD CHALLENGE | with Lisa

We have our third #DoodlebugWCMD2022 challenge of the day!! Lisa created this gorgeous card using the Pumpkin Spice Collection and those fun, sparkly Doodlebug sequins!


How amazing is that woven background??  Just stunning!

Now it's your turn.  We would love to see your Blinged card creations!


It's Easy to Enter!  

* Create a card with some bling... it can be jewels, sequins...as long as it's shiny and pretty!!

* Use mainly Doodlebug products

* Upload your card to the comments Section under this post on Facebook or use hashtag #DoodlebugWCMD2022 on your Instagram post

* Entries close Friday, October 7th.

One lucky winner will receive a fun Doodlebug Prize Pack!  

We can't wait to see what you create!


Thursday, August 5, 2021

CUTE & CRAFTY POCKET LETTER | with Wanda

Hi everyone! Have you ever made a Pocket Letter? It's one of my favorite projects to make and send - especially to my crafty pals! And, it's a great way to use lots of pretty elements from a paper collection! Today I used the awesome Cute and Crafty Collection to make a happy, colorful Pocket Letter! There are a million different ways to decorate and embellish a Pocket Letter. The main thing is to just have fun with it! Start with a clear Trading Card plastic protector page and start creating! The finished letter folds into thirds and fits into a business sized envelope (4" x 9") for mailing. Sure to make the recipient smile! 

1

 Each little rectangle is approximately 2.5" x 3.5" like a trading card. Each pocket is a tiny space to create! I love to use sequins in some of mine to make is sparkly. I used a Fuse Tool to seal the top of the plastic once the sequins are inside. I am obsessed with the Doodlebug Rainbow Sequins in those tiny jars. I used the Cute and Crafty 6x6 Paper Pad and the 12x12 Paper Pad for the various pockets. I also used stickers, the Chit Chat elements and the Odds & Ends elements. No limit to what you can create!

1

 It's true! Craftiness is Happiness!

1

For this pocket, I used pretty pink polka dot paper and added white and silver sequins. Then I tossed in a cute pie stamp!

1

 Just some of my supplies!

1

 A little "extra" embellishment on the top to keep it closed once I fold it up! For these top two pockets I used the same pencil paper and made it go across two pockets as the background for the large word pieces!

1

 Here's my bright yellow envelope. I decorated that too of course!

1

 Happy Crafting! As my last step, I added hearts and enamel dots all over the place to make it even more cheerful and colorful. I think we should put Doodlebug Hearts on everything!! 

1

I'll be back soon with another project. Until then, keep on crafting! 


1

MY BLOG | MY INSTAGRAM | MY FACEBOOK

 DOODLEBUG SUPPLIES

Cute and Crafty Paper Collection
Cute and Crafty Stickers, Chit Chat, Odds & Ends
Hearts Washi Tape
Mini Clothespins
Twine
Bright Sprinkles
Rainbow Sequins Pack

OTHER SUPPLIES

Fuse Tool
Crafting Adhesive
Sports Card Plastic Pages


Tuesday, June 15, 2021

PETITE PRINTS MONOCHROMATIC MINI ALBUMS | with Ashley

Hi All! Have you tried a monochromatic project lately? It had been a while for me, so I decided to give it a try again. I got a little carried away and I now have five new mini albums to share with you! I have a full flip through of each album and a tutorial on my YouTube channel here


These projects are also specifically featuring the Petite Print papers. I used both the 12 x 12 sheets and the 6 X 6 paper pads. 

I started by lining heavy weight chipboard with Doodlebug cardstock. I used an accordion fold on the spine with enough space for six signature pages. Each one of the pages is interactive with pockets, flip ups, and tuck spots. The signature pages all have a base of cardstock and are then lined with the Petite Print papers. 

For the covers, I decided to create a different shaker cutout on each. I used coordinating Doodlebug Sequins to fill. To finish all the albums off, I used some stickers from my stash, some Doodlebug Sprinkles, and Doodlebug Mini Clothespins. 


I hope you enjoyed seeing these projects! Happy Crafting! 

Doodlebug Supplies Used: 

Rainbow Petite Prints 12 X 12 papers
Rainbow Petite Prints 6 X 6 papers
Twine and Chunky Twine
Sprinkles and Glitter Sprinkles
Sequins
Mini Clothespins

Other Supplies Used: 

Stickers
Eyelets
Thread

Friday, July 20, 2018

Under The Sea Planner Pages | with Anabelle

Do you hoard your Doodlebug collections? I certainly do! Now that the summer is here, I just had to break out Under the Sea and create with it. This has always been one of my favorite lines. The sweet sea creatures and the pretty colors always make me swoon. And now mermaids are even trendier than ever. So, I just HAD to make something fun for my summer planner. I decided to decorate a weekly spread and add a page marker to it. I love the way it turned out. Here is a look at the whole thing.
To make the page marker, I used 6 by 8 page protector that I had. I had 12- 2 inch by 2 inch pockets. I cut three pockets with the part that had the hole punch and went to town decorating it. I added the paper strip with the border sticker in order to cover the holes, since they no longer lined up. Then, I repunched the holes. 
Next I added stickers, sprinkles and a little paper square. It was easy to find cute items to add. I love being able to see through things, so I only added the paper to one of the pockets.
I pulled out some matching sequins. I sprinkled them into the middle pocket and stitched the top closed. I added a sticker to cover the stitching. I love sequins and creating this little shaker box on the page marker was super easy.
Finishing off my spread was a lot of fun. I pulled some of my favorite elements from the collection and added the page marker on top.
Hoarding our Doodlebug goodies definitely has it's benefits. I can't wait to look through my stash and find something fun to create with next.
Thanks for stopping by!


Thursday, December 22, 2016

Meme / Quote Challenge: Be a Unicorn by Kathy

Hi Everyone, it's Kathy today with my take on the Meme Challenge!  Can I just say Unicorns, Rainbows and Glitter?  Here is the meme that inspired my layout, I've always loved this saying!!!


A couple of months ago, I met up with a scrappy friend for some shopping and lunch.  We happened upon some Unicorn party hats, and well, only a true friend will stand in the middle of a mall parking lot with you and take a selfie wearing unicorn horns! 


Unicorns and rainbows, what could be better!  I used some Gingham Linen Petite Prints for my papers.  The title is written in letters from the Teensy Type Alpha Sheets.


Of course if we are talking unicorns and rainbows, there needs to be some sparkle, so I added some Doodlebug Sequins and some Glitter Sprinkles.


I finished things up with some word and heart stickers from a variety of different Doodlebug collections.  That is the beauty of Doodlebug... you can always find an embellishment to match!  That's it for me today, I hope you've enjoyed all of the Meme inspiration from the Design team! I hope that you all have a very Merry Christmas!

Pin It button on image hover