Sunday, February 19, 2023

OVER THE RAINBOW WINNERS & AN UNBOXING VIDEO | with Erica

 We Have Winners!

Thank you to everyone who liked, commented and shared our Over the Rainbow Giveaway!  We appreciate each and every comment, we have the best followers!  

Congratulations to the winners!

And as a treat, Erica has done a fun unboxing video so that you can see all of the Over the Rainbow Cuteness!


Have a great day!

Saturday, February 18, 2023

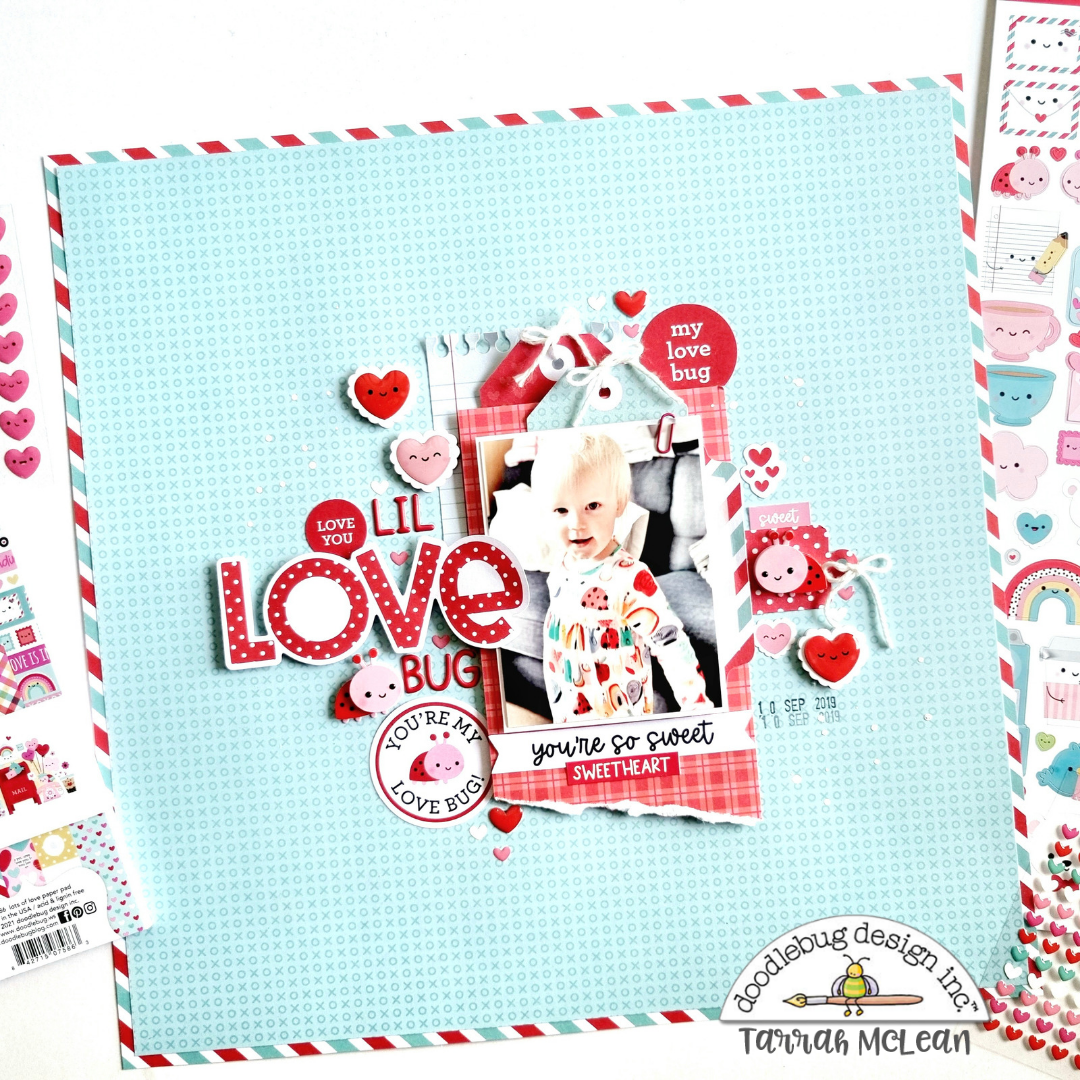
LOTS OF LOVE LIL LOVE BUG LAYOUT | with Tarrah

Happy Love month everyone! Today I am sharing a 12' x 12' scrapbook layout created using the gorgeous Lots of Love collection!  The Lots of Love collection is absolutely GORGEOUS and is so perfect for all kinds of projects! I am documenting a sweet photo of my niece dressed in a cute dress that matches the collection perfectly!


I decided on the beautiful blue 12' x 12' paper with the X's and O's from the Lots of Love collection as my background paper, I trimmed this piece down to frame it with the 12' x 12' Happy Mail paper. I LOVE the pops of red against the pretty blue colour.


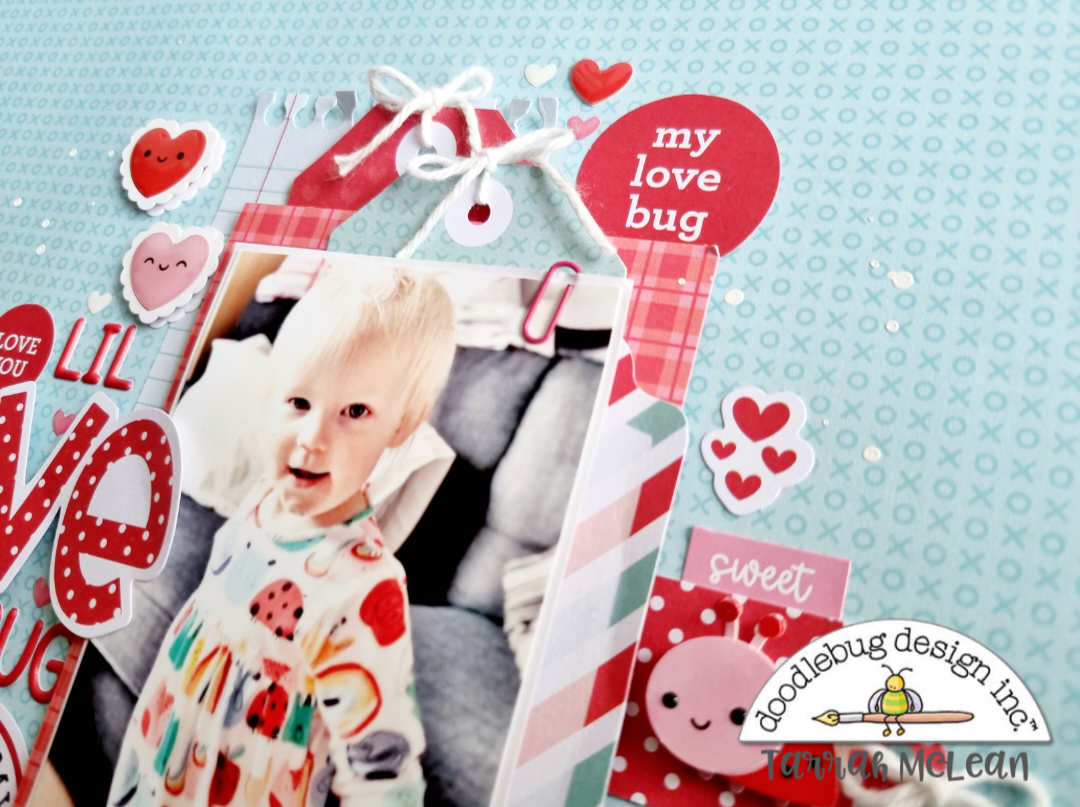
I took a piece of red plaid paper from the Lots of Love 6'x 6' paper pad and tore the bottom edge to create some texture, I layered this piece under my photo in the centre of the layout. I used craft foam both under the photo and under the red plaid paper to create some dimension and shadows on my page. I added a super cute mini paperclip to the top right corner of the photo.


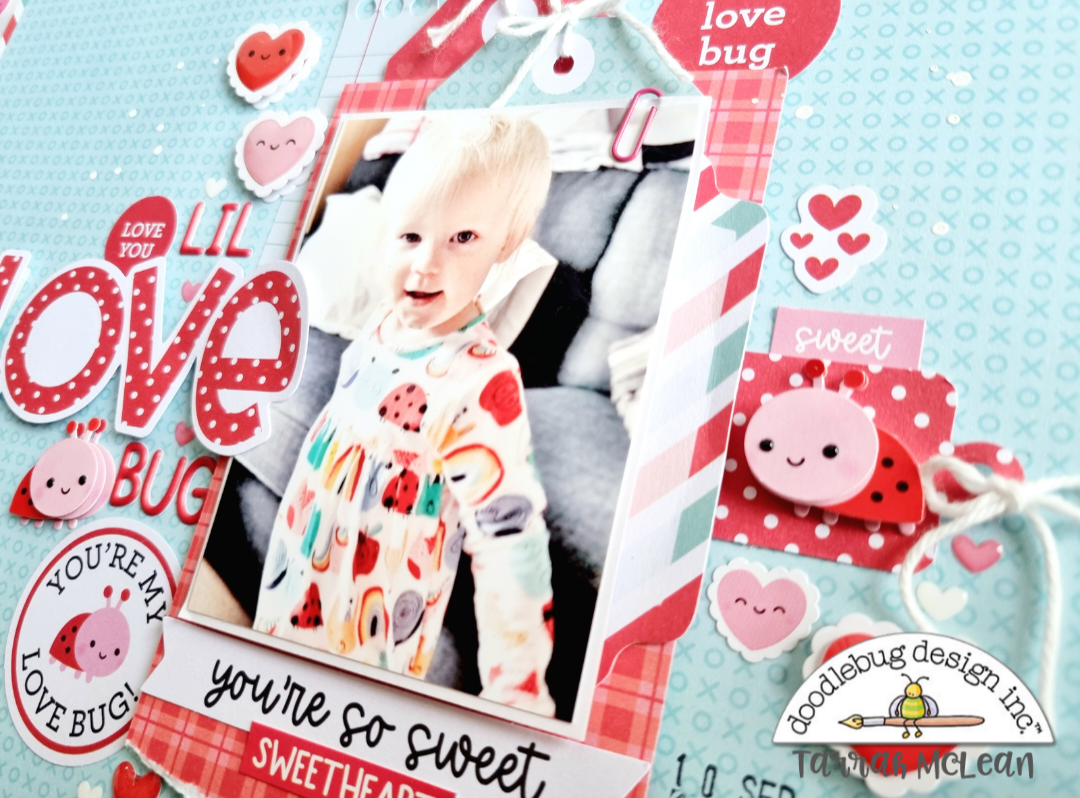
I tucked in two of the die-cuts from the Lots of Love Bits and Pieces pack on the right of my photo, I tied some of the Lily White Twine through the hole in the top of the small tag and layered one of the super gorgeous ladybug Doodle Pops on the top of the small tag. Here I added some small embellishments from the Lots of Love collection including a heart Doodle Pop, die-cuts and the This and That cardstock stickers.


For my title, I included the gorgeous Love word die-cut from the Lots of Love Chit Chat pack and also used some of the Alphabet Soup stickers in Ladybug to complete my title. Above the photo, I tucked in some of the tags from the Lots of Love Bits and Pieces pack and added the Lily White Twine through the holes in the top of the tags.


Some of the final embellishments I added to my layout were the heart Sprinkles, more die-cuts, This and That cardstock stickers and some of the Icon stickers all from the Lots of Love collection to finish my page. I also stamped the date stamp with black ink and sprinkled some white mist also.


I absolutely LOVED working with the Lots of Love collection, thanks so much for taking a peek at my layout today! See you next time!


DOODLEBUG PRODUCTS USED

Lots of Love Collection
Alphabet Soup Alphabet Stickers - Ladybug
Doodle Twine - Lily White
Mini Paperclip - Ladybug

OTHER

White Mist
Date stamp
Black ink

Friday, February 17, 2023

LOTS OF LOVE BACKPACK TUTORIAL | with Niella

Hi crafty crew! It's my first ever Doodlebug Design DT post with a fun tutorial! Thank you for popping by! As love is still in the air in February let's create something so cute using the Lots of Love Collection, although you could adapt to any Doodlebug collection :-) All you'll need to start is a 12x12 sheet of Doodlebug Design cardstock and any ephemera you'd like to add! 

Firstly, I've selected a gingham-linen Petite Prints cardstock print and measured 3.5" wide x 10" strip. This will be your post bag piece. The other pieces you'd need are straps that are 3/4" wide x 6" (x2 pieces). For the side gussets of the post bag you'll need x2 of 2 1/8" x 4" (x2 pieces) as below.

For the bag, turn length wise so 10" is across on your scoreboard. Score at 2.5" (front of bag once opened), 3 1/4" bottom of bag), 7" (back of bag), 7 1/4" (top of bag) and then you are left with remainder of piece that is your front flap of bag.

Set aside. Next for your side gussets, length wise you'll score at 1/2 intervals. Set aside. Next, I've stitched each panel or piece for extra texture and dimension but this is an option only, it'll still be just as cute without it!

Adhere all pieces with liquid adhesive, I like to use tacky glue and hold down for a few seconds to secure before I move onto the next piece to adhere.

If you'd like to add extra elements like I have, do these before adhering the gussets and straps. For example I added a pocket by directly using my sewing machine to stitch in the pocket!


Once every piece is assembled, adhered in place add velcro dots so you can have a closure. Now you can have fun decorating!  I used lots of goodies from the Odds & Ends and Icon Stickers to decorate my bag!


Remember to keep this post handy because you'll want to make these super cute bags over and over again plus you could adjust the measurements to your specific needs and theme :-) Endless possibilities my friends!


Thanks for stopping by crafty crew! Until next time, doodle-dee!


DOODLEBUG PRODUCTS USED

Lots of Love Collection

OTHER

heart charm
Velcro dots


Pin It button on image hover