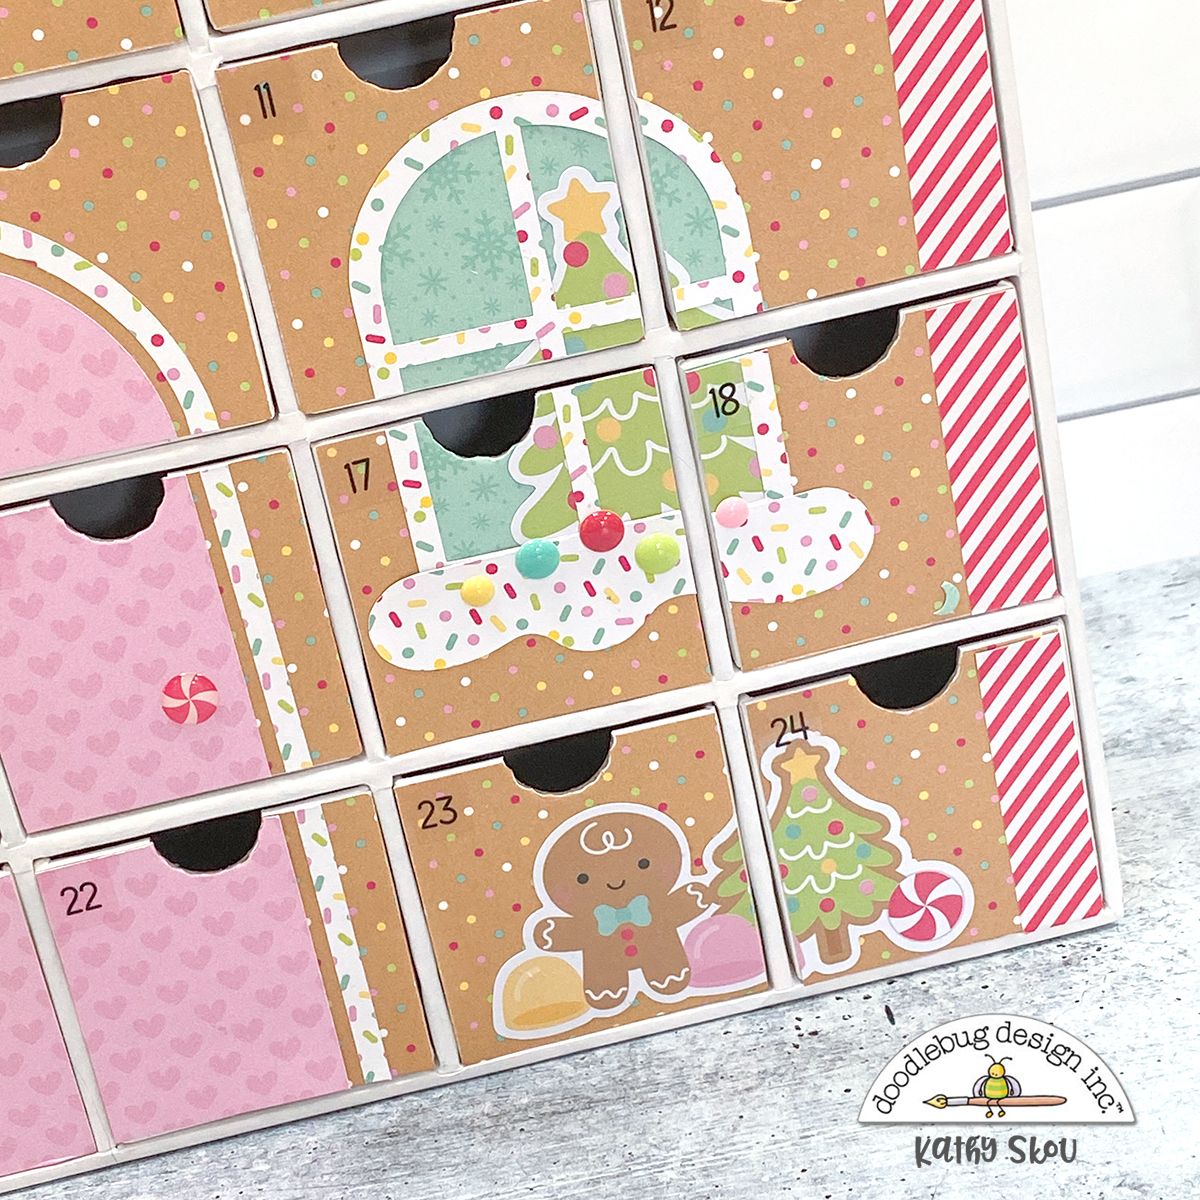
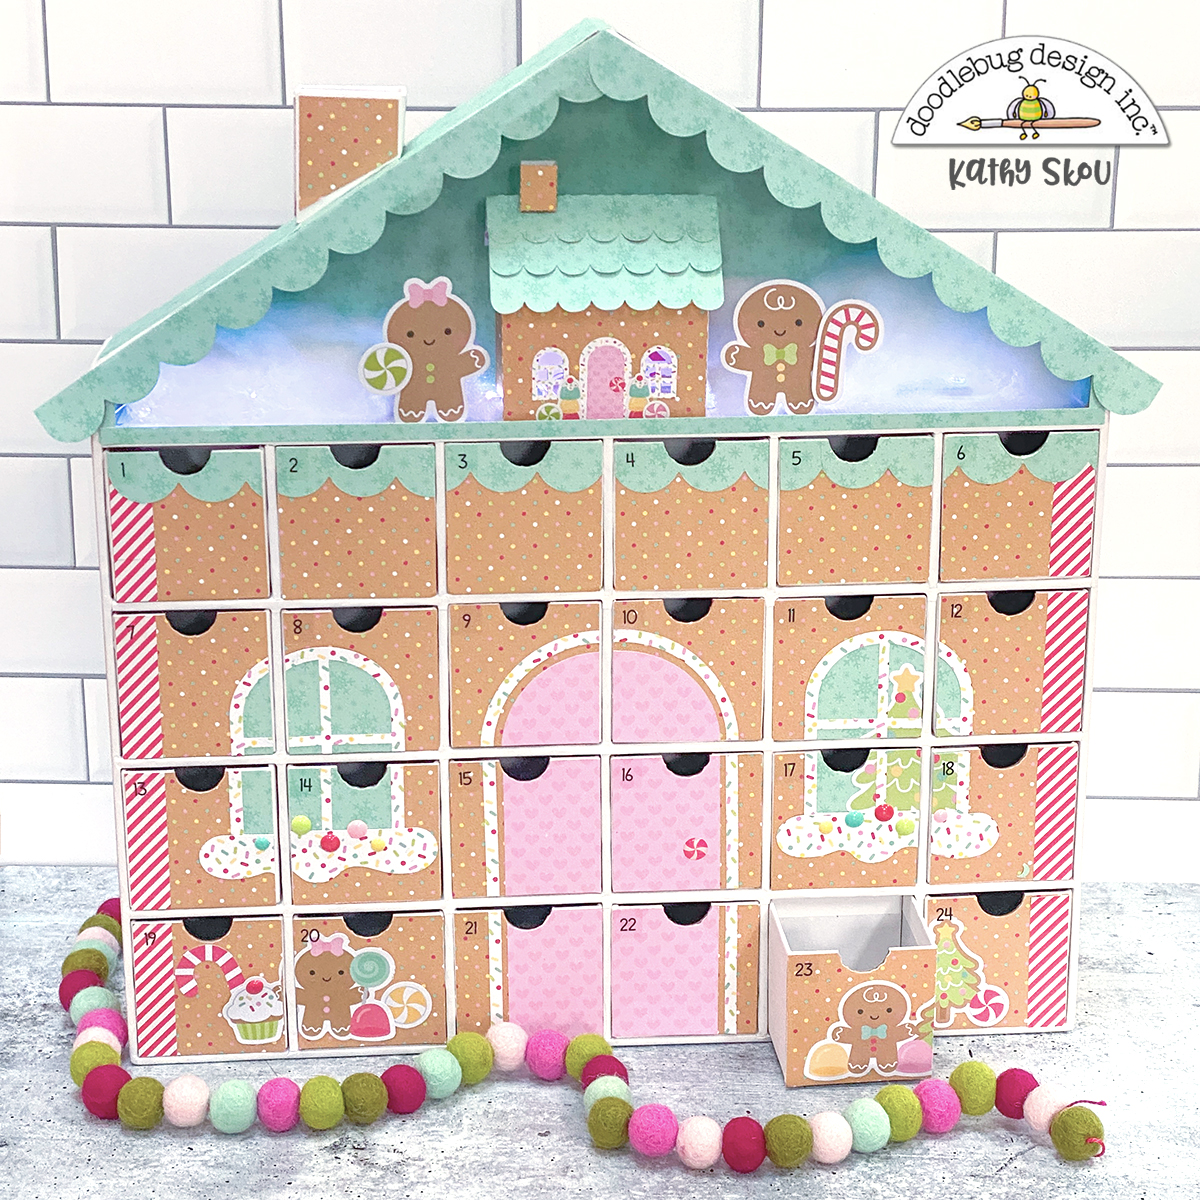
The holiday season is upon us, and there's no better way to count down the days to Christmas than with an advent calendar filled with festive surprises! I was so excited when I learned that Doodlebug came out with their very own customizable advent calendar! Why settle for a store-bought one when you can create a super cute Doodlebug-themed personalized one!
I wanted to create an advent calendar but add a fun little something extra to it. In this post, I will share with you the process of crafting your very own advent calendar complete with a unique twist – a baking-themed journal to record your sweetest Christmas memories! With all the cute baking-themed icons and papers in the Gingerbread Kisses collection, it was so easy to whip up this fun-themed advent calendar.
Here is how I put this together:
**Step 1: Decorating the Calendar**
I wanted my Advent to look like a gingerbread house, so I painted the house with some light tan paint. I then decorated the roof with some Blush colored Textured cardstock and cut scallop border strips on my Silhouette. I adhered these to the roof section. I wanted to decorate the roof with some real candy so I hot glued 2 mini candy canes and some gumdrops to the scallop strips. In the center of this section, I added the "Baking Spirits Bright" Chit Chat piece to a kraft-colored doily. I added the "Baking Spirits Bright" banner sticker from the This and that sticker sheet on top for some dimension. I also added some white Chunky Twine as a border along the edges of the house.

For the drawer fronts, I used the Holiday Sprinkles paper. I picked up some little wooden drawer knobs at the craft store, painted them white, and glued them to the fronts of the drawers.

I added this cute Santa, who is from the Odds and Ends, and a couple of Gingerbreads from the Puffy Stickers to the chimney part of the house! He looks so cute peeking out!

**Step 2: Add Mini Cookie Cutters and create the Numbered Tags
Next, add a mini cookie cutter to each drawer. These mini cookie cutters will serve as the key to your calendar. They'll not only look adorable but also provide a fun surprise for each day. To add the numbers to the cookie cutters, I die-cut a small stitched square tag from the Mini Tags Doodle Cuts. I cut the small number squares, found in the 6x6 paper pad, and added them to the tags. I tied the tags onto the cookie cutters with some baker's twine.


This is where the magic begins. Each day, open a drawer, find the number on the tag, and uncover a memory prompt.

Every day, as you open a drawer, you'll also pull out a decorated tag with your daily journaling prompt. Write down your memories, experiences, and thoughts related to baking during the holiday season. These journal entries will become a cherished keepsake for years to come.

**Step 3: The Baking-Themed Journal**
Here's where the unique twist comes into play with my calendar. I decided to go along with the baking theme of the collection to create a baking-themed journal to capture the precious memories of your holiday baking adventures. I bought a white chipboard box from the craft store. I decorated the box with some Cookies for Santa paper. I decorated the front with a 3x4 card from the Gift Wrap paper. I added the "Christmas Memories" sticker label to the card. The sticker is on the This and That sticker sheet. I added a few Puffy stickers to the label as well.


I then cut out 24 tags from some textured cardstock. I wanted to add some lined paper to the tags so they can be written on so I used the Bright Ideas paper from the Cute and Crafty collection. I then used some papers from the Plaid and Polka Dot Petite Prints and cut out a 3-D bow from a cut file on my Silhouette. I added the bow to the top of the tag and added a button and some twine to the bow. The Tags are held in a Kraft Slimline Evenelope that I trimmed down just a bit on one end to hold the tag. The envelope is then decorated with the 12x12 paper version of the numbered boxes found on the Christmas Jammies paper.

On each tag, I added a journaling prompt related to baking, such as "Share your favorite cookie recipe" or "Describe the scent of fresh gingerbread cookies."

So -with your handmade baking-themed advent calendar and journal, you'll not only savor the joy of the holiday season but also create lasting memories. The combination of the Gingerbread Kisses line, mini cookie cutters, and daily prompts will make each day leading up to Christmas a sweet adventure. So, gather your crafting supplies, get creative, and bake your way to Christmas bliss with this delightful DIY project. Thank you so much for stopping by today! Have a great week and a Happy Holiday Season!
INSTAGRAM | YOUTUBE | BLOG
DOODLEBUG PRODUCTS USED
Gingerbread Kisses Collection
Advent Calendar House
Cute and Crafty "Bright Ideas" paper
Gingerbread Kisses Textured Cardstock Assortment plus 3 sheets of Blush Textured Cardstock
Plaid and Polka Dot Petite Prints Paper
Mini Tags Doodle Cuts
Doodle Twine
White Chunky Twine
OTHER
Silhouette Cameo
3-D Bow cut file
Kraft Slimline Envelopes
Buttons, twine
Kraft Doily
Light Tan and White Paint
Wood Drawer Knobs
Gumdrops and Mini Candy Canes
Hot Glue Gun
White chipboard box
Green ric-rac
Mini Cookie Cutters