Tuesday, May 26, 2020

DOODLE STAMPS & CUTS - LAYOUT | with Tegan

I love creating graphic designs on my layouts! I used the new Doodle Cuts Borders and Edges Dies and the Hey Cupcake collection to create a fun chevron background on today's layout. I love how it turned out so come take a look! 
​​
​
​ I started by using the heart strips Borders and Edges die to cut out four strips in four different bold colors.
 I then used the graph design of the Lollies Patterned Paper to help me create the chevron design. I used the light pink stripe in the middle of the patterned paper as a guide to place the heart strips at an angle against. Using the different colors of the graph to see where to place the strips made this design so easy!  I then embellished my photo with some Odds & Ends pieces and Sprinkles. I also used the largest Doodle Cuts Nesting Scallops die to create a circular frame around my photo.
​
​ The Odds & Ends and Chit Chat Die Cut Packs make embellishing projects so easy. I also added some Sprinkles Self-Adhesive Shapes as confetti in the balloon. And isn't that little birdie just the cutest?!
​
​ I used the fun Abigail Alphabet in Swimming Pool and a Chit Chat Die Cut piece to create the title. I embellished the word 'GIRL' with a few of the round Sprinkles Self-Adhesive Shapes. I love the little bit of detail this adds! I then further embellished the title with Mini Icons Stickers. 
​
​
​ The Hey Cupcake collection is just perfect for helping me document my niece's birthday! I can't wait until her birthday rolls around again so I can take more pictures to document with this fun collection. And I think the heart strip die makes a pretty cool background design! 
​
​ Thanks for joining me today! I hope I have inspired you to grab some of the new Doodle Cuts Dies and the Hey Cupcake Collection for your next layout!
​
​
​
​ Doodlebug Design Products Used:
​ Hey Cupcake Collection
​ Abigail Alphabet Stickers - Swimming Pool
​ Doodle Cuts Borders and Edges Die Set
​ Doodle Cuts Nesting Scallops Die Set
​
​
​
​
​
​
​
​
​
​
​
​
​
​
​
​
​

Monday, May 25, 2020

DOODLE STAMP & CUTS - TREAT CONTAINERS | with Karen

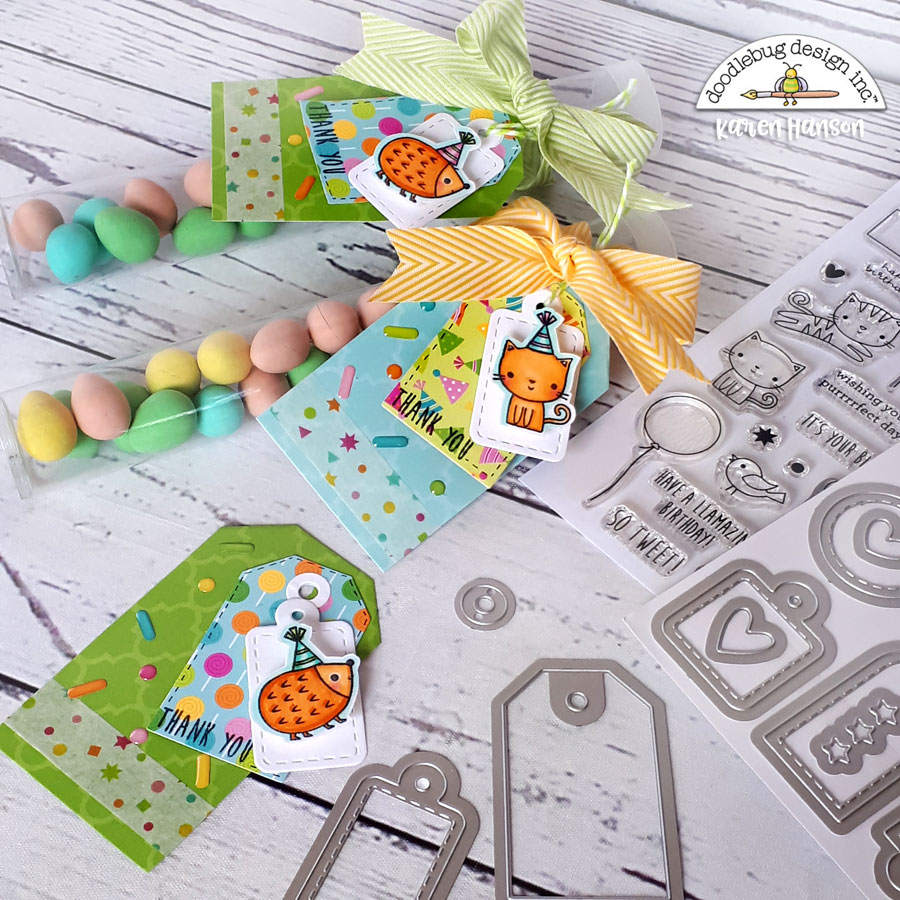
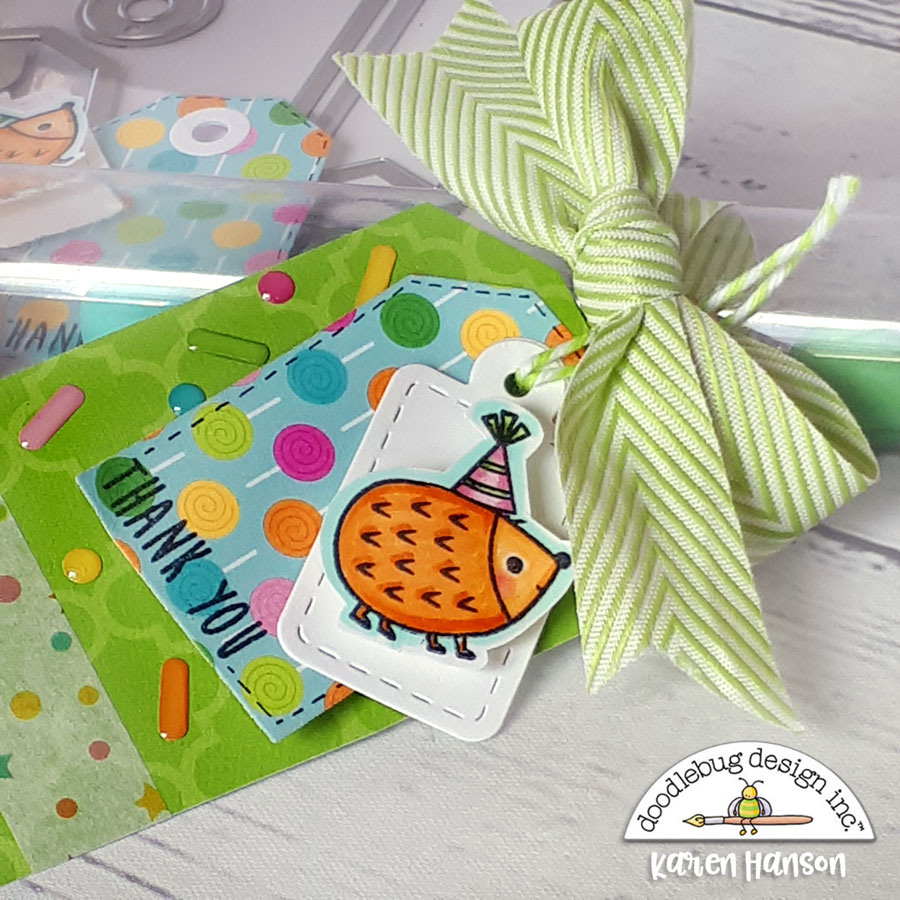
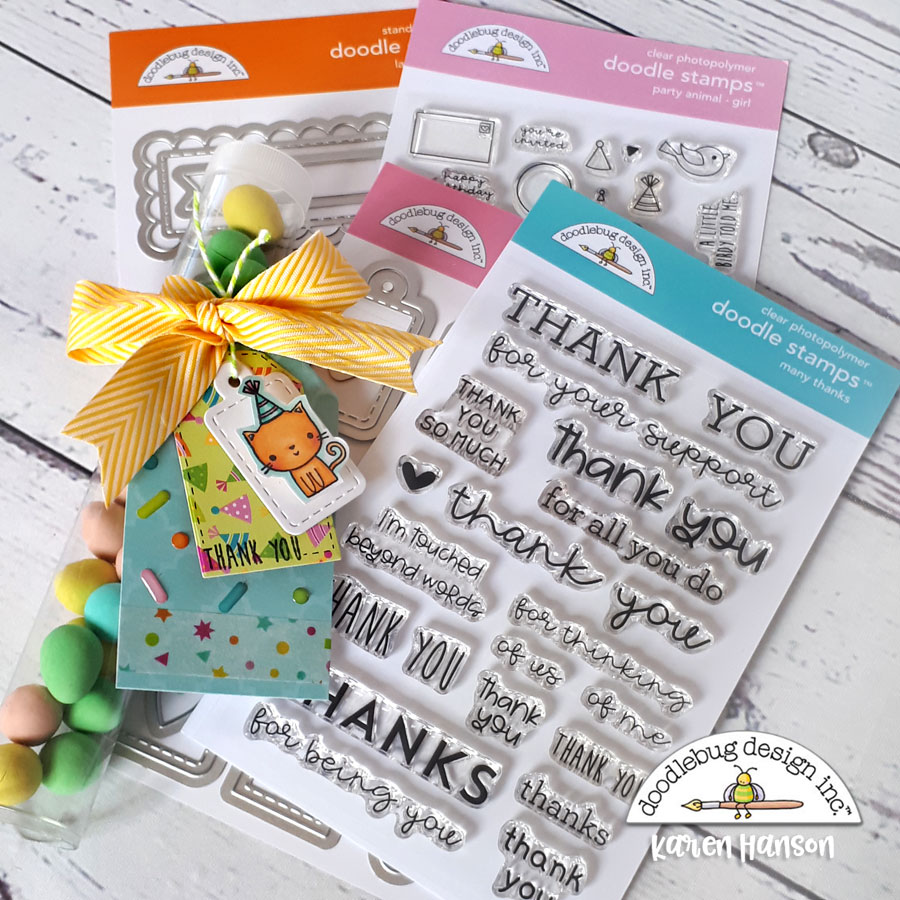
Birthdays always seem to be a time when we reach out to one another and celebrate, so one of my favourite parts of planning for a birthday has been figuring out how to say "thank-you" to those who help make it a special day. Little treat containers have become a part of our birthday traditions so the new Hey cupcake collection together with some of Doodlebug's new Doodle Cuts are a welcome addition to my crafty collection! These little tags used to decorate the treat tube came together really easily with these new products. Using a combination of the Large Tag Doodle Cuts and the Mini Tag Doodle Cuts gave me a variety of tags that were easy to layer together to create dimension. The Birthday Girl Stamp set has a number of cute little characters that are a perfect size for the mini tags. With a bit of masking to add a party hat, and a quick colour with some alcohol markers, the tags each took on a style of their own. And with some fun washi tape, a sentiment from the Occasions many Thanks Doodle stamps and and my new favourite Shape Sprinkles called...well...Sprinkles, these little little tags were everything I needed them to be! A simple way to say thank-you for helping to make a birthday special.
Thanks for stopping by!

Doodlebug Design Product:
Hey Cupcake Collection
Party Animals Doodle Stamps
Many Thanks Doodle Stamps
Doodle Cuts Large Tags
Doodle Cuts Mini Tags
Other Products:
White cardstock Alcohol markers Ink
Ribbon
Tube treat containers

Friday, May 22, 2020

HEY CUPCAKE - DRESSING UP GIFT CARDS | with Stephanie

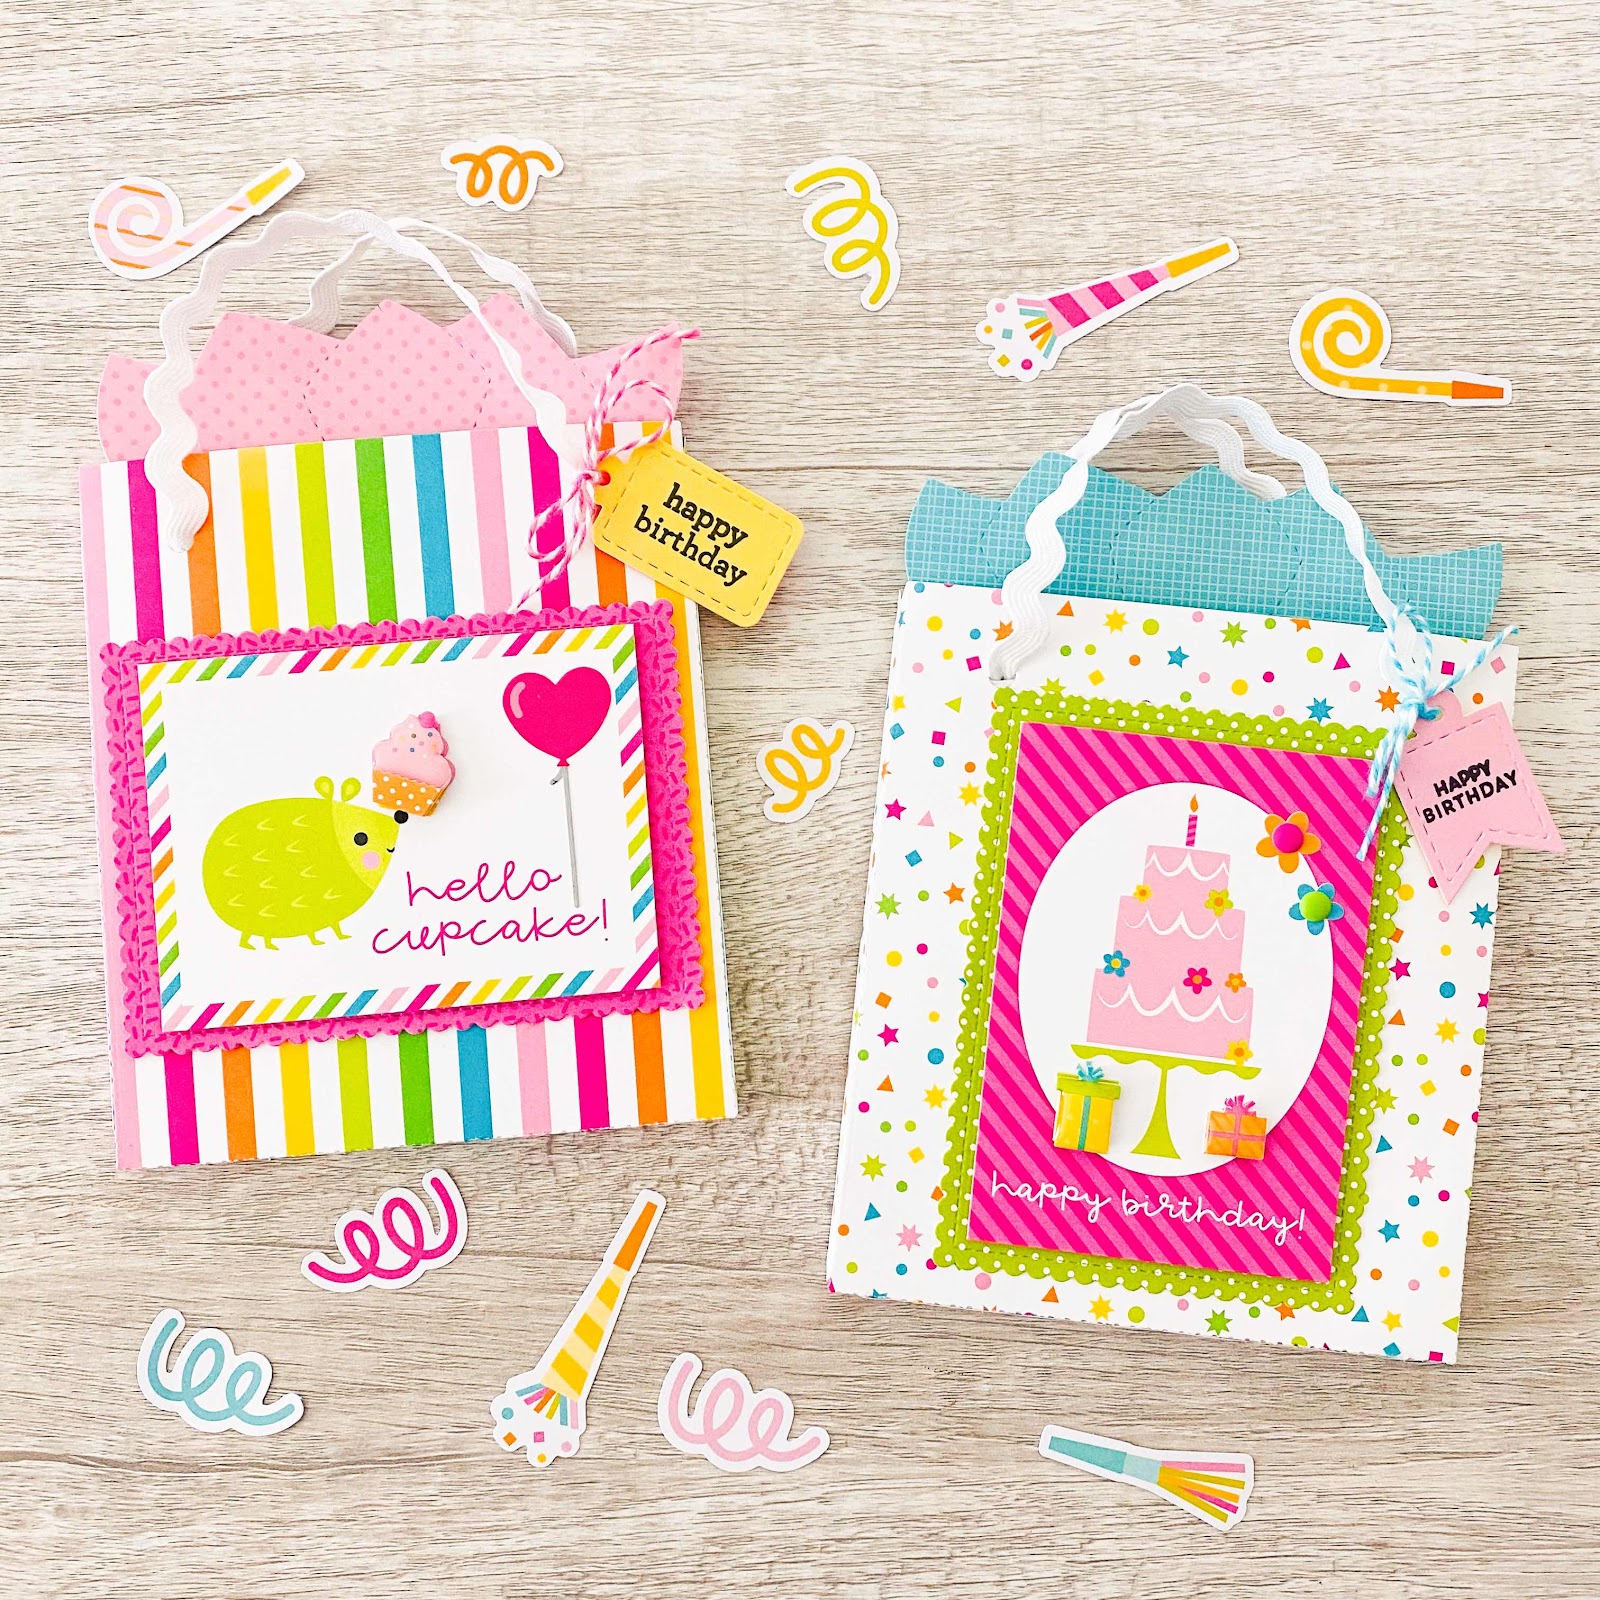
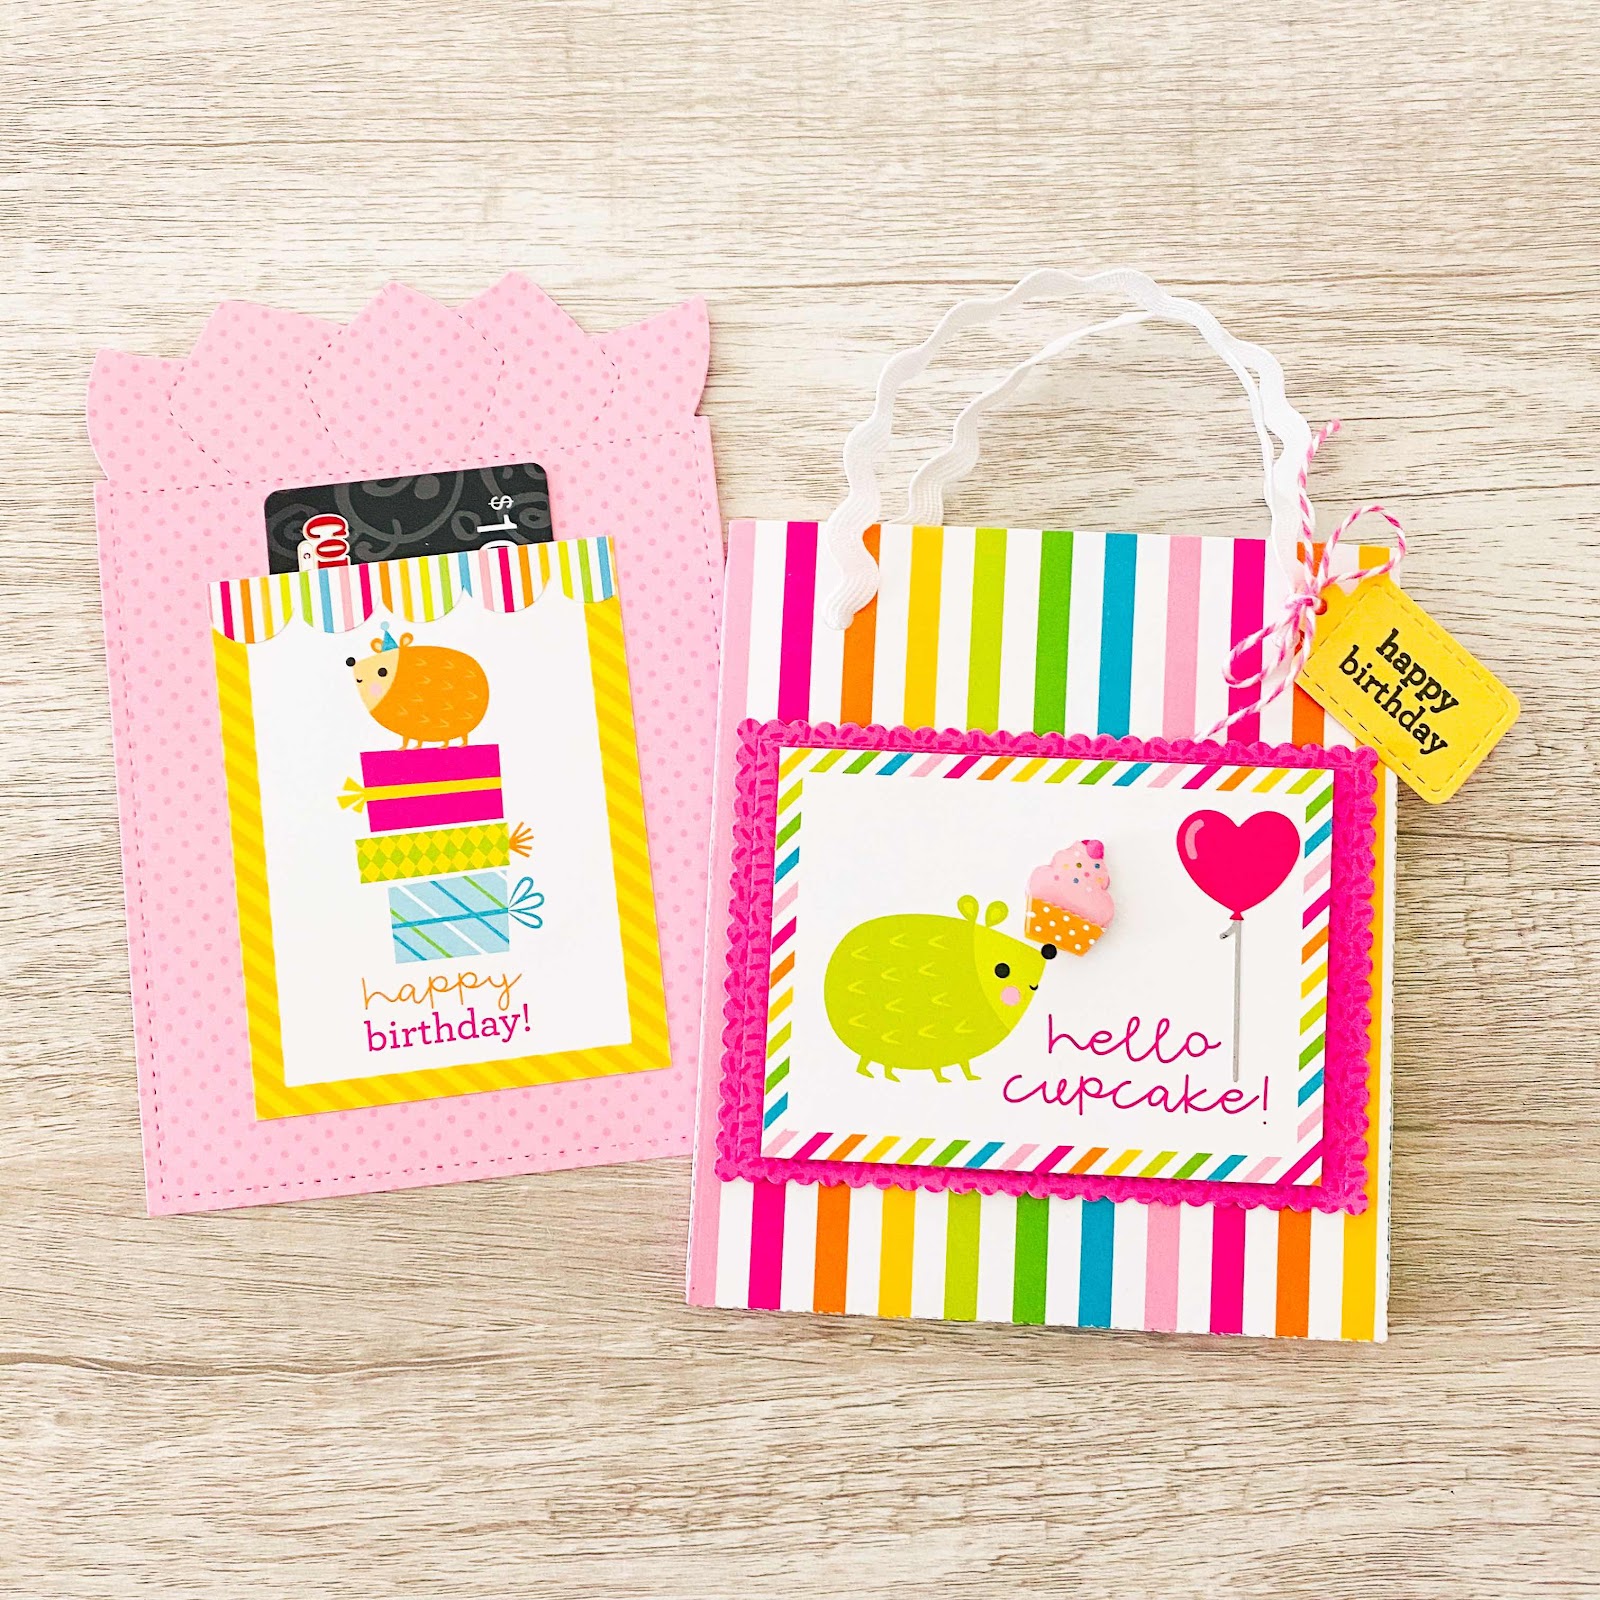
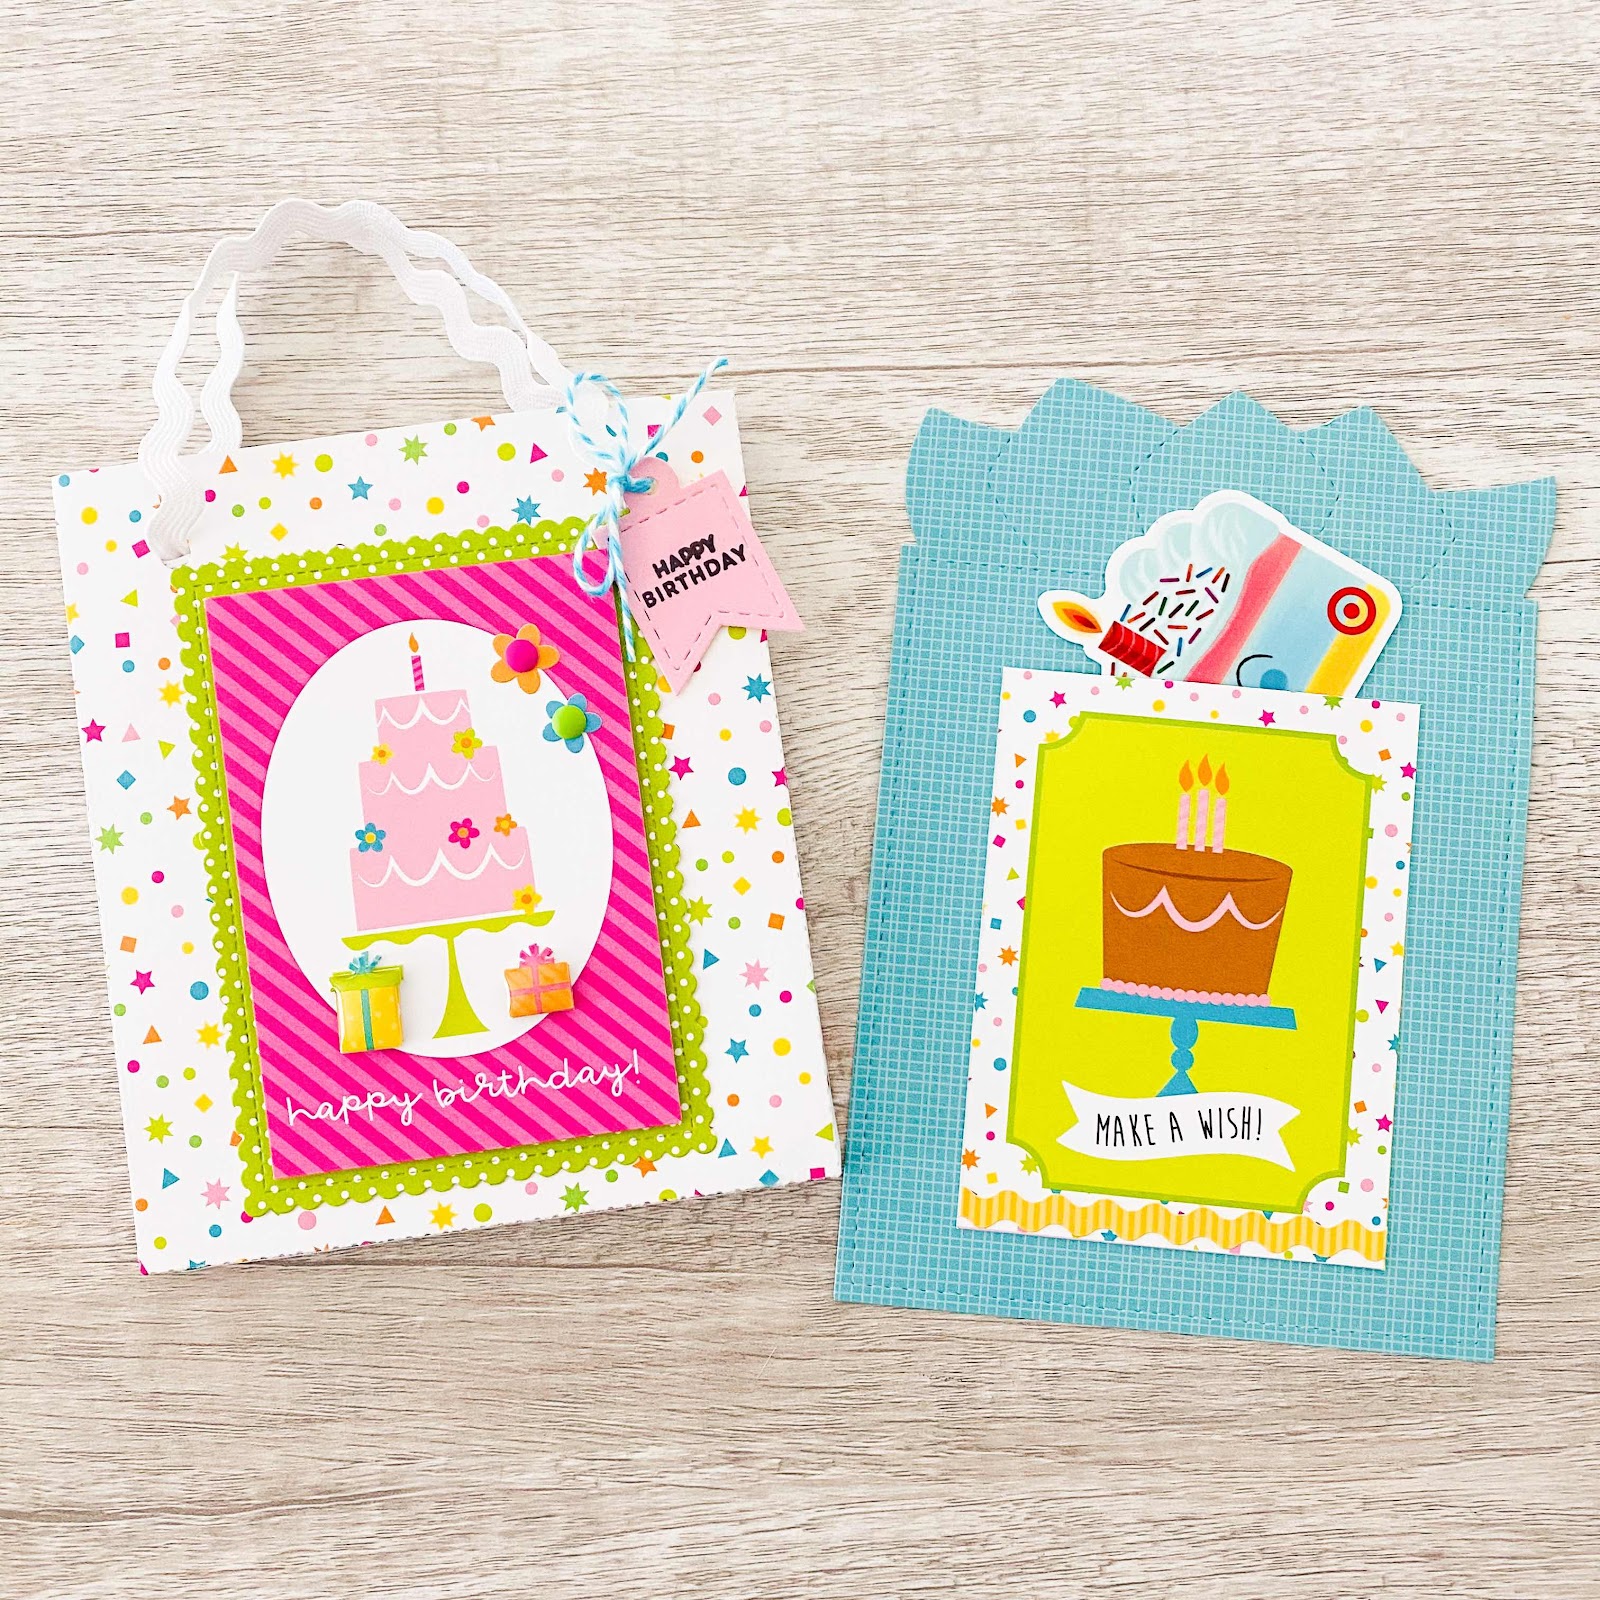
Do you need a cute and quick way to give a gift card for an upcoming Birthday?  My project today is a fun way to dress up gift cards using elements from the Hey Cupcake Collection and resembles a gift bag with a tissue paper insert that holds the the gift card.    
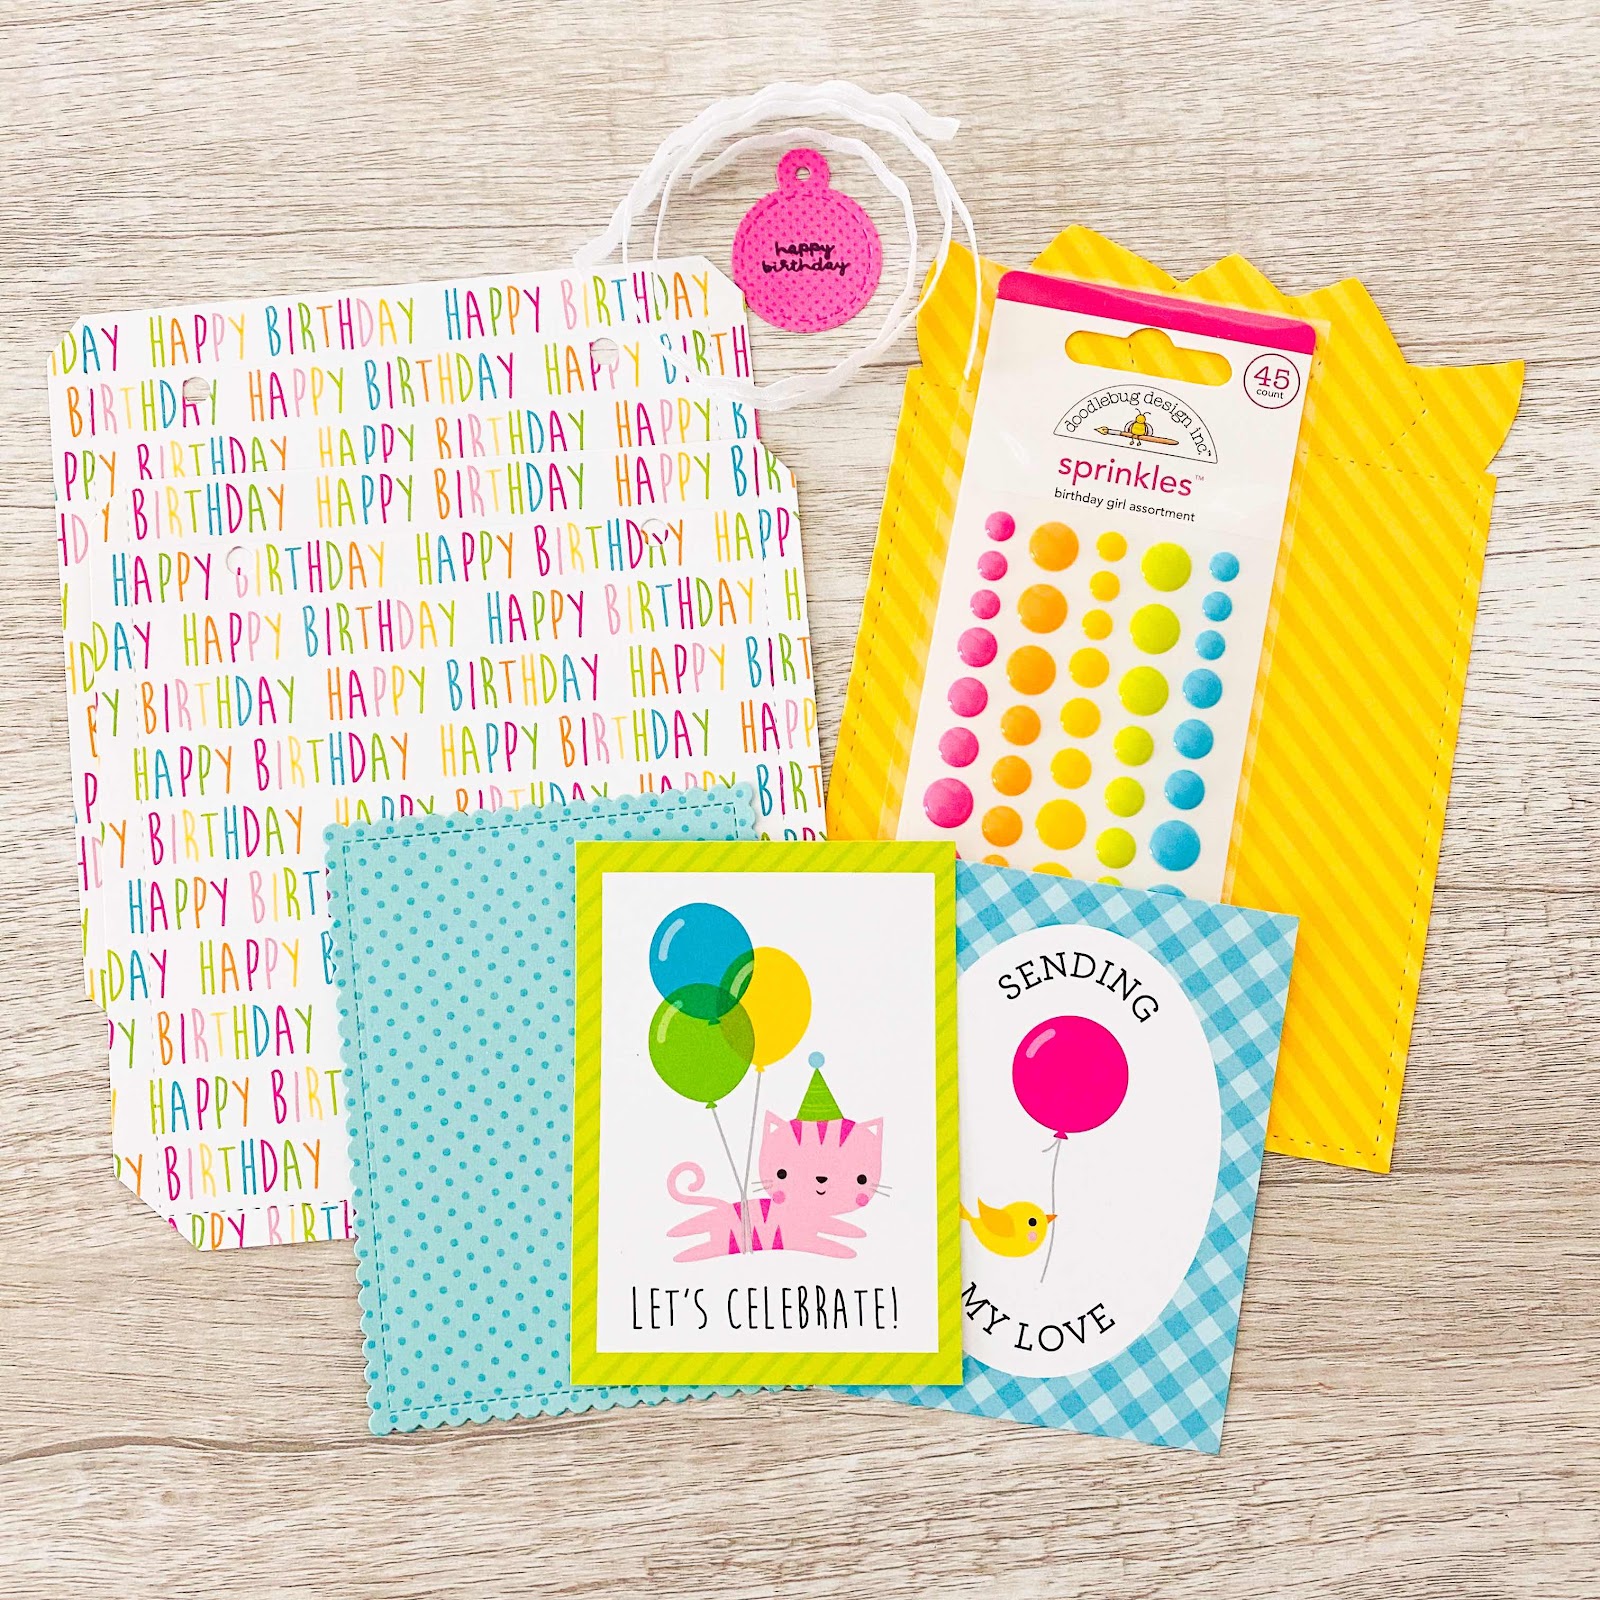
Here are some things you will need.  First, choose a sentiment/focal point for the front of the bag as well as the pocket for the gift card insert from the 3x4 cut aparts (Birthday Bash Paper). Then choose some pattern paper for the top and bottom of the “bag” as well as the tissue paper insert, a layering piece for your cut apart, and the tag. You will need some ribbon for your handles and twine to tie the tag to the handle.  I also used various stickers and sprinkles to embelish.

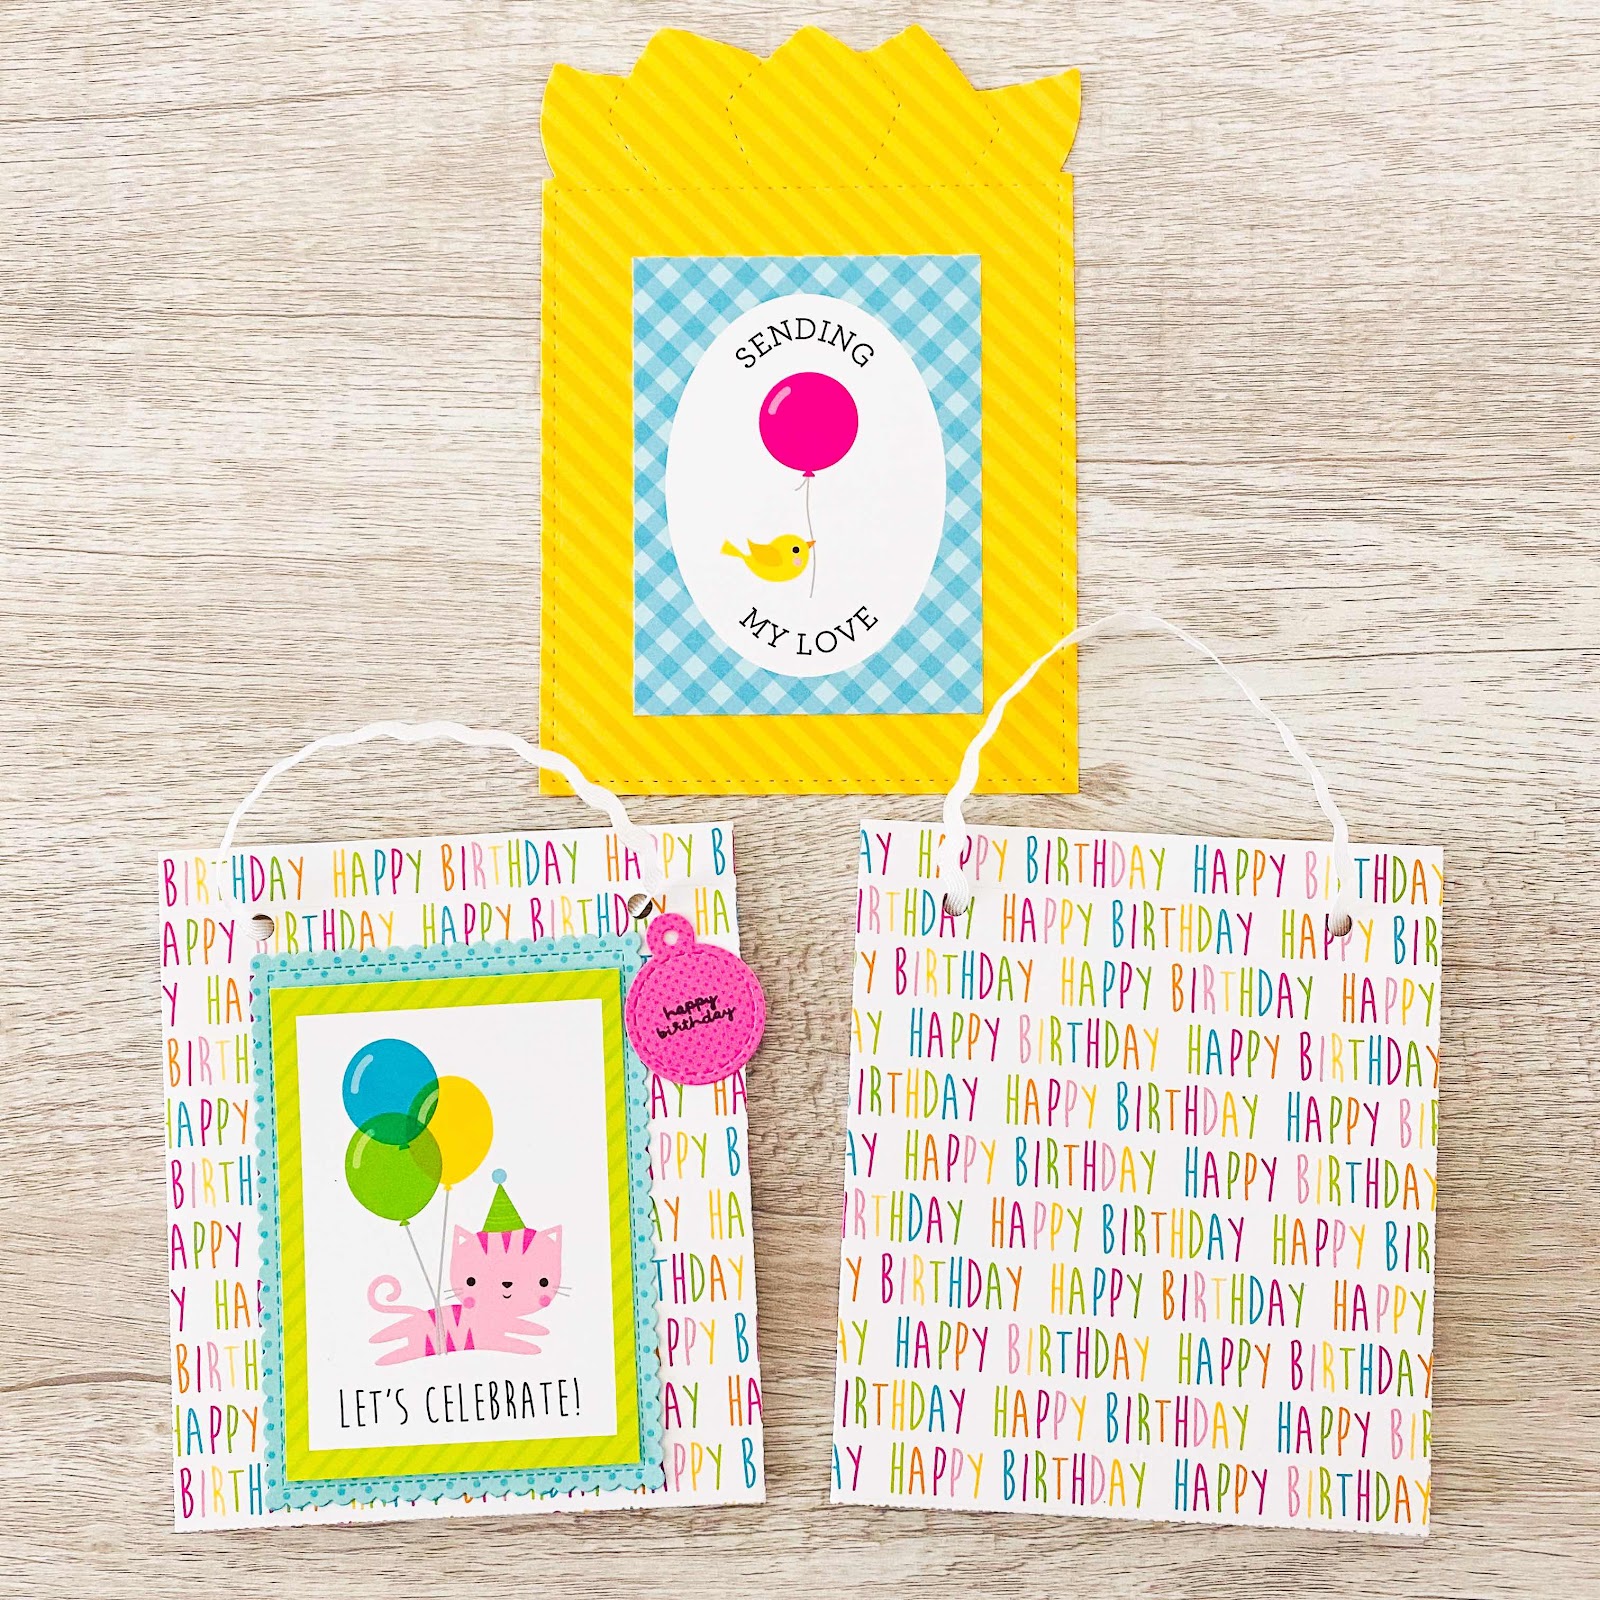
Cut your top and bottom bag pieces approximately 5 3/4” high and 5 1/2” wide.  Snip all 4 corners of your square pieces.  Score 3 sides (bottom, right and left) about 1/4” from the edges. Punch two holes at the top for your handles about an inch from either side.  I used a die cut with stitching detail, for my insert, but if you have mad cutting skills (unlike me) you could free hand cut the tissue paper element at the top of your 4 1/2” wide and 6 1/2” high insert piece.  Adhere your cut aparts to the front of the bag and insert.  Helpful hint: on my first attempt I used too much adhesive and without thinking even glued the top of my pocket closed which made it impossible to put the gift card inside.  Haha don’t do that! :)

Next, fold your sides and bottom flaps down and glue them together.  Thread your ribbon through the holes, tying small knots on the inside to secure the handles.  If you are adding a tag, use some doodle twine to tie your tag to the handle.  And all that’s left to do is add some sprinkles and stickers!


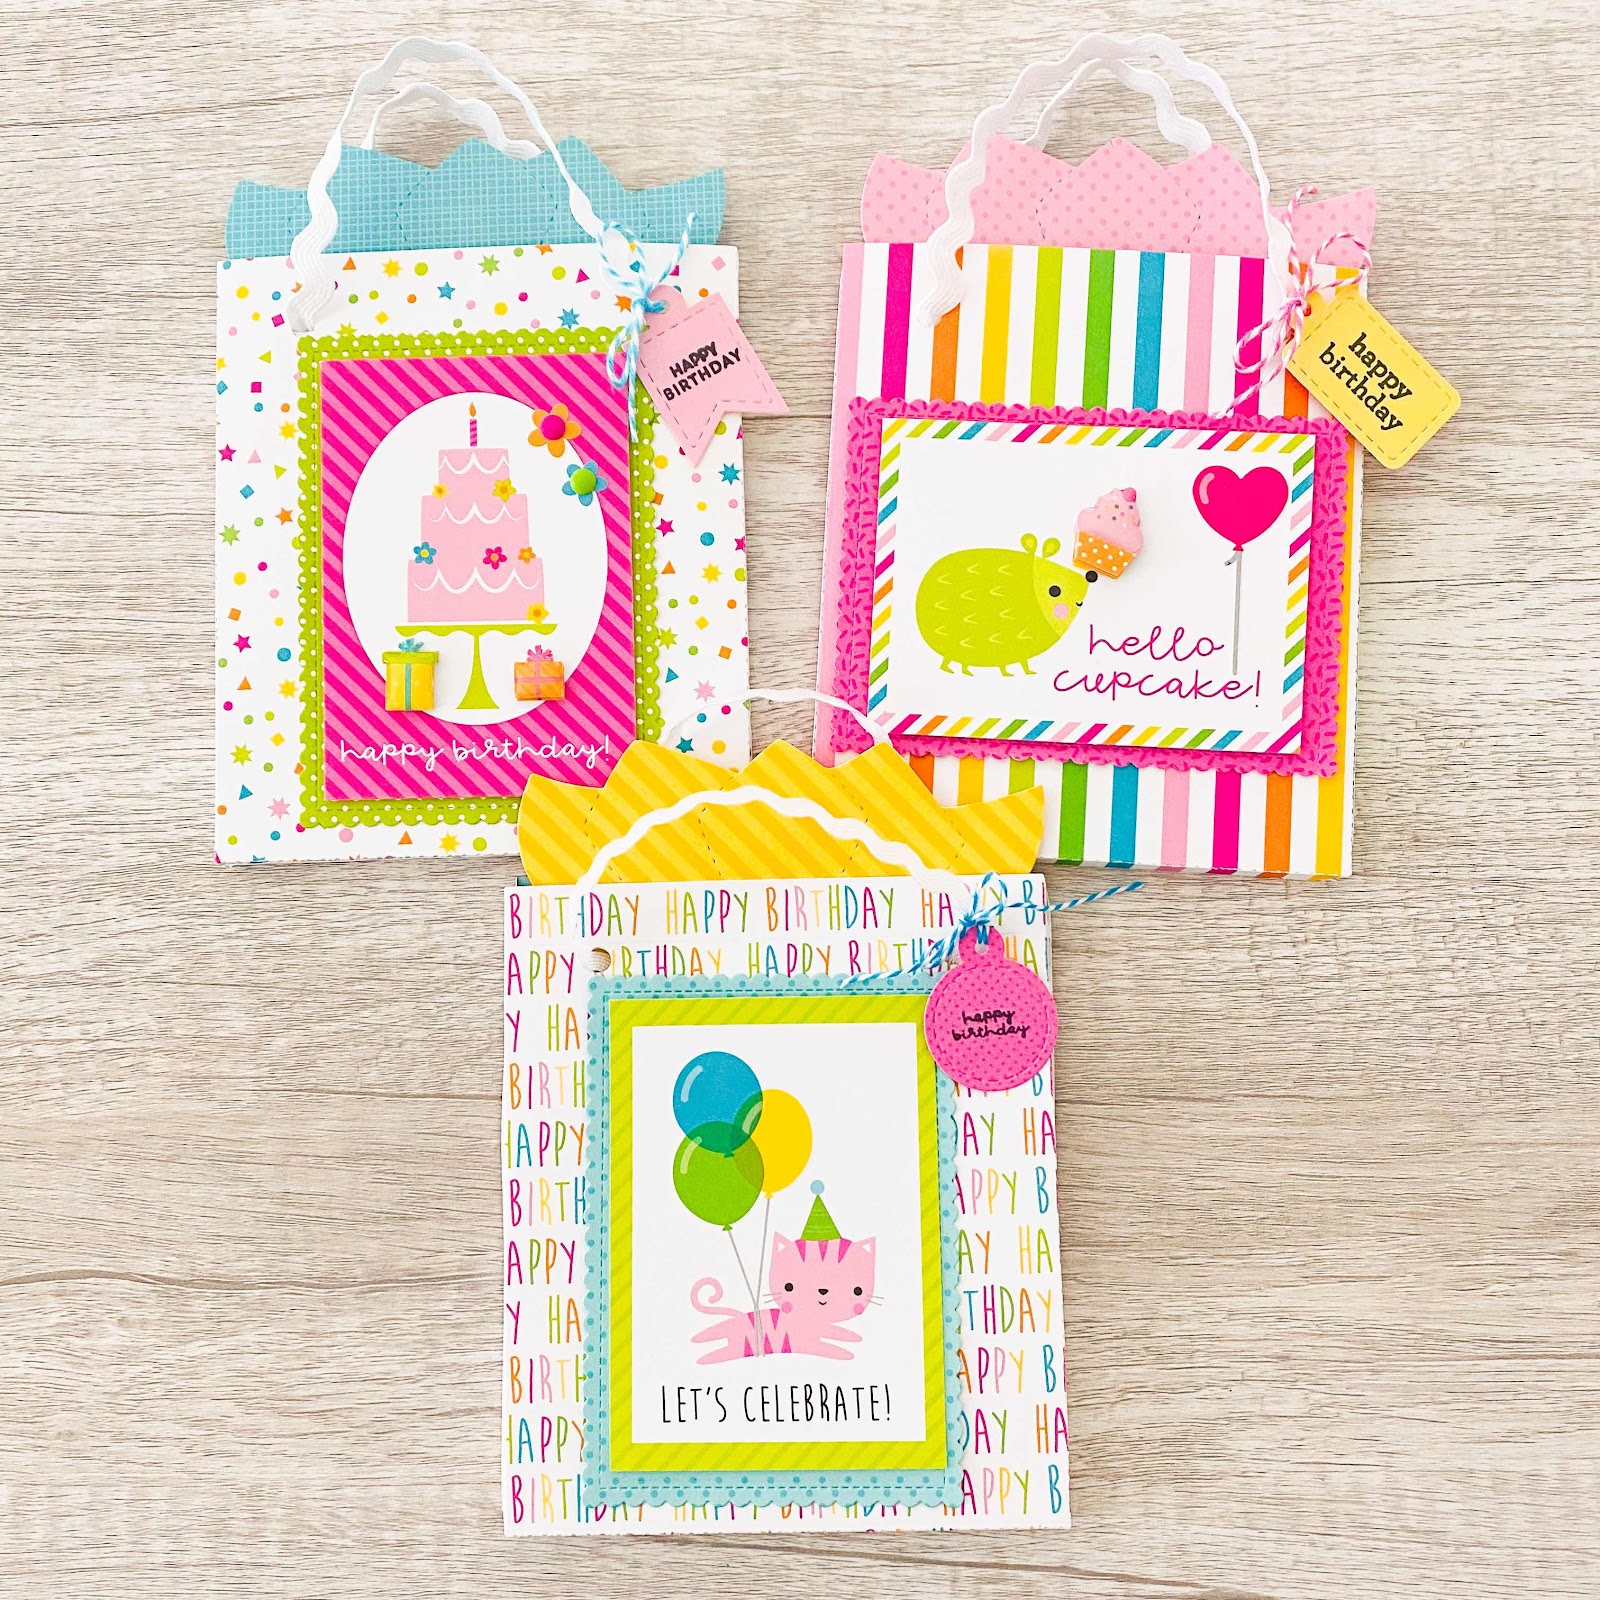
Here’s a final look at three finished gift card holders. I think the little critters are the cutest! Thanks for taking a look today, have a good one! 
Doodlebug Products Used:
Hey Cupcake Collection
 Petite Prints Dot/Stripe - Linen/Gingham 
Doodle Pop Stickers
Sprinkles 
Doodle Twine
Mini Tags Doodle Cuts Dies

Other Products Used: 
Ribbon
Adhesive
Scallop Rectangle Die 

Pin It button on image hover