Friday, March 29, 2019

SIMPLY SPRING | Stamping with Kay

Hi there! I'm excited to share a couple of cards with you today that I created with the super cute new stamps from the Simply Spring Collection. There are two stamp sets, Flower Girl and Oh Boy! I made a card featuring each set, but used stamps from both sets on each of them. They go together perfectly!


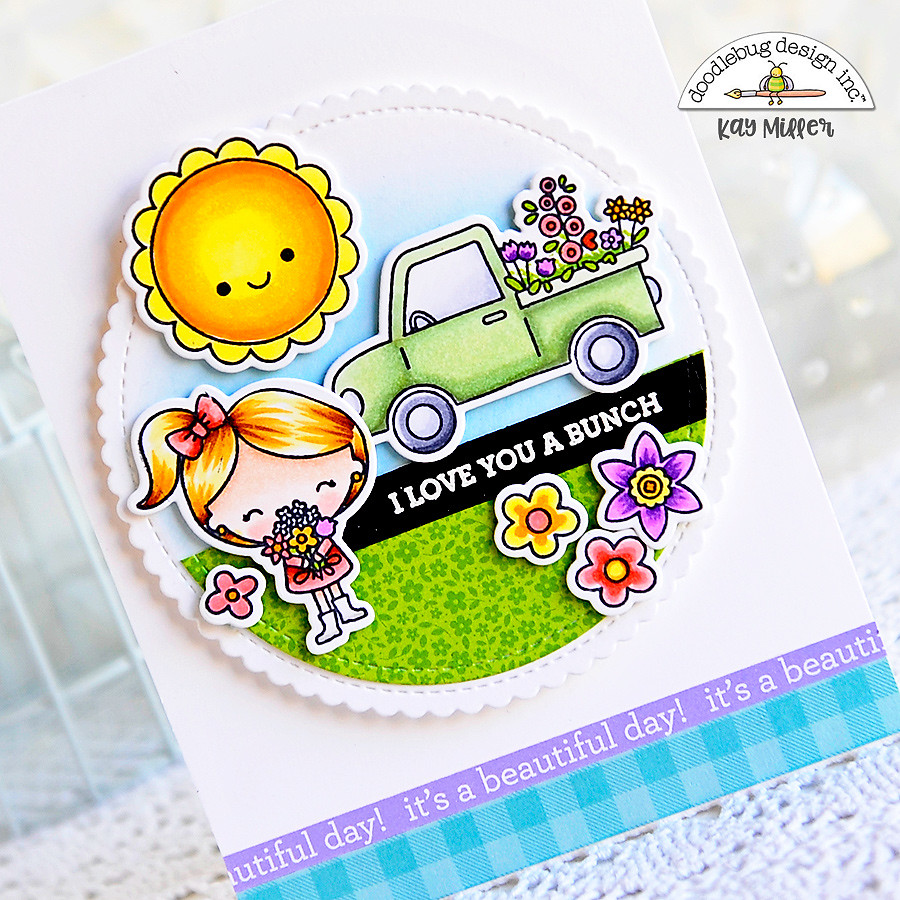
So my first card is using primarily stamps from the Flower Girl stamp set along with the coordinating dies. I used a scalloped circle die to create a background. I blended some distress in along the top, and added some grass along the bottom by cutting out a half circle of green patterned paper from the Floral-Graph Rainbow Petite prints paper pack. 

The two papers along the bottom of the card are from the 6x6 Simply Spring paper pack. All of the cute images were colored with Copic markers, cut out with the coordinating dies, and added to the card with foam tape. The sentiment was heat embossed with white embossing powder.
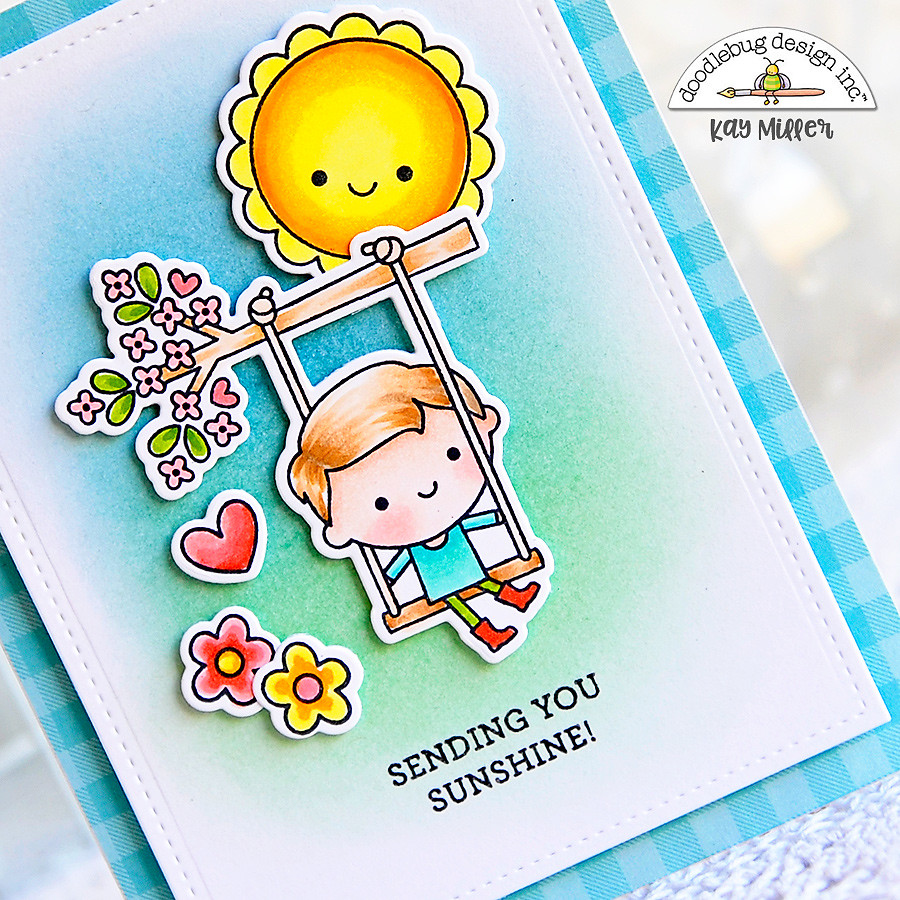
My second card features mostly stamps from the Oh Boy! stamp set. I created a soft background by blending some blue and green Distress inks onto my white background. I mounted this onto an A2 size card base covered with patterned paper from the 6x6 Simply Spring paper pack. 
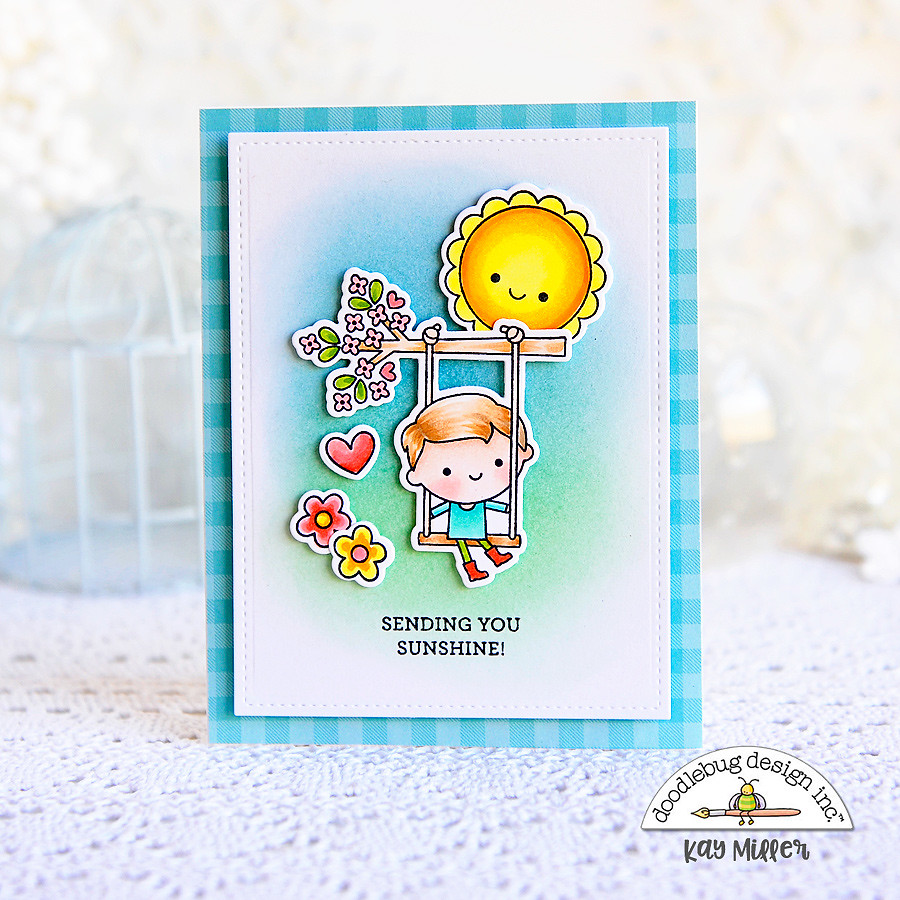

All of the cute images were colored with Copic markers, cut out with the matching dies, and added to the card with foam tape. 

I hope you have enjoyed my cards today!
Thanks so much for stopping by!


Doodlebug Supplies used:
Flower Girl Stamp set
Flower Girl Dies
Oh Boy! Stamp Set
Oh Boy! Dies
Simply Spring 6x6 paper pad
Floral Graph Rainbow Petite Prints Paper pad



Thursday, March 28, 2019

SIMPLY SPRING | Spring BEEgins Layout with Virginia

Do you like to use beautiful flower blooms on your crafting projects? Check out these gorgeous pre-cut flower blooms in this garden flower set! The blooms and leaves are double-sided and so easy to assemble.  My layout celebrates some buzzing Spring activities in my garden and using the bee electronic cutting file is a great way to create the same embellishment multiple times to play up the bee theme.

I added some sugar glitter to the centre of the flower blooms for extra sparkle and placed some bees flying out the honeycomb paper revealed from a torn section at the top of the page.
Doodlebug Supply List:
Simply Spring Garden Flowers Kit
12x12 Simply Spring- playful plaid
12x12 Simply Spring- blooming' bugs
12x12 Simple Spring- bee happy
Simply Spring Odds&Ends ephemera
Simple Spring This&That stickers
Glitter Sprinkles
Sugar Glitter
Bee electronic cutting file

Wednesday, March 27, 2019

SIMPLY SPRING | Daily Doodles Pages with Anabelle

I was so excited to receive my Lots O' Dots Daily Doodle! It arrived just in time for spring. Then, when I saw the beautiful Simply Spring Collection, I knew they were a match made in heaven. I couldn't wait to set it up and have it ready for the beautiful warm days of April. At least, I hope it's warm here in the Mid-Atlantic. You just never know these days. I started off by decorating the front of my planner. This is definitely one of my favorite things to do. I love coordinating the front pockets and inserts. The colors and motifs in this collection made this an especially fun job. I adore all of the florals and the little creatures.

To decorate the insert. I adhered the Chit Chats directly onto the insert. I love using foam adhesive on part of the design. It really makes the whole thing pop. I decided to create a little banner on a large paper clip so that I could slide it off and onto the booklet. It is a perfect decoration, but can also be used on my weekly calendar pages as a book mark.
Here is a close up of the clip. I just folded the paper over and adhered it on the back. Then I added the die cuts from the Odds and Ends pack. Again, I used some foam adhesive for texture and visual interest.
Here is another view of it on the insert. I really love the adorable, smiling sun. It's such a sweet reminder of the warm days to come. 
The little Sprinkles always add another nice touch. I love the colors that match the collection so perfectly.
Finally, I set up my April calendar. I love the blank calendar inserts and how they have large enough boxes to decorate and write in. On this spread, I used the Abigail font stickers down the side of the calendar. Tracing them with a black marker really made them pop. I LOVE the Icon stickers and used a lot of them on here. They are so cute and whimsical. Having a calendar decorated with this adorable collection makes me want to open my planner and add plan!
Now, my Lots O' Dots planner is set up and ready to go. I'll be adding more fun pages onto my weekly spreads. Using the Simply Spring collection will give this planner such a happy and fun feeling!
Thanks for stopping by! Have a great day.


Doodle Products Used:
Lots O' Dots Daily Doodle
Cabana Strip Daily Doodles Travel Planner Calendar Insert
Simply Spring Icon Stickers
Simply Spring Chit Chats
Simply Spring Sprinkles
Simply Spring Odds and Ends
Simply Spring Jelly Clips
Simply Spring This and That Sticker Sheet
Signs of Spring Washi Tape
Little Ladybugs Washi Tape

Pin It button on image hover