Sunday, May 31, 2020

PARTY TIME - 3D ROBOT | with Jennifer

Hello, Doodlebug friends. Today I'm sharing a project featuring the new Party Time collection. I hope you love this little guy as much as I do.
The inspiration for this project comes from these adorable robot stickers, which you might remember from the older line, Hip Hip Hooray. 
 Aren't they cute?!!!
Robots can be really fun to make using odds and ends from your craft stash. The main components for this little guy are shown in the picture above.
  1.  For the head, I used a small flat rectangular box. The lid was cut in two and used to create the feet. For his neck, a small wood drum was used, and his body is a 2 1/2" woodblock. I cut his legs out of 1/2" foam board then covered them with chipboard for additional strength. Wood pieces were layered together to form the ears.
  2. A mouth was cut out to the same width as the box from foam board. The foam board mouth was covered with chipboard, and side flaps were added.  
  3. Round discs, buttons, and axel dowel caps were stacked together to form the shoulders. Floral wire was used for the arms, and small claws were cut from wood for the hands.
  4. Each piece was covered with patterned paper or painted then pieced together on a round wood base.
More wood pieces were used for the eyes and nose. A birthday sign was created for the robot to hold, using a die-cut reinforced with chipboard and wood dowel. 
Keeping with the robot theme, a few chipboard gears were added to the base along with some sprinkles. 
The top of the base was covered with patterned paper from the collection. A decorative border and a patterned paper strip were added around the edge. To finish off the project, the "Hip Hip Hooray" die-cut was added.

Thanks for joining me today and happy scrapping! :)


 Blog | Etsy | Pinterest

Thursday, May 28, 2020

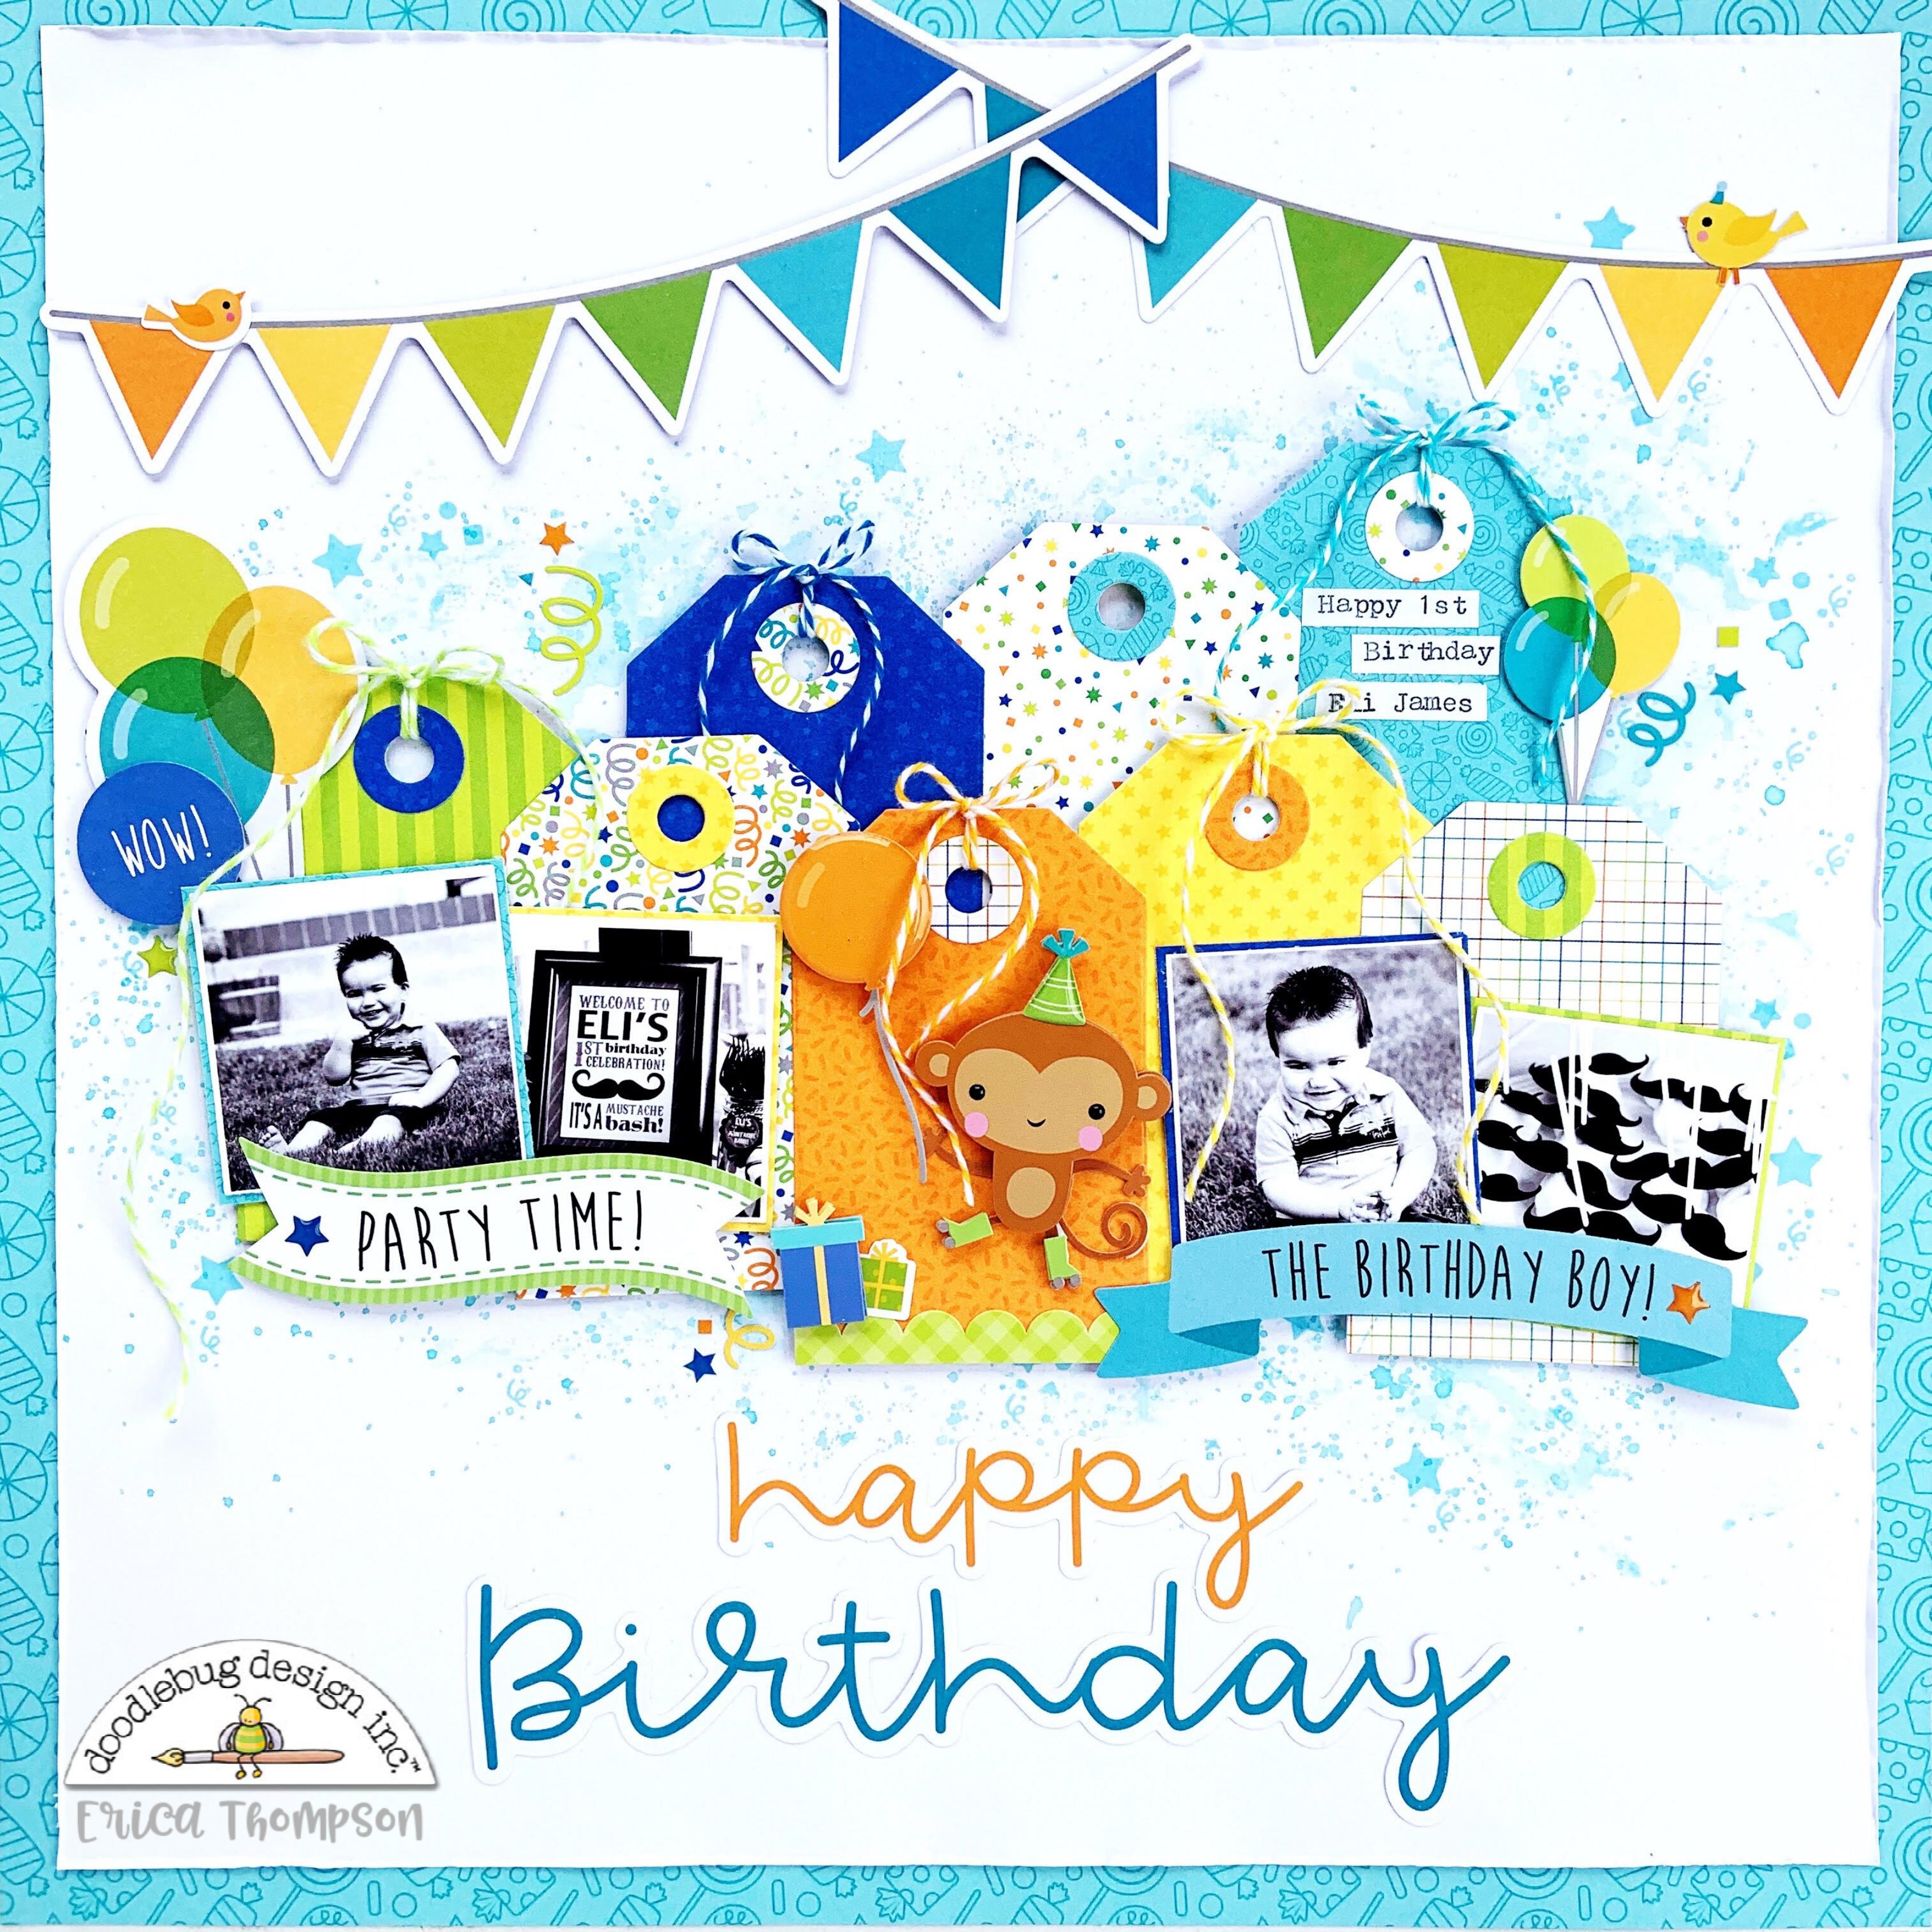
DOODLE CUTS - DIE CUTTING ON A LAYOUT | with Erica

Have you seen the new Doodlebug Design Stand Alone Dies? They are perfect for all types of papercrafts and today I want to share how I used some of them to create a layout!
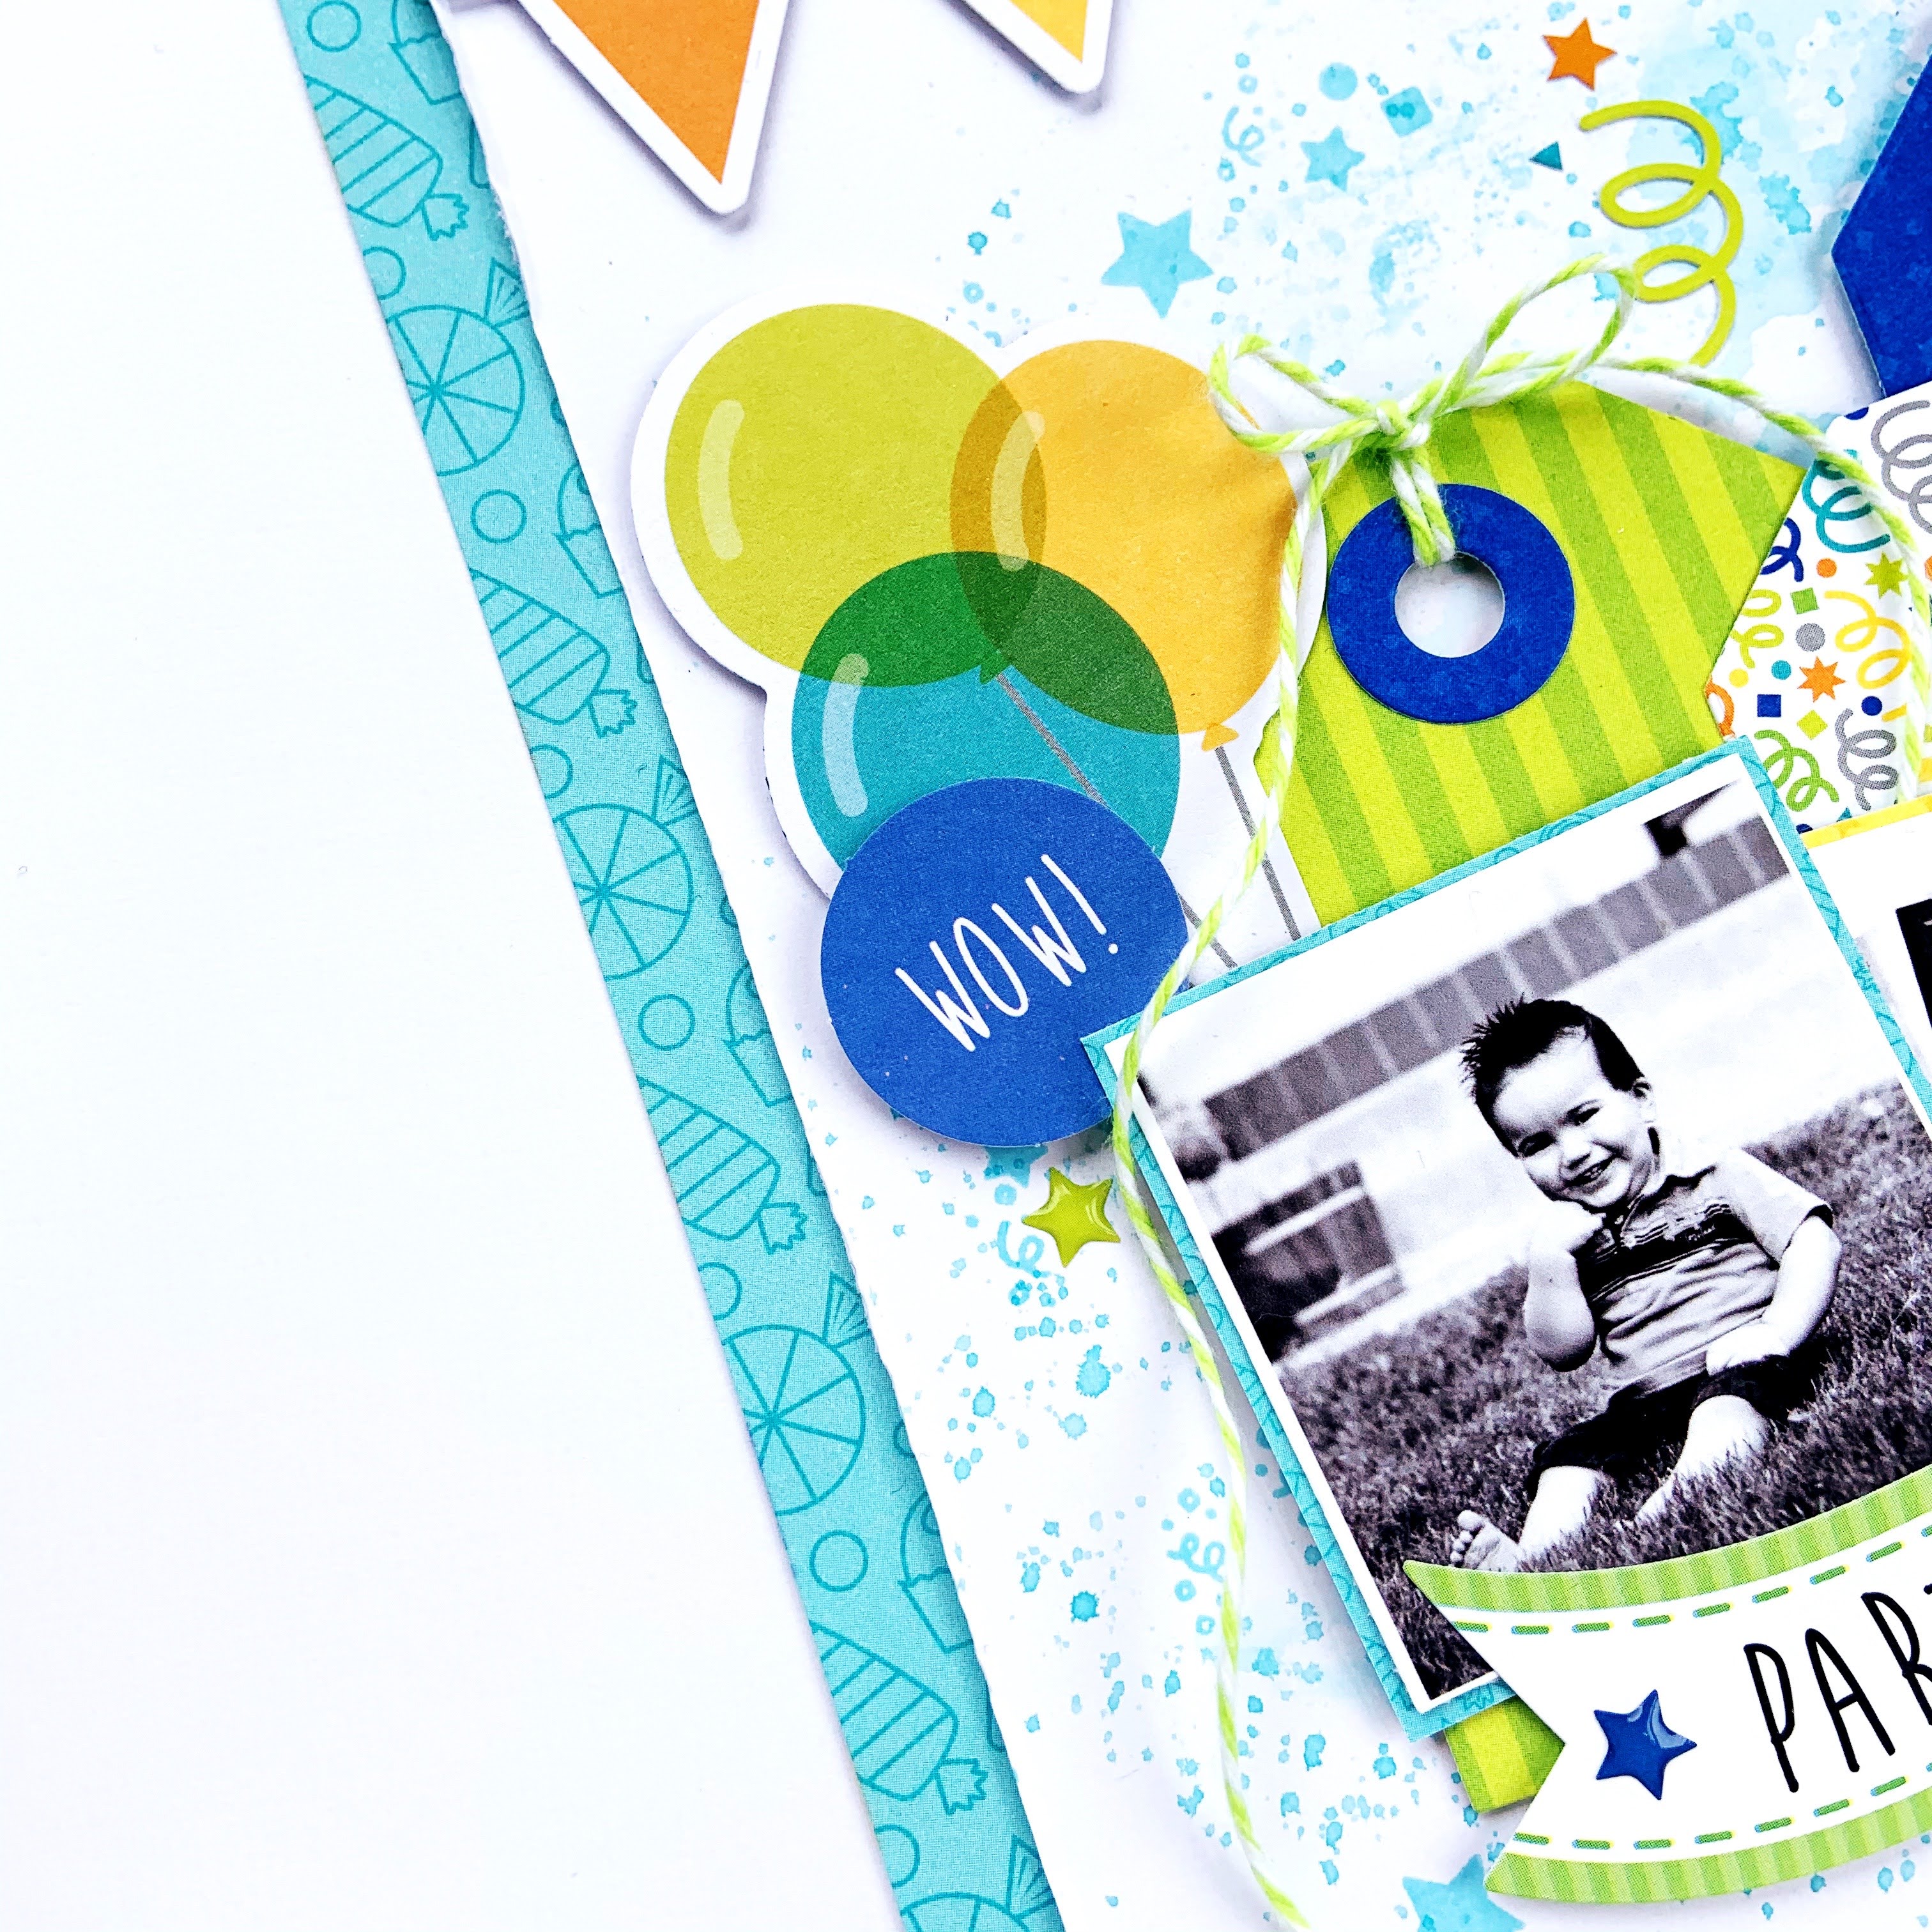
I started out by die cutting some tags using the doodle cuts large tags and the Party Time 6x6 paper pad. I love that this set comes with the hole reinforcers! I used a piece of white cardstock as my background and trimmed it down to about 11.25x11.25. I distressed the edges a bit with my scissors and then used some; Catherine Pooler Designs ink in the color; It's A Boy to add some color to the background. This was the perfect color to go along with the blue in this collection.
I pulled out a few of the new doodle stamps to add a few little images around the background. I used occasions-everyday, all occasion and happy birthday! I stamped the images out in the same It's A Boy ink color and love the look!
I arranged the tags on my layout and popped them all up on some foam adhesive. To add some texture to the layout I added some doodle twine to some of the tags.
I backed my photos with some papers from the 6x6 party time paper pad and used chit chat pieces and stickers to embellish around the page. I matted the layout on the Party Time 12x12 pattern paper. Here is a look at my completed layout! Thanks so much for stopping by today! I hope you found some inspiration using the new doodle cuts and stamps! Have a great day!
 
Doodlebug Design Products Used:
Doodle Twine
Doodle Cuts
Doodle Stamps
Other Products Used:
 

Wednesday, May 27, 2020

DOODLE CUTS A - Z SCHOOL TAGS | with Shellye

ABC's please!  With so many turning to school at home in recent days,  I thought I'd share this fun project that is educational and crafty!

To begin: I started with an assortment of Doodlebug cardstock and the tag die from the "Large Tags" Doodle Cuts set.  After die-cutting the 26 tags, I chose to add a coordinating oval of color to each using the die from the "Mini Tags" set.  
 

After die-cutting the letters using the "Alex Alphabet" dies, I attached them to the ovals with a glue pen.  Once all of the cards were done I laminated them with a heat laminator and then cut apart!

In finishing up the cards, I came back with an assortment of alpha and mini stickers to coordinate with each letter.  I also added some of the adhesive jewels to give each card a little sparkle.   The cards were then added to a shower curtain ring (or use a standard binder ring) and topped with a bow!
Have fun coming up with your own designs...and the REAL challenge of finding a sticker that matches the letter LOL  Such a fun activity for the kiddies :)
Thanks for joining today!

Doodlebug Products:
Alex Alphabet Doodle Cuts
Mini Tags Doodle Cuts
Large Tags Doodle Cuts
Hey Cupcake Mini Jewels
Hey Cupcake 6X6 Paper Pad
Party Time Paper Pad
Skinny Alphabet Stickers
Doodlebug Cardstock
Mini Icon Stickers

Pin It button on image hover