
Hello friends, it’s still December so I’m still Christmas crafting! Today I thought I would practice my coloring on some cute Doodlebug stamped images from Night Before Christmas. I created two simple cards and a tag pictured below.
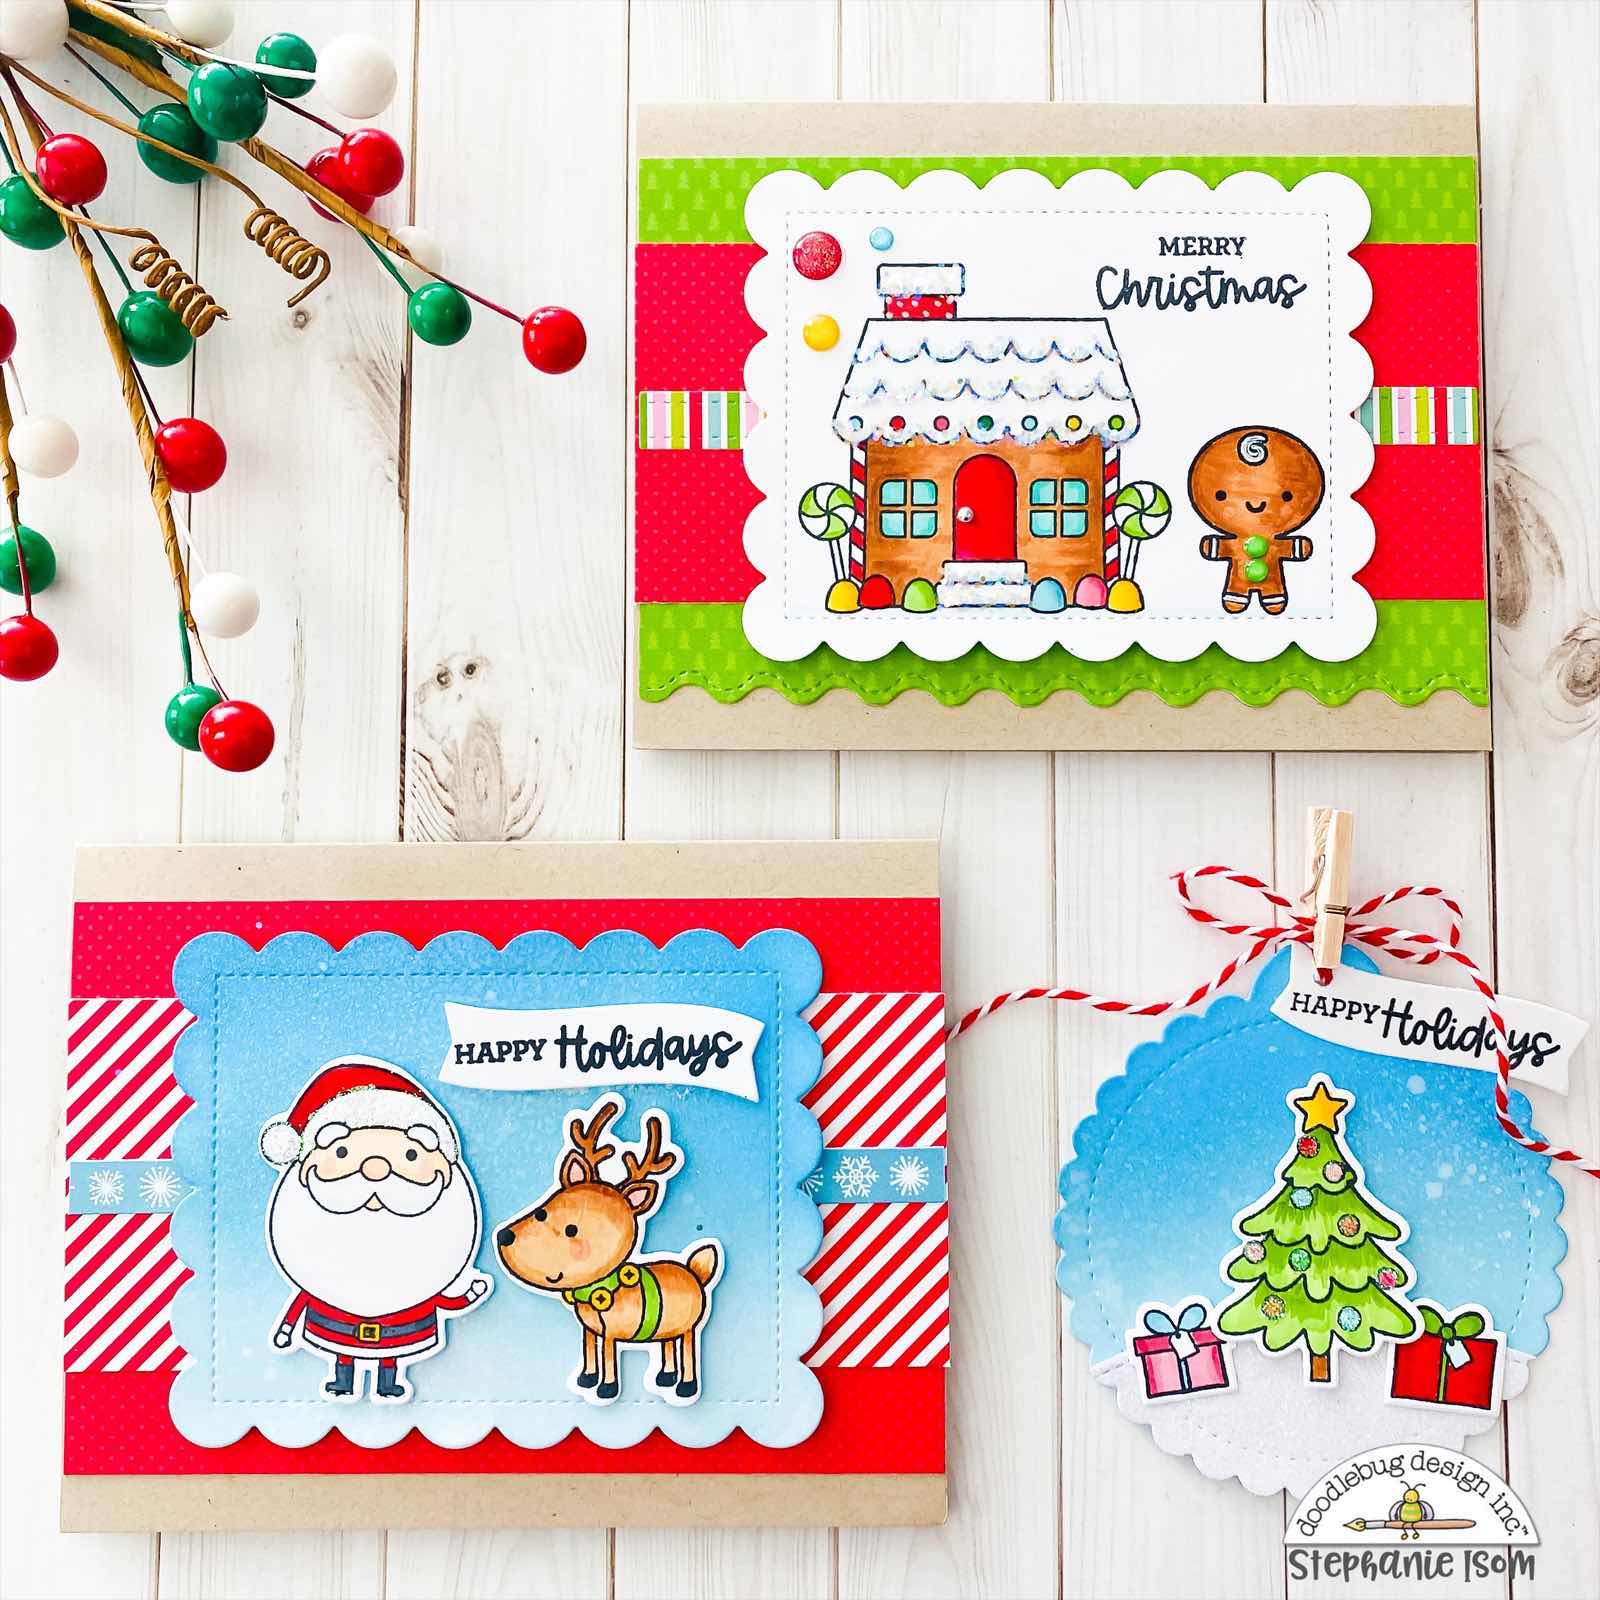
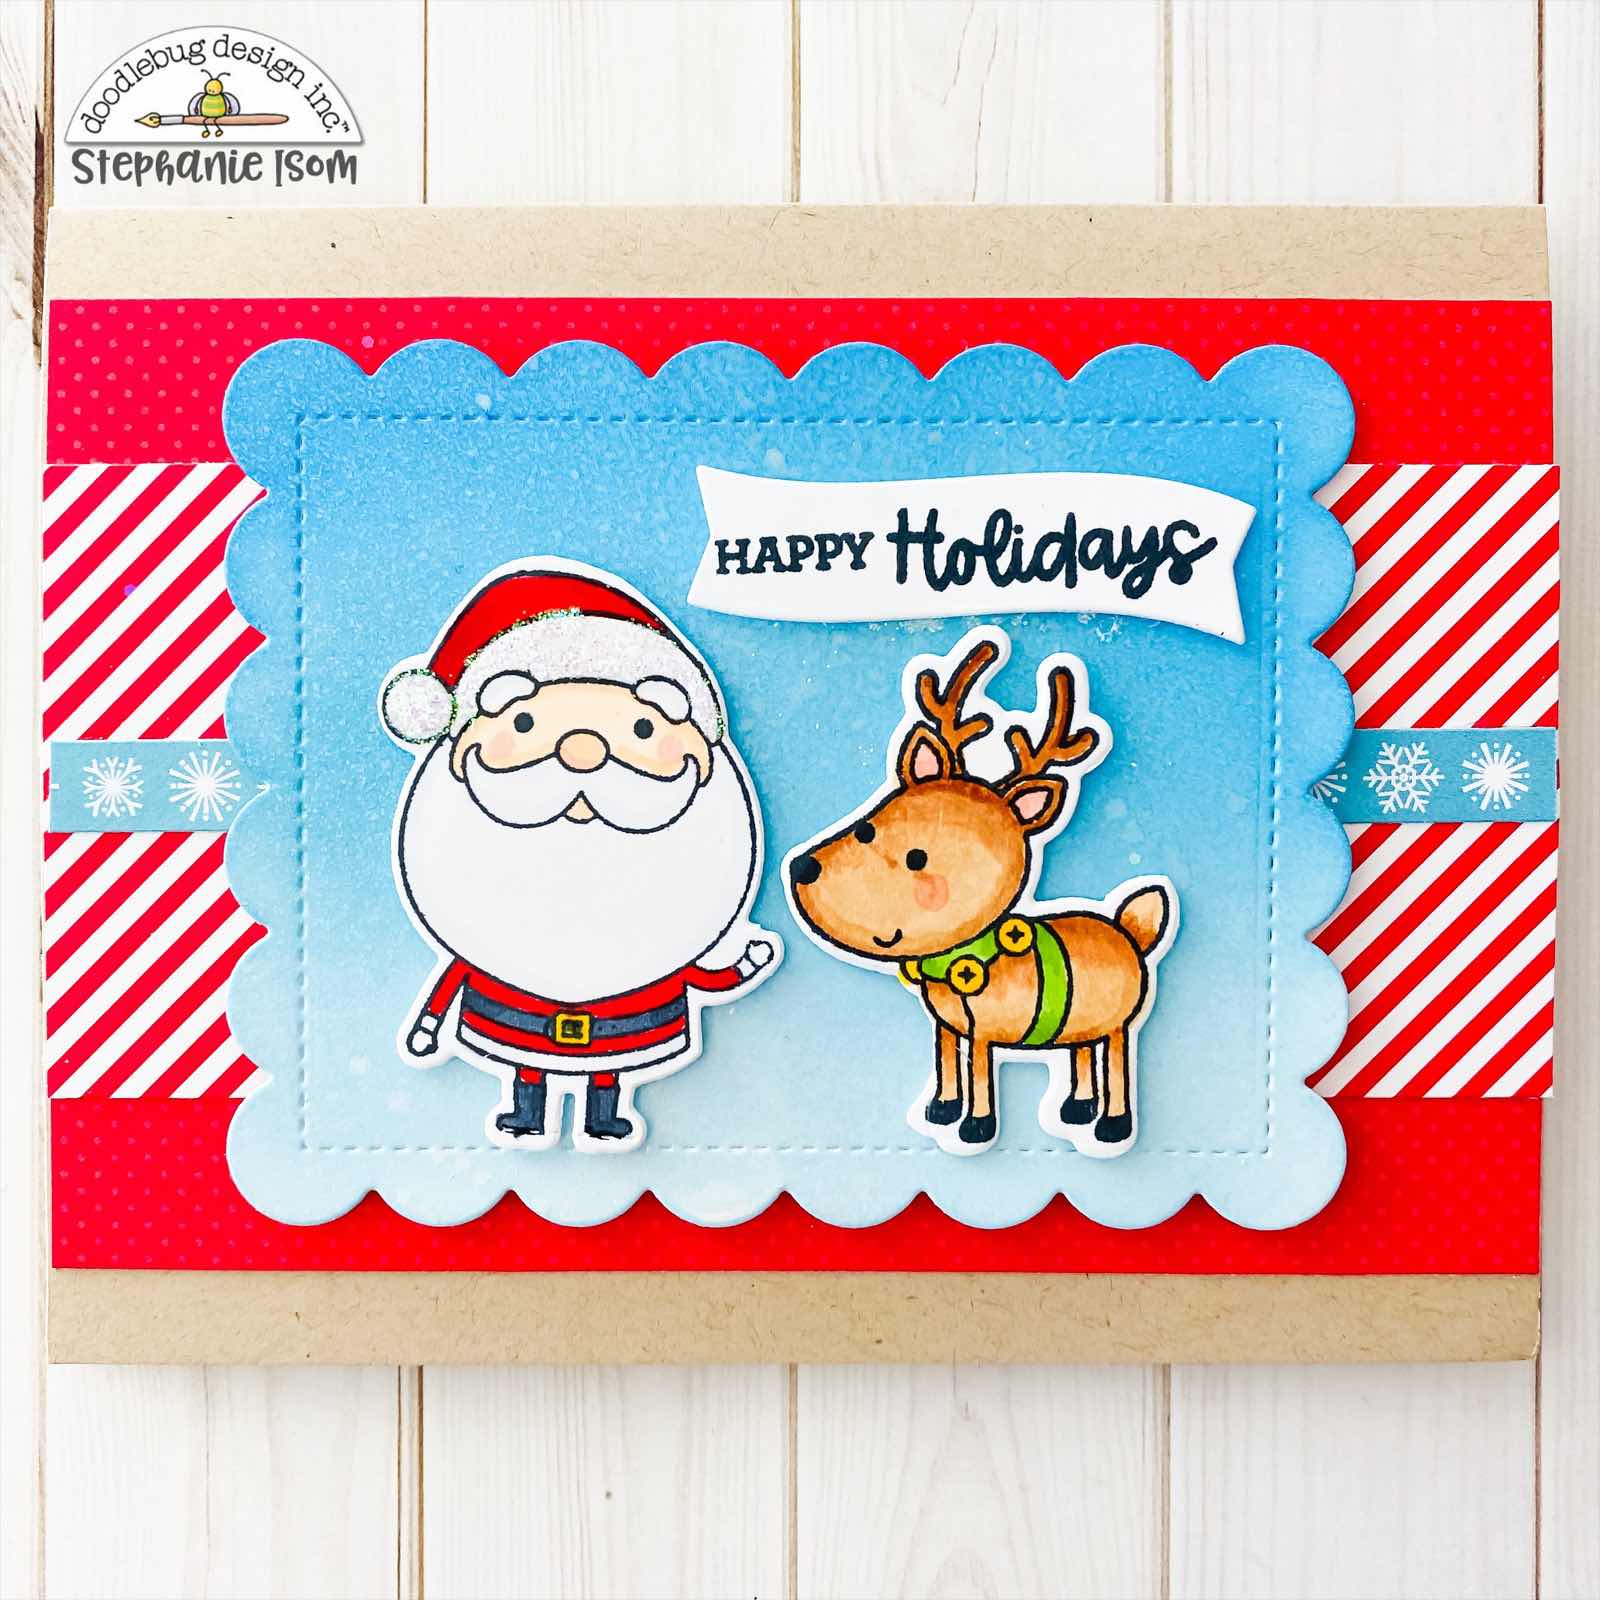
For each card I started with a kraft cardstock base cut to regular A2 size. I wanted some of the kraft color to be visible so I layered two pieces of pattern paper together so there was about a quarter inch of kraft showing on the top and bottom of the card. The red dot layer was cut to a height of 3 1/2 and width of 5 1/2 inches. The red and white striped layer is 2 1/4 by 5 1/2 inches. The thin strip in the middle is a border cut out piece from the 6x6 paper pad. I die cut a scalloped stitched rectangle for my scene and blended some blue distress inks onto white cardstock for the background. I used a white shimmer spray on my ink background, though it’s hard to see the shimmer in the photo. I popped the scene layer and my images up on foam squares. I colored my santa and reindeer images with copic markers and then die cut them with the coordinating Doodle Cuts. I added glitter to the trim and pom of Santa's hat. I die cut a small white banner and stamped the Happy Holidays sentiment and adhered it above the scene.
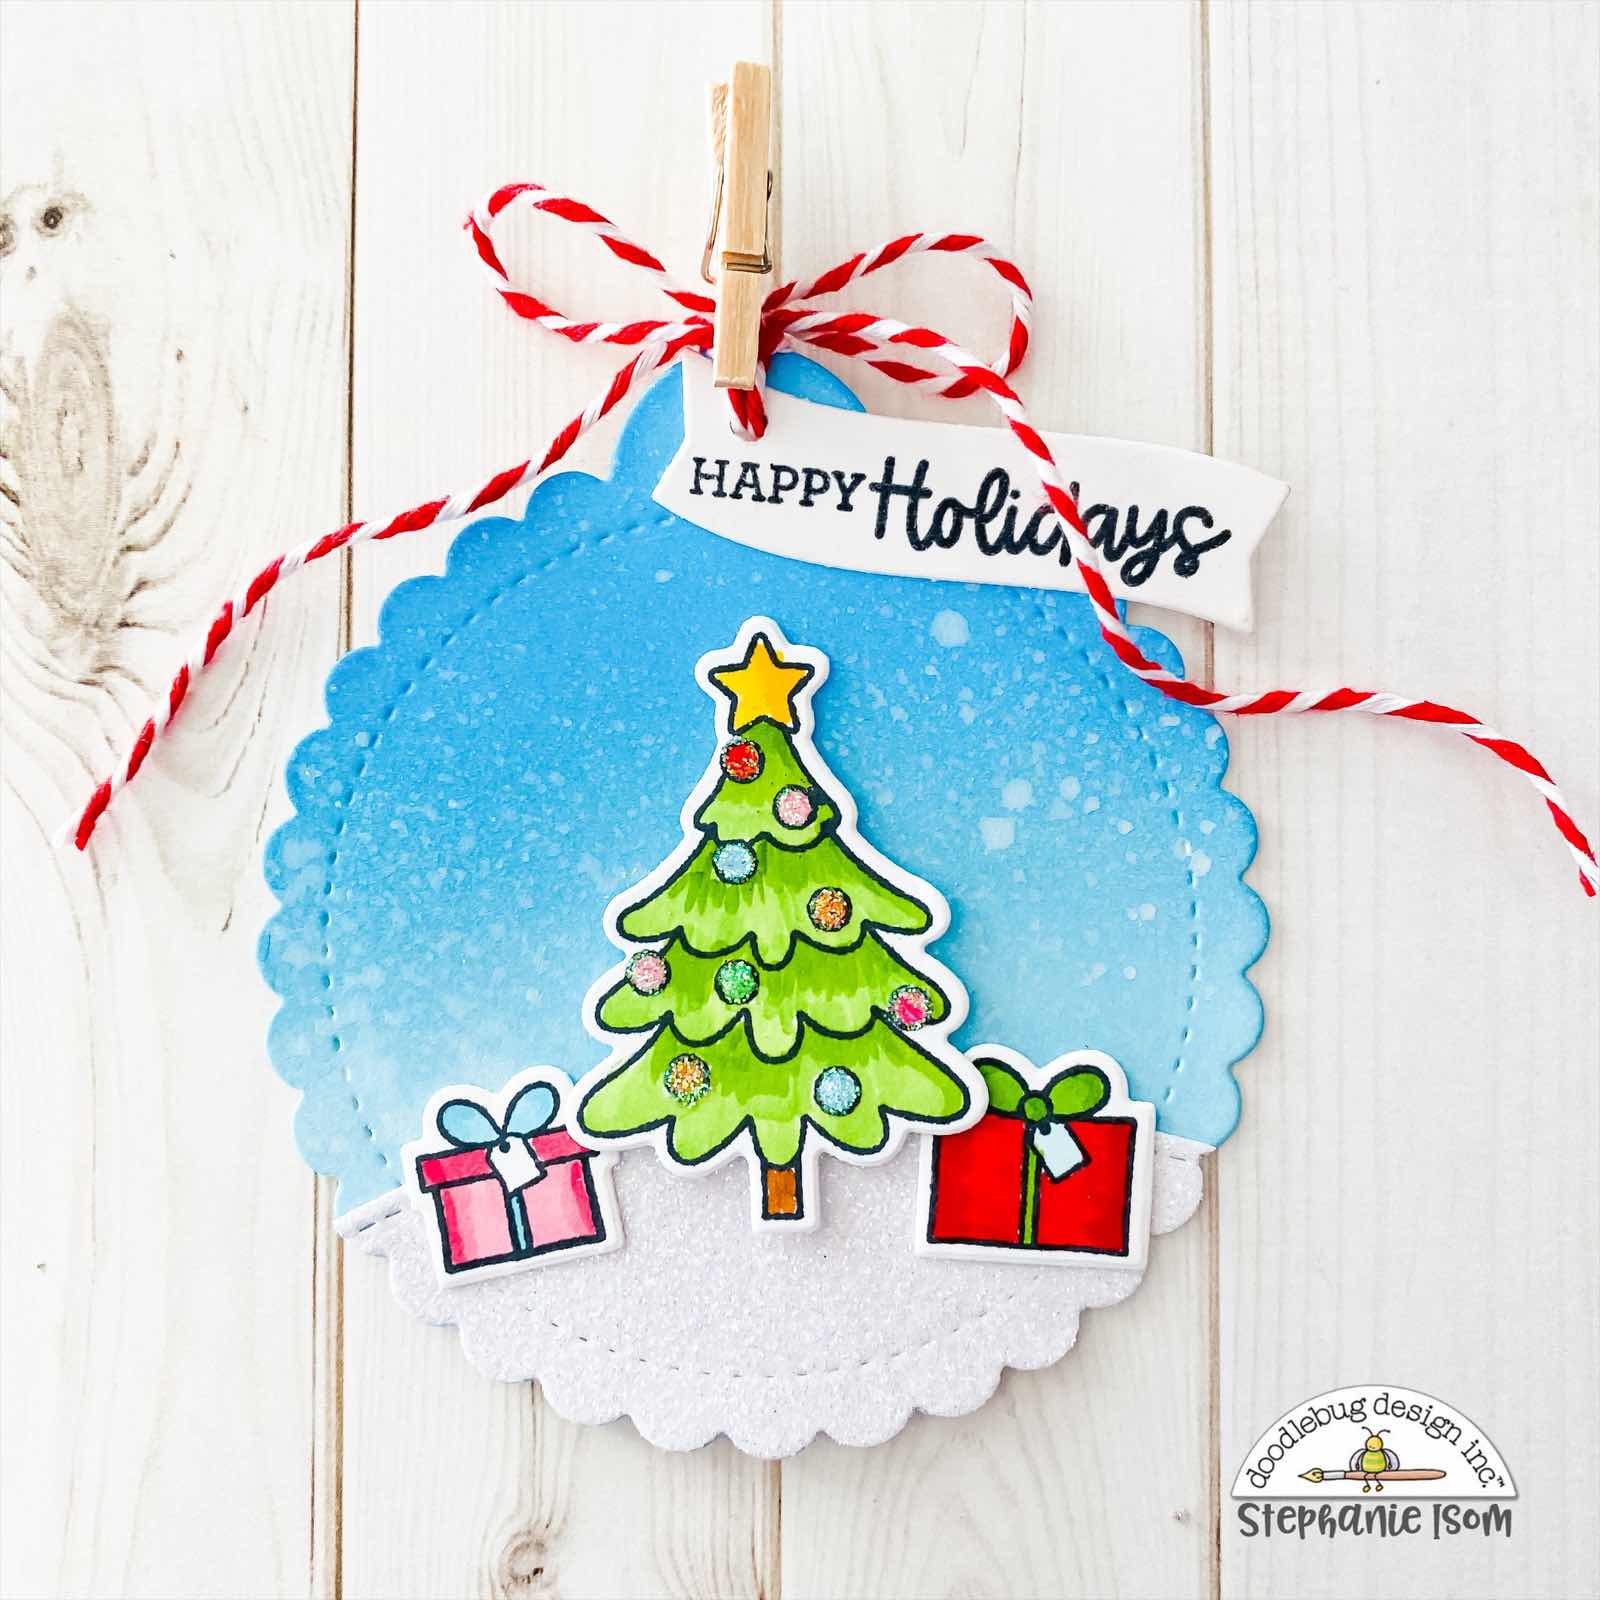
For the tag, I die cut a scalloped stitched circle tag out of white cardstock and ink blended the same blue distress inks for the background. I cut a small strip of white glitter cardstock to create snow at the bottom of the scene. I colored and cut out a Christmas tree and two presents and adhered those with foam squares. I added glitter to my ornaments. I die cut and stamped my banner sentiment and tied it to the tag with ladybug doodle twine.
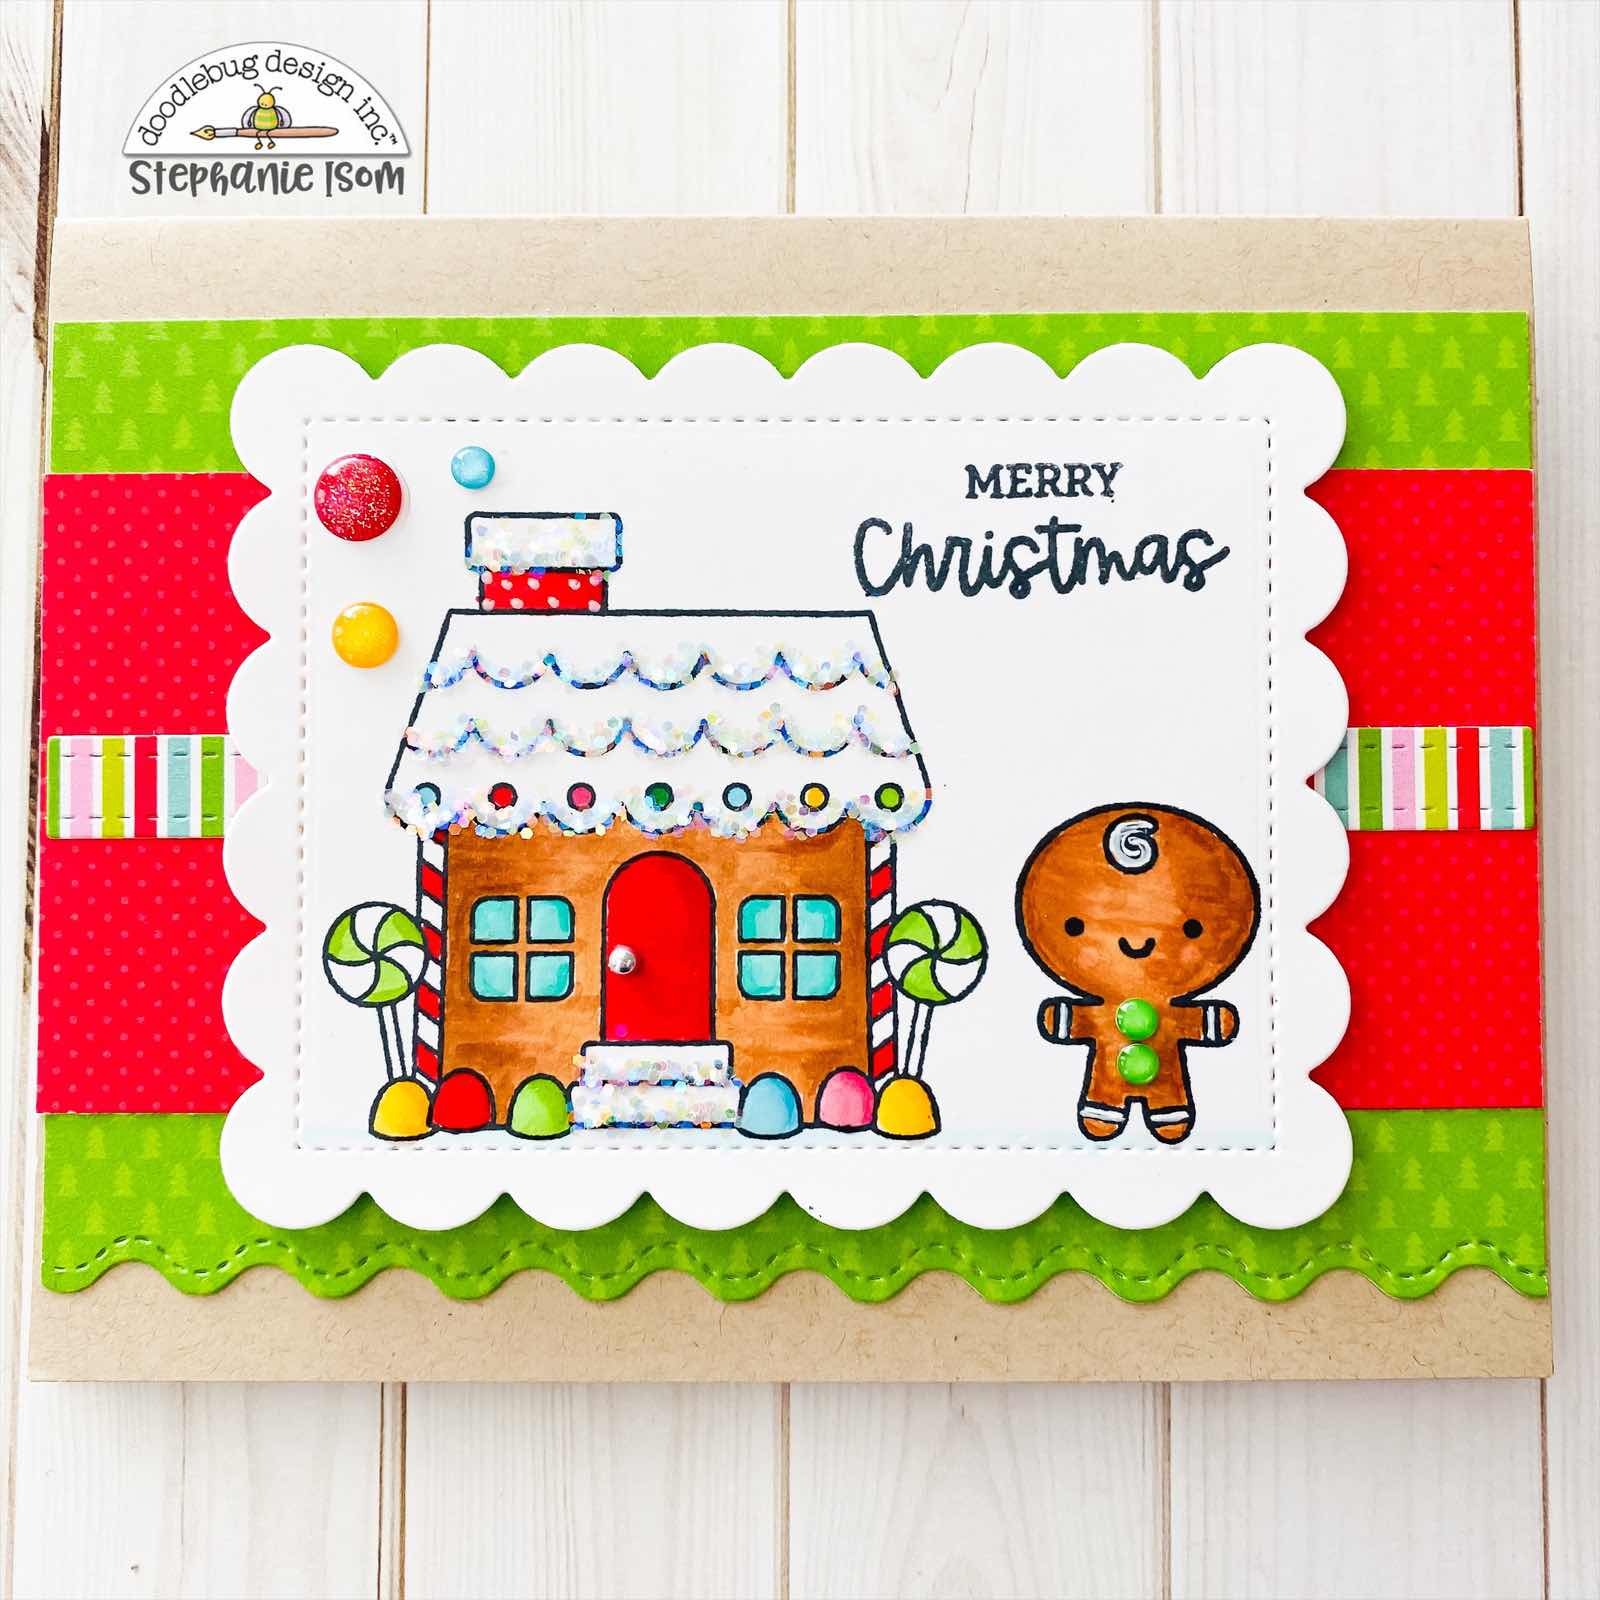
The second card is the same style and pattern as the first with a gingerbread theme. These images are from the Visions of Sugarplums set. Such a cute little gingerbread house! For this scene I added chunky glitter to the chimney, rooftop and steps for a snowy feel and some glossy accents to the windows and some of the candy on the house.
That does it for my project today. The stamped images are all a great size to create small scenes especially for someone (like me) who is a little intimidated by all the amazing coloring artists out there. It was fun watching these adorable images come to life using my markers. Thanks for stopping by today!

Doodlebug Products Used:
Night Before Christmas Collection
6x6 Paper Pack
Glitter Shape Sprinkles
Night Before Christmas & Visions of Sugarplums Stamps and Doodle Cuts
Other Products Used:
White and Kraft Cardstock
White and Chunky Glitter
Glossy Accents & White Shimmer Mist
Copic Markers
Liquid Adhesive & Foam Squares
Scallop Stitched Rectangle and Circle Tag Dies


Cute cards and tag!
ReplyDeletehave a great day!
Marilyn💖
Love these cards!!!
ReplyDelete