Friday, July 15, 2022

MY HAPPY PLACE OUR HAPPY HOME LAYOUT | with Nathalie

Raise your hands if you are loving the new My Happy Place collection!  It is probably one of my favorites ever as it can be used to document all sorts of memories, like this sweet bonding moment between cousins (even when they are 13 years apart!)

A grid design is always a great starting point.  I am using 3x3in pieces from the Hello Sunshine paper to create my grid on the Homeward Bound paper.
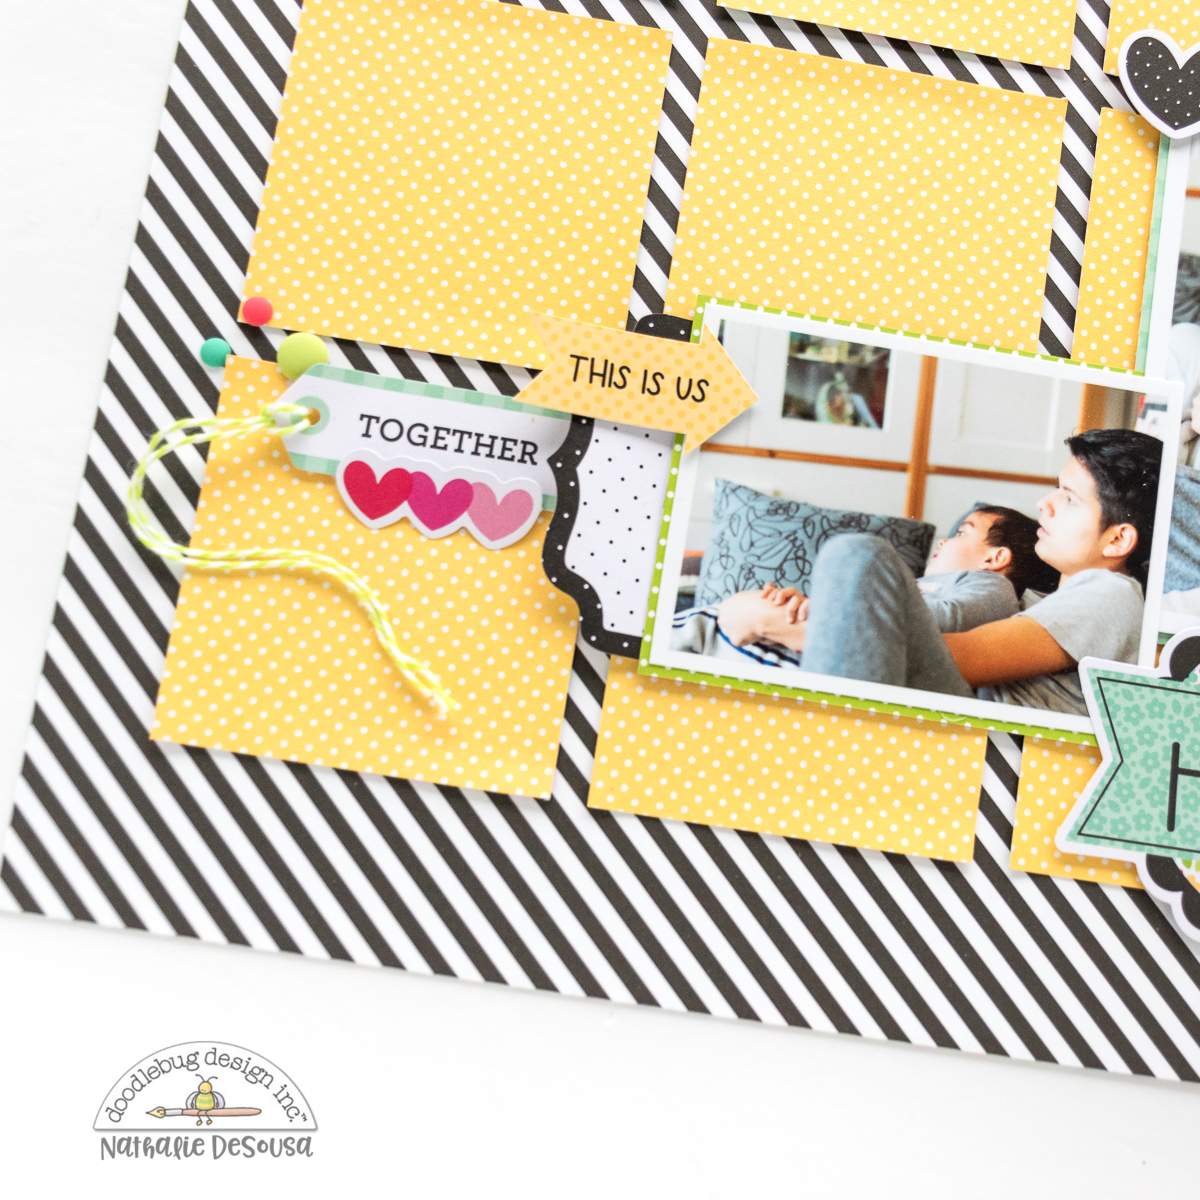
I am using an inverted "L" design to place my photos on the bottom right corner of the grid.   First, I backed the photos with papers from the 6x6 paper pad, and attach them to the layout.

I am adding Bits & Pieces, Odds & Ends, and Chit Chat pieces to embellish the design, and elongate the inverted " L" look of the pictures.


The large Chit Chat piece fits nicely at the bottom right corner of the spread.  This helps to anchor the design and serves as a title for the page.

I added a small flower garland and the two cute birds at the opposite edge of the grid to help balance the page,  plus I just love the pops of color in the birds, too!

A few Sprinkles complete the page!  Now to write the story and done!  Just love how easily this came together with the beautiful My Happy Place collection!  XOXO


.

Instagram | Blog | YouTube 

DOODLEBUG PRODUCTS USED

My Happy Place Collection


Thursday, July 14, 2022

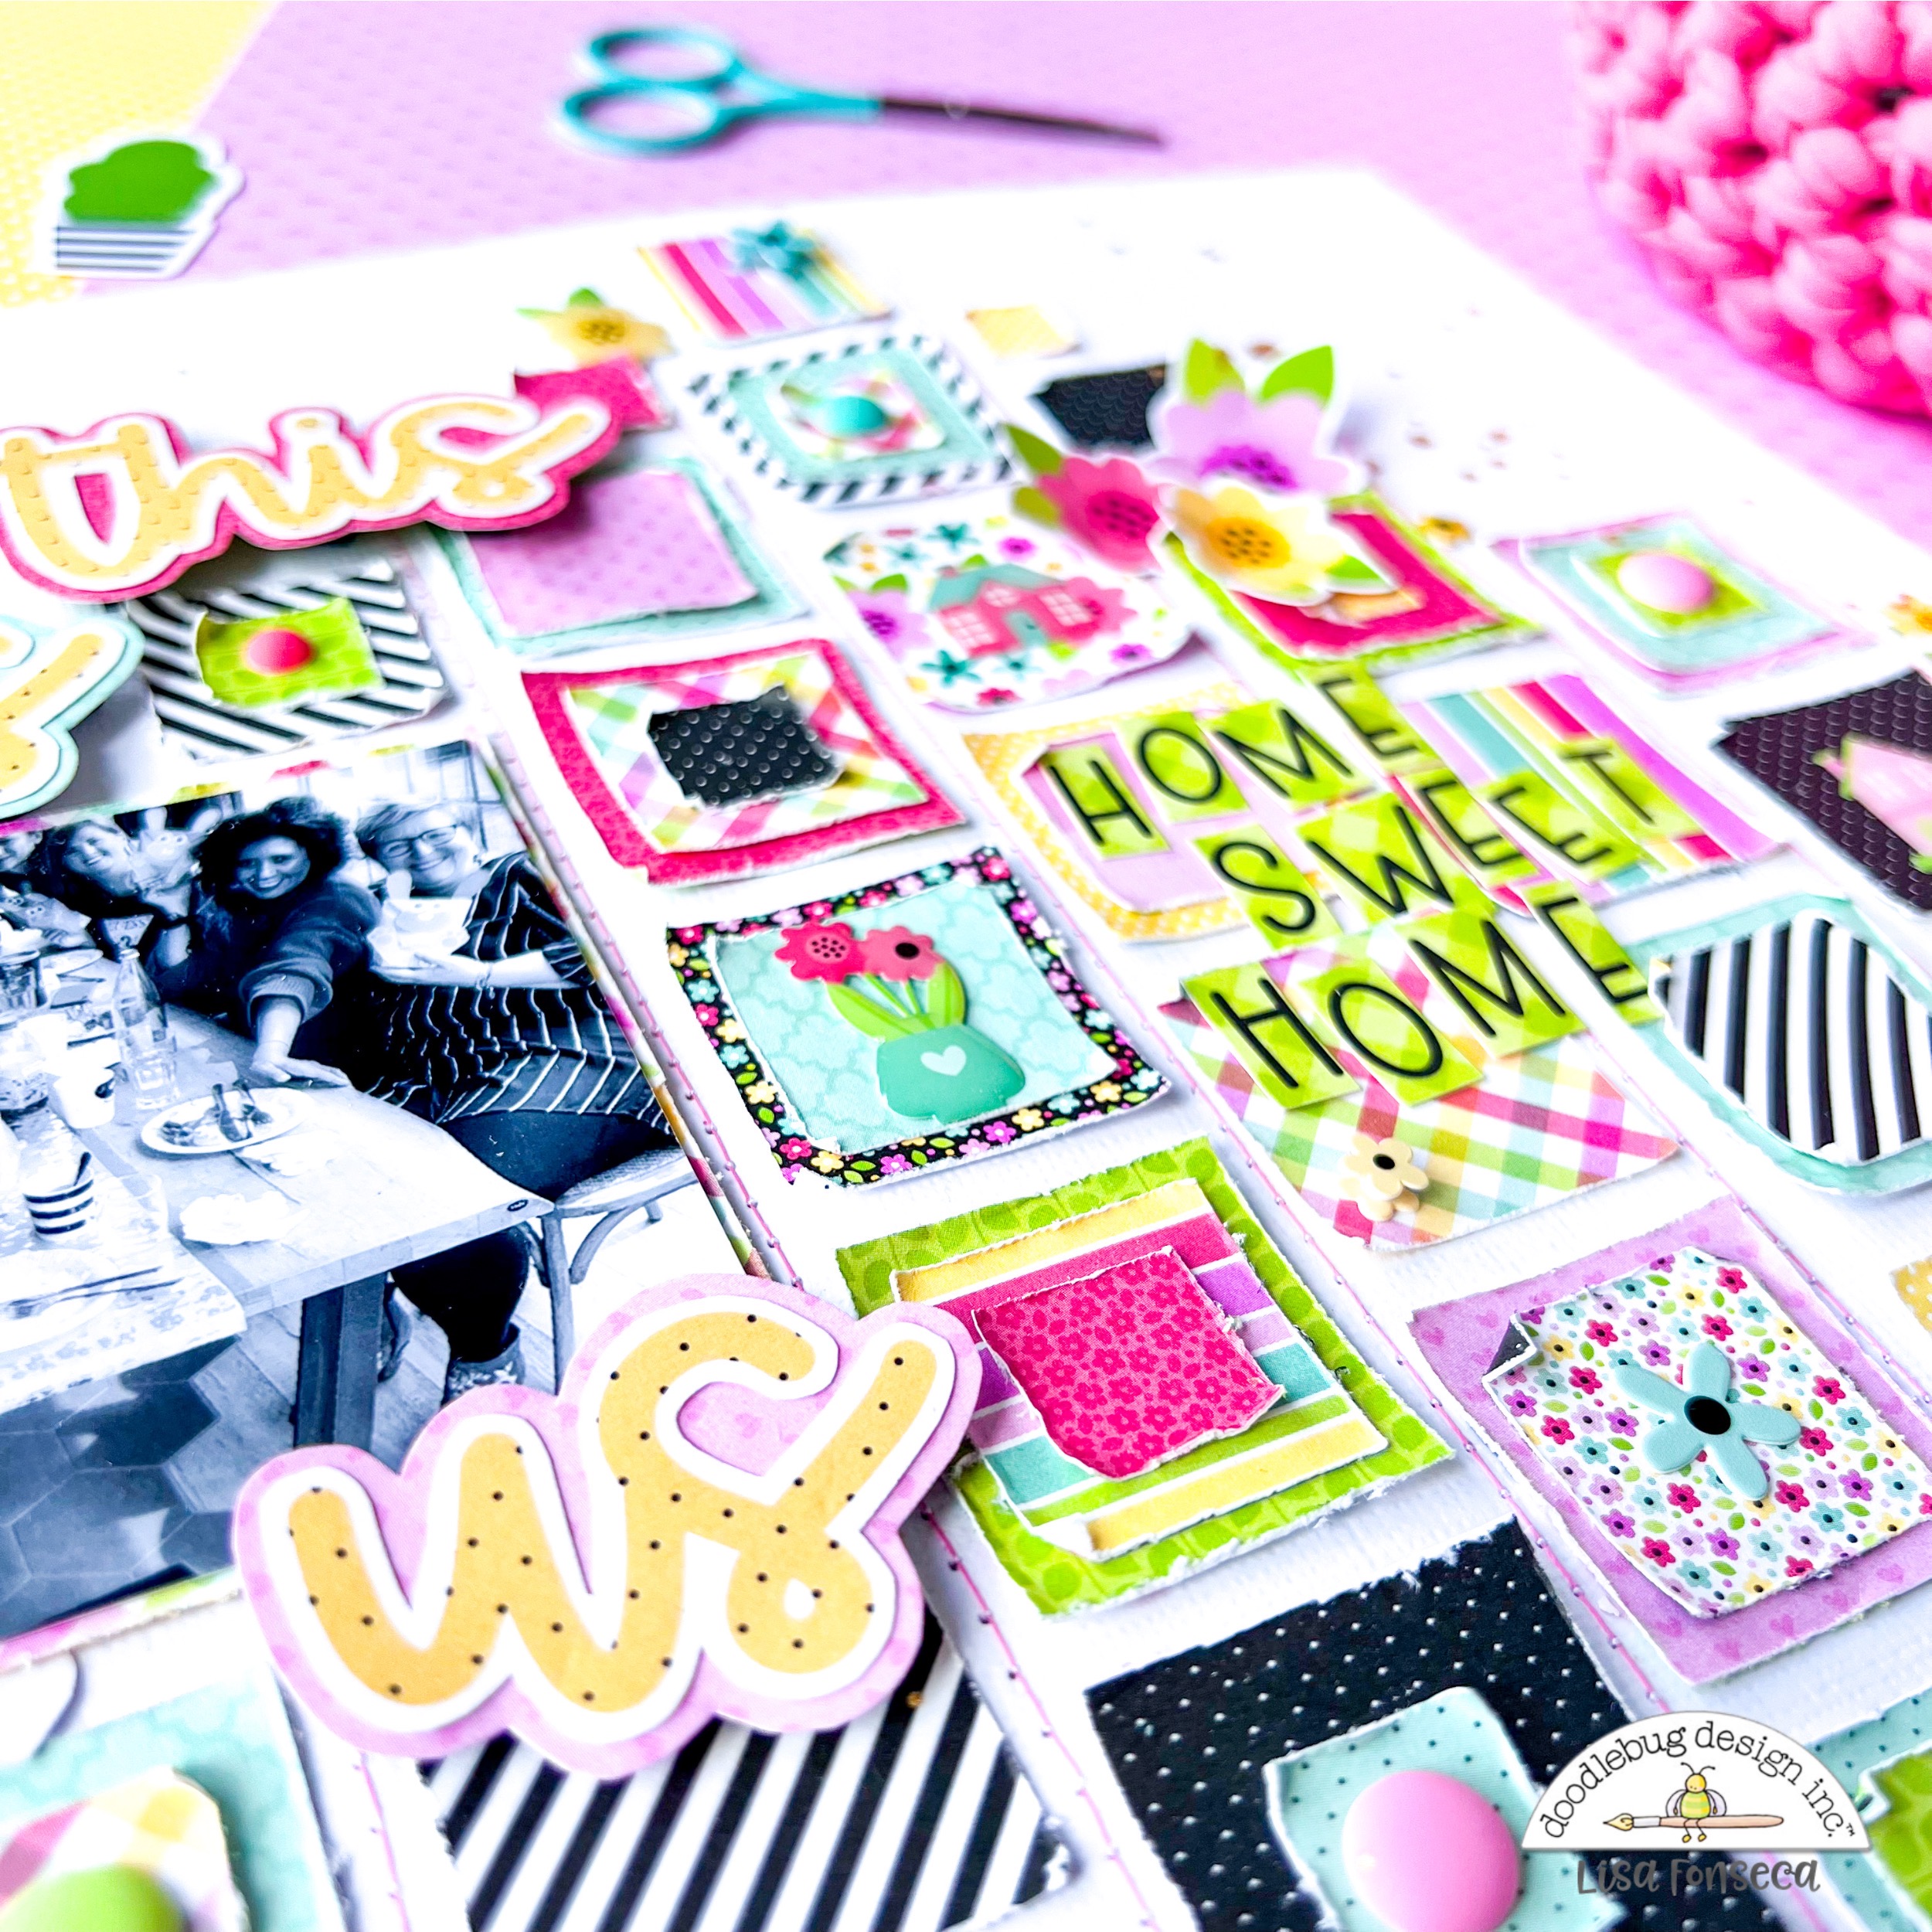
MY HAPPY PLACE THIS IS US LAYOUT | with Lisa

I love collections that have amazing colors and that are super versatile and easy to use for every occasion or theme. The My Happy Place collection is like that for sure and I love the amazing color scheme. I decided to go with a layout this week and to scrap an old picture on which I had friends over at my house.


For this layout I wanted to use a maximum of all the patterned papers. An easy way to do that is to choose one of your punches and to punch out shapes from every paper. Here, I used a 1 inch and 1 1/2 inch square punch. I cut some of them in four, to have mini squares too. 


I wanted to place the squares a bit randomly on the page and to integrate the photo later. So I placed my squares on the layout, starting with the big ones, after distressing the edges and corners of each square. Then I placed the smaller ones, also layering them on the bigger ones. 


When I had everything placed on my background, I chose a place for the photo and matted it with some scraps of paper before adhering it to the layout with foam tape. 

I went through all the embellishments and chose enamel dots and enamel shapes, fussy-cut flowers and some mini Doodle Pops to decorate the squares and the page.


For my title, I chose one of the Chit & Chat word die cuts saying: "This is us" and I also cut out the letters "Home sweet Home" from a banner. To finish I splattered gold paint.


I hope you enjoyed the process and are excited to use this collection too...:)

YouTube | Facebook | Instagram


DOODLEBUG PRODUCTS USED

My Happy Place Collection


OTHER


Heidi Swapp Color Shine


Wednesday, July 13, 2022

MY HAPPY PLACE SHADOWBOX | with Miguel

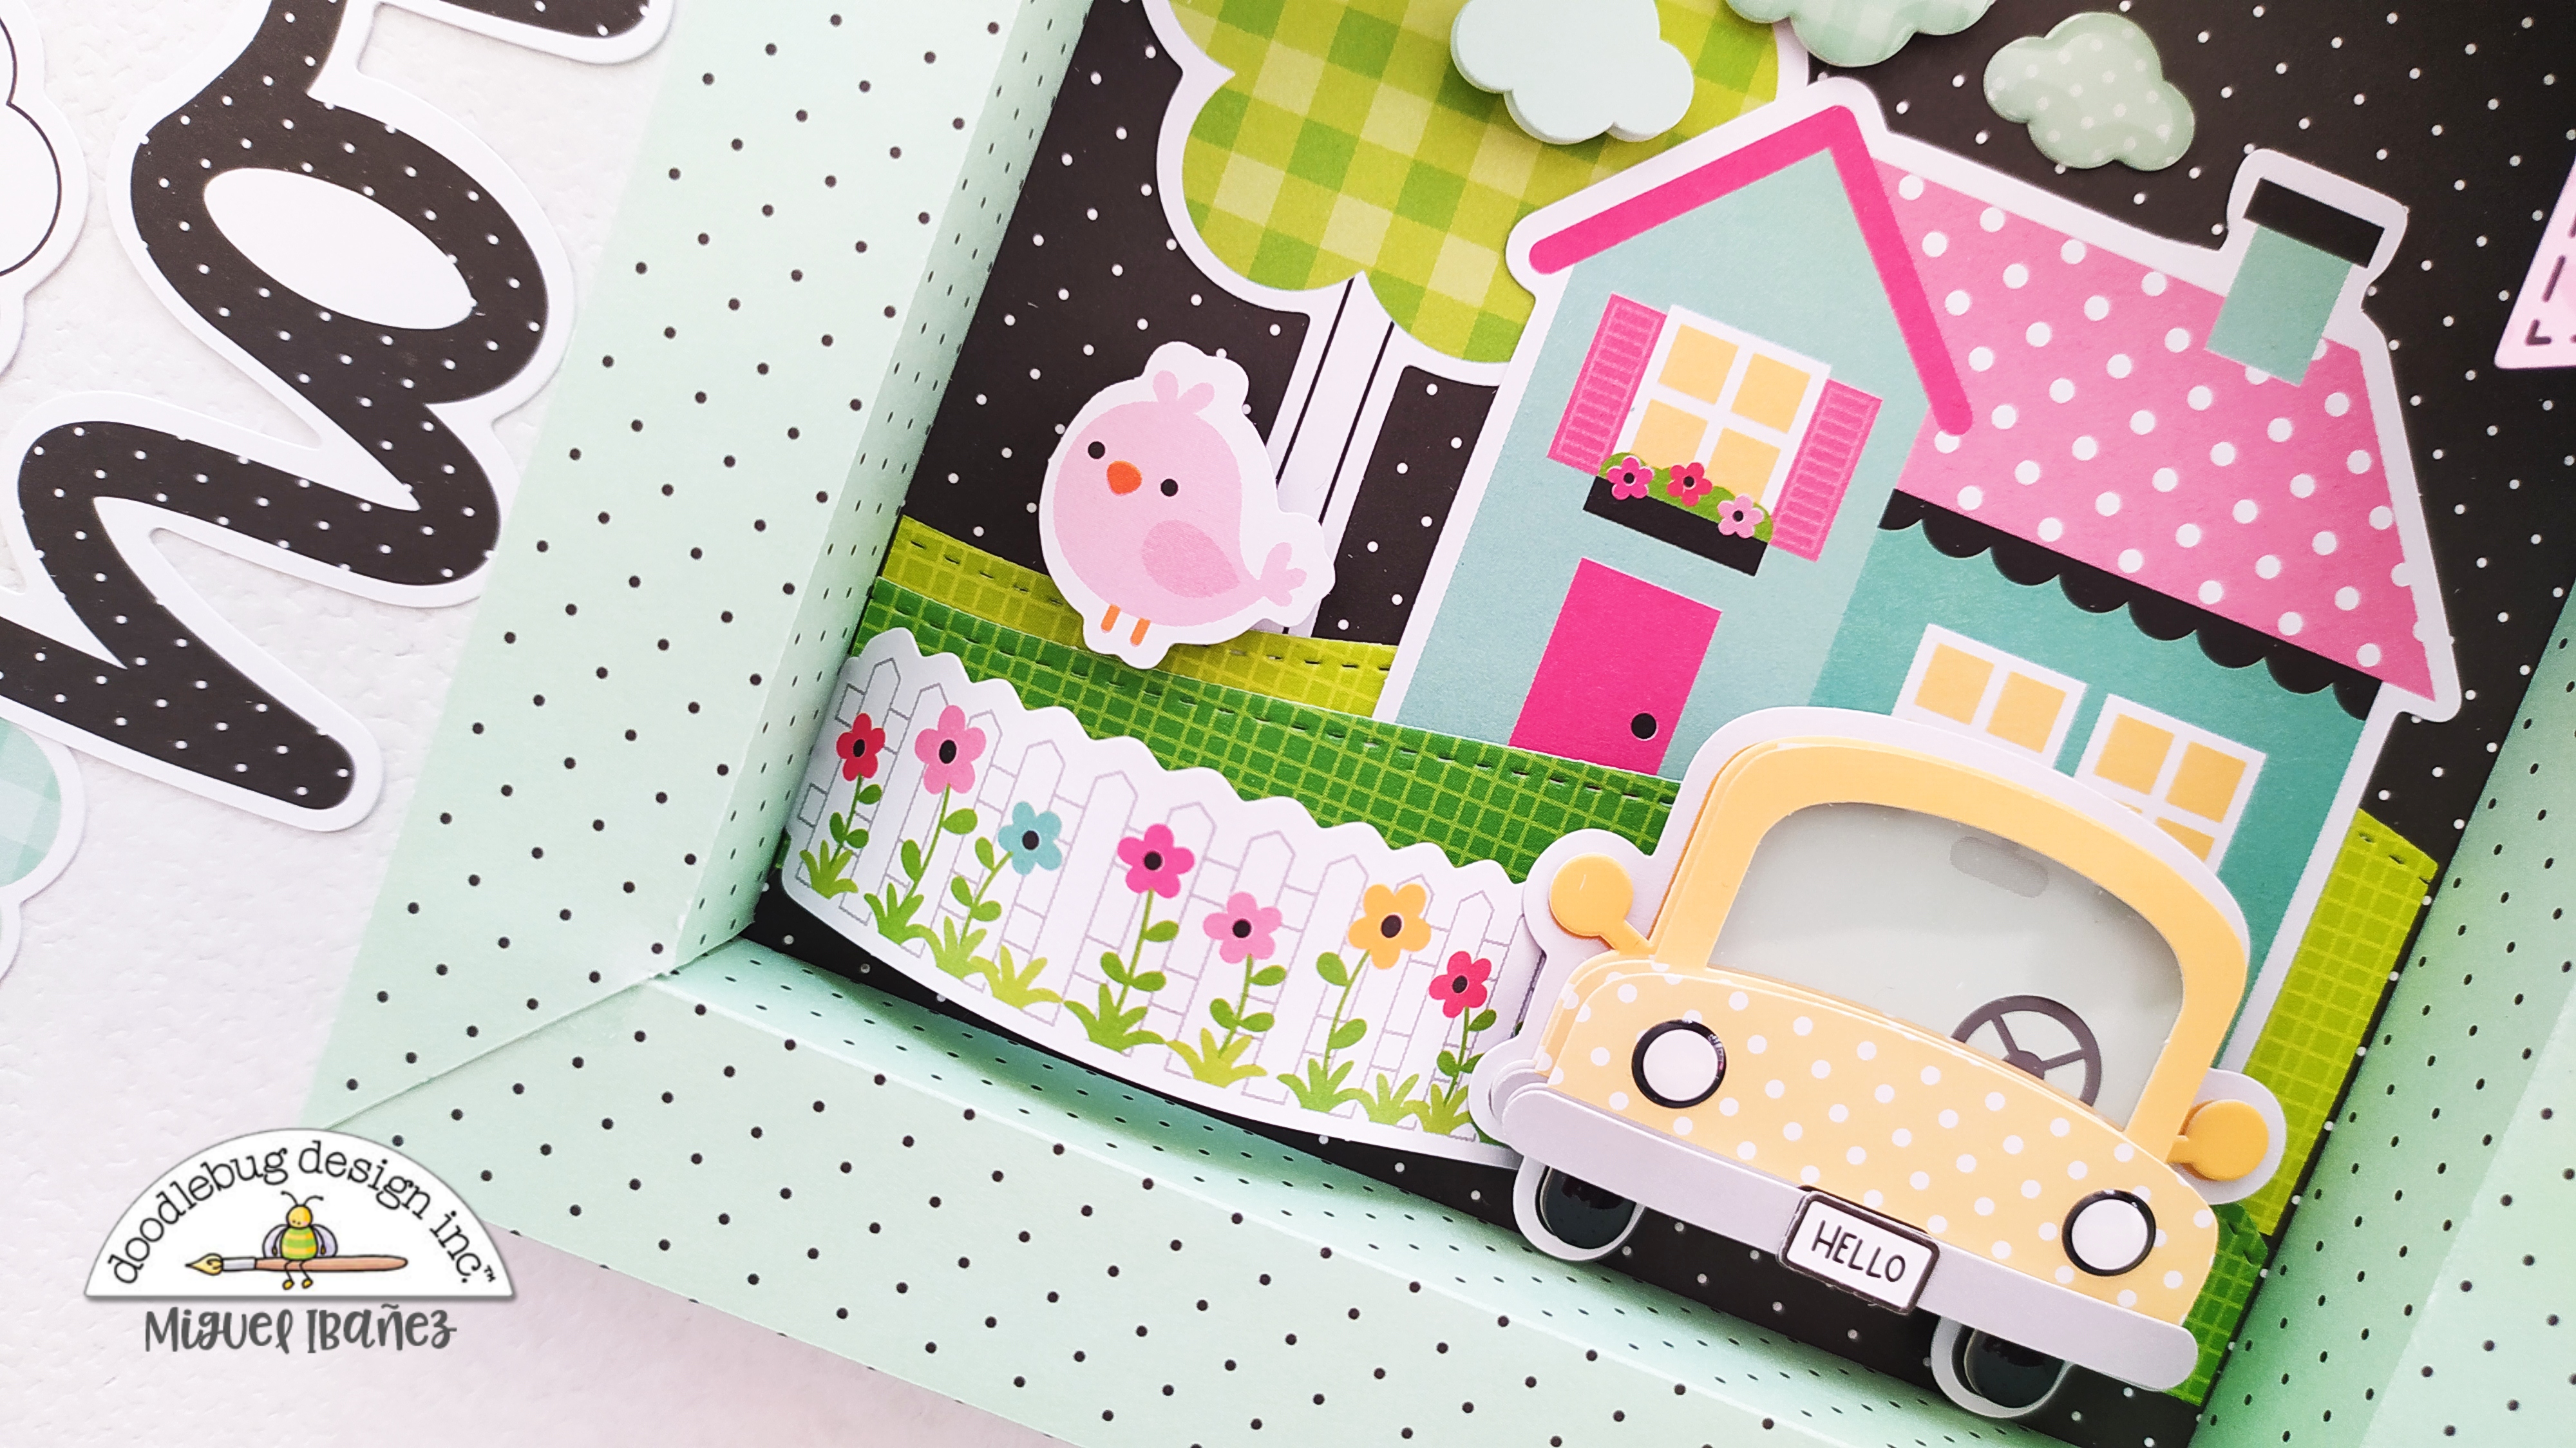
Shadowboxes can be made in many different shapes and materials. The possibilities are endless! Today I have one I made with the My Happy Place Collection and my scoring board.

I used some Odds & Ends to decorate the interior and create a nice landscape with a beautiful home. To give dimension, I added doodle pops to create that 3D effect. 

I added more dimension with this curved fence... it looks so cute with the little bird!

I embellished more by adding a button in the center of our radiant sun and a Chit Chat Banner. 


I say goodbye,  and hope you never stop creating!


FACEBOOK | INSTAGRAM

DOODLEBUG PRODUCTS USED

My Happy Place Collection


Pin It button on image hover