Tuesday, March 15, 2022

LOTS OF LOVE CANDY BAR WRAPS | with Karen

I will admit that I am definitely a seasonal crafter - give me a holiday and I am crafting up a storm. I definitely have a harder time during those "in between" times . Recently, I have taken those times to focus on random acts of kindness and taking some time to spread some crafty happiness.

  All-4-1

So today, I thought I would share some little candy bar wrappers that I created. Whether you use them to say thank-you or to get ahead of the game with Mother's Day crafts (I can't help it - seasonal crafter all the way!), you will be able to create this pretty and easy craft in no time!
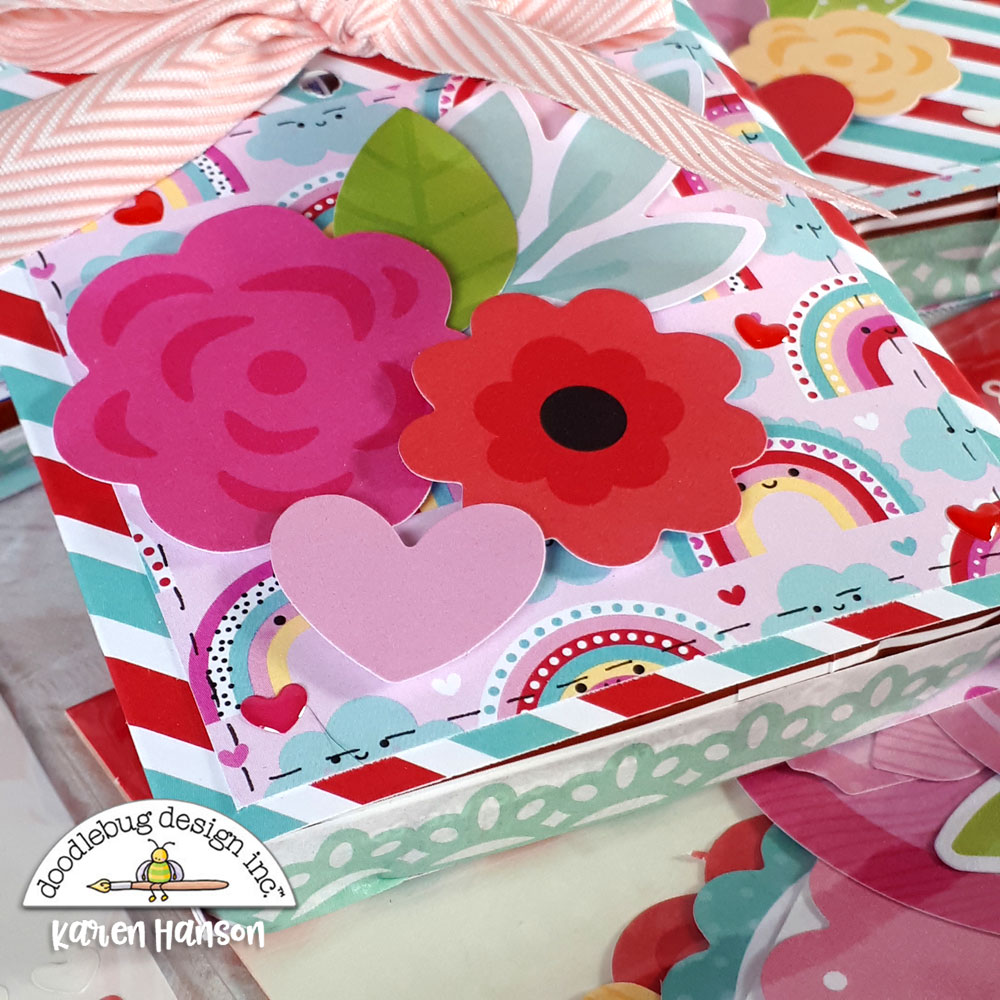
Washi-Tape

I started by using the "Lots of Love" collection to create a little sleeve for my candy bars. I made them tight enough that the treat would not slide out, but did decide to use a little washi tape on the bottom just to finish off the bottom a bit.
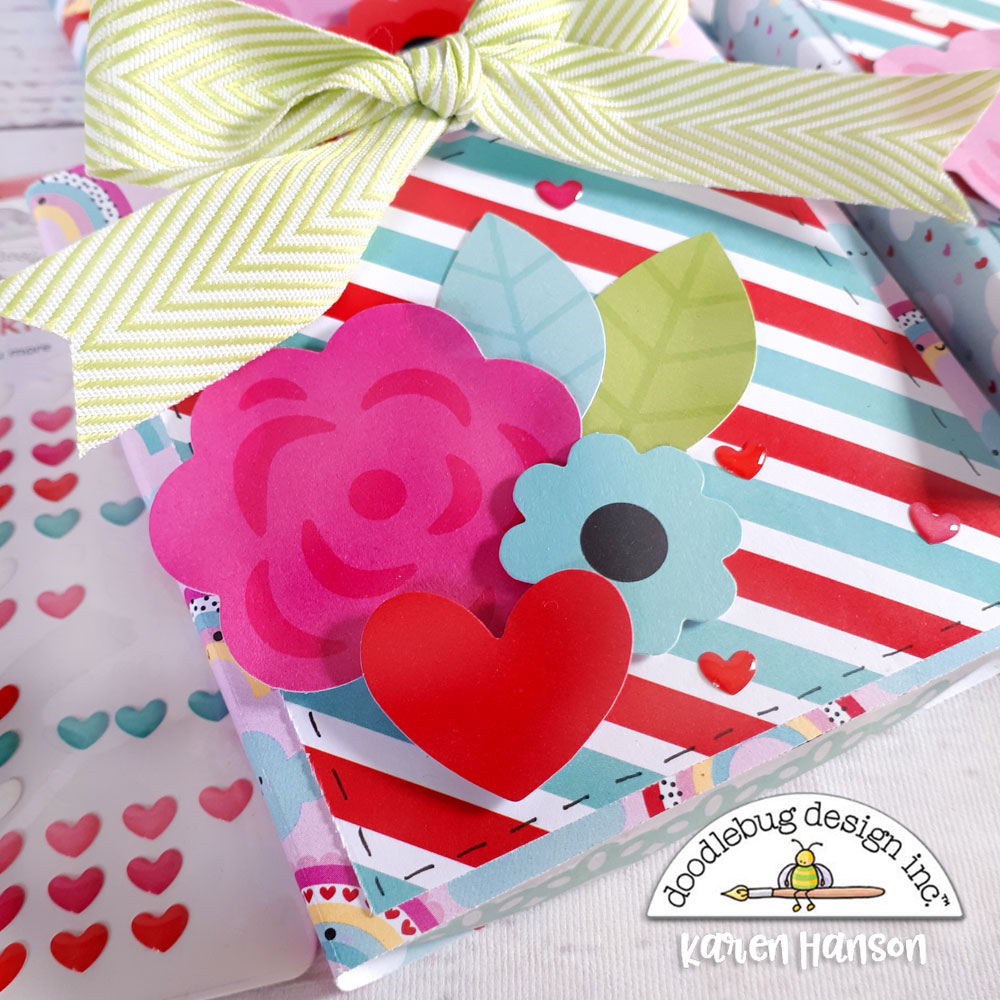
Bit-Pieces

I then layered some of the cute die cuts from the Bits & Pieces pack for a focal point on each of the sleeves. I used a few different foam adhesive thickness just to vary the height of each piece and give it some more dimension. Oh, and don't be afraid to bend the edges of the flower shapes a bit - it gives the flowers some interest and adds even more dimension to your project.

All-4-2

I added a few of the mini hearts to add a bit of shine and then topped everything off with a little bow.

So there you have it - a little craft idea to help you fill in the time between holidays or maybe to help you get ahead with some that are coming up.  Thanks for stopping by!


BLOG | INSTAGRAM

Doodlebug Design Product
Lots of Love Collection
Sprinkles - Love You More
Lots of Love - Bits & Pieces

Other Products
Adhesive
Ribbon

Monday, March 14, 2022

CUTE & CRAFTY BOX CARD | with Wanda

Hi everyone! Wanda here on the blog to share a fun pop-up card made with the Cute & Crafty Collection! I just absolutely love this collection full of artsy, crafty things! And the rainbow colors make the collection just that much more fun. Pencils, Markers, Paints and more.... I used lots of elements from the Cute & Crafty Collection to make my super crafty pop up! Let's Craft! This card would be perfect to send to your crafty friends!

1

 Here's a side view of the pop up card - showing all the elements I put in there! I made the pop up card from 12x12 Gingham Linen Petite Prints. I used 12x12 Textured Cardstock for the inside bars that hold all of the elements. The pop up box is a die cut set. The fun part was adding things!

1

 Live. Love. Create. Yes, that's a good motto! I used the School Supplies Sprinkles here on the front and added a pencil and a paint brush. I used a white gel pen to add white accents to the different Chit Chat elements.

1

 When you close the card, it folds flat and fits into an A2 envelope! A sweet rainbow heart is on the front!

1

 Here is the matching envelope that I made using stickers! I also added dots with a white gel pen onto the pretty aqua envelope! I almost always use some tiny hearts sprinkles too!

1


1


1

That's my project for today! I hope you're inspired to get crafty! Until I see you again, happy creating! 


1

MY BLOG | MY INSTAGRAM


DOODLEBUG SUPPLIES:

Cute & Crafty Collection
12x12 Gingham Linen Petite Prints
12x12 Textured Cardstock
Mini Jewels
Tiny Heart Sprinkles
School Supplies Sprinkles

OTHER SUPPLIES:

White Cardstock
White Gel Pen
Pop Up Box Dies
Glue and Adhesives

Thursday, March 10, 2022

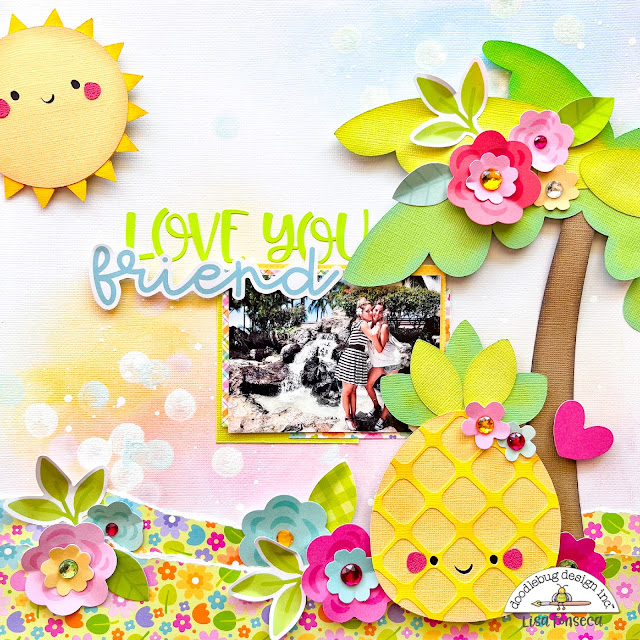
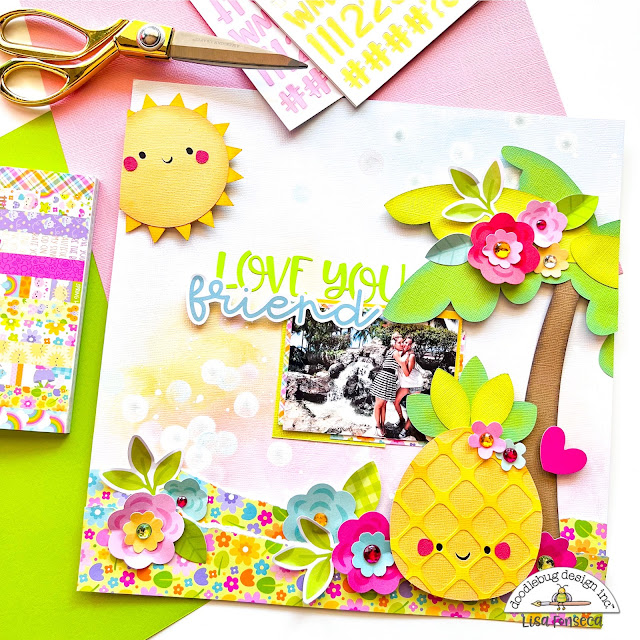
DOODLEBUG CUT FILES LOVE YOU FRIEND LAYOUT | with Lisa

Doodlebug cut files are just the best for fast and cute layouts :) I LOVE them! For this layout, I decided to go with three different cut files to scrap a photo I took in Hawaii.


So I chose a palm tree cut file, a pineapple cut file and a sun cut file, all from Fun at the Park. After my machine had cut all of the pieces, I assembled them. What I like to do before assembling, is inking with a dauber and my Distress Oxides to give the pieces more dimension and shadows. 


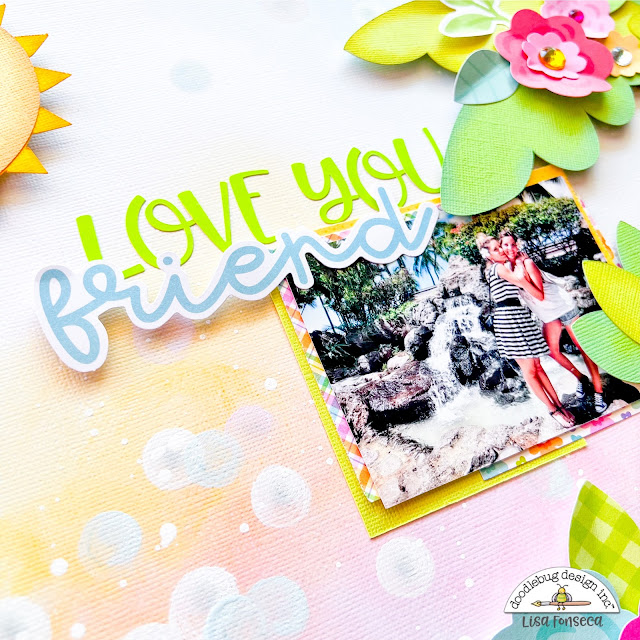
Then I prepared my background. I used a baby wipe and my Gelatos in pink, yellow and blue to put some color down. Then I used a dauber and white acrylic paint to make some dots and make it look a bit like bokeh. I really love this technique, it's so easy and so cute. I also splattered some white paint on the page.


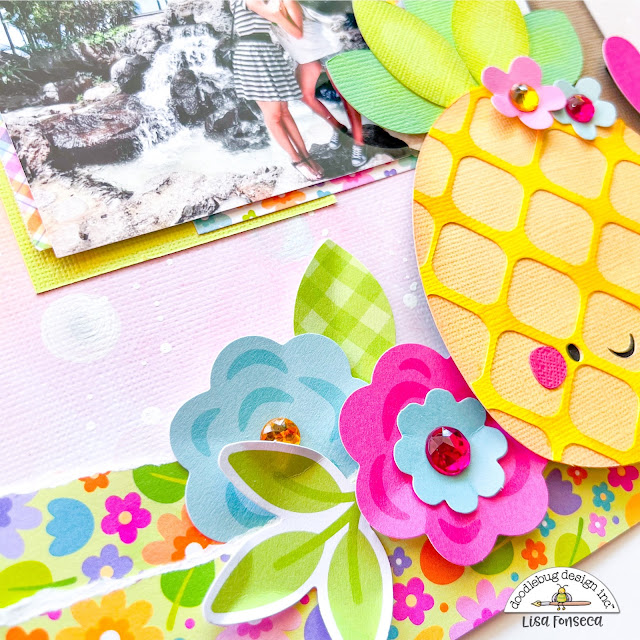
When the background was dry, I placed all my pieces on it. I matted my photo with four ripped pieces of patterned paper and placed it on the layout. Since the bottom was a bit naked, I decided to use two ripped strips of a green paper with flowers from the Fairy Garden collection.


Then I went through the flowers from the Lots of Love Bits and Pieces and used a lot of those to decorate my page. I added jewels to the centers of the flowers. I really love how that looks.
For my title, I used Limeade Abigail alpha stickers and a blue Chit Chat die cut word. 

This layout came together super fast, thanks to the cut files and looks so summery that I can't wait to finally have warm weather again. :) (Today was sunny but freeeeeeeezing cold...)


Thank you so much for stopping by and go check out the amazing Doodlebug cut files in the Silhouette Store and the Lori Whitlock SVG Shop!

Doodlebug Products Used

Fairy Garden Patterned Papers
Lots of Love Bits & Pieces
Abigail  Alpha Stickers
Textured Cardstock
Jewels

Other

Gelatos
Distress Oxides


Pin It button on image hover