Showing posts with label Down On The Farm. Show all posts

Thursday, May 19, 2022

DOWN ON THE FARM LOVELY PROVENCE LAYOUT | with Lisa

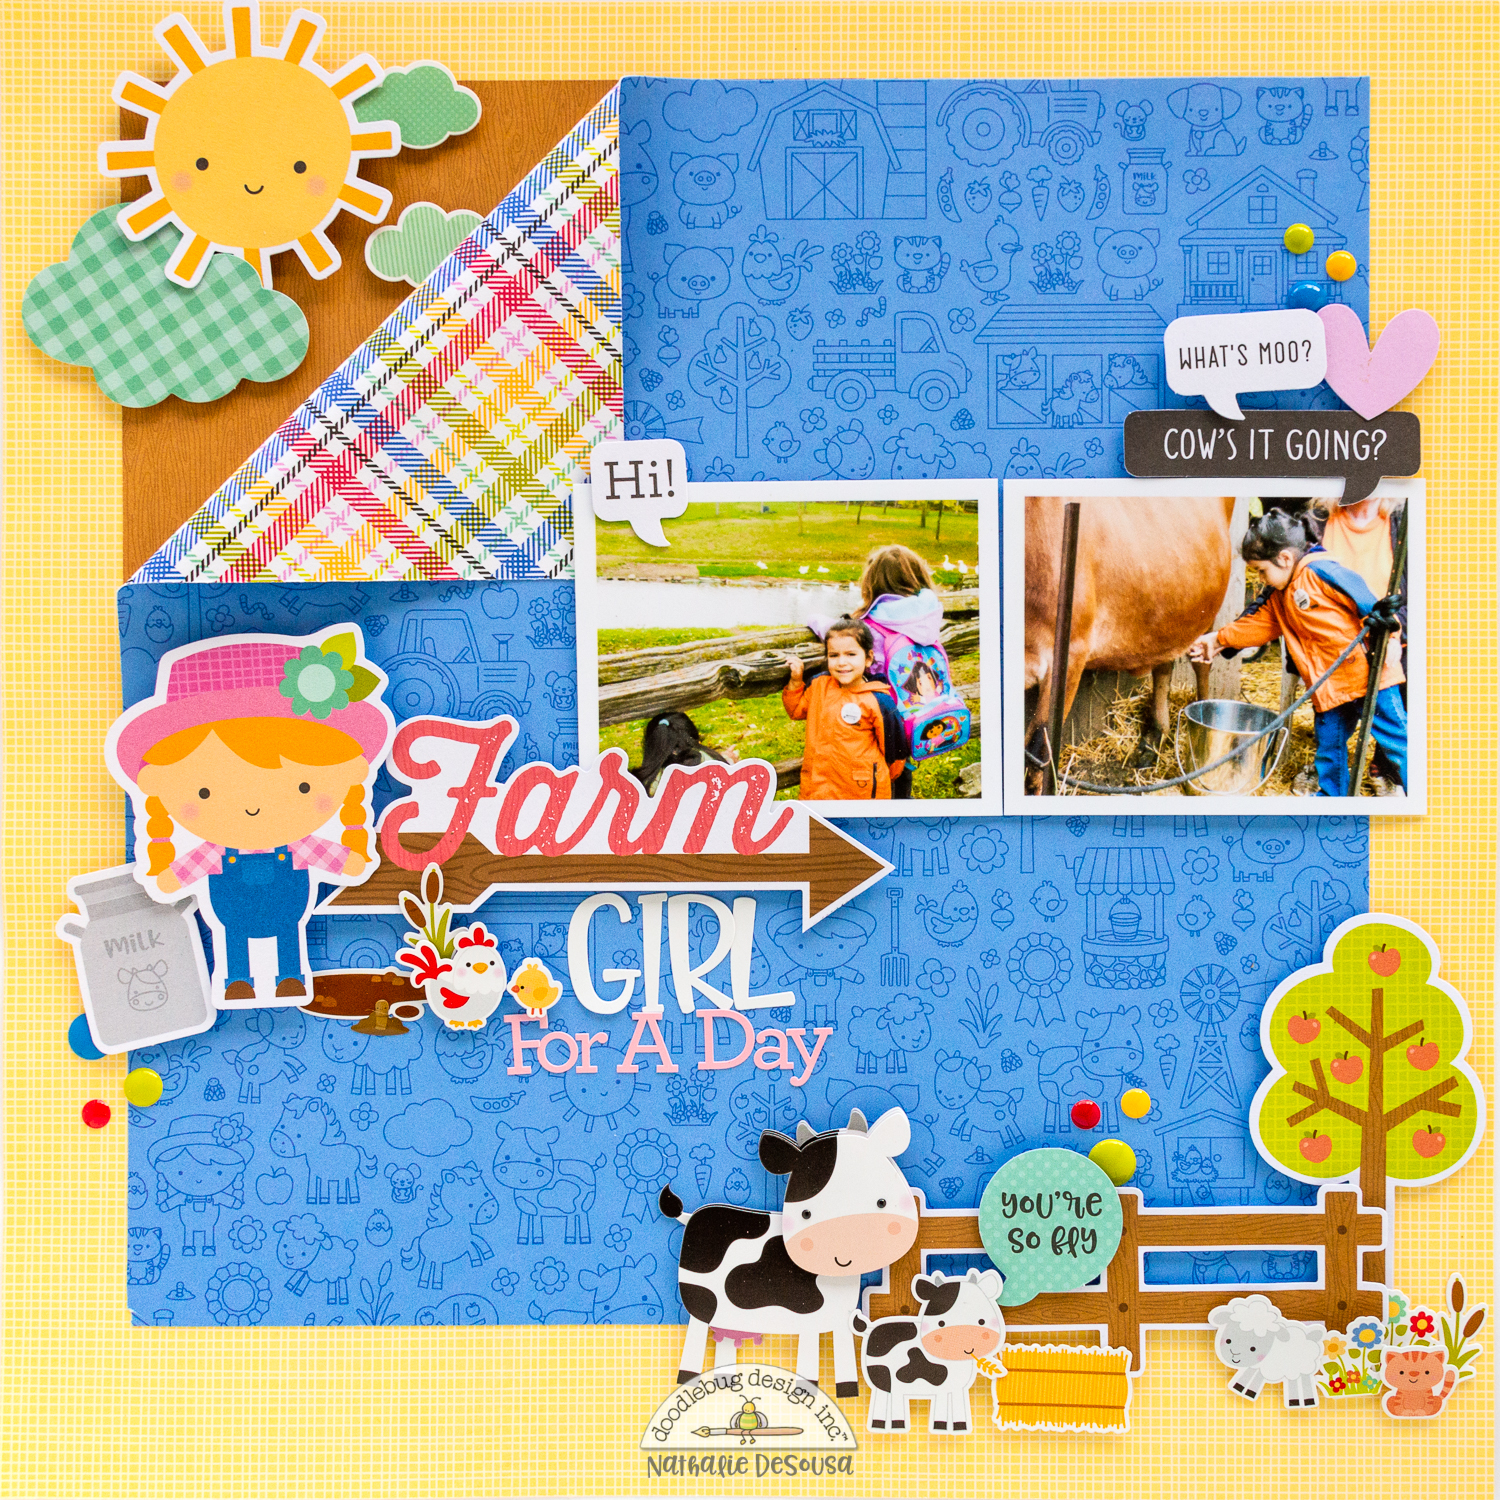
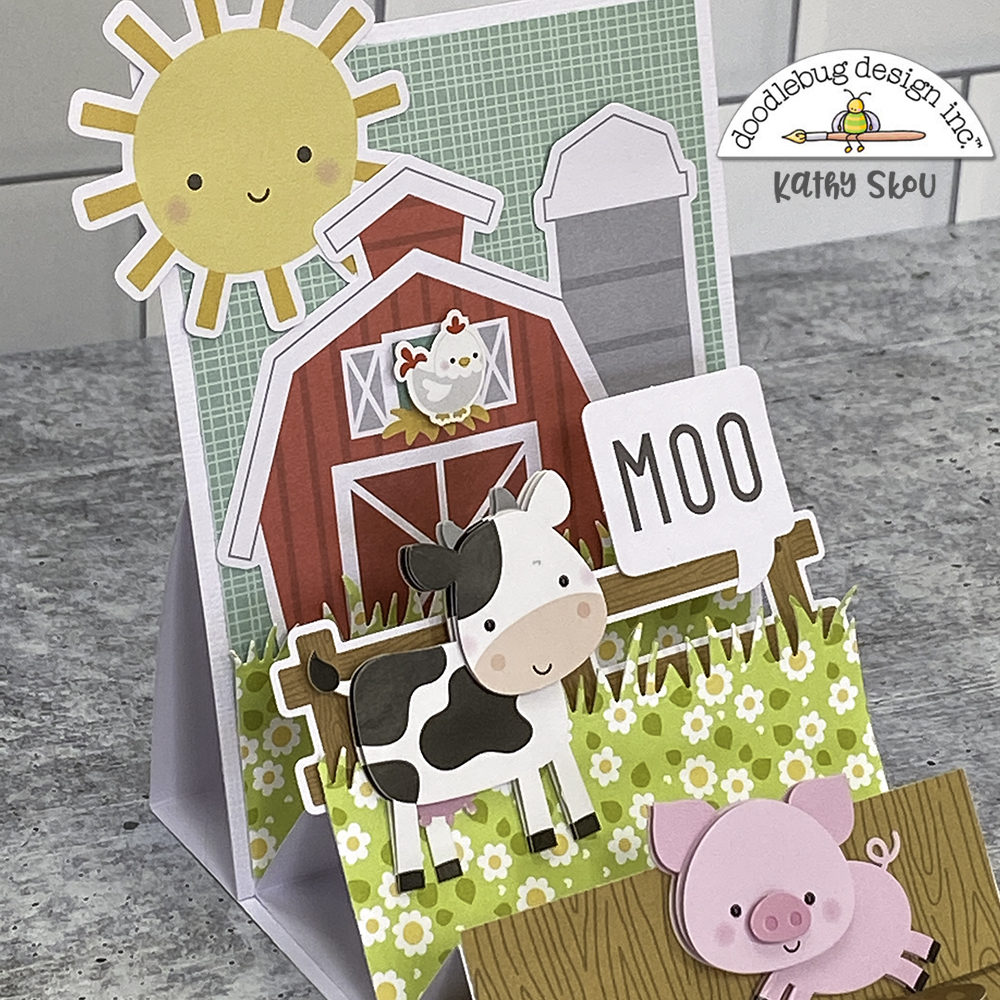
I'm so in love with the super cute Down on the Farm collection and I totally understand that it's been one of the most loved collections from Doodlebug so far. The color scheme is amazing, the patterns beautiful and the animals. just adorable. After creating some small cards with the collection, I decided to make a layout.


I started by flipping through the papers and decided to go with one of my faves, a paper that also caught my eye the first time I went through all the papers, the denim pockets side of the Red Bandanna paper.  I Love it!!! I cut out three of the pockets and hand-stitched the existing pattern of each pocket. 


I wanted to fill the pockets with flowers. I chose a few papers from the coordinating Petite Prints pack of patterned paper that have a gingham pattern on one side and a linen pattern on the other side. Then I also went to my stash and used the striped/dotted 6x6 paper pad to have some more colors for my flowers. 


I love creating these flowers. They are so fast and easy to make and just look adorable. I always hand-cut out a wonky five-petaled flower shape, without tracing first. It's the best when it's super wonky and all the shapes look different! :) Then I layer them going from big to small... obviously... after shaping them a bit with my fingers, to give them more dimension:)  I topped them with a large enamel Sprinkle dot. I you want to add even more dimension and detail, you can distress the edges and add some tangled thread between layers.  


I also cut out leaves from the limeade petite print and then I placed everything on my layout. For the background, I chose the teal wood grain paper from the b-side of the Country Garden paper, that I really love. I added some white paint to brighten it up and add texture and also splattered some white paint. 

I adhered the pockets and flowers to the background and then went through the stickers of the collection to chose some things to embellish the pockets. Since we're three on the photo, I added three pigs to one of the pockets ;), then I added a tree and a mouse and also some grass with flowers and a sun. 

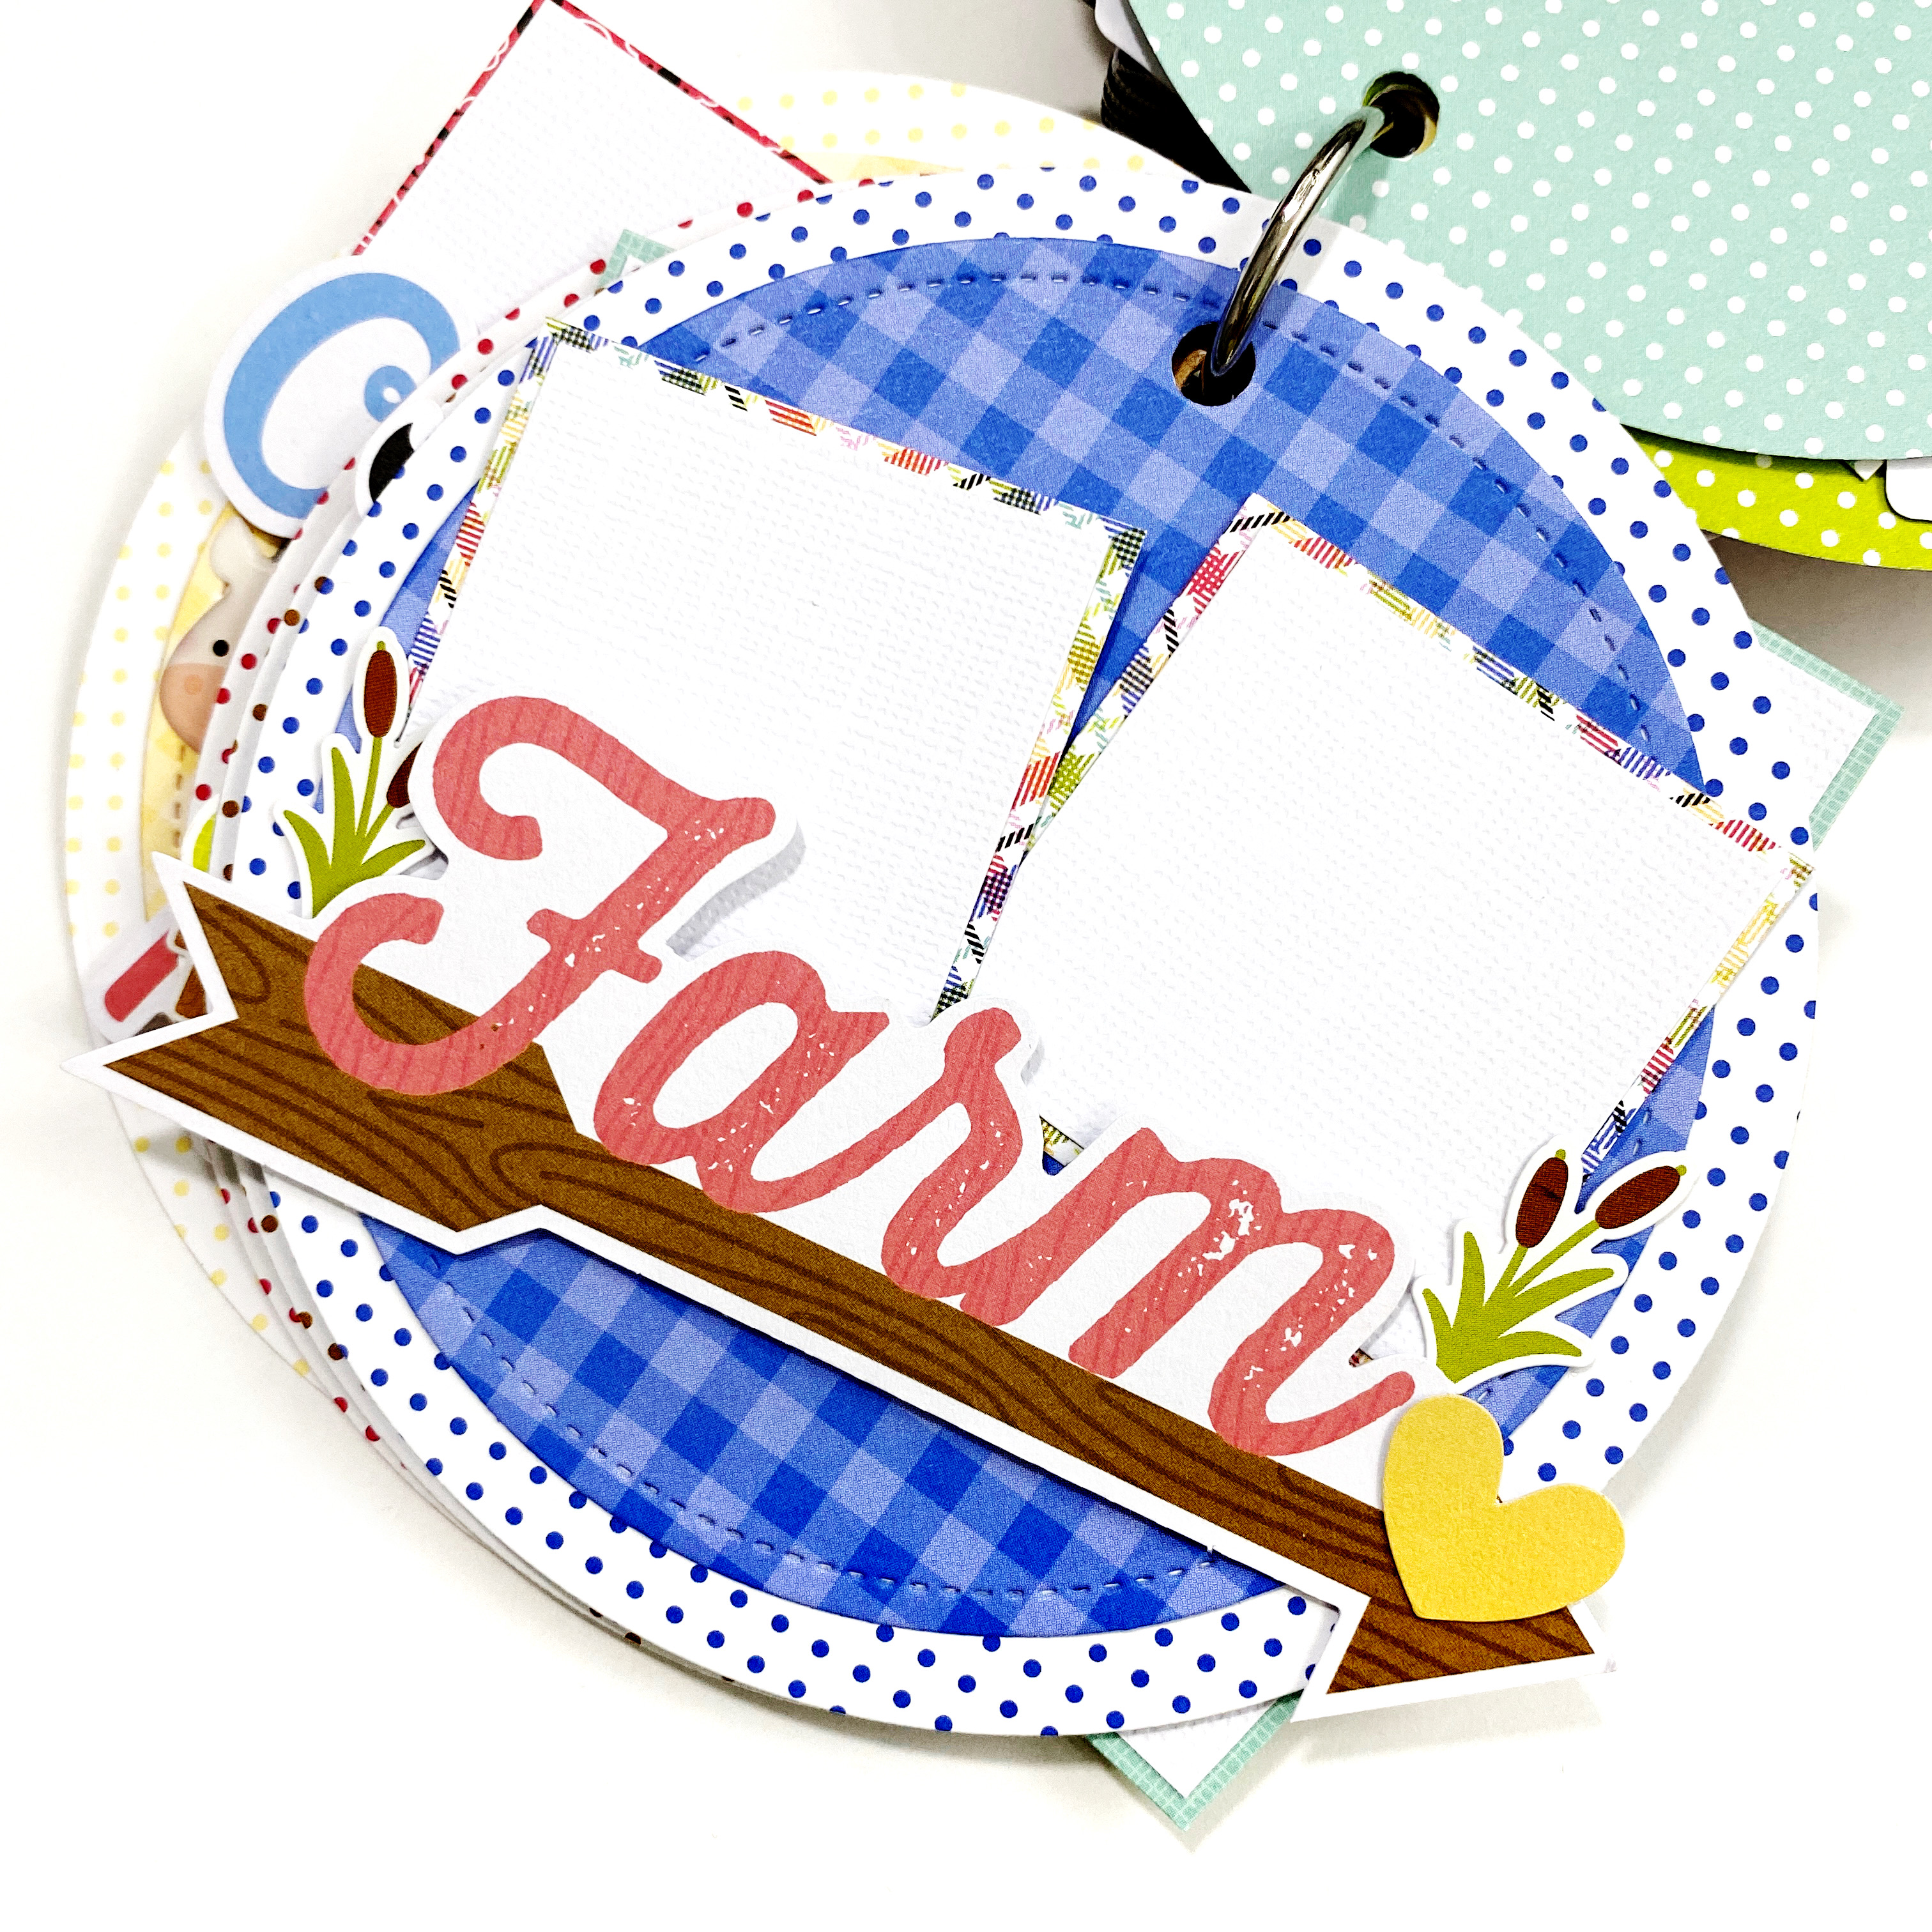
I matted the photo and adhered it to the layout. To finish the layout I added the title and a little cluster with a fence, tree, chicken, and flower on the right side of the photo. Since the fence goes out of the layout, I wanted to balance the whole thing and do the same of the left side. So I added a piece of fence there too and a chick. 


I'm really happy with how cute this layout turned out... :) I'm excited to see your layouts with this collection and for more inspiration, check out the blog every day and see the amazing creations from the team.  See you soon lovelies!

Facebook Instagram YouTube


Doodlebug Products Used


Down on the Farm Collection

Stripes / Dots Petite Prints

Skinny and Sunshine Alpha Stickers

Pink sprinkles


Other


White acrylic paint

Acrylic pen

Blue embroidery thread


Wednesday, May 18, 2022

DOWN ON THE FARM BIRTHDAY BOX | with Miguel

Altering boxes is something I love to do. I created this new idea to "package" together a group of altered boxes.   It is made with the beautiful Down on the Farm collection and the Down on the Farm Petite Prints Assortment.  I plan to give this to someone special for his birthday!

Petite Prints are my favorite papers and go-to product when it comes to creating,  It's great how you can use them with a number of Doodlebug Collections. Their wide variety of designs and colors give you a great palate to create with!

I used the 3x4 cards on the b-side of the Buffalo Check paper as the main focus of my project.  They decorate the outside as well as each of the boxes.

You can fill these boxes with so many things!  Letters, photos, little gifts.  The recipient will treasure the contents!


I hope and you like my work today. And as always I hope it inspires you to continue creating. goodbye!


FACEBOOK | INSTAGRAM

DOODLEBUG PRODUCTS USED

Down on the Farm Collection


Tuesday, May 17, 2022

DOWN ON THE FARM FARM GIRL LAYOUT | with Nathalie

I think every kid dreams (some still do) about working in a farm, and having free access to all the farm animals.  My daughter still loves farms!  So, the Down On The Farm collection is perfect to document some of her past memories of days at one of the local farms.


My starting point for this page was the 10x10" piece of Farmer's Flannel paper.  I just love the subtle pattern on the b side.


I folded the top left corner of the paper, and backed it with one of the 6x6 paper pad designs. I used this corner to add a sky scene.  These were all attached to a Lemon Petite Print paper background.


The folded corner helped me to anchor my pictures to the layout.   I simply added a few pieces of Chit Chat as embellishments.


I pulled pieces from the Odds & Ends pack, Chit Chat, and stickers to create my title.  To complete my title, I am using stickers from My Type alpha and Abigail alpha.  I love the font combination with the cute ephemera pieces.


To complete my page, I created a small farm scene at the bottom right corner of the page...All the embellishments in Down On The Farm are so cute, it was easy to mix and match them all!

A few sprinkles complete the page. I hope this gives you a bit of inspiration, and you  also bring out some of your farm memories to document with the Down On The Farm collection.  XOXO


.

Instagram | Blog | YouTube 

DOODLEBUG PRODUCTS USED

Down on the Farm Collection
Down on the Farm Petite Prints
Abigail Alpha Stickers - Lily White
My Type Alpha Stickers - Cupcake


Monday, May 16, 2022

DOWN ON THE FARM TRIPLE EASEL CARD | with Kathy

I love making 3D cards.  It's always fun making little scenes using Doodlebug's icons... whether it be with the Icon Stickers, Mini Icons or Odds & Ends.  I found a new (to me) style of card recently... the triple easel card.  I immediately thought that it would be the perfect way to display some of the Down on the Farm cuties!  Take a peek...


The fun thing about this style of card is that at first, it looks like a basic A2 card....but then you open it and.... voilà!  You have an entire scene!


I started with the barn and sun from the Odds & Ends for my main backdrop.  I added the adorable chicken up in the loft from the Icon Stickers.  Next I added a fence from the Odds & Ends and the What's Moo cow Doodle Pop.  Yes, don't faint... I used a Doodle Pop! No worries, I have duplicates, lol.  Of course he's saying "moo" with the speech bubble from the Chit Chat pieces.


For my final tier, I used another Doodle Pop!  That little piggy is too cute!  I popped up his mud puddle to hold up the tier.  Here are some more close-ups....


There are tons of triple easel card tutorials online if you search.  I combined a few, and basically made my own measurements so the card would fit my needs.  They really are easy, and so fun to display!  That's it for me today, thanks for stopping by to peek!


DOODLEBUG PRODUCTS USED

Down on the Farm Collection
Down on the Farm Coordinating Petite Prints

OTHER

Grass Border Die
White Cardstock
Pop Dots, Adhesive

Thursday, May 12, 2022

DOWN ON THE FARM SWEET COUNTRY GIRL LAYOUT | with Traci

Hi everyone!  Since the team is sharing Down on the Farm projects this week, I pulled out some of my favorite pictures of my sweet country girl and her favorite stuffy, Pua, the adorable pig from Disney's Moana.  


I wanted to keep the color palette on this page simple to focus on the photos so I used a combination of kraft, cupcake, and pistachio.  I started with a kraft gingham petite print and layered a piece of white card stock on top.  The next two layers are pistachio linen and the cute Down on the Farm pattern called chicken coup. 


This cute bandana border is from the Down on the Farm sheet, and I matted it with a little bit of the kraft linen.  How cute is that little piggy and his mud hole?  I added a few little kraft and cupcake enamel glitter dots, because in my world enamel dots should legally be required to be on everything!


The banner in the top corner is from the Chit Chat pieces, and that little pistachio triangle was cut from the hog heaven paper ... love the little hearts around the edge!


Hey little piggy!  We see you!!


I needed a little bit of pistachio in the bottom corner so shape sprinkle flowers did the trick along with another little piggy.  I wanted him to be smaller than the fence, so I found him on the mini icon sheet :). And speaking of small, how cute are those tiny little boots! 

Well I hope you've liked this simple little page and are getting lots of ideas from the team's Down on the Farm projects!  We always to love to see your projects on social media so be sure to tag @doodlebugdesign! 
Happy scrapping friends!


Doodlebug Products Used
Down on the Farm Collection
Flower Shape Sprinkles
Kraft and pistachio petite prints
Kraft and cupcake enamel dots

Wednesday, May 11, 2022

DOWN ON THE FARM MINI ALBUM | with Erica

Are you looking for a quick and easy way to create a mini album! Pull out some circle dies from your stash and start die cutting some Doodlebug Design Petite Prints!

I used the Down on the Farm petite prints 12x12 assortment pack to create the base pages of my mini album. I used two different sized circle dies with the smaller circle having stitching marks. I used the largest circle to cut out the dots paper in each color and then the smaller circle to cut out the the plaids.

Once all the pieces were cut I used some wet adhesive to glue them together. Having layered up pages will help the pages be nice and sturdy.

I creating a hole in each page using my paper punch and used a wire binding ring to keep the album together.

To embellish each page I used the Down on The Farm odds & ends, chit chat pieces, mini icon stickers and enamel dots!

My photo mats are 1.75x1.75 and matted on pattern paper sized at 2x2. For my larger photo mats I used a 2x3 size.

I used a lot of different foam adhesives to help create a nice and chunky album. Once all my pages were done I went in and added some of the epoxy stickers.

This cute little album is now ready for photos and journaling! I added a small bow on the wire ring with some black chevron ribbon! The next time you are looking for a fun way to create a mini album pull out your circle dies to create your base pages!


YouTube | Instagram | Facebook | Blog

Doodlebug Products Used

Down on the Farm Collection

Tuesday, May 10, 2022

DOWN ON THE FARM CARDS | with Karen

So here's the thing - one of the things that I love about Doodlebug product are all the details you can find in the product designs. From the awesome printed papers to all the little shapes you can find in the Sprinkles and stickers, Doodlebug knows how to bring out the best in every product. But that does mean that sometimes I go a little overboard in my designs. MUST USE ALL THE CUTE PRODUCT!

So today, I decided to give myself a challenge - keep it clean and simple! I wanted to really features some of the cute detailed products, but with just one or two on each card. So here's the result:

Featuring the adorable Down on the Farm collection, I used the coordinating Cards & Envelopes together with some Doodlepops and some Shape Sprinkles and a few sentiments from the Chit Chat pack. That was really it!

This card, featuring the pig Doodlepop actually ended up being my favourite! I did add a few heats die cuts as well just for a bit more texture.

This card was actually inspired by the new shadowbox collection! I decided to fill the cute little peephole on the card with some shape sprinkles that tied to the sentiment. I love the fact that this one turned out gender neutral!

And finally, I did decide to use a few more elements on this card just to balance out the space a little more. A combination of a Doodlepop, a Shape Sprinkle and a few dies cuts, it's a few of each, but still a really simple design.

I honestly don't remember the last time I created a project that did not have a stitch of patterned paper on it, but I really love how these turned out (even if they took me forever to figure out and fiddle with - sometimes clean and simple just isn't so simple at all)! I hope you love them as much as I do!  Thanks for stopping by!


BLOG | INSTAGRAM

Doodlebug Design Product:
Down on the Farm Collection
Cards & Envelopes

Other Products:
Adhesive

Monday, May 9, 2022

DOWN ON THE FARM BOX CARD | with Wanda

Howdy everyone! Wanda here, with another fun project made with the Down on the Farm Collection! Have you enjoyed all the farm projects? It's really great to work with an older collection and bring it back with some fresh and new ideas. All the elements and images in this collection are so happy and fun. Today I decided to make a Pop-Up Birthday card with that adorable barn and a cute cow and some chickens! Happy Birthday to MOOOOOO! This card came together easily with a Pop-Up card die, and the Chit Chat and Odds & Ends packs. I custom made an envelope, and this card fits flat for mailing or giving. 

50

Here's a top down view of the card so you can see all the different papers and elements. I used green gingham for the 'ground' pieces and that pretty buffalo check for the outer shell of the card. I placed the barn in the back first, then the fence in front. Then I mixed and matched pieces until I got just the right look! 

50

 One tip - use a white gel pen on your design pieces to add a bit of a highlight!

50

 This is the back of the card - with that sweet sentiment!

50

The whole card folds flat! You can put it right into an envelope. In this case, the barn and sun extend over the back of the card base. Because of that, I needed a bigger envelope. If you keep the elements inside the outer area of the card die then it would fit into an A2 envelope. It's fine with me, because I love to make custom, matching envelopes with the same papers from my cards. 

50

Here is my fun envelope! It's a 6" x 6" square envelope. There's extra room so it doesn't get squished! I used the same cow and chickens on the envelope so it is totally custom.

50

 I made a little envelope seal too!

50


50

As always, it's lovely to spend a little time with you here on the Doodlebug Blog! I'll be back soon! Until then, keep on crafting! 


50

MY BLOG | MY INSTAGRAM

DOODLEBUG SUPPLIES:

Down on the Farm Collection
12x12 Gingham Collection
12x12 Buffalo Check Collection

OTHER SUPPLIES:

Envelope Punch Board
Pop Up Card Dies
White Gel Pen
Adhesives and glue

Pin It button on image hover