
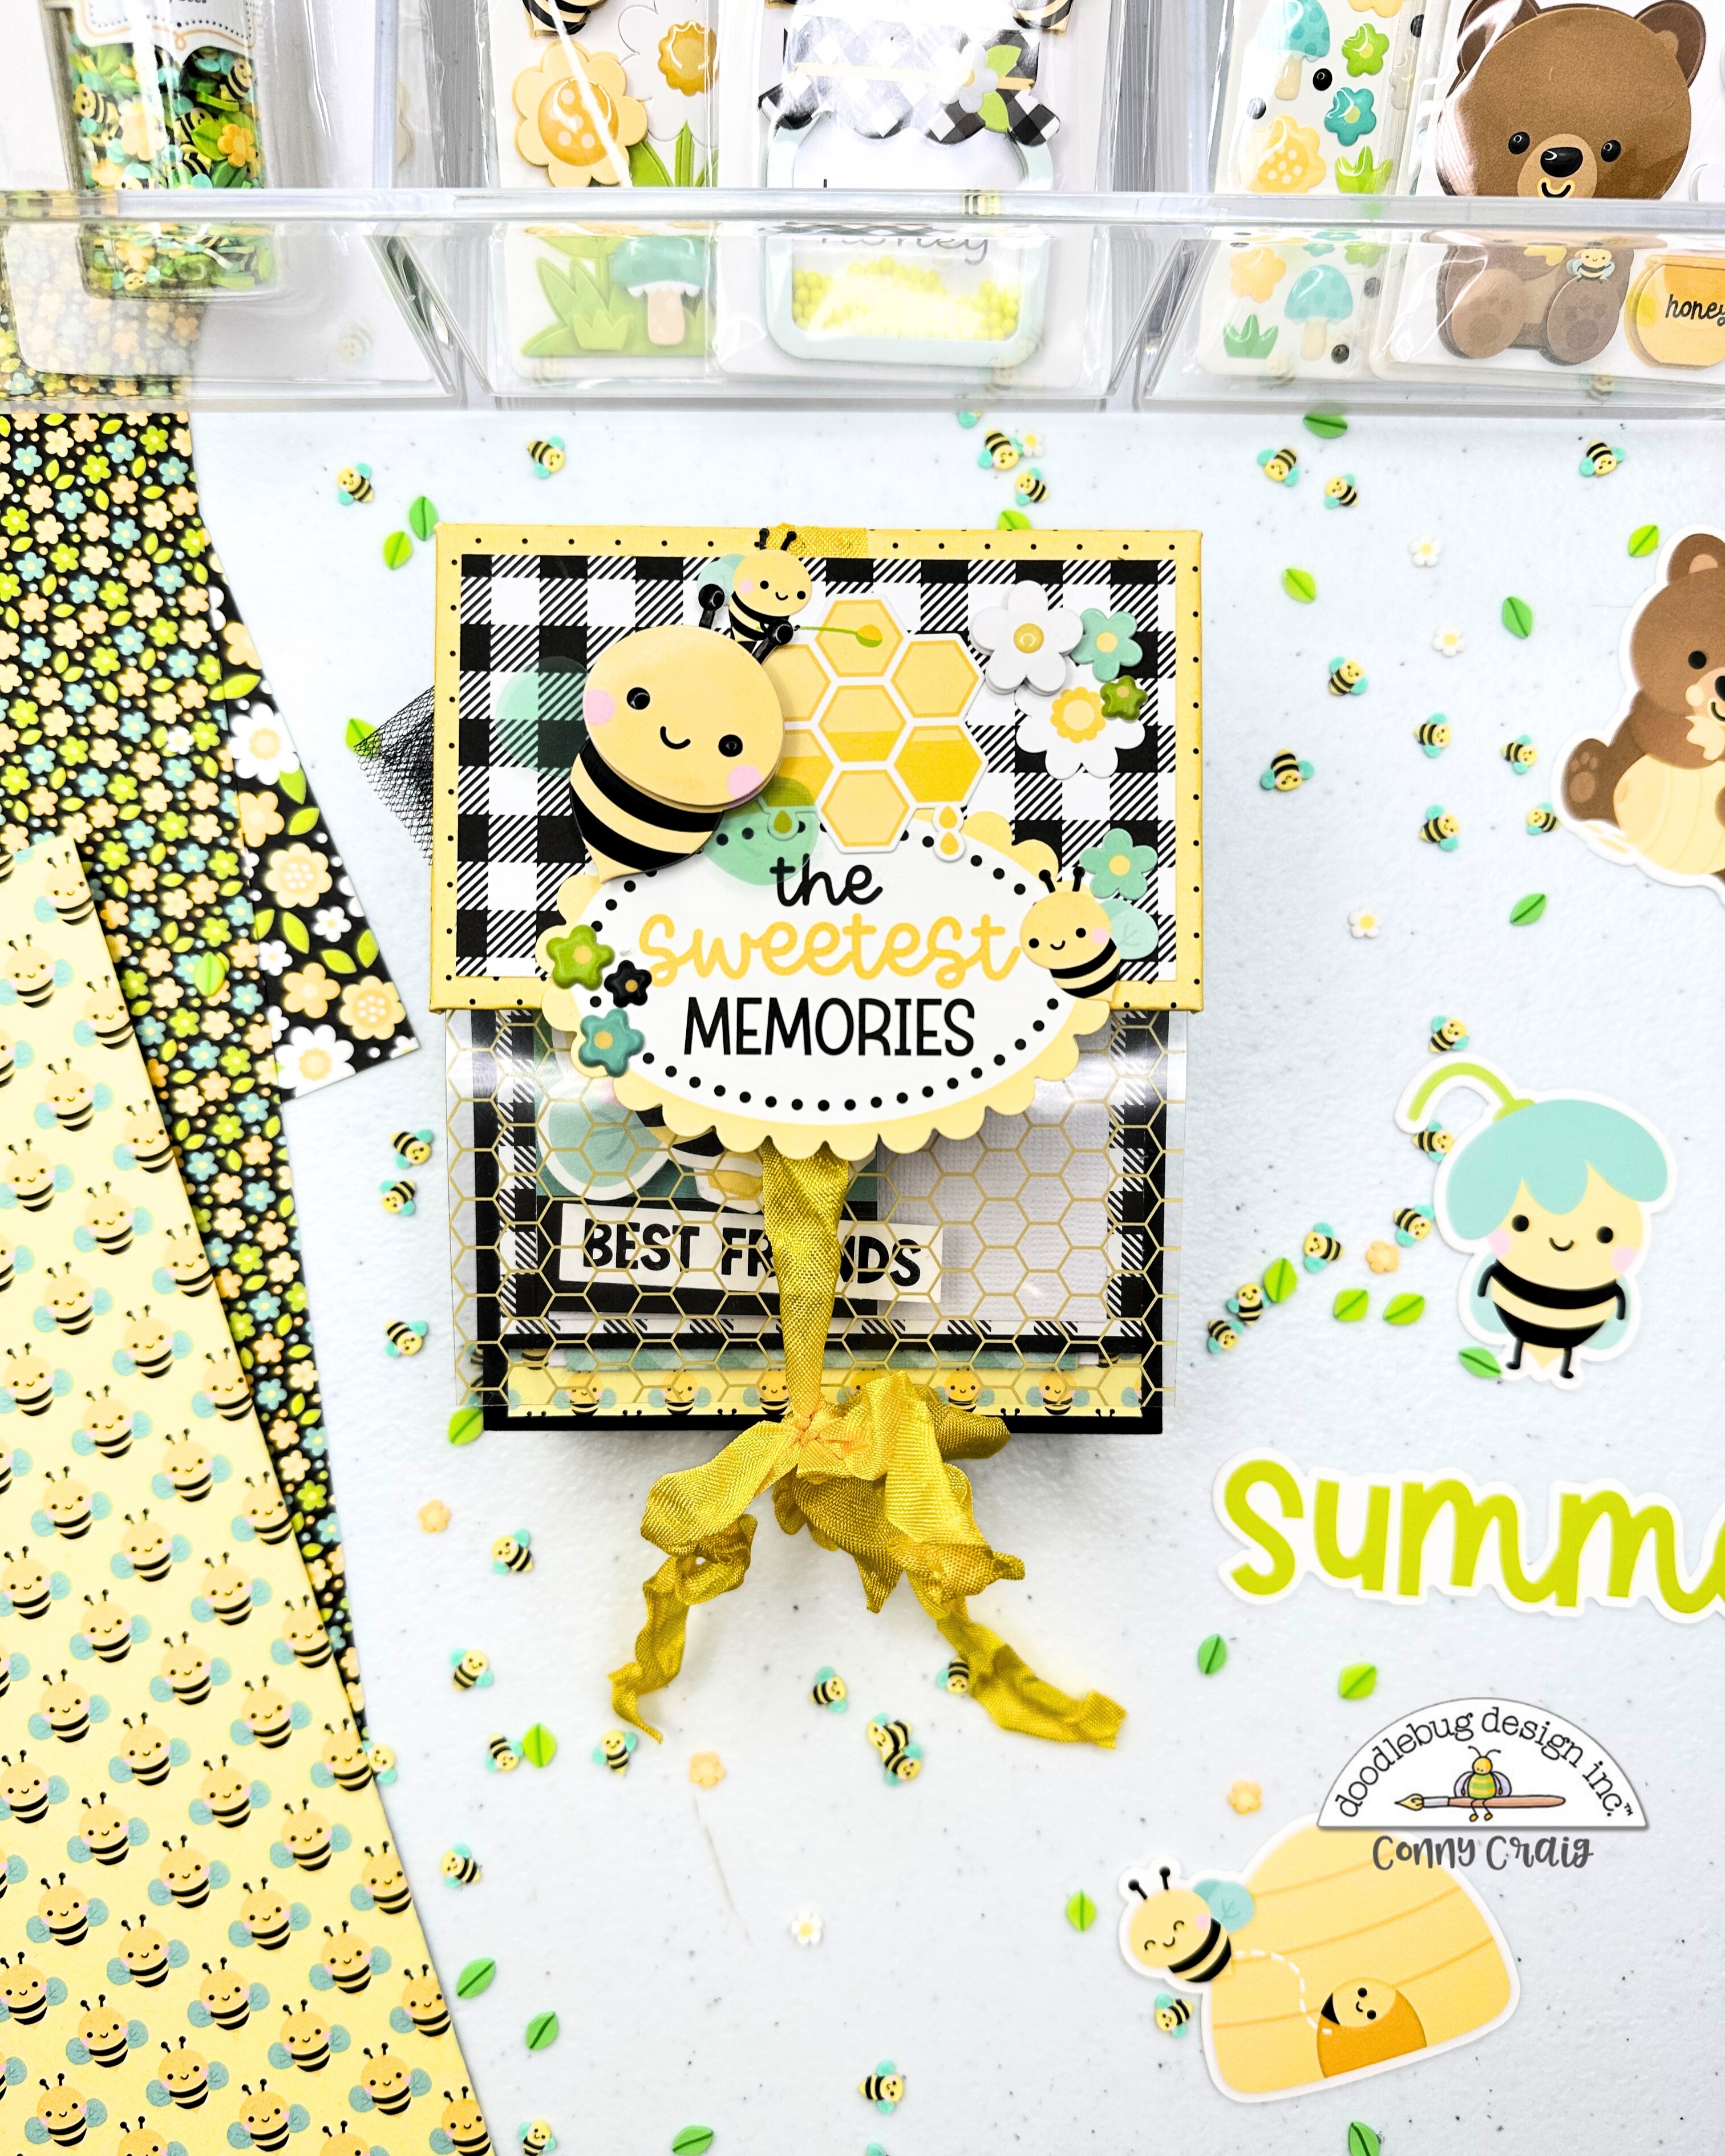
Hello Crafty Friends!! It’s Conny here today, and I’m so excited to share this adorable 4” x 5” mini album using the Bee Happy Collection. This little album is packed with interactive flip pages, photo spots, and room for all kinds of embellishments! I also have a process video available for you to watch, however before you hit play, grab your cutting guide below and follow along!

Here are some assembly Instructions: First, I started by wrapping the Chipboard. I centered the chipboard pieces onto the back of the Sewing Bee paper, leaving about 3/4” around the edges and 1/8” between the spine and cover pieces. I love using my cover guide tool for perfect spacing. I mitered the corners and added double-sided tape along the edges. Next I folded and wrapped the paper inwards to cover the chipboard. I added the acetate before adding the inside cover, and adhered the 3” x 4” acetate piece to the bottom half of the front cover.
Next I covered the inside using a second piece of Sewing Bee paper (4” x 9 5/8”) to neatly cover the inside of the chipboard.


To create the pages, I used the following:
• Front Page: Black cardstock 10” x 4”, scored at 4” and 5”
• Back Pages (2): Black cardstock 10 1/2” x 4”, scored at 5” and 5 1/2”
I added double-sided tape to the spines of the pages and adhered each one into the mini album, starting 1/4” from the inside edge of the cover, stacking them to create a cascading effect. This will leave 1/4” on both the top and bottom of the spine area.
To matte the pages I cut
• Patterned paper cut to 3 3/4” x 4 1/4”
• Patterned paper cut to 3 3/4” x 4 3/4”


Here’s the fun part: make it your own! Add photo mats in a variety of sizes based on your pictures, or add your photos directly to the pages. Then go wild with embellishments like: Puffy Stickers, Ephemera, Cardstock Stickers, Die Cuts, and more! TIP: Don’t be afraid to layer and create interactive elements like flips and pockets, it’s what makes these minis so fun!
I hope you love creating this sweet little album as much as I did. Make sure to tag me if you share your project, I’d love to see your take on it! Happy Crafting,Xo, Conny!


Oh my gosh! This is over the top adorable! I just recently became a Bee Happy Superfan and now I just might actually be tempted to use some of it. (I’m mostly a collector. I spend a lot of time just going through all the bits & bobs I have.🙄) Who says I can’t stare at all those things even if they have grandchildren photos attached, right? Thanks for the inspiration.
ReplyDelete