The Bee Happy mini collection is fun! Lots of bees doing bee things and the sweetest color palette! As soon as I got my hands on this collection I knew I wanted to play with the Doodle Cuts Busy Bee dies first.
I made a fun little decor piece using the dies and one of the Doodlebug DIY Snow Globes. I had a vision of building a little scene of bees out doing their job and the dies were perfect for it!
I added the green and white pattern from the 12x12 Bee-utiful paper for my background. I hand cut some hills with the green cardstock in the coordinating Bee Happy cardstock pack and inked them with some dark green ink to give them some dimension.
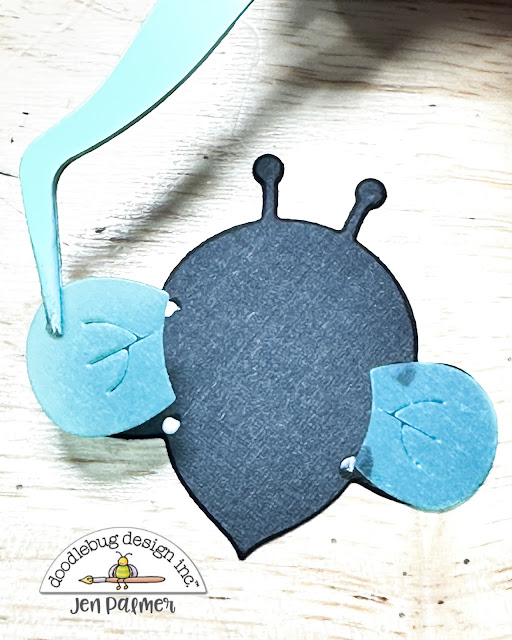
Just a tip for when you are cutting and assembling your bees: Adhere the wings first. I used some light blue vellum from my stash for the wings. Add a tiny dot of glue to your base at the top and bottom corner of where the wing will attach. This glue will be hidden by the head and larger stripe on your bee when fully assembled.
I popped up all of my elements at different heights and added an action wobble on my big bee. I added some of the Busy Bees Shakers and closed it up.
On the front added some Puffy Icons and a sentiment from the This and That sticker sheet. I finished it off with some Beetle Black and Bumblebee Doodle Twine.
Have a great day!


No comments:
Post a Comment