
Hello, Sweet Friends! It’s Conny here from The Daily Life of Creativity with another fun mini-album project featuring the Berry Sweet collection! I am completely in love with the freshness and charm of this collection—it even inspired me to add little strawberries to my nails!
This mini album is perfect for capturing all your summer fun memories. You can recreate it using the 6” x 8” paper pad and Berry Sweet Solid Assortment Textured Cardstock.

Let’s dive into the details! For my album base I started with the chipboard covers: Two covers: 5” x 7”, and Spine: 7” x 1.5”. For the outside, I used the Berry Sweet paper. I centered my chipboard pieces on the 6” x 8” patterned paper—there's a 1/2” border all around. I added double-sided tape, then mitered the corners using a book cover guide tool for clean folds.

To join the spine and covers: I cut red cardstock (from the solid assortment) to 4 1/2” x 6 7/8”
and scored on the longest side at 1 1/2” and 3”. I then applied double-sided tape to the center of that piece, adhered the spine, and then attached the covers to each flap.
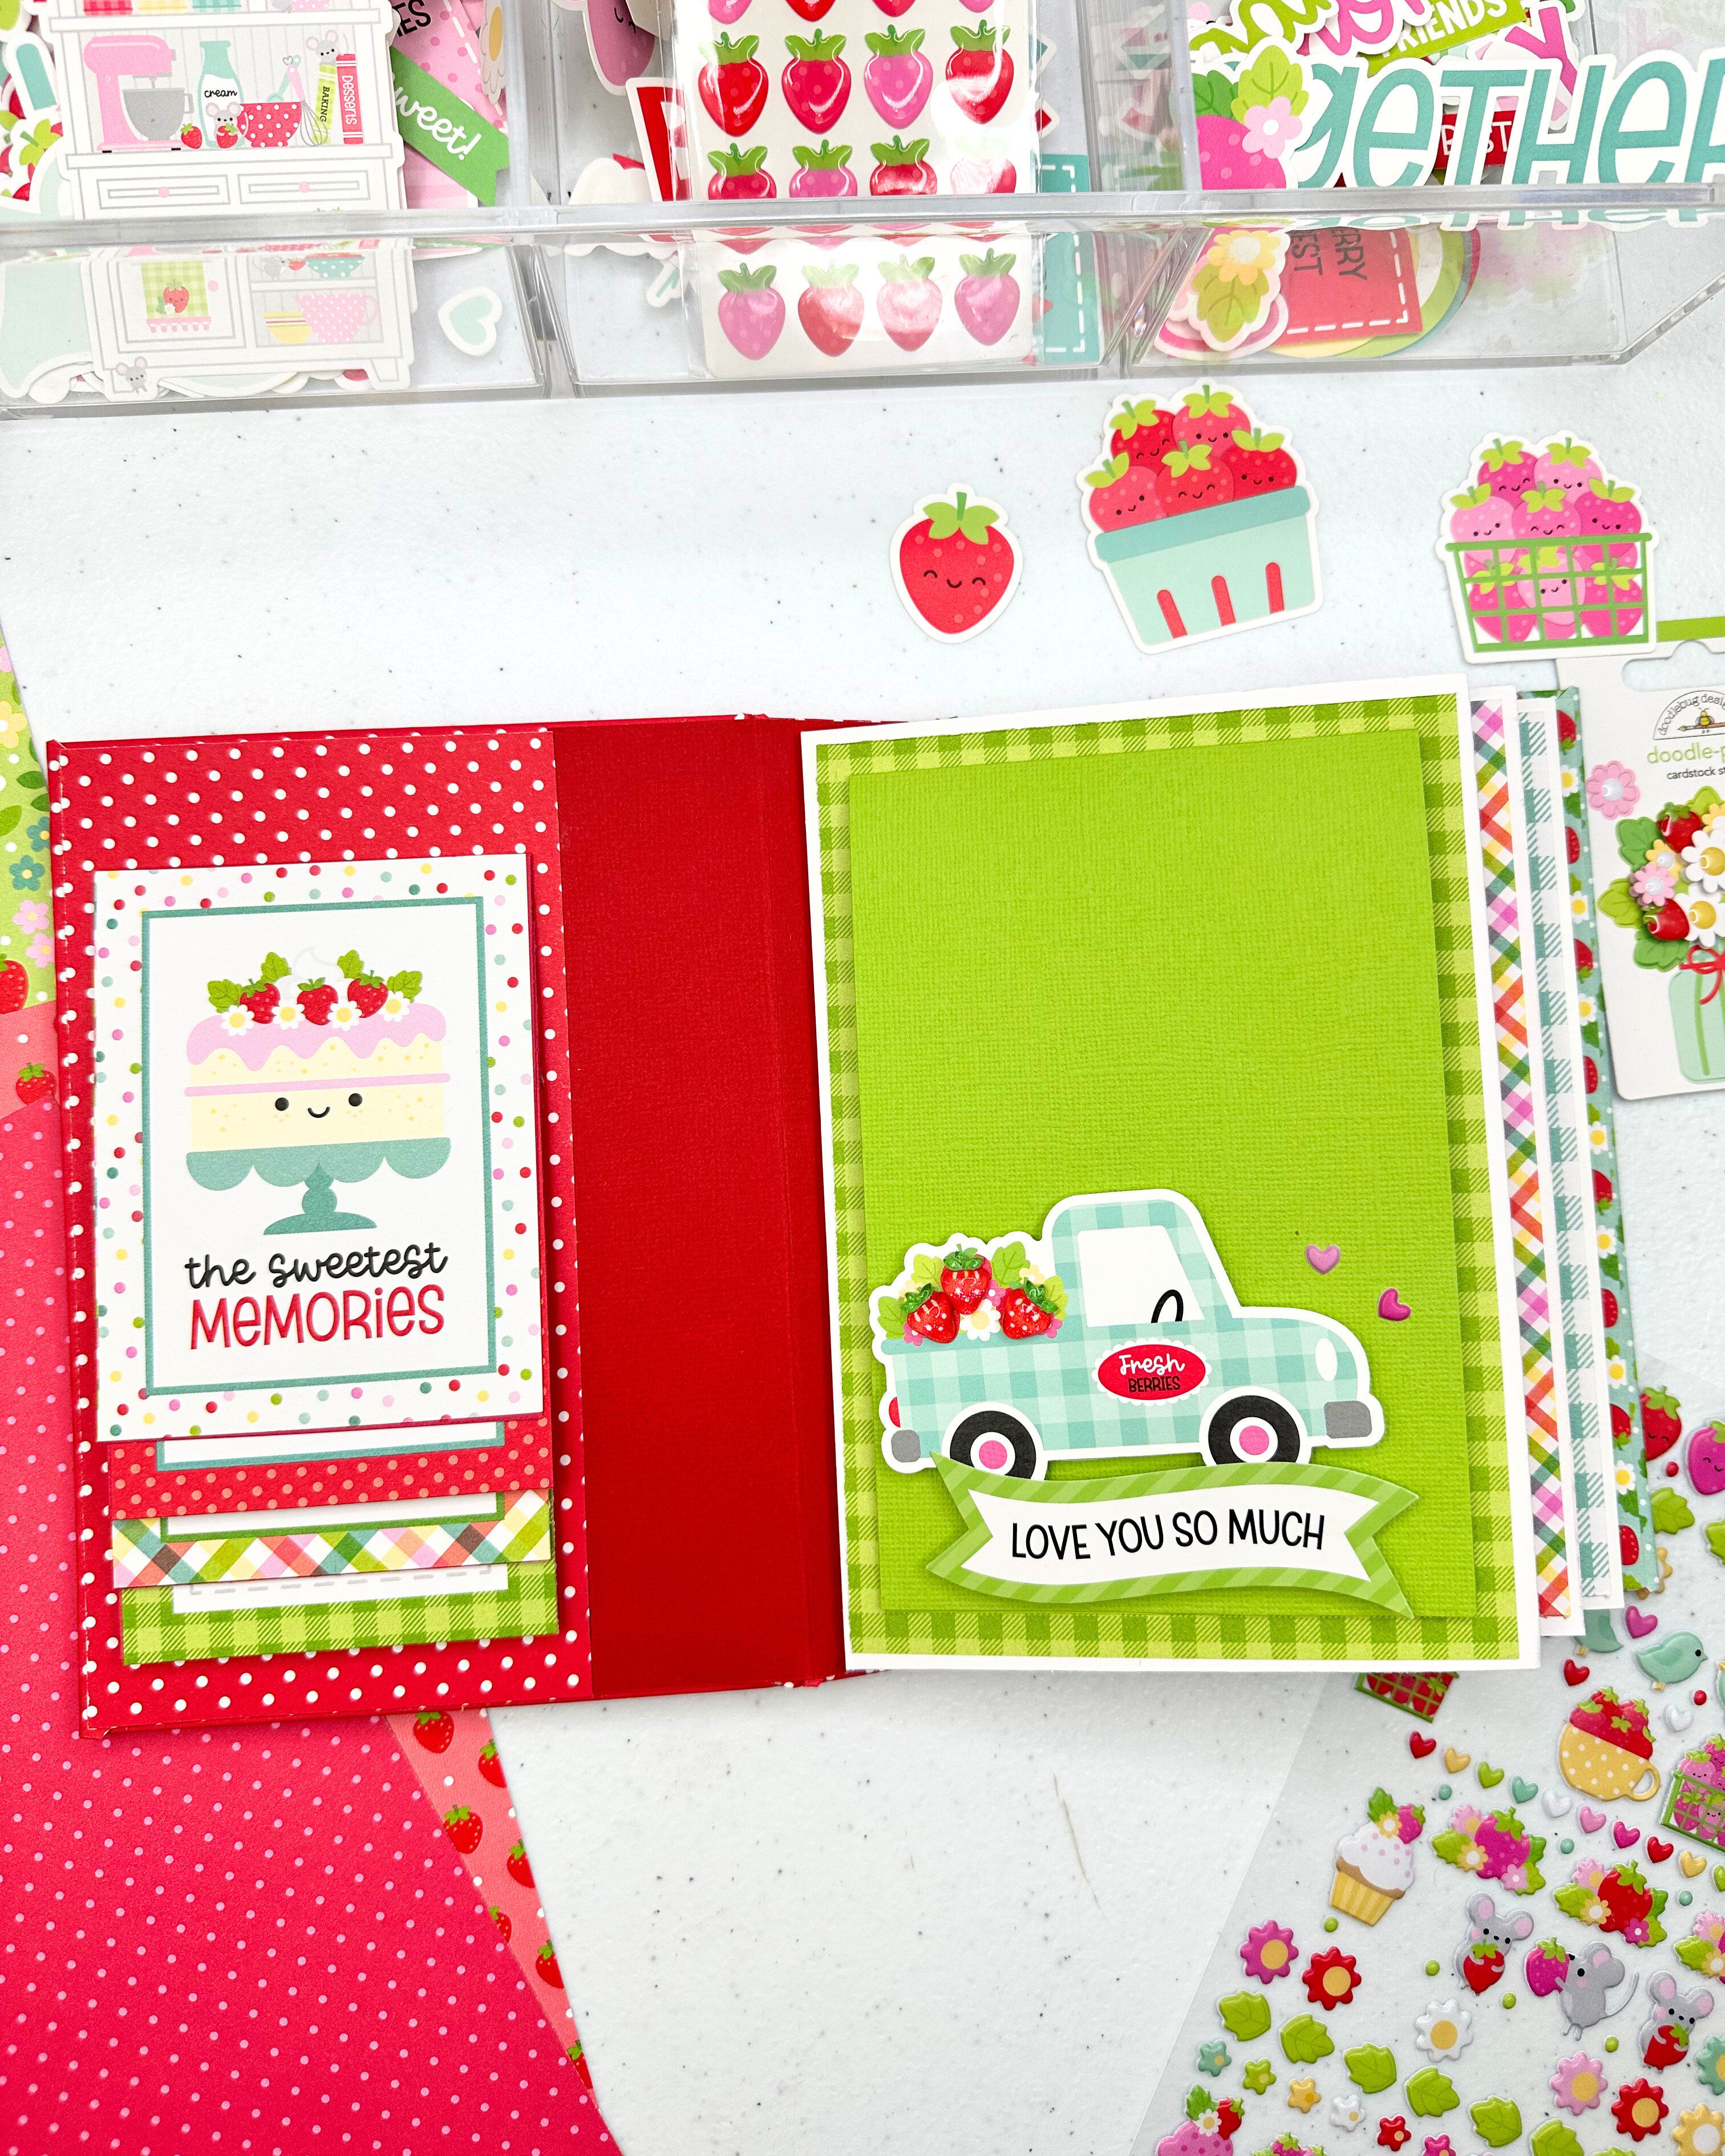
Inside the Album: I matted the inside covers with matching patterned paper. On the inside front cover, I added a waterfall using the 3” x 4” cards from the 6” x 8” paper pad. I cut red cardstock to 3” x 4 1/2” and score dat 1/2” on the longest side. I then adhered to each flap in a stack to create the waterfall effect.


Pages & Pockets: :Page 1: White cardstock, 6 3/4” x 10”, score at 1/2” and 5 1/4”• Page 2: White cardstock, 6 3/4” x 10”, score at 4 3/4” and 5 1/4”. To mat the pages: Cut mats to 4 1/2” x 6 1/2”
Add a pocket: Cut cardstock to 4” x 5” and score 1/2” on three sides. Fold, adhere, and embellish with coordinating paper.
For the Photo Mats & Flaps: I also created a few fun photo mats. Two mats: 4” x 12”, scored at 6” to fold• Flat mats: 4” x 6”. Flip mat: 6” x 8”, scored at 4” to open left to right. Thank you so much for stopping by! I hope this project inspires you to create something berry sweet of your own. Happy Crafting, xo!


Socute
ReplyDelete