Showing posts with label Scrapbook. Show all posts

Wednesday, August 13, 2025

SUMMER FUN SUITCASE ALBUM | with Miguel

Documenting summer is so much fun and special, and even more so when it's done with Doodlebug's beautiful products. Today I made a suitcase-shaped album using the Summer Fun collection.


I used several products such as cardboard, Summer Fun Solid Assortment, Chit Chat, and Odds and Ends. I particularly loved the vibrant colors in the collection.


Inside, there are some pockets along with cards to hold summer photos.


On the cover I placed this flamingo doodle pop with beach elements and I loved the result! 


Thanks for stopping by, hoping you enjoyed this beautiful album as much as I enjoyed making it!


DOODLEBUG PRODUCTS USED

8943 summer fun textured cardstock assortment pack
8941 summer fun paper pack cover
8896 flora flamingo doodle-pops
8922 summer fun chit chat
8921 summer fun odds & ends

OTHER

Cardboard
wooden dowels

Saturday, July 26, 2025

SUMMER FUN - FUN IN THE SUN MINI ALBUM | with Conny

Hello, crafty friends! It’s Conny here from The Daily Life of Creativity, and today I’m bringing you a bright, happy, sunshine-packed mini album using the adorable Summer Fun collection! This album is full of flips, flaps, fun tags, and sweet summer vibes.


Let me walk you through how I built this mini album step by step. Need the process video? Find it over at my YouTube Channel. 


I started by cutting three chipboard pieces: two for the covers measuring 4 1/4” x 6”, and one for the spine at 4 1/4” x 1 1/2”. To wrap the covers, I used two patterned papers cut to 7 1/2” x 5 1/2”. This gave me about 3/4” all around to wrap. You can use the 6x8 pad if you have it or if not, I used 12x12 patterned papers: for the front cover, I used  Let’s Luau and Pink Paradise for the front and back cover, 
and for the spine I used beach towel paper.

After applying double-sided tape and glue to my chipboard pieces, I placed them in the center of the paper. I used a Book Cover Guide Tool to miter my corners before wrapping everything neatly.


To wrap the spine, I cut a piece of patterned paper to 5 1/2” x 5 3/4”. I placed the chipboard spine centered along the 5 1/2” side. This left about 2 inches at the top and bottom. These flaps hold the  cover pieces in place. Then I laid out my pieces: cover, spine, and cover. I added strong double-sided tape to the top and bottom flaps of the covers and adhered them to the corresponding flaps on the spine.

For the inside spine, I used the same rainbow paper I used on the outside. It’s full of beautiful color and ties everything together. I cut it to 4 1/4” x 3”, added adhesive, and centered it right in the middle of the inside spine. To cover the inside front and back covers, I used two pieces of patterned paper cut to 4 1/4” x 5 7/8”. Once those are adhered, the album base is fully wrapped and ready for pages!


To create the interactive pages, I used two 12x12 papers: Pink Paradise, and Polka Dot Bikini. I scored each sheet vertically at 4” and 8”, then flipped them and scored at 5 3/4” and 6 1/4”. After that, I cut between the 5 3/4” and 6 1/4” score lines, leaving the center panel solid. This creates flaps on both ends, forming fun flip-out pages.

To mat the pages, I used the coordinating cardstock from the 12x12 paper pack and cut the photo mats to 3 1/2” x 5 1/4”. I adhered them across the panels and flaps. I also cut apart a few tags from the 6x8 paper pad and added them to the inside front and back covers. These little tags flip open, perfect for hiding journaling or small photos underneath.


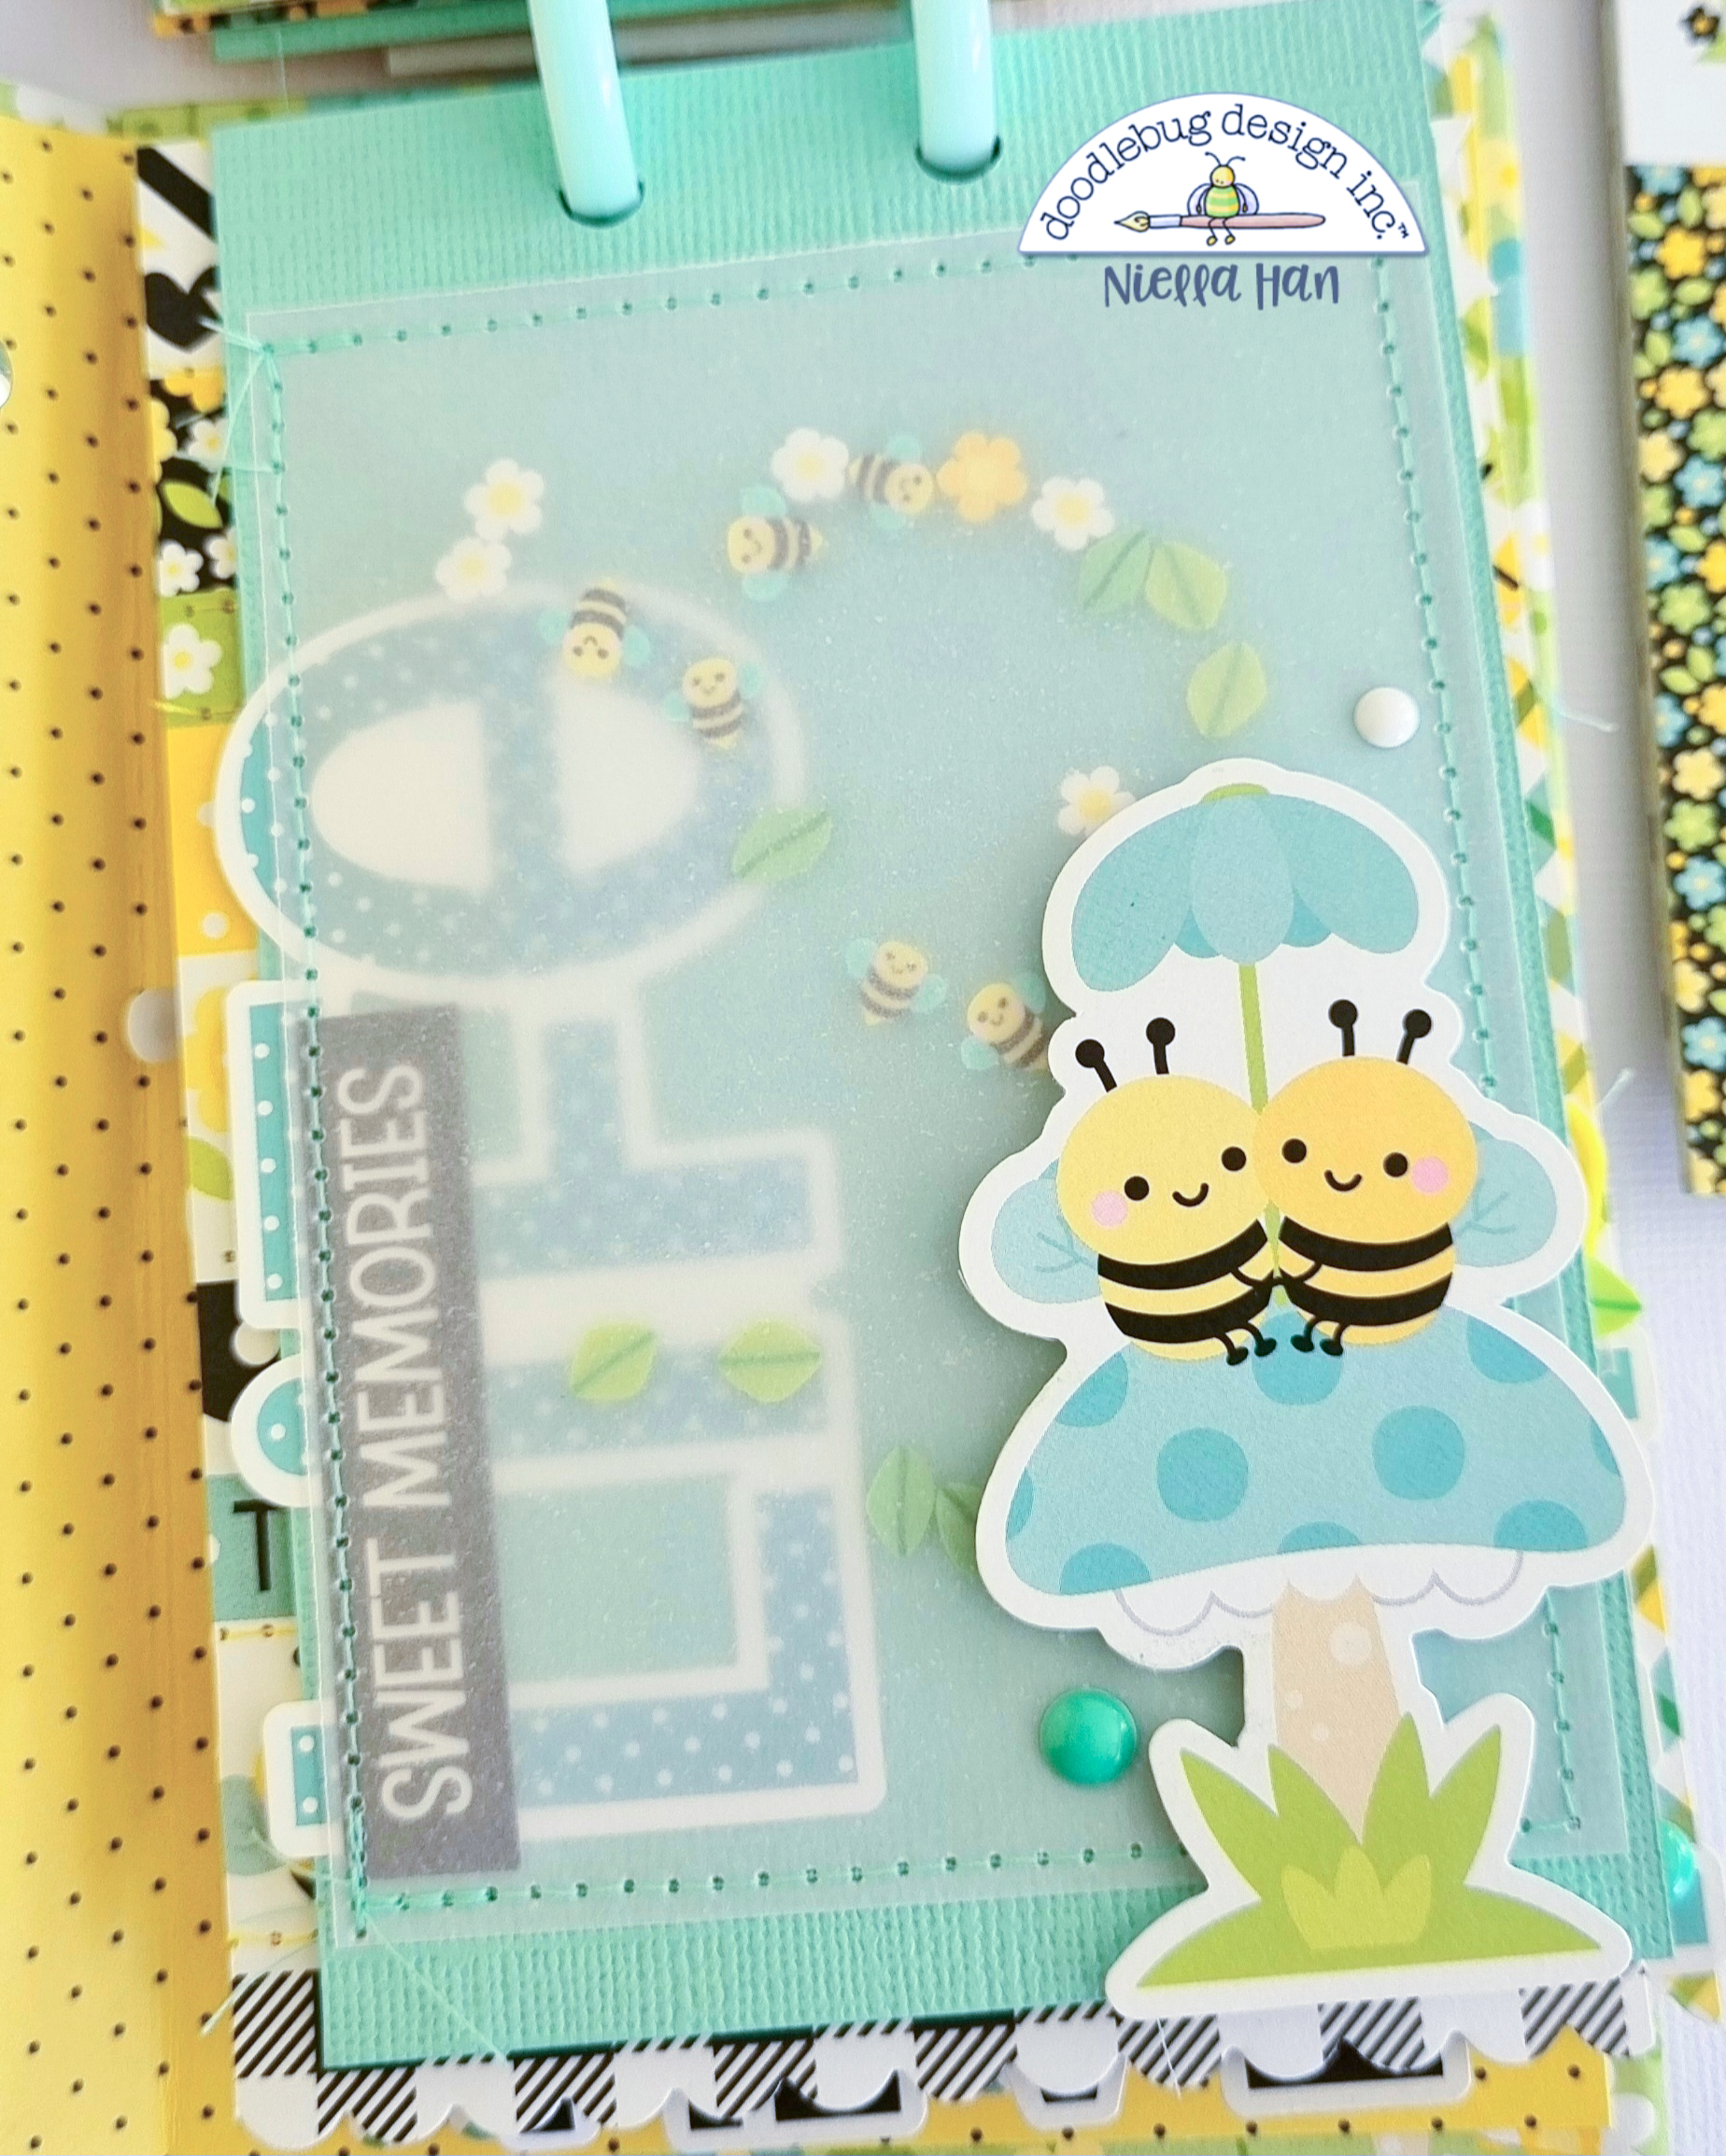
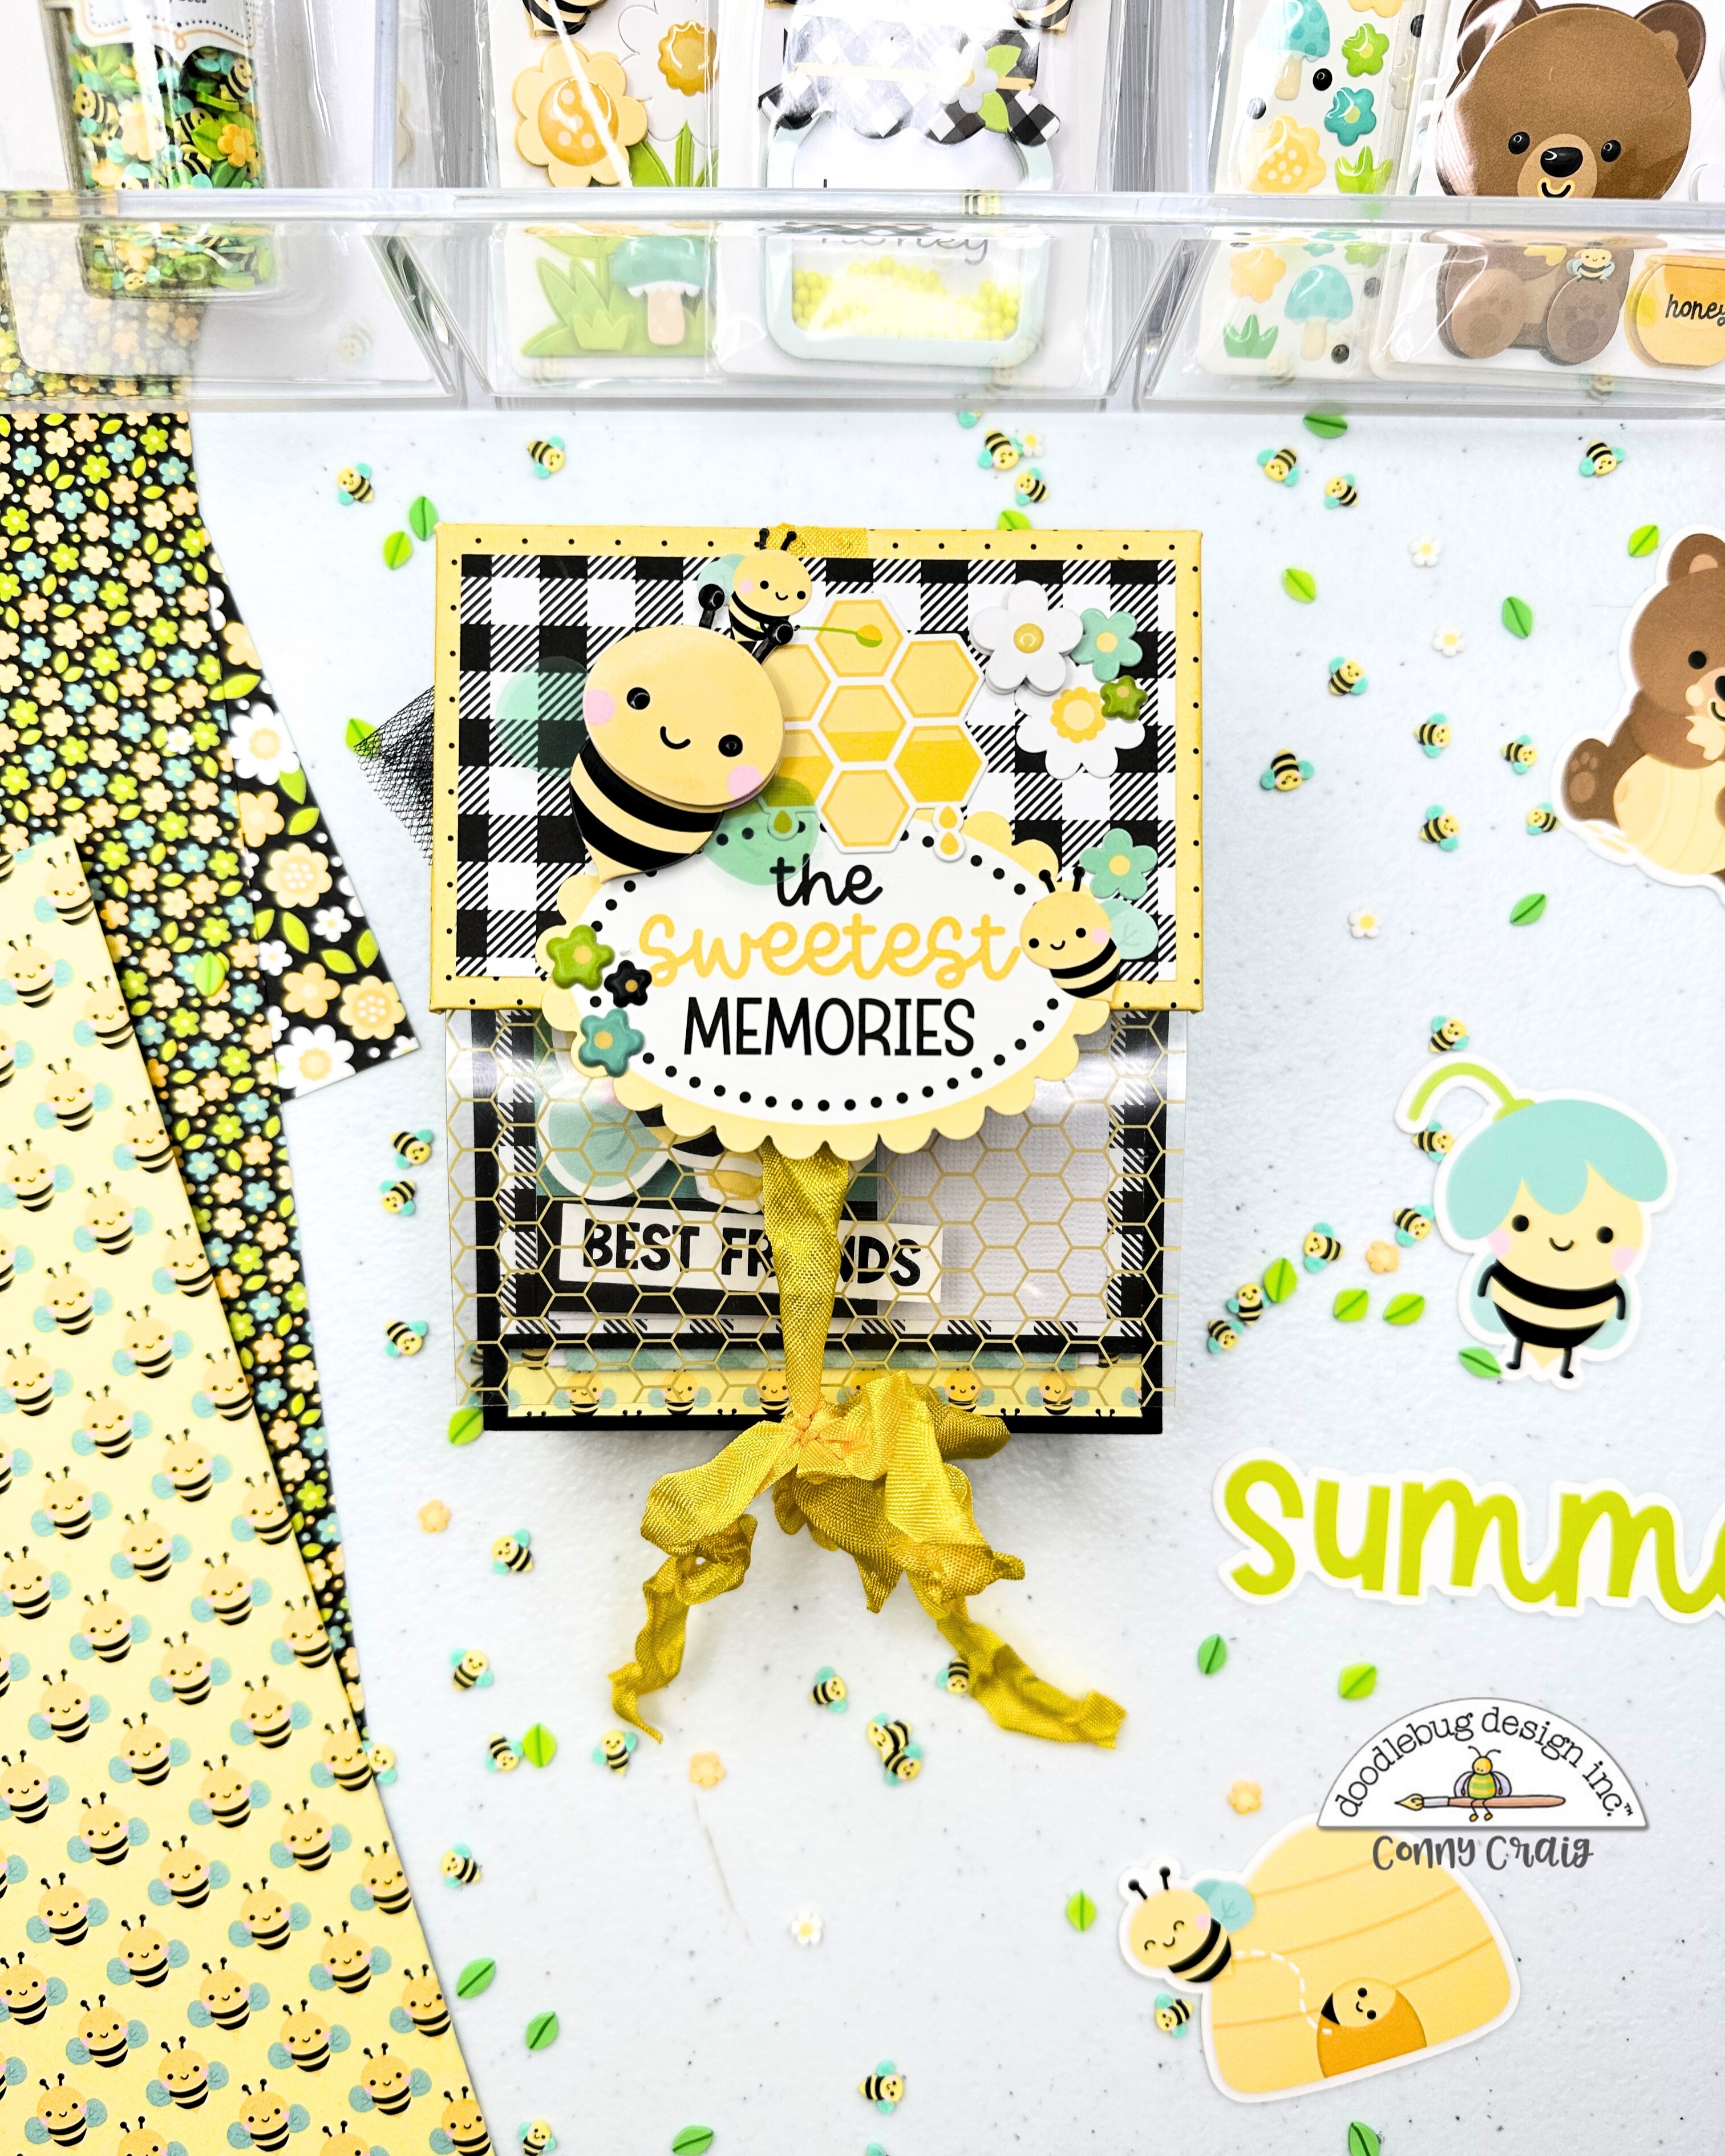
Then came the embellishing! I used Odds & Ends die-cuts, puffy icons, cardstock stickers, and layered florals, all from the Summer Fun collection. I had fun mixing and matching pieces, adding dimension across the pages to make each one stand out.

For the Cover page, I added the florals from the odds and ends, layered them with foam adhesive, and had to separate Sam and Sally Doodle-pop. However, one of them is inside the album with the sentiment, 'Thinking of You,' hehe. 


Now, for the closure, this album features a magnet closure, which is one of my favorite finishing touches. I used one piece of cardstock measuring 3” x 6”. I rounded the two corners on one of the long sides (the 6” side), this created the flap that folds over the front. I left the other end square. I attached the square end to the back cover of  the chipboard album, about 2 inches down from the top. I folded it over to the front, and added a magnet to the center of the flap, as well as another to the front of the album, so it stays shut. To finish it off, I added a piece of patterned paper measuring 3” x 2” to both the inside and outside of the flap for a polished look.


And that’s it , the album is done! It’s full of color, interactive flips, and room for all your summer memories. I’ll be sharing a flip-through and process video soon on Instagram and YouTube, so be sure to keep an eye out.


Thank you all for being here! This project inspires you to get creative and capture those summer memories. I love my Doodlebug Crafty family; you always welcome my projects with open arms! With love,  Conny


DOODLEBUG PRODUCTS USED

8925 Summer Fun 6x8 paper pad 
8943 summer fun solid assortment 
8927 summer fun- this and that cardstock stickers 
8931 pink paradise -12" x 12" paper 
8934 Let's luau
 -12" x 12" paper 
8935 polka dot bikini
 -12" x 12" paper 
8939 beach towel 
 -12" x 12" paper 
8906 summer fun, mini icons
 8923 Summer Fun -Bits and Pieces 
8901 Sam & Sally Seahore- Doodle-pops 
8891 Summer assortment - Sprinkles 
Pink Twine/ Ribbon 

OTHER

Chipboard
Double-Sided Tape
Liquid Glue 
Cutting and Scoring Board 
Two Magnets 
Foam Adhesive 
Scissors 
Book Cover Tool

Thursday, July 3, 2025

BEE HAPPY ACRYLIC MINI ALBUM | with Traci

Hello crafty friends! Traci here and today, I'm back with another super fun project made with the adorable Bee Happy Collection. This time, I made an acrylic mini album titled Sweet Memories that is perfect for photos of summer, spring, a vacation, family, friends, a celebration, and everyday moments! 💛

Sweet Memories Scrapbook Mini Album with cute bees, flowers, polka dots, a honey pot, and a gingham bow

I designed this with my 4.5 x 7.5 inch clear Acrylic Scallop Edge Album, but you could easily make this out of white card stock or chipboard instead. The adorable green Bee Happy pattern paper in the background is actually the first page of the mini that shows through the clear cover. Everything else was adhered to the front. This cover was really fun ... sooo many cute embellishments!

Sweet Memories Scrapbook Mini Album with cute bees, flowers, mushrooms, and polka dots

First, I made the scallop shape. I used a 3.5 inch scallop circle punch with beetle black card stock and a 3 inch circle punch with white card stock. Then, I added the little beehive icon sticker, the die cut title from All The Things, the heart die cut, and some of the Nature's Honey shape sprinkles.

Sweet Memories Scrapbook Mini Album with cute bees, flowers, mushrooms, polka dots, and a honey pot

At the bottom, I layered a strip of black card stock, the yellow Sewing Bee paper, and the colorful Sweet as Honey polka dot print. Then, I added the fabulous Doodle-pops called Bee-Utiful Garden. I love its flowers, little blue mushroom, and ... tiny bees with acetate wings. SO CUTE!

Sweet Memories Scrapbook Mini Album Page with cute bees, flowers, tags, folding elements, and journaling cards

Inside, I made 12 white scrapbook pages and covered each one in a 12x12 pattern paper. For more photo space, I added 2 fold-out pages, 2 pockets, and 4 flippies using lots of the Bee Happy cards and papers.

I chose the 3x4 inch "Love You Bunches" card from the 12x12 Bee Line paper to create the flippie above. It has space inside for 1 photo and underneath ... a pocket that holds cute tags from the 12x12 Sweet As Honey paper! The next page is a fold-out with a journaling card on the front flap. These are perfect for notes, dates, names, etc.

Sweet Memories Scrapbook Mini Album Page with cute bees, a beehive, polka dots, flowers, and a flip-up card

I made another flippie on this page with lily white card stock and the beautiful plaid Sewing Bee paper. Such pretty colors! For the fun little bee embellishment, I used a 2.5 inch scalloped circle punch, beetle black card stock, and a round sticker from the This & That sheet. The "Life Is Sweet" is a die cut from All The Things. 

Sweet Memories Scrapbook Mini Album Page with lots of cute bees, a beehive, flowers, and a pocket with journaling cards

Here is one of the little pockets. I covered the page in the 12x12 Petite Prints Plaid and Polka Dot in pistachio and added one of the 4x4 cards to the front (trimming it a bit to fit). Then, I tucked some 3x4 cards inside. 

Sweet Memories Scrapbook Mini Album Page with a cute bee, daisy flowers, mushrooms, and a tag with twine

The Bee Happy Collection has so many pretty pattern papers. Check out the little Bee-Utiful Blossoms daisy print above that's peeking out from behind the fold-out page. Doesn't it look so cute next to the larger Bee Happy print on top? Love it.

Sweet Memories Scrapbook Mini Album Page with colorful polka dots, a cute bee with a flower umbrella, and a striped tag with twine 

This colorful tag is from the 12x12 Sweet As Honey paperWith the cute bumble bee die cut and some beetle black chunky twine, I think this tag adds lots of interest to the page!

Sweet Memories Scrapbook Mini Album sitting on a clear acrylic display stand

I hope my Sweet Memories Mini Album gives you some inspiration to create something bee-utiful with the Bee Happy Collection. It's colors, cute images, and pretty patterns are perfect for your summer craft projects. 

If you'd like to recreate this scrapbook, the acrylic album and instructions are available in my shop. Thanks for stopping by the blog today and happy scrappin'!


BLOG | SHOP | FACEBOOK | INSTAGRAM | PINTEREST

DOODLEBUG PRODUCTS USED

Bee Happy Collection
Chunky Doodle Twine in Beetle Black
12x12 Petite Prints Plaid and Polka Dot in pistachio
 
OTHER

Artsy Albums Acrylic Display Stand

Friday, June 27, 2025

BEE HAPPY SWEET SUNSHINE MINI ALBUM | with Niella

 Buzz right on in crafty crew, so happy to see you today! With only a few days left in June, let's get into it! I am so happy to show you my first Bee Happy project with the sweetest bee mini collection to date! This 6x4 mini album is chunky! There is so many pages I want to show you and point out, so instead of more than a dozen photos; just check out the video showcase at the end, yay! Videos are a perfect way to show you projects! 


The cover is Bee-utiful! And so cute with the Bee Happy Doodle-pop! She's the queen bee and her busy workers are working hard to bring the pollen into harvest.  How sweet is the mushrooms and word stickers cluster! 


If you're like me and ADORE yellow, greens and mint blues together, you are gonna love this collection. I love the pops of black and white! Super charming!  These first two pages feature a fun mix of the All the Things ephemera and This & That stickers!


I love to add machine stitching to my album pages. It adds extra texture and helps to add areas of interest.  Look how cute the collection's Honeycomb acetate looks with the cut-apart tag and honey-pie ephemera piece. Adding acetate and vellum pages add so much interest!


Skipping ahead comes to the last couple pages in my mini album.  How cute is that bee couple? A couple of cuties right there! The vellum holds the Busy Bee shaker pieces! Can you spot how I've cut around the honeycomb to give a fun edge for my tag tuck spot? Cute idea!


This last page measures nearly 6x4 and it's so sweet with scalloped vellum tuck spot! CUTE!  The sprinkles and stickers add that final touch.  I love making little charm pieces with the Shaker pieces.  If you'd like too see all the pages, I've added the video showcase below for you, yay!


Thank you again for visiting crafty crew! I hope you've found inspiration today! Please remember to tag us in our your Socials when you create with Doodlebug so we can all admire your creativity! We love seeing your creations. Until next time; doodle day!


DOODLEBUG PRODUCTS USED

Bee Happy Collection
Bee Happy Coordinating Cardstock


OTHER

Liquid adhesive
Foam squares/dots
Vellum
Machine Stitching
Decorative scissors
Discs
Disc punch

Saturday, June 21, 2025

BEE HAPPY THE SWEETEST MEMORIES MINI ALBUM | with Conny

Hello Crafty Friends!! It’s Conny here today, and I’m so excited to share this adorable 4” x 5” mini album using the Bee Happy Collection.  This little album is packed with interactive flip pages, photo spots, and room for all kinds of embellishments! I also have a process video available for you to watch, however before you hit play, grab your cutting guide below and follow along!
Here are some assembly Instructions:  First, I started by wrapping the Chipboard.  I centered the chipboard pieces onto the back of the Sewing Bee paper, leaving about 3/4” around the edges and 1/8” between the spine and cover pieces. I love using my cover guide tool for perfect spacing. I mitered the corners and added double-sided tape along the edges. Next I folded and wrapped the paper inwards to cover the chipboard. I added the acetate before adding the inside cover, and adhered the 3” x 4” acetate piece to the bottom half of the front cover.

Next I covered the inside using a second piece of  Sewing Bee paper (4” x 9 5/8”) to neatly cover the inside of the chipboard.

To create the pages, I used the following: 
• Front Page: Black cardstock 10” x 4”, scored at 4” and 5”
• Back Pages (2): Black cardstock 10 1/2” x 4”, scored at 5” and 5 1/2”

I added  double-sided tape to the spines of the pages and adhered each one into the mini album, starting 1/4” from the inside edge of the cover, stacking them to create a cascading effect. This will leave 1/4” on both the top and bottom of the spine area.

To matte the pages I cut
•  Patterned paper cut to 3 3/4” x 4 1/4”
• Patterned paper cut to 3 3/4” x 4 3/4”
 Here’s the fun part: make it your own! Add photo mats in a variety of sizes based on your pictures, or add your photos directly to the pages. Then go wild with embellishments like: Puffy Stickers, Ephemera, Cardstock Stickers, Die Cuts, and more! TIP: Don’t be afraid to layer and create interactive elements like flips and pockets, it’s what makes these minis so fun!
I hope you love creating this sweet little album as much as I did. Make sure to tag me if you share your project, I’d love to see your take on it! Happy Crafting,Xo, Conny!


DOODLEBUG PRODUCTS USED

Bee Happy Collection 
Honeycomb Heavyweight Acetate 
Bee Happy Coordinating Cardstock

OTHER

Chipboard
Ribbon
Pin It button on image hover