I love using cut files as my title and today I want to share how I made my own in Silhouette Studio! It was really easy to do and I love how it turned out! I started by opening up my Silhouette Studio. I wanted to type out the letters X and O so I selected the text tool (Letter A) on the left panel. Move the cursor to the grid and type out your letters. Next open up the Text Style window on the right hand side panel and pick your font. You can also adjust the size here as well. Next I wanted to created an offset so that I could back this cut file. I highlighted the letters and then clicked on the Offset window on the top tool panel. I knew I wanted two of each letter so I highlighted them again and hit Ctrl+Right Arrow to duplicate the letters to the right. Now you are ready to send it to the machine to cut! I cut my letters out on some white textured out cardstock.
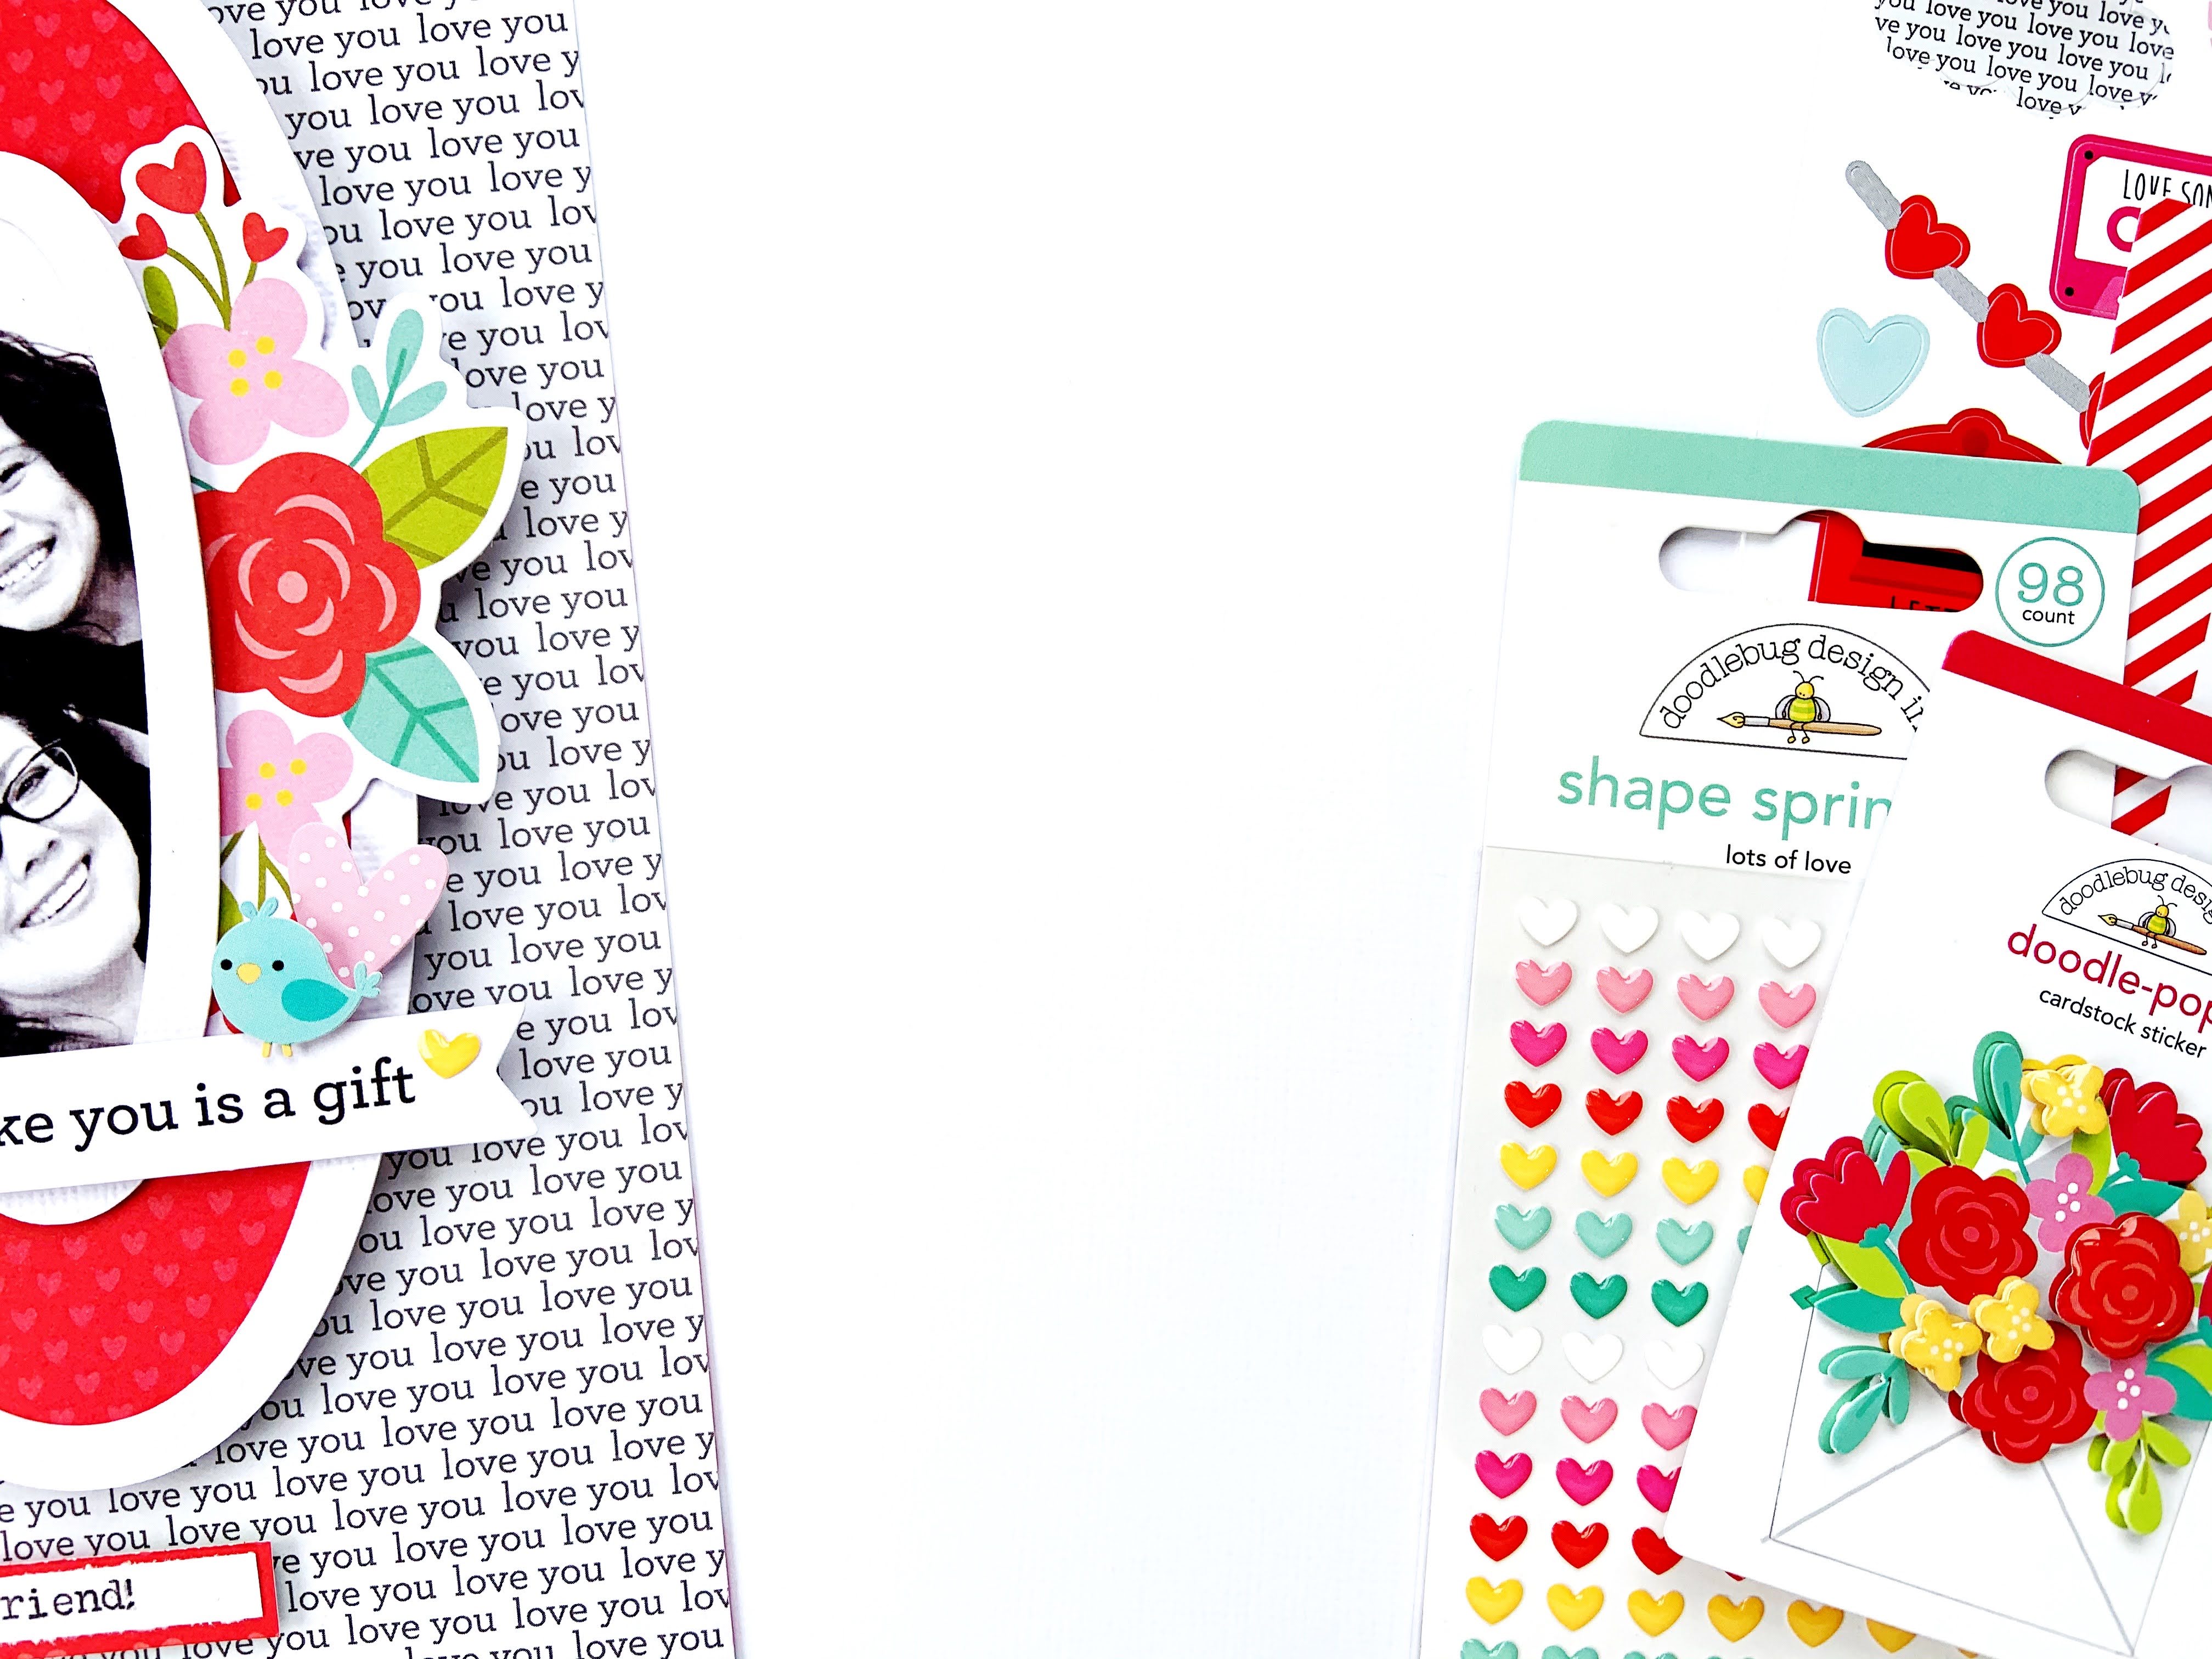
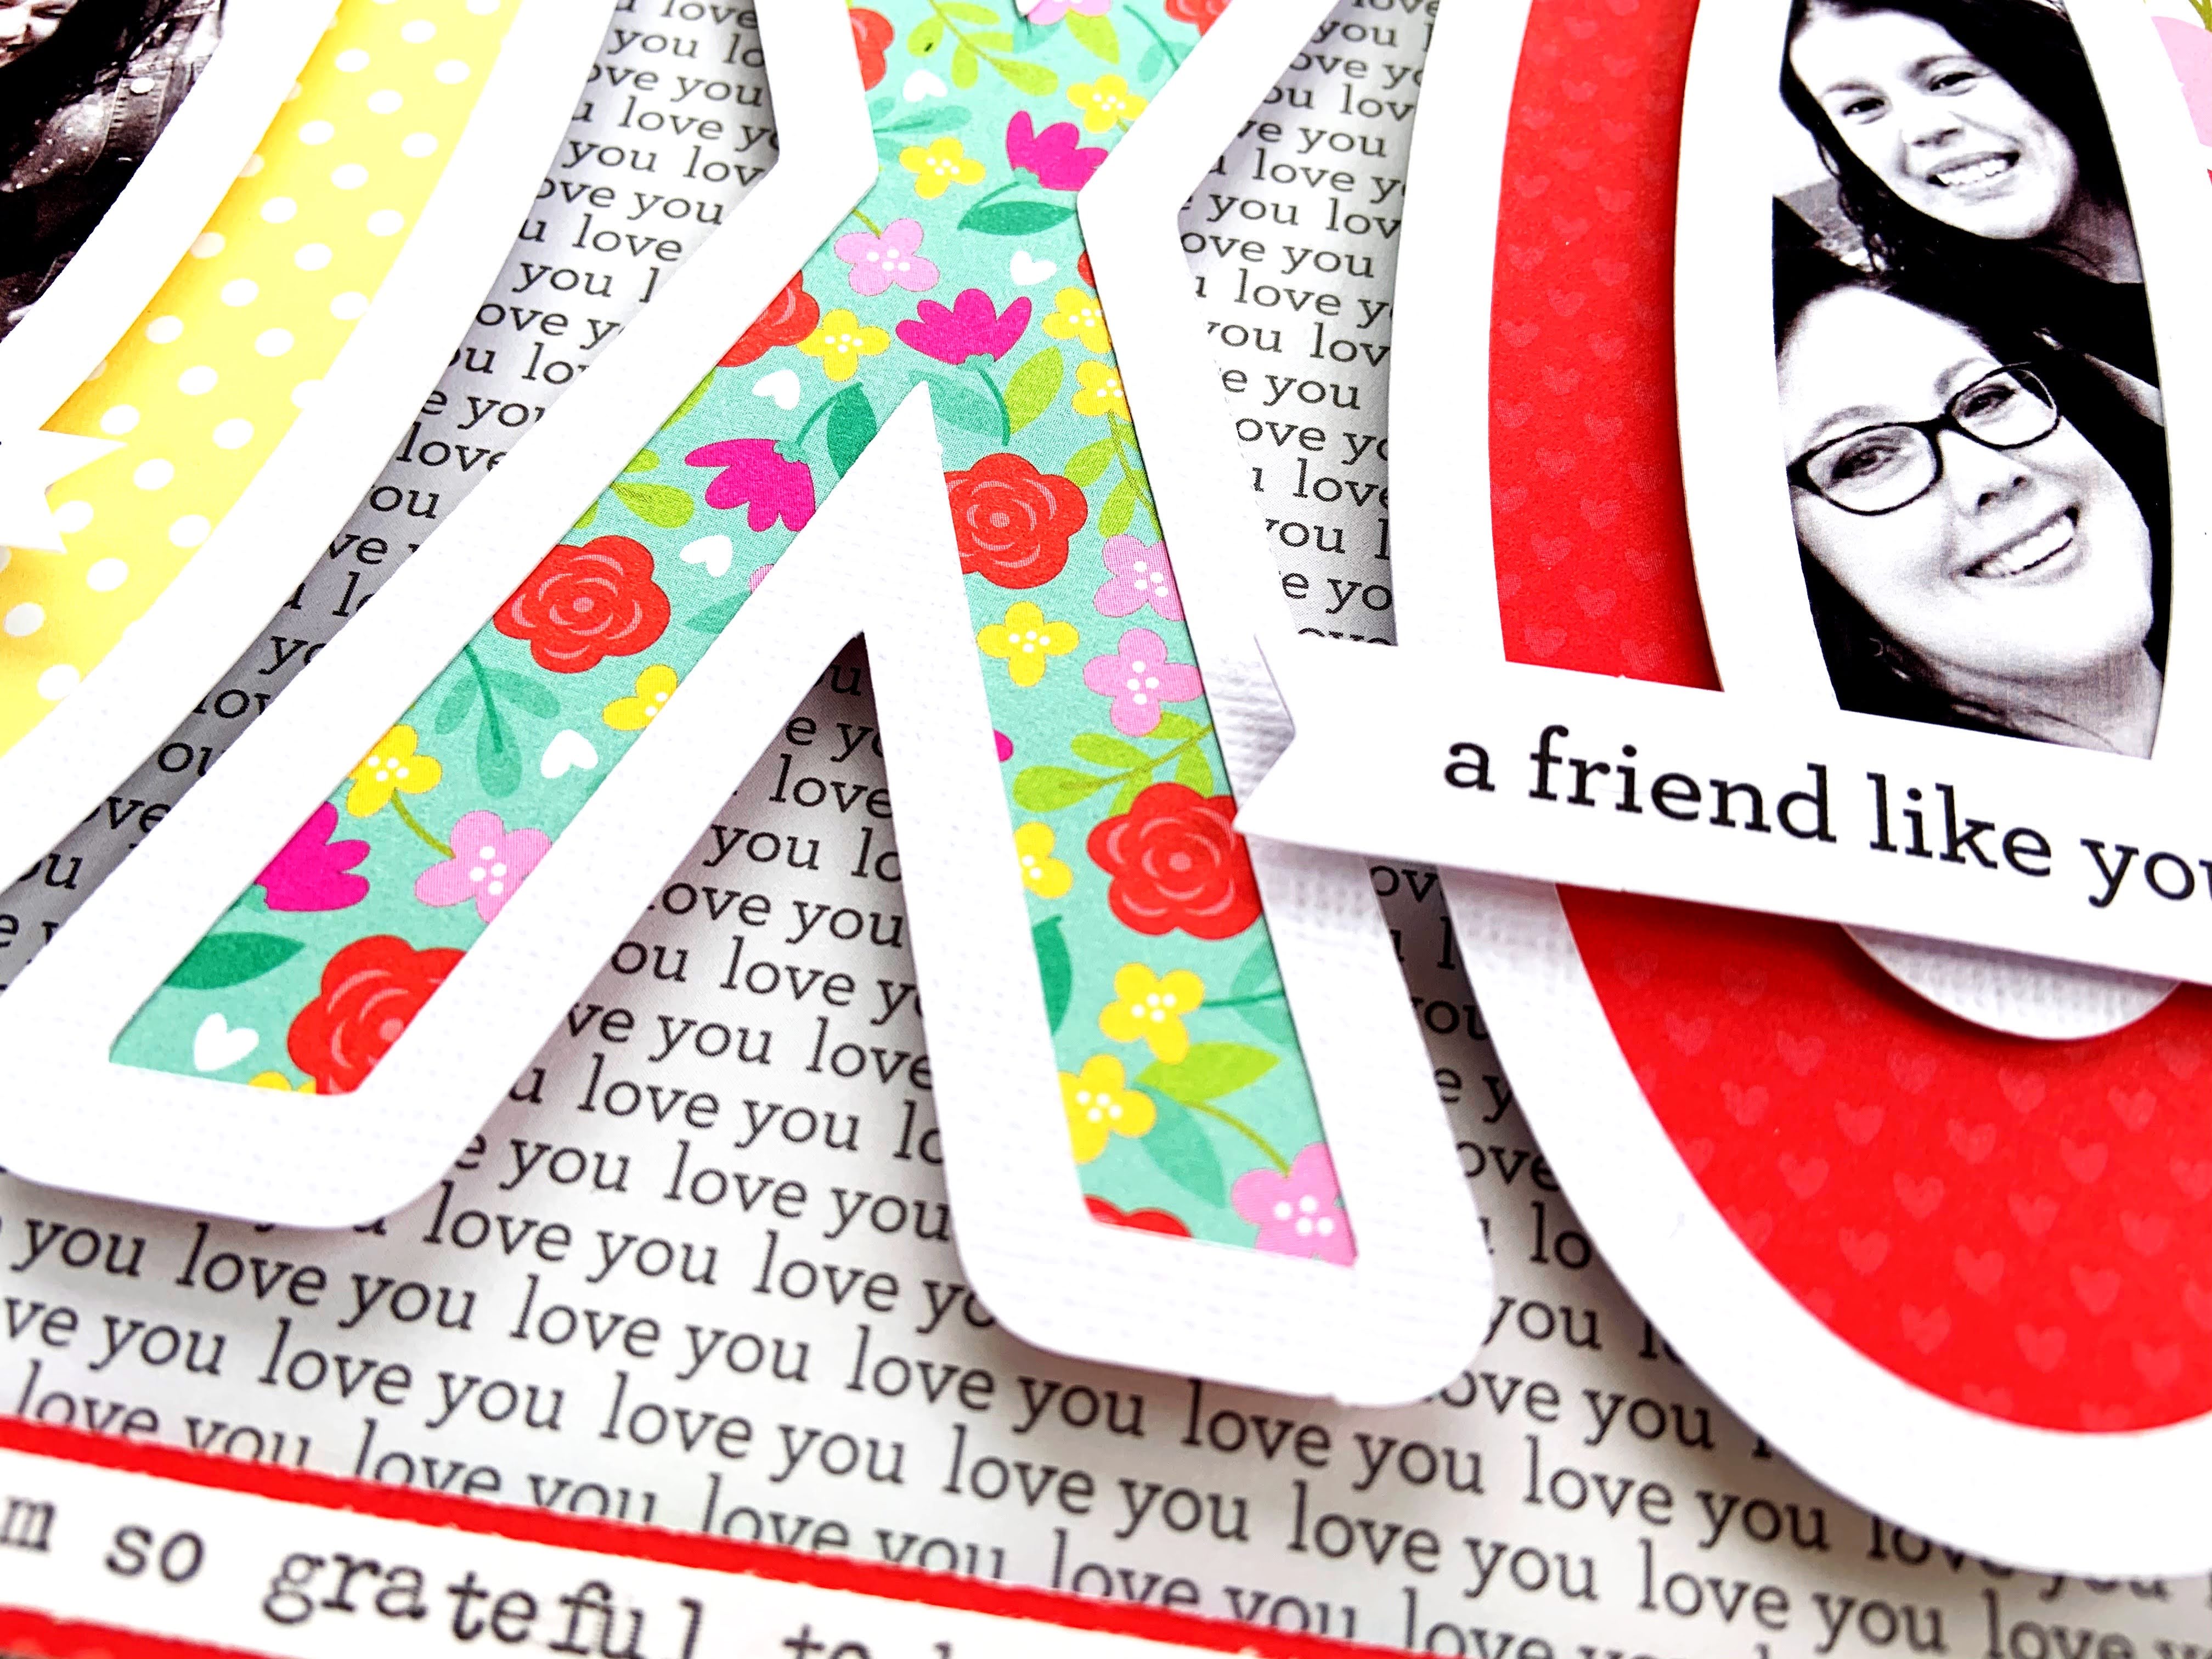
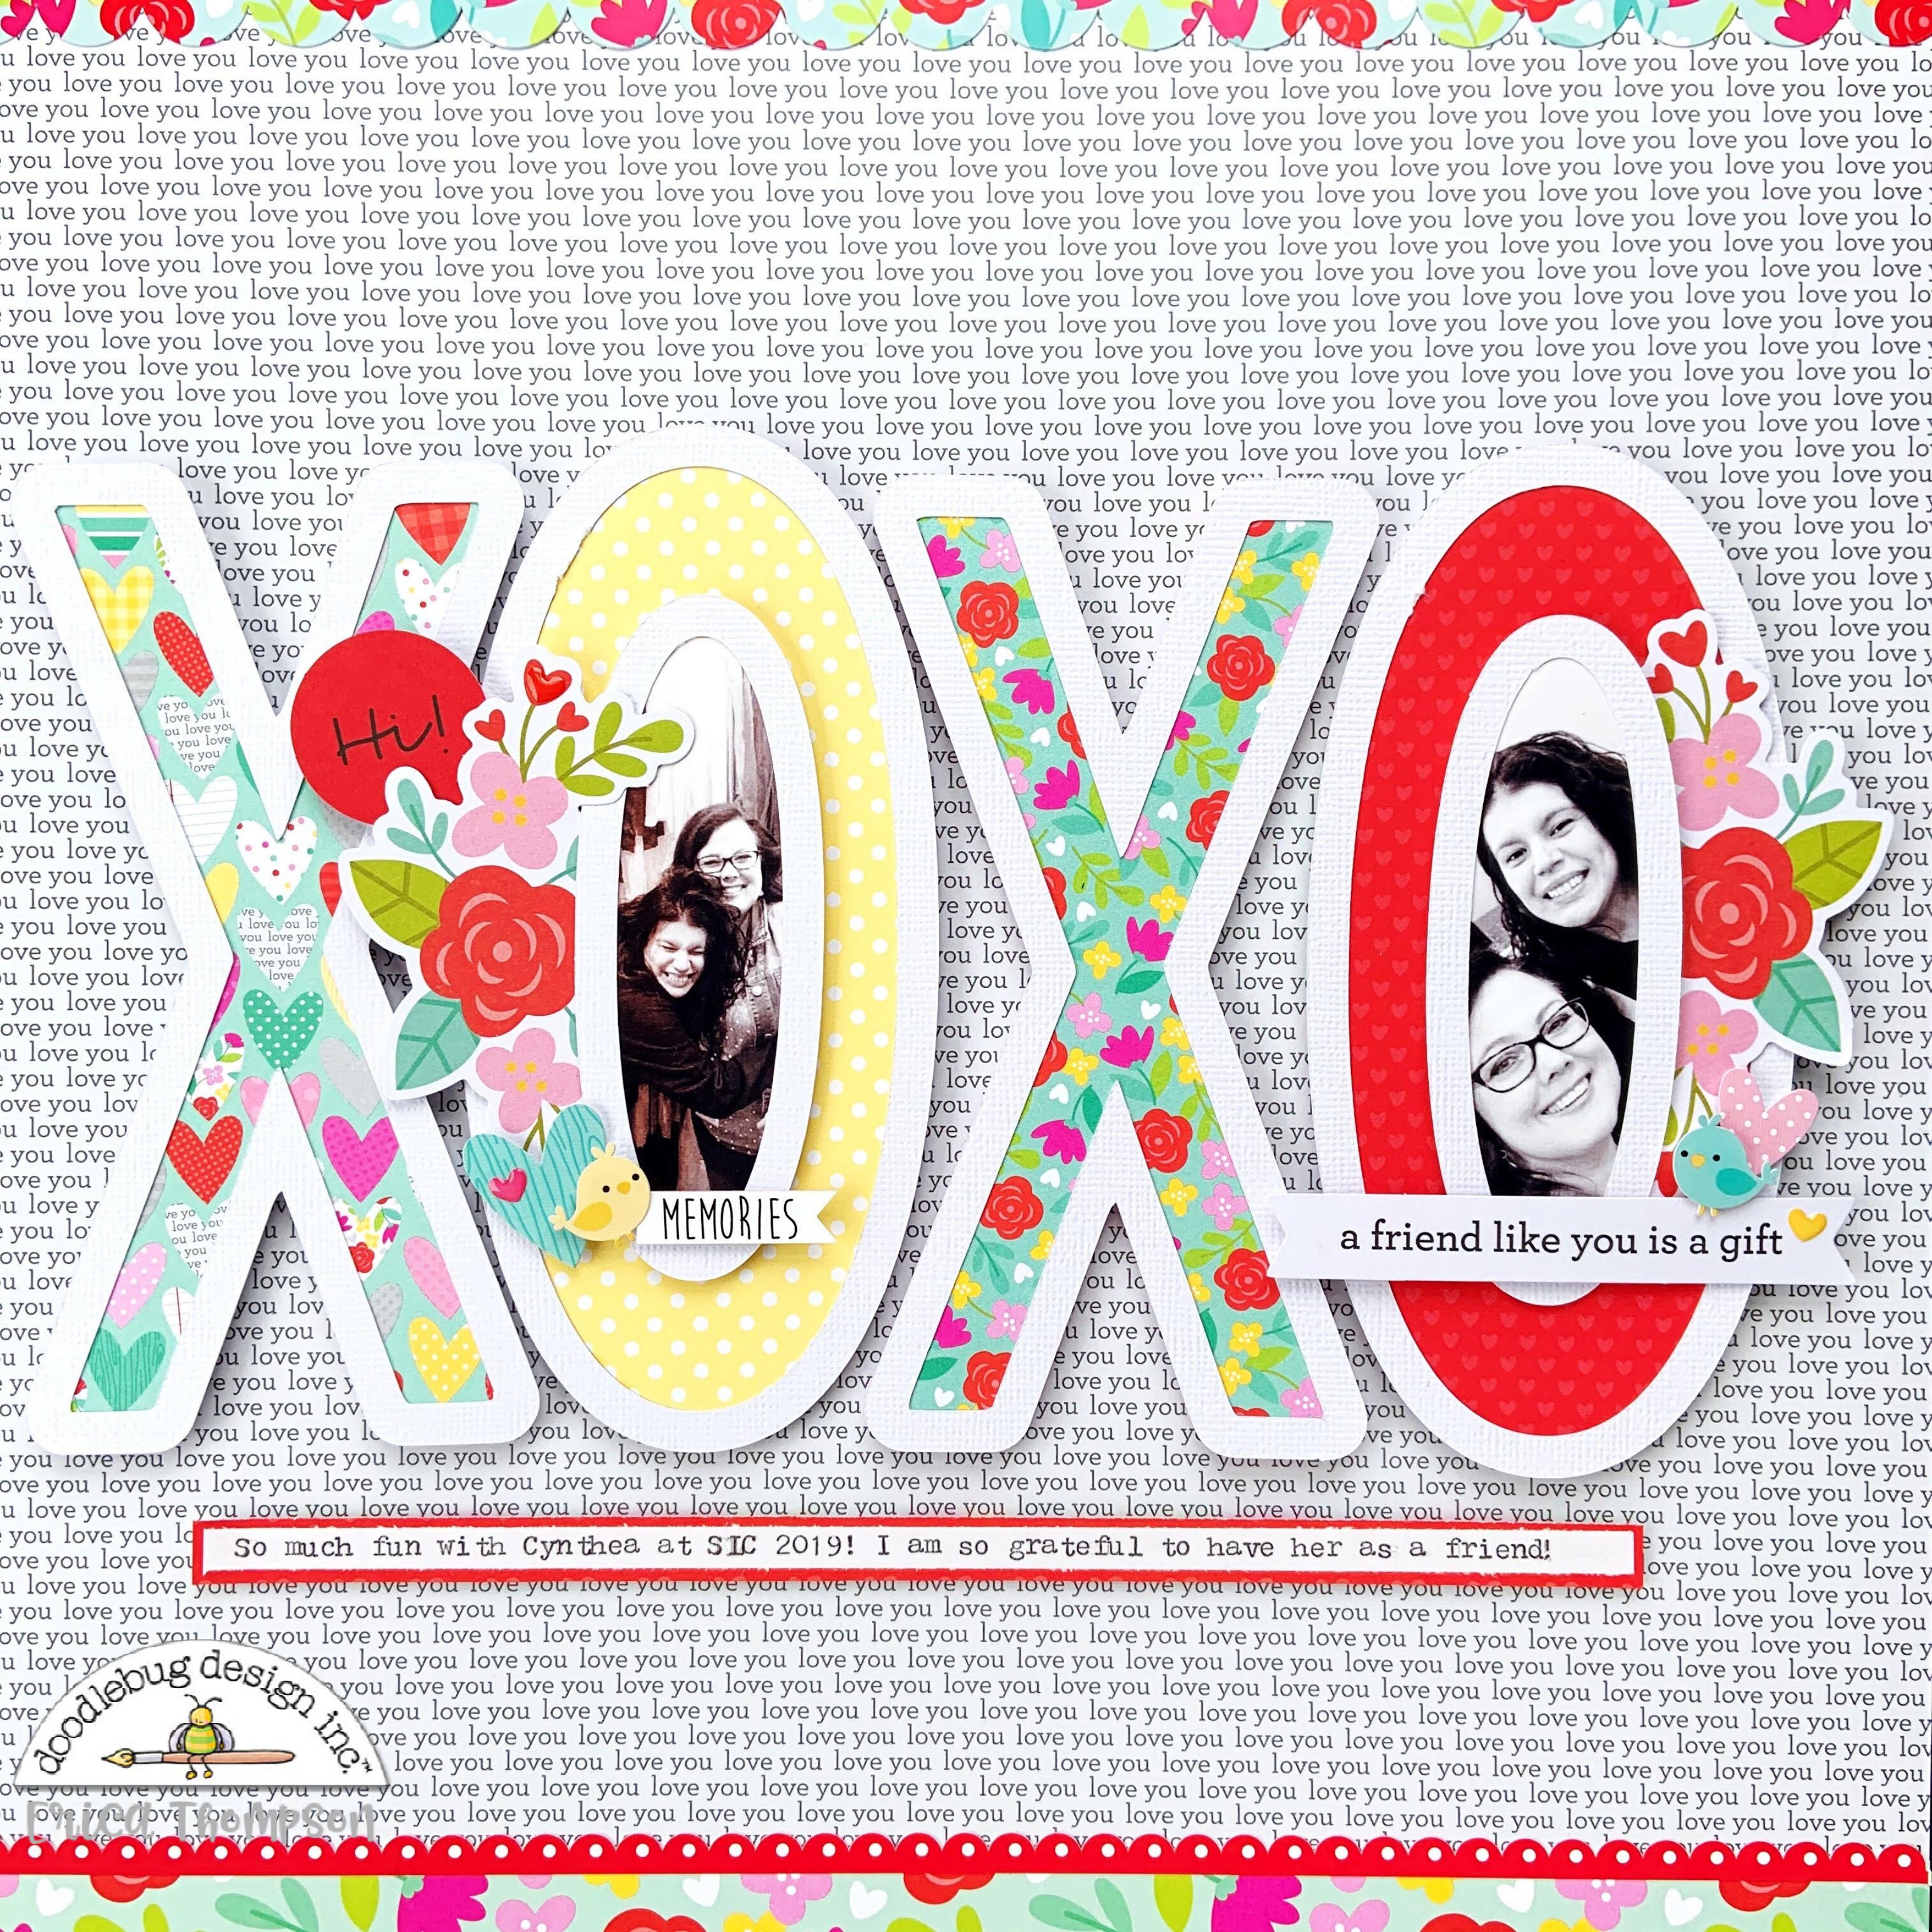
I backed the file with some beautiful papers from the Love Notes 6x6 paper pad and added foam squares to the back of the file. I picked out the Secret Admirer 12x12 paper as my background. I placed the cut file down to the center of the page. I added my two photos to the inside of the O's and love how it turned out!
To embellish my layout I used some of the pretty floral odds & ends and also added some chit chat pieces. Here is a look at my completed layout using the new Love Notes collection.
Check out my process video down below or; CLICK HERE to view it on my YouTube channel.
Thank you so much for stopping by.

 To embellish my layout I used some of the pretty floral odds & ends and also added some chit chat pieces. Here is a look at my completed layout using the new Love Notes collection.
 Check out my process video down below or; CLICK HERE to view it on my YouTube channel.


Beautiful colors, lovely layout Erica.
ReplyDeleteAmazing layout, love all the details!
ReplyDeleteThank you!
DeleteVery cute.
ReplyDeleteLove his layout!!!
ReplyDeleteThank you Kathy!
Delete