Showing posts with label Process Video. Show all posts

Wednesday, August 9, 2023

HELLO AGAIN LOVE LAYOUT | with Erica

Looking for an easy layout design that will help you photo shine! Try a horizonal design and pull out those gorgeous die cuts!

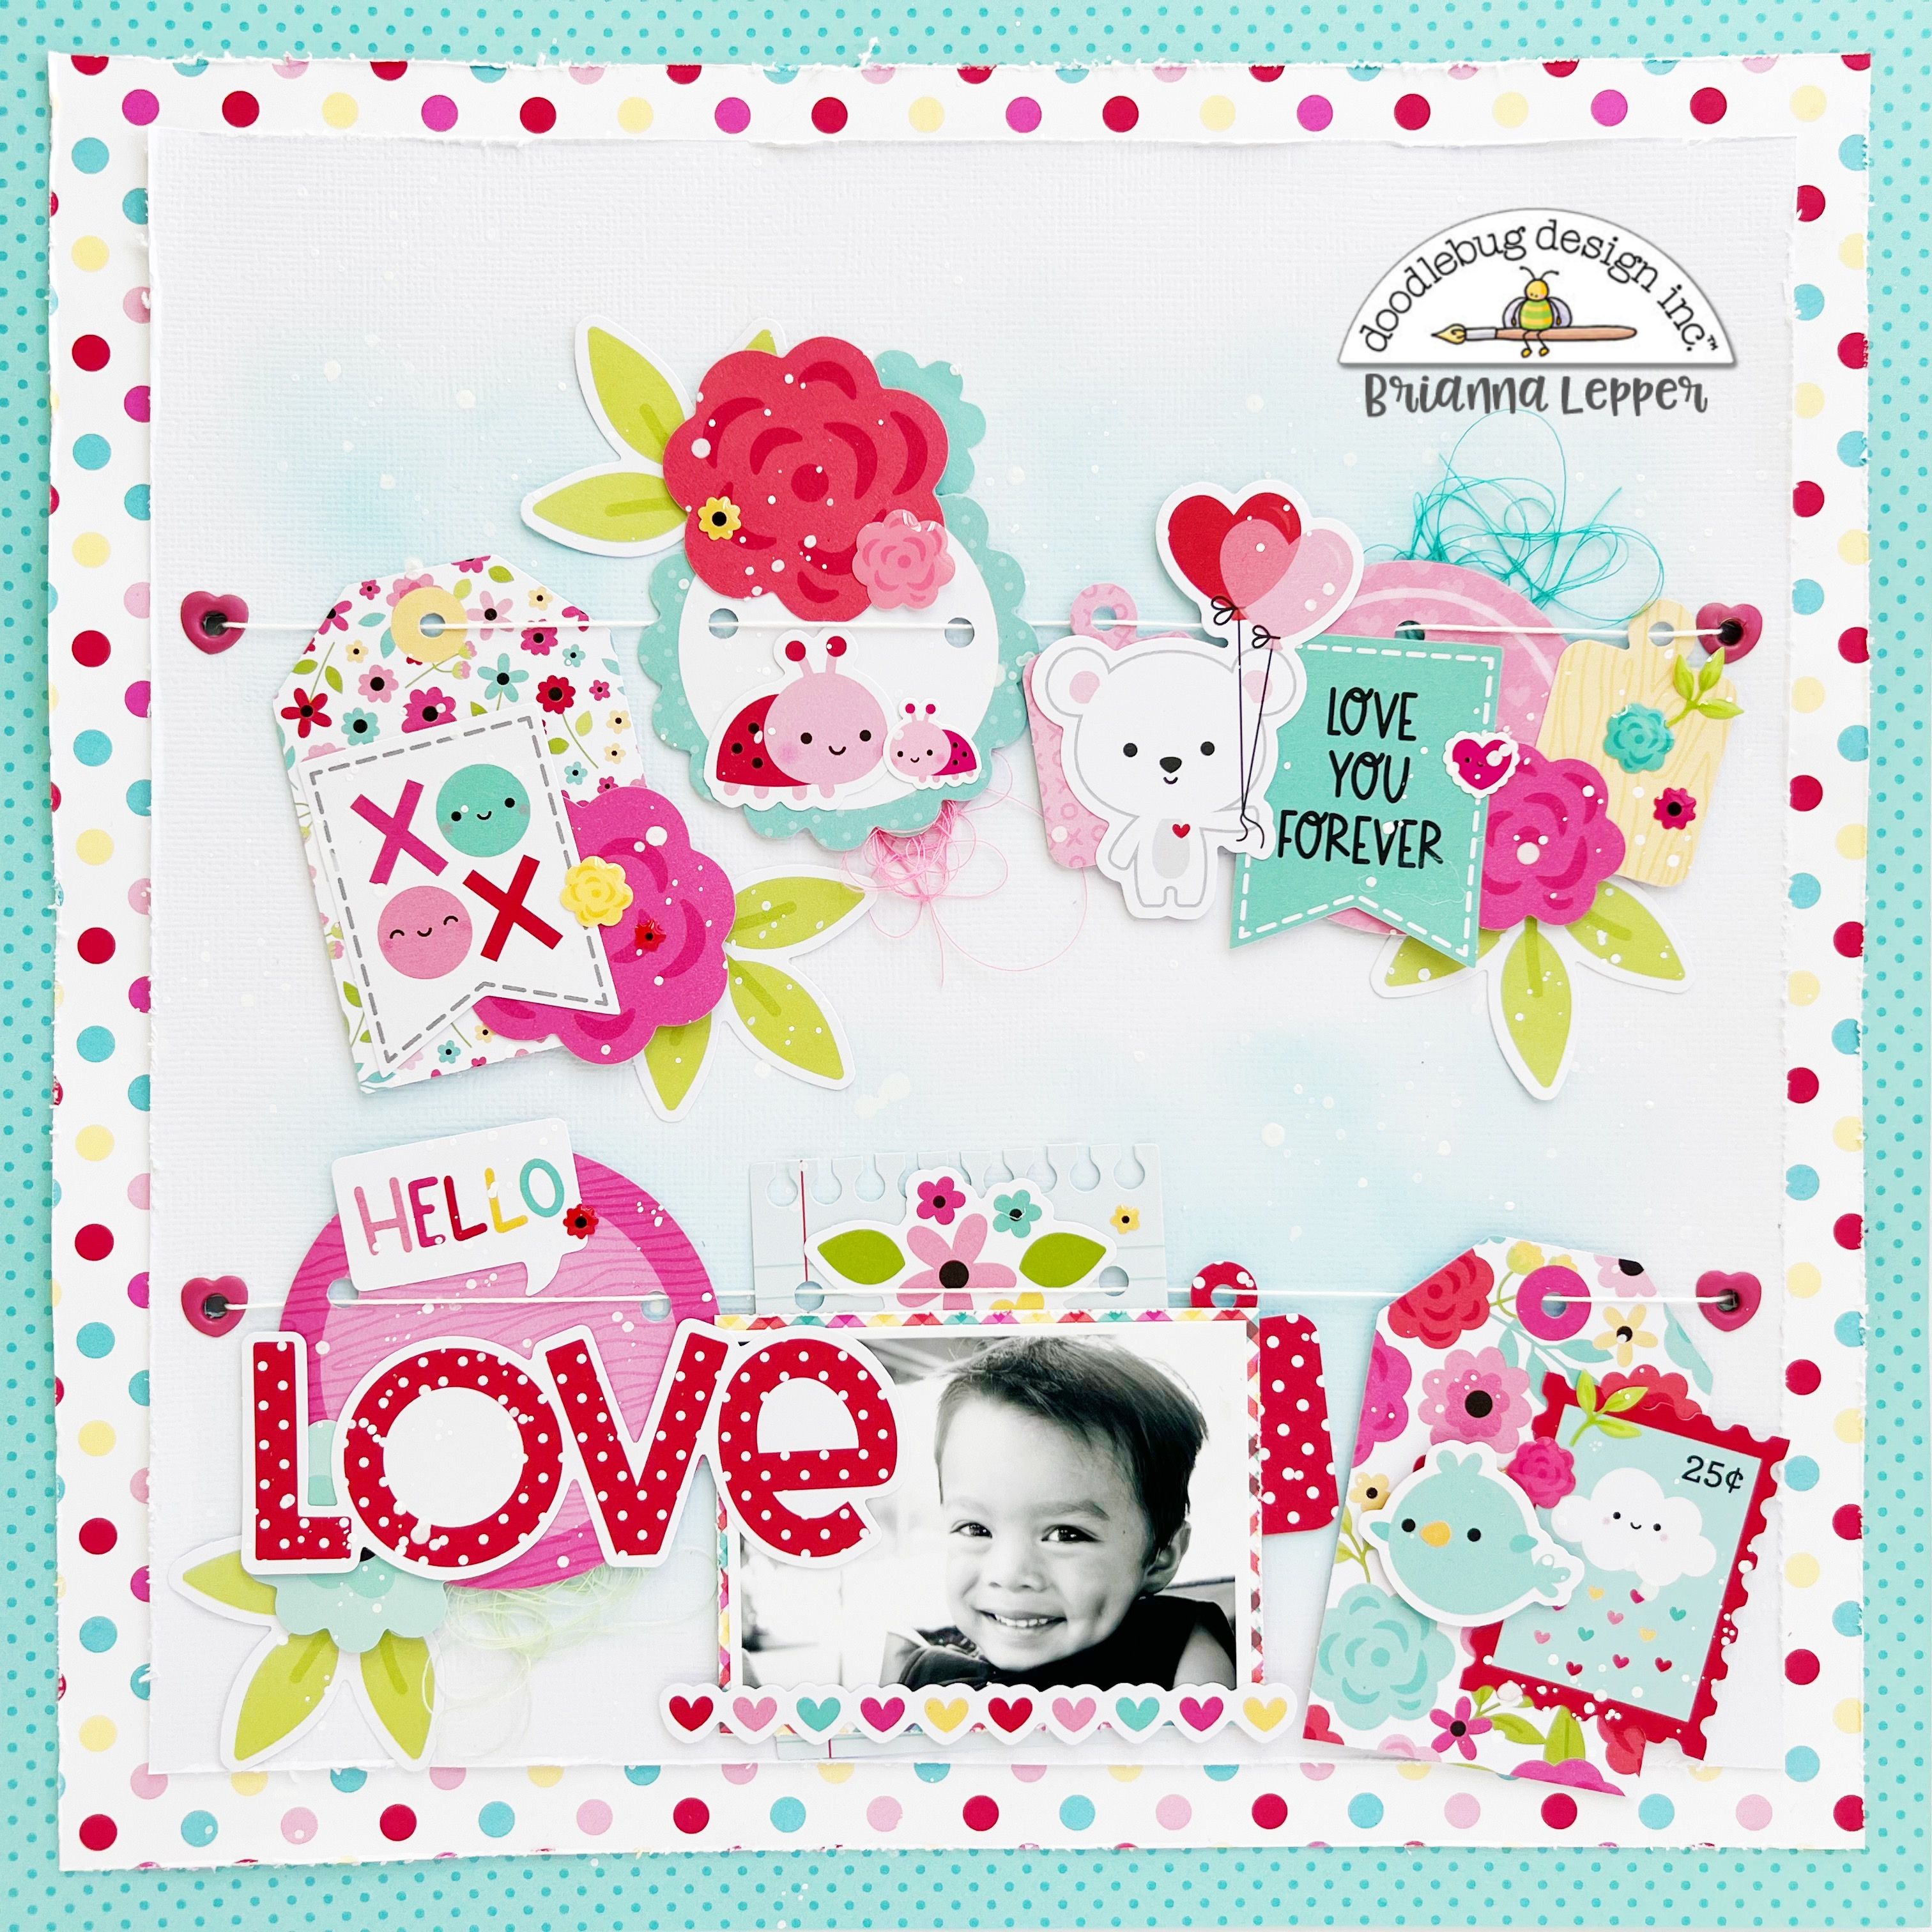
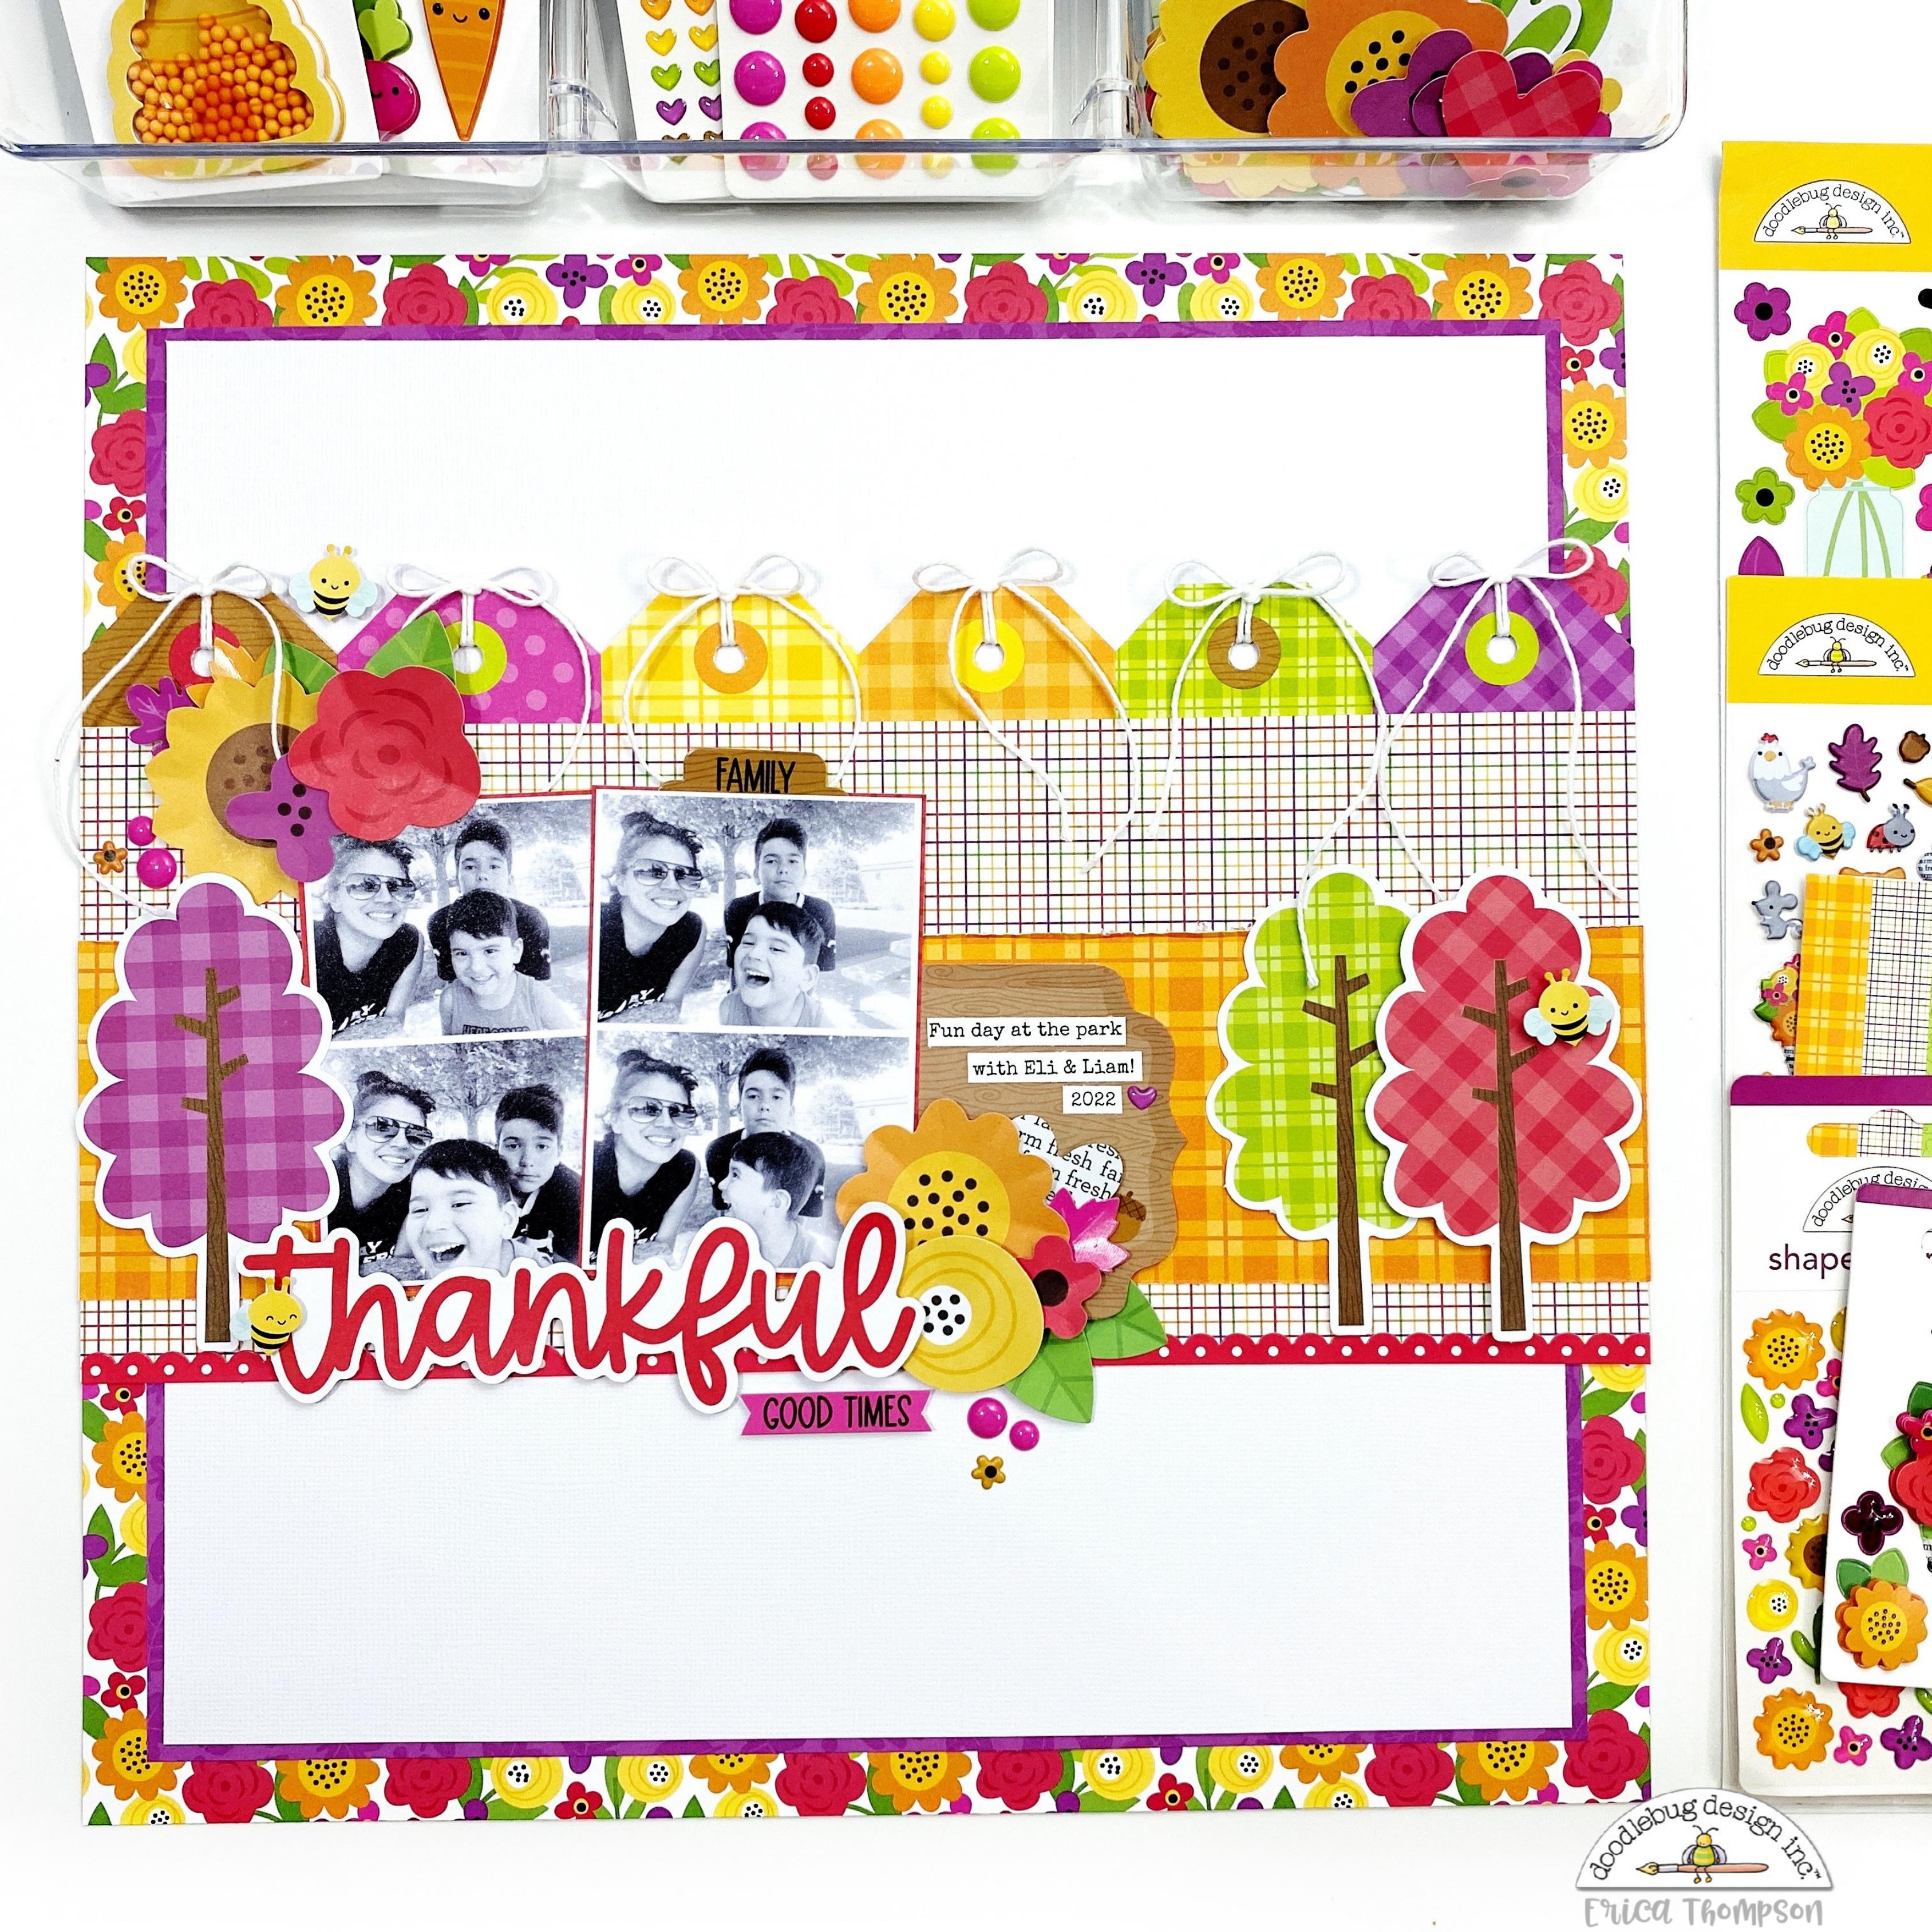
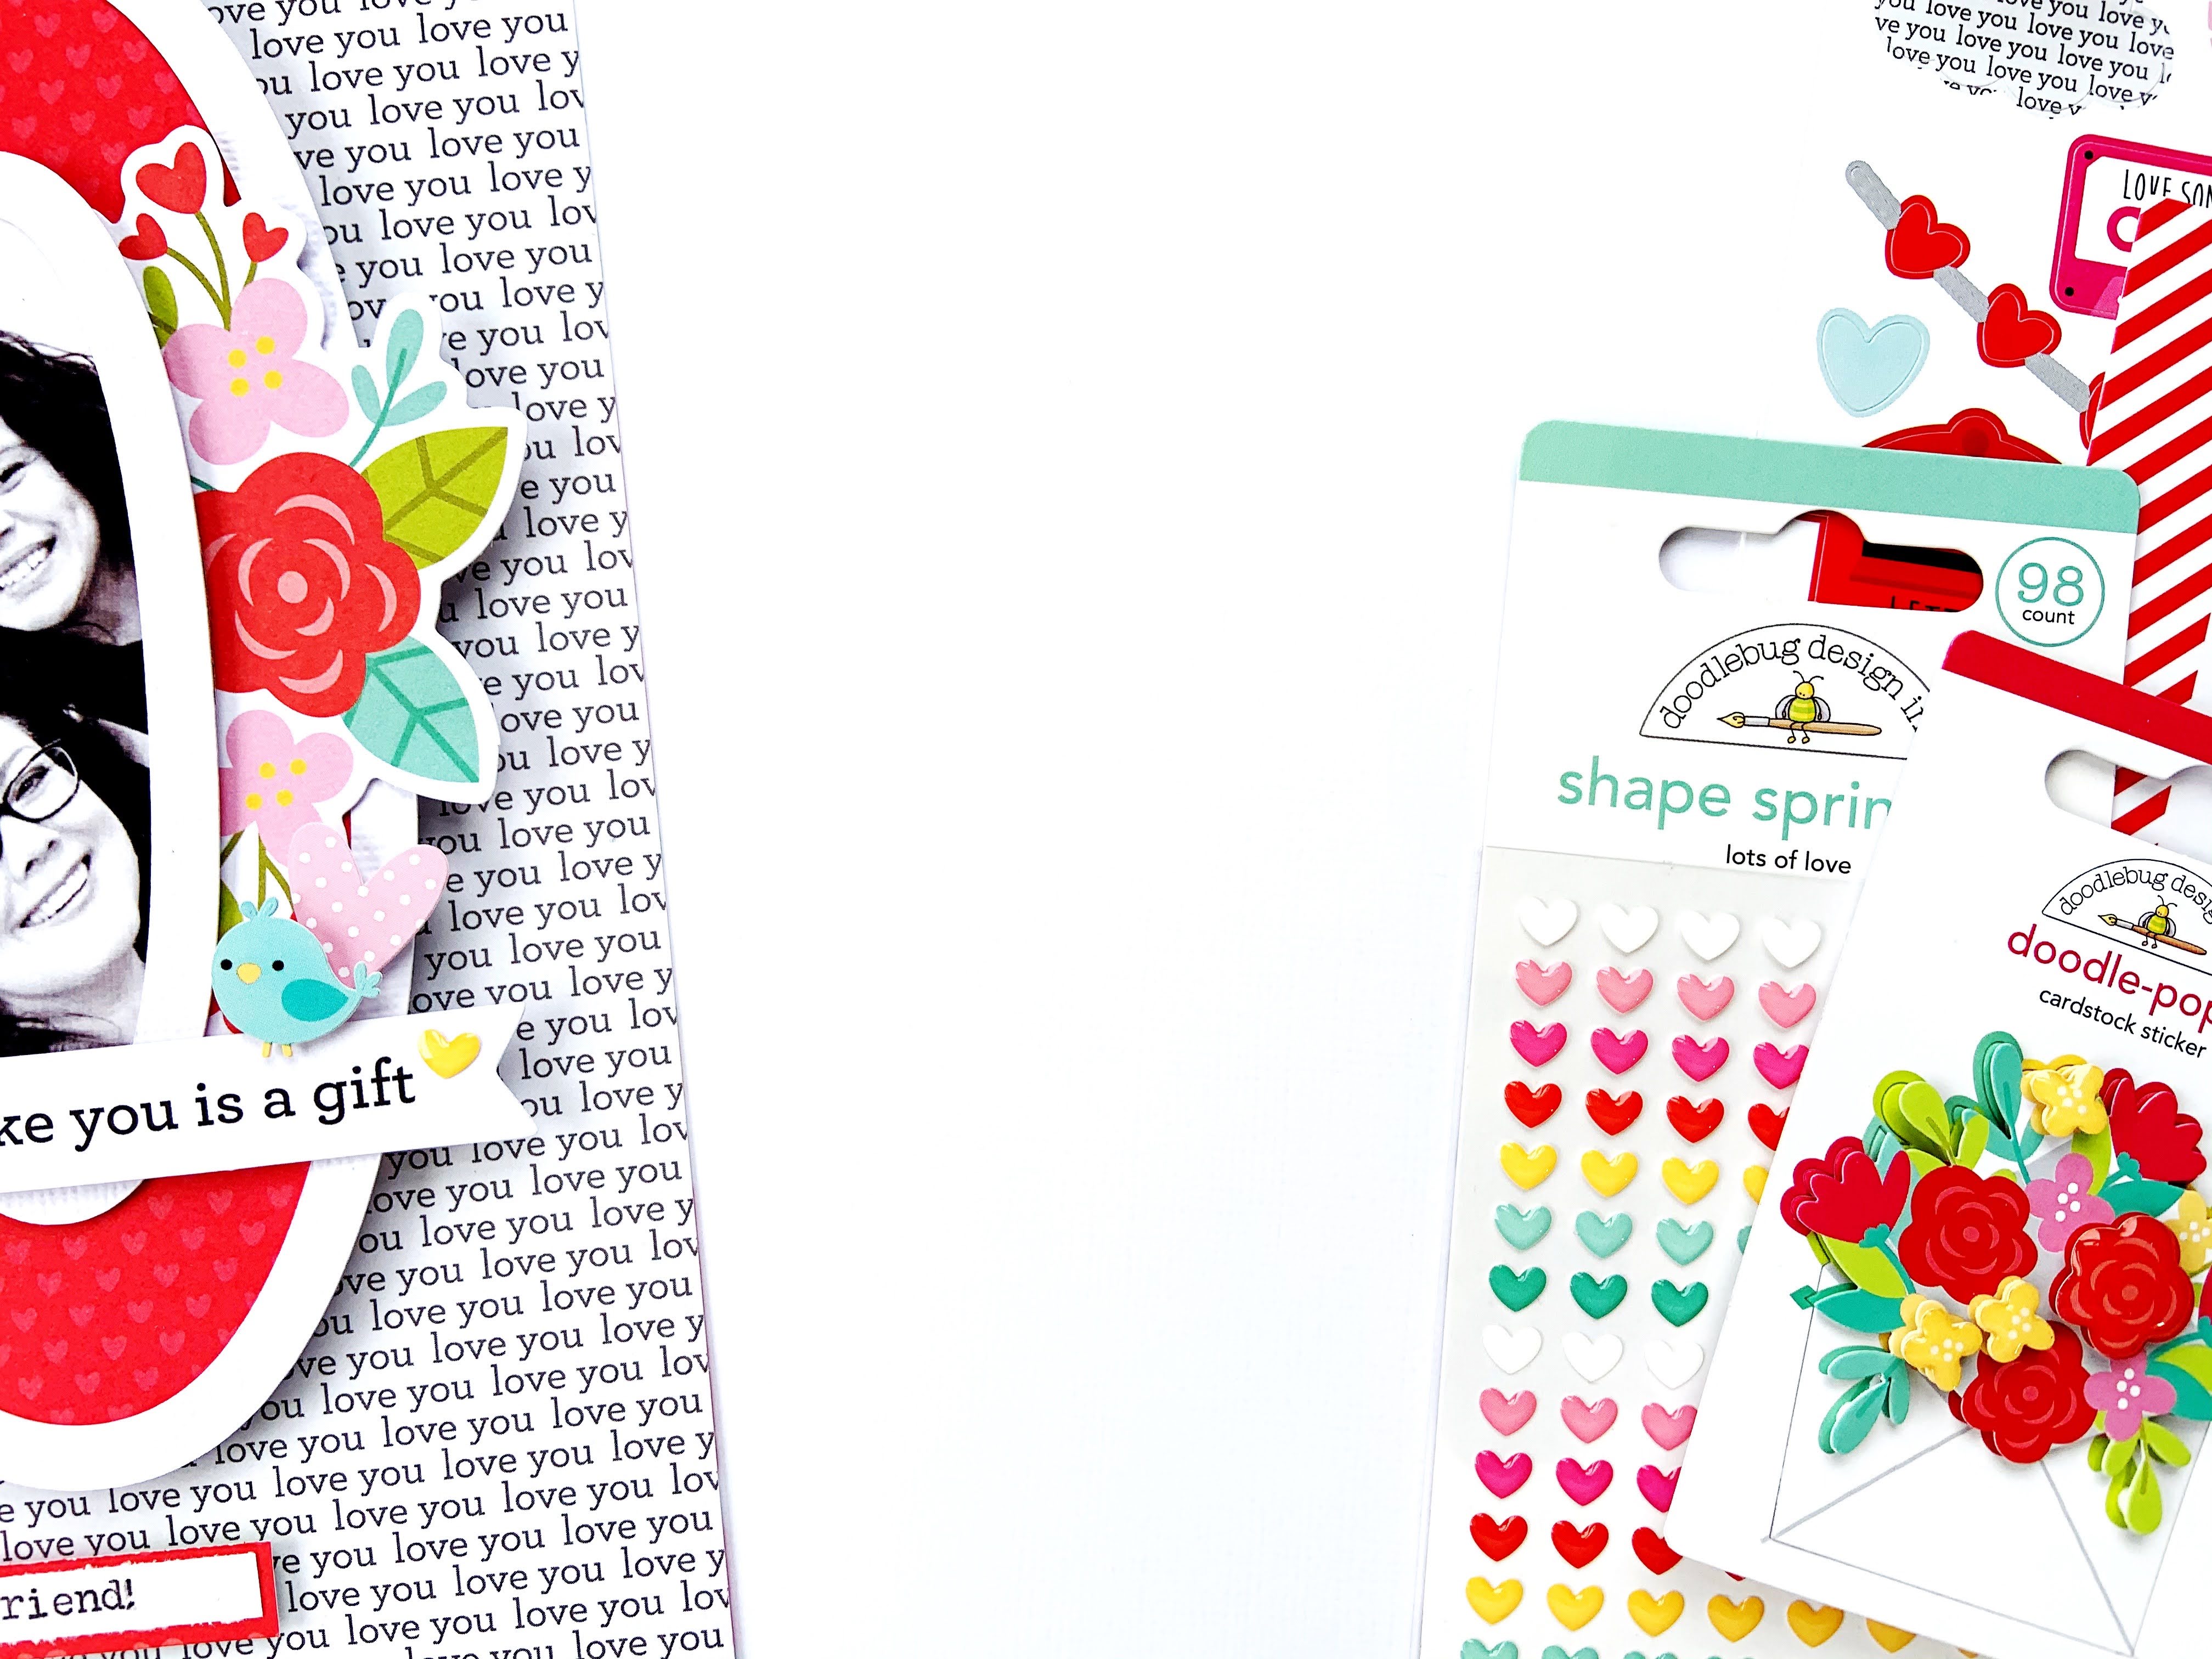
I am using the beautiful new Hello Again collection and started my layout with a white textured cardstock cut down to 10.75x10.75. I love this size because you can add some beautiful pattern papers to mat the base. I used the 12x12 Dainty Dots behind the white cardstock and it helps make all the colors pop. Next I went in with some Doodlebug Design textured cardstock in Raspberry. For the final layer I used the beautiful Butterfly Garden paper.

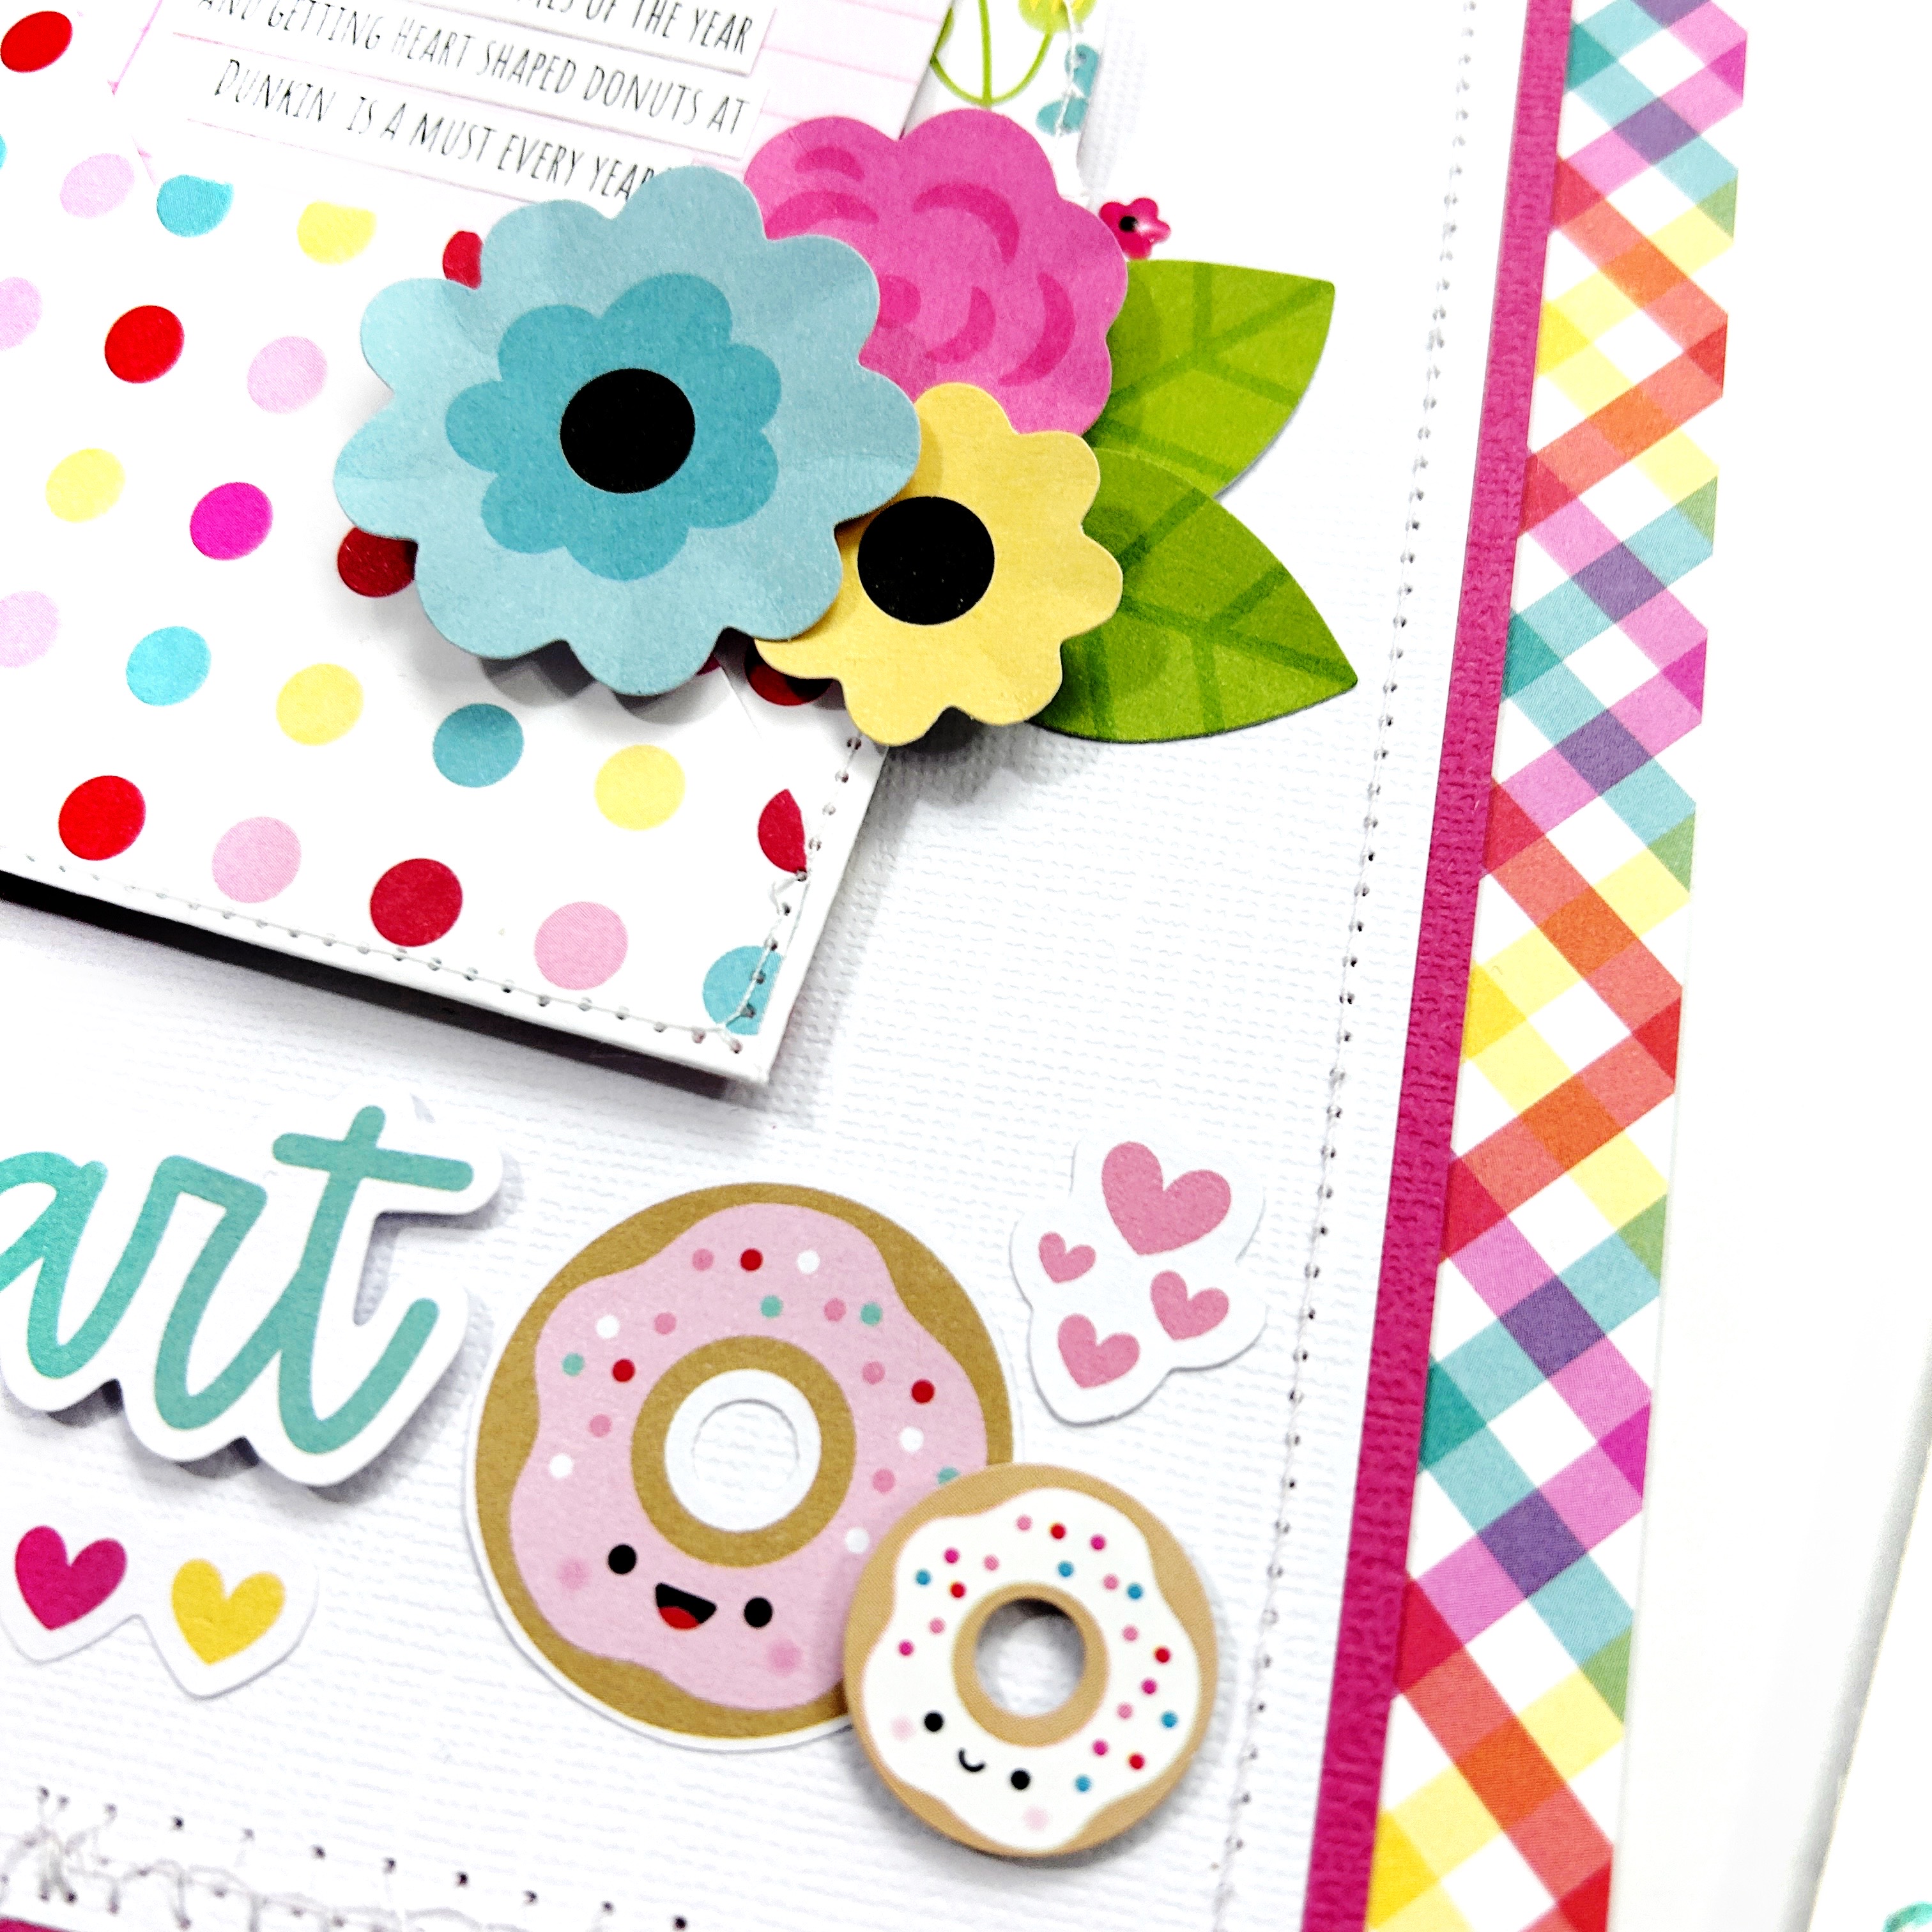
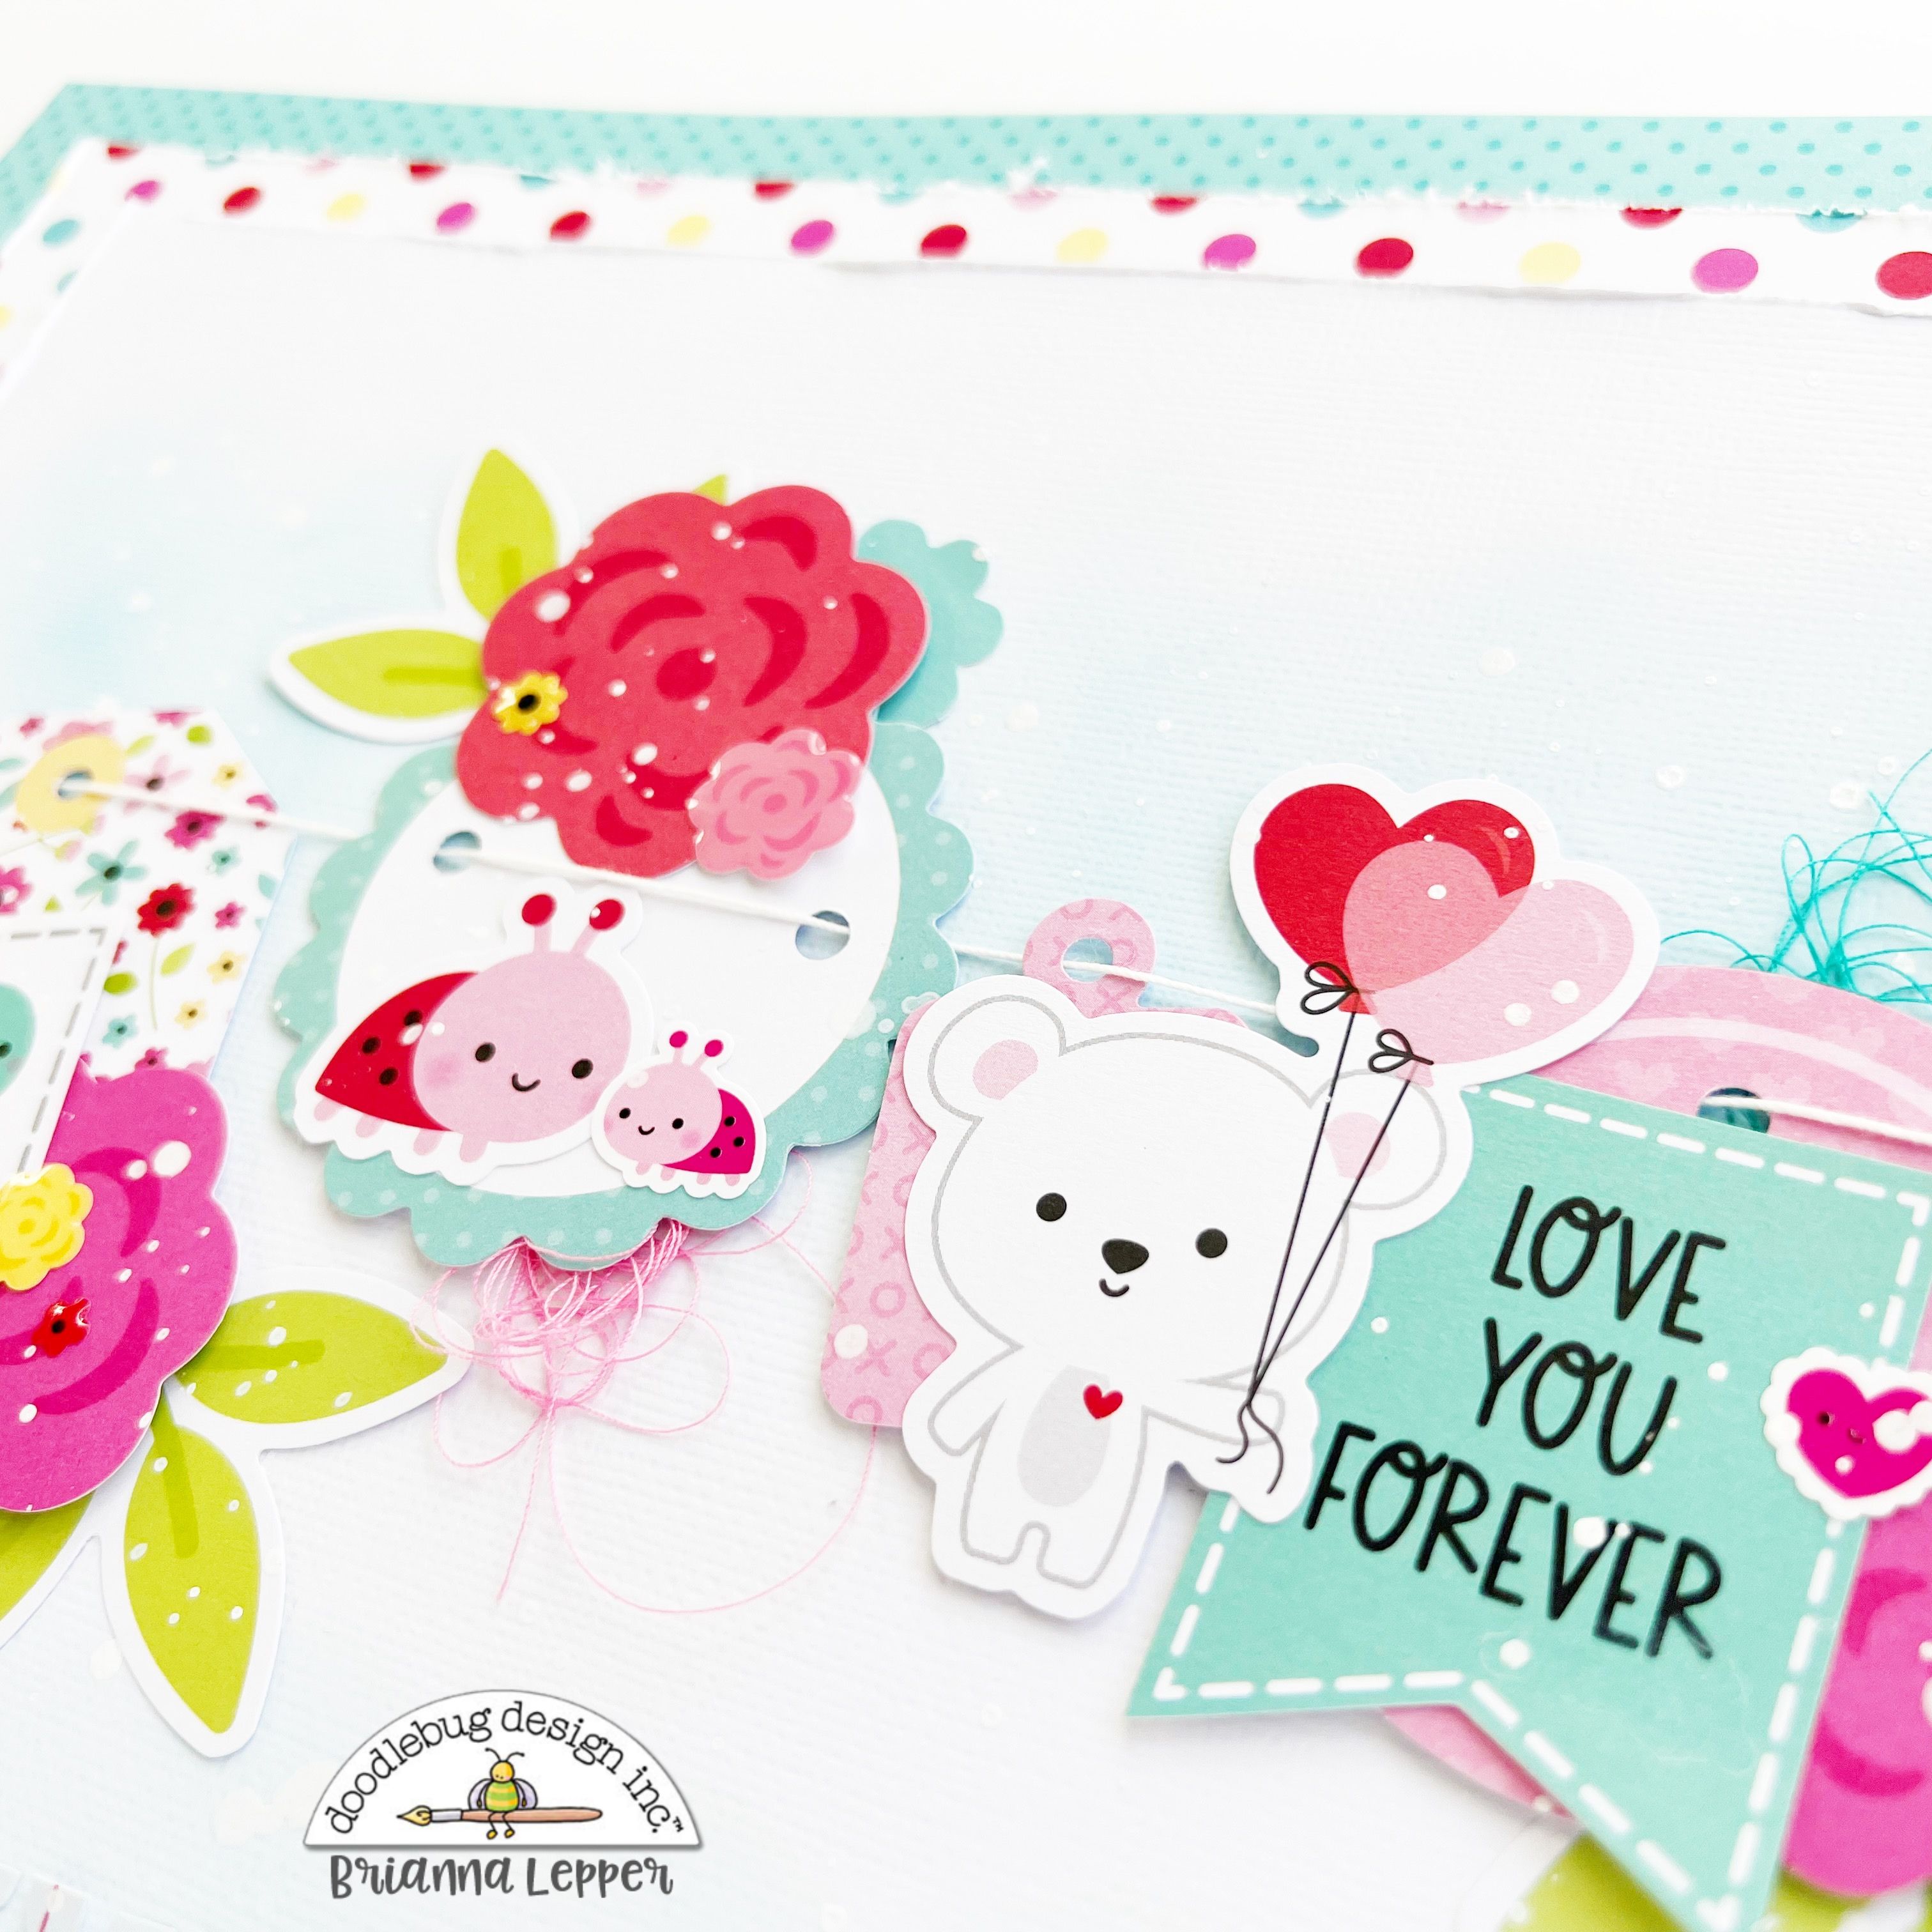
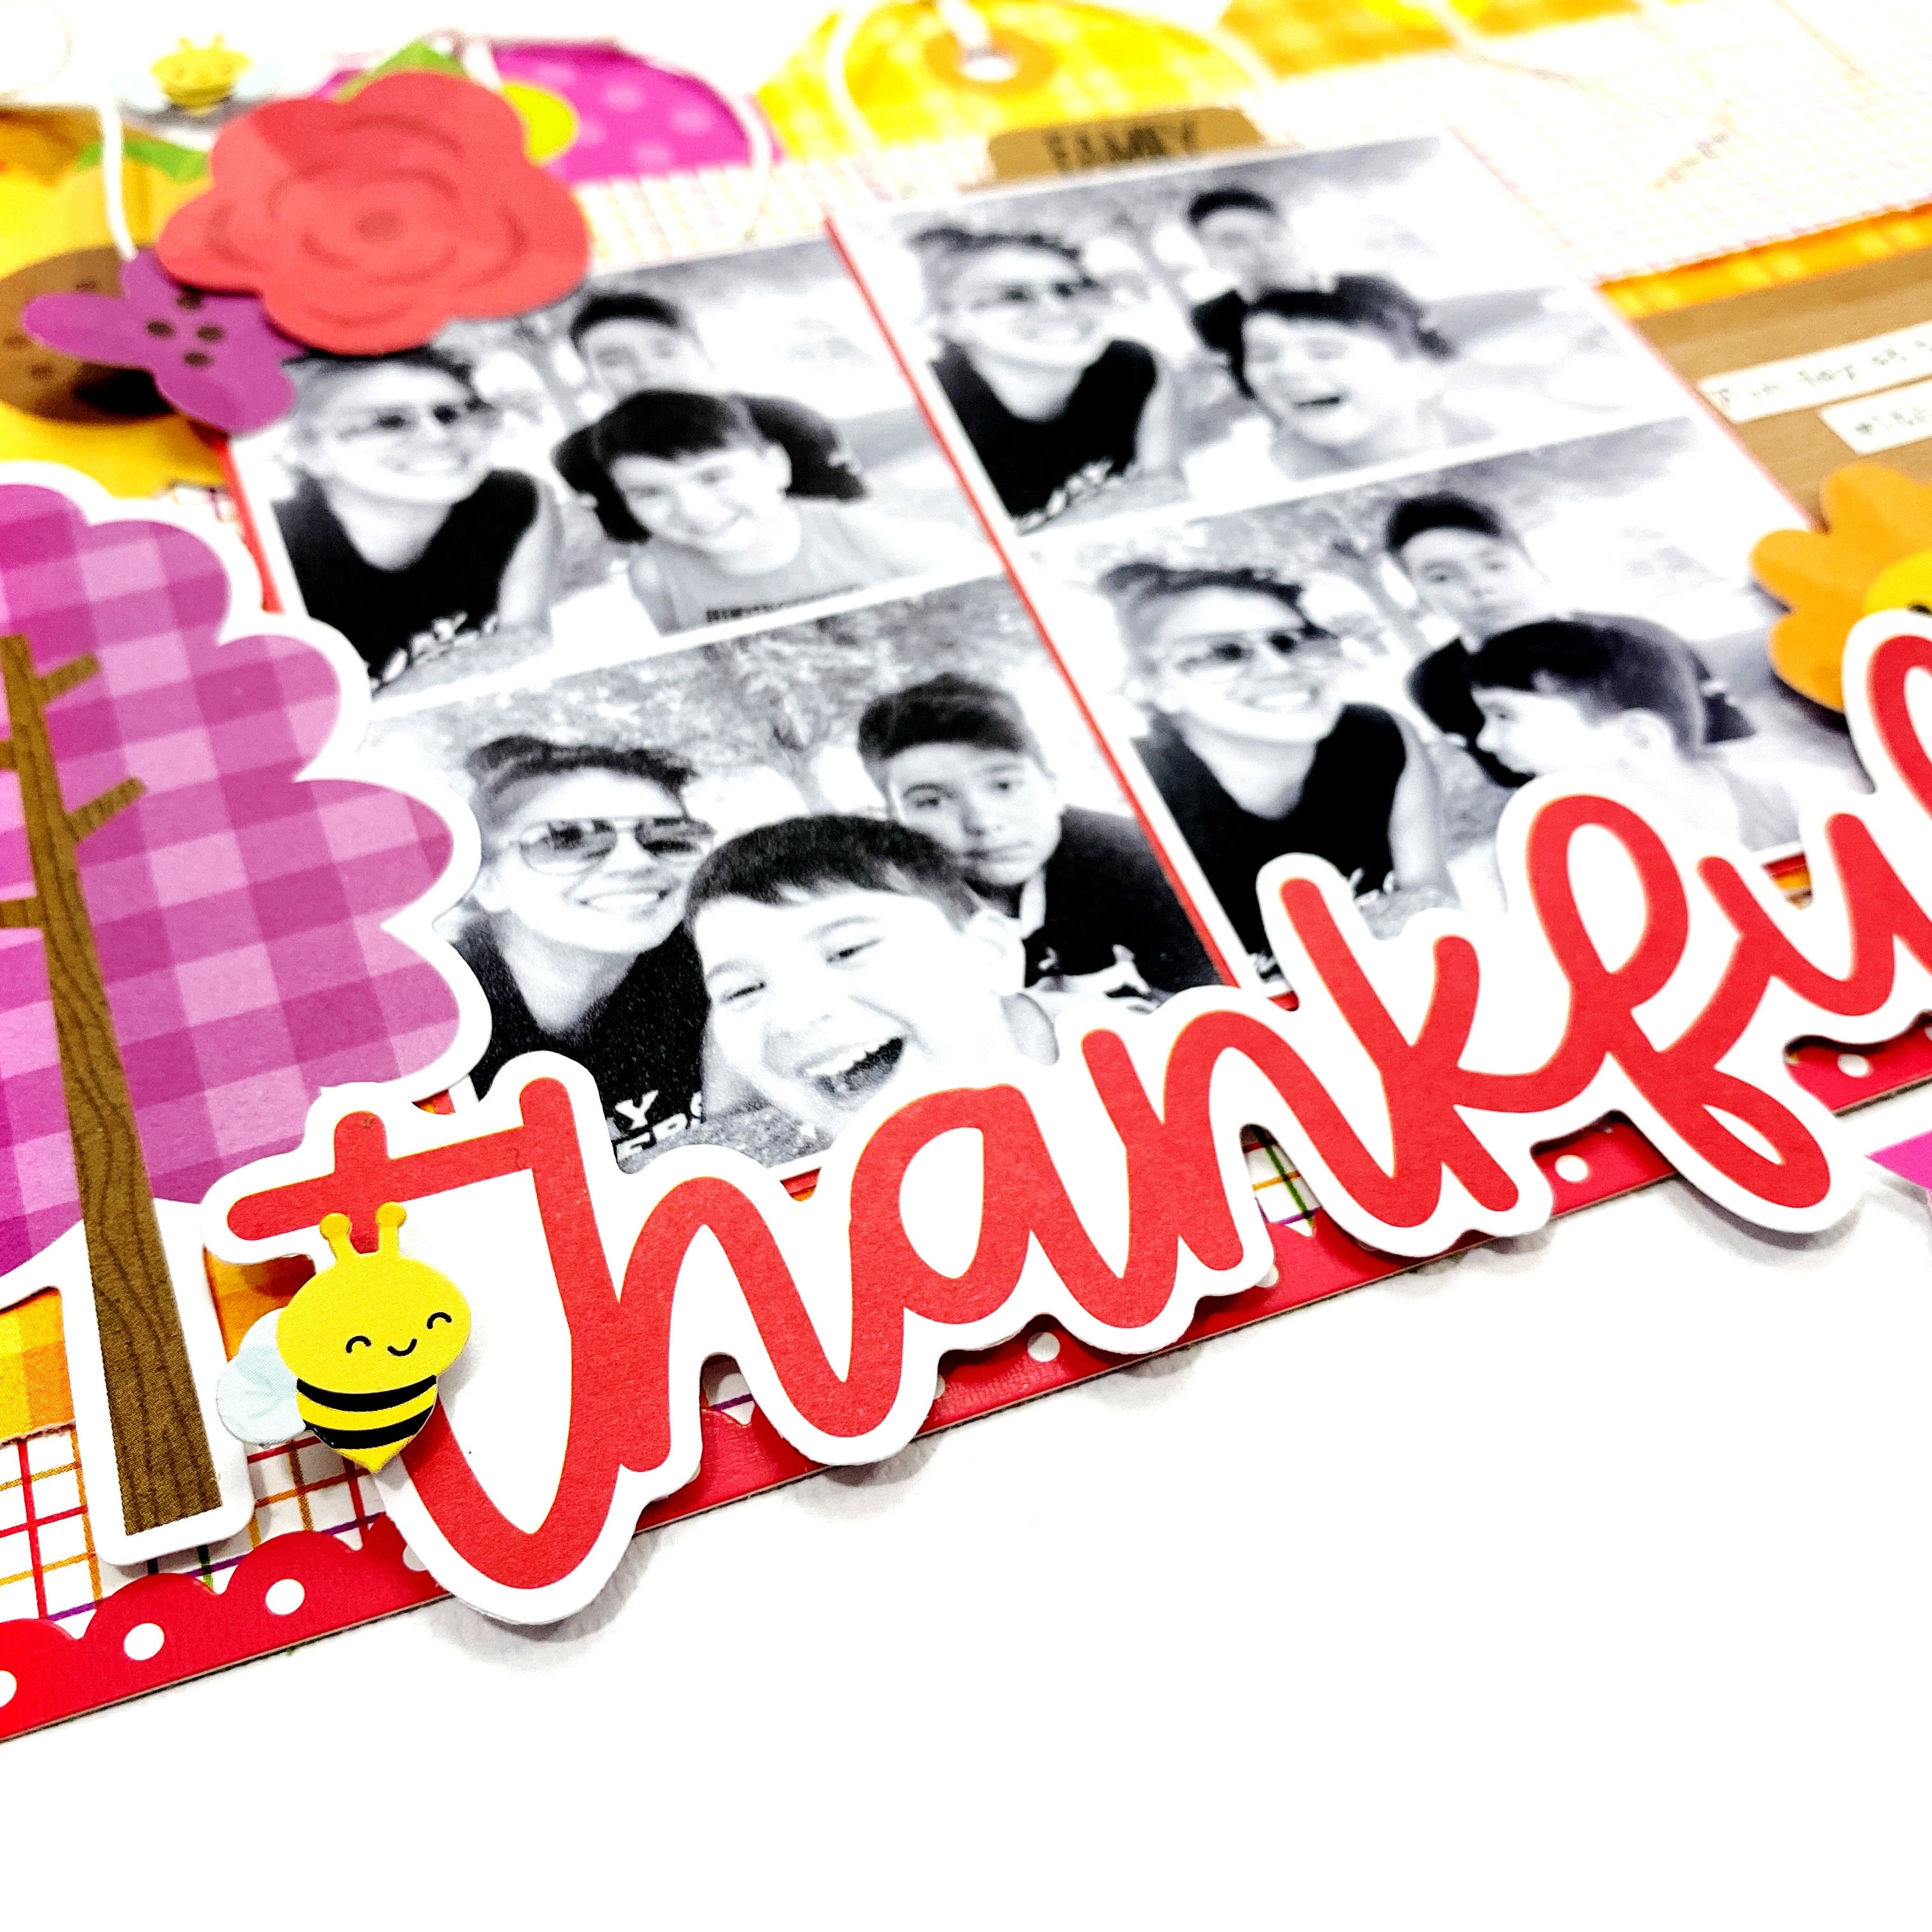
I added some layers behind my photo and adhered it the center of my layout. Next I created a shelf of beautiful embellishments starting with three floral clusters from the Bits & Pieces. I added some butterfly Odds & Ends popped up on foam adhesive to give them some dimension.

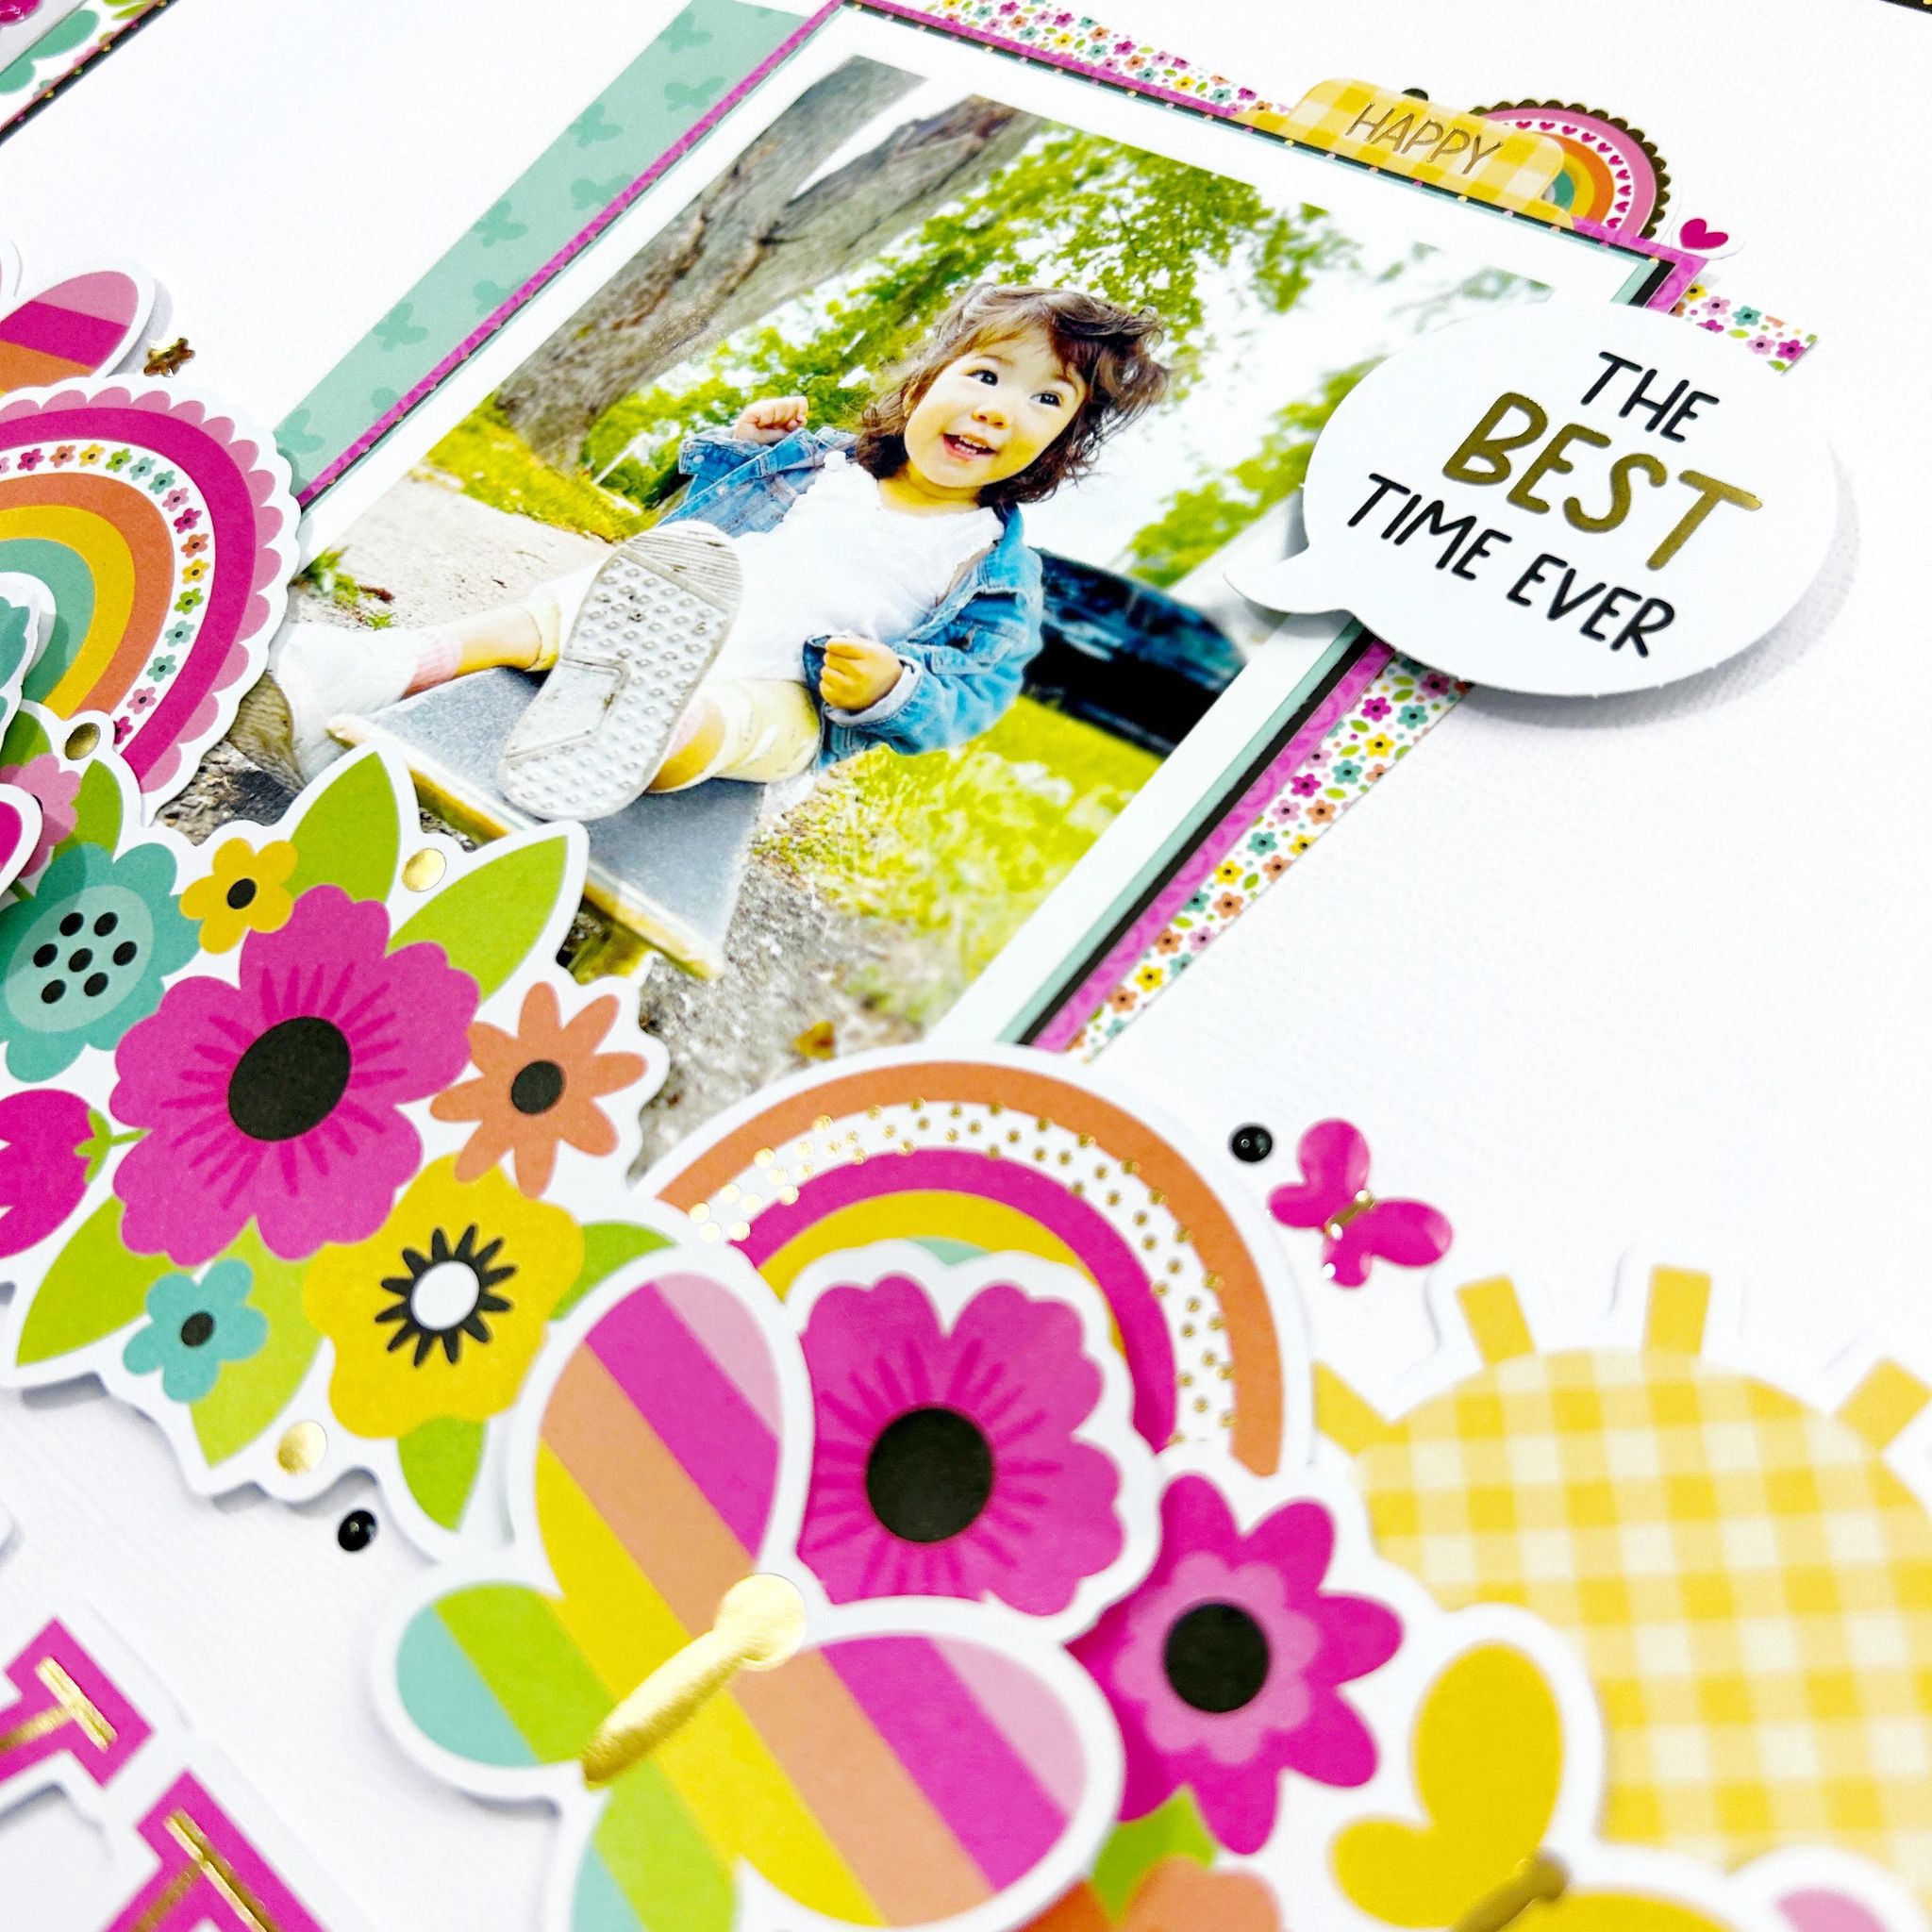
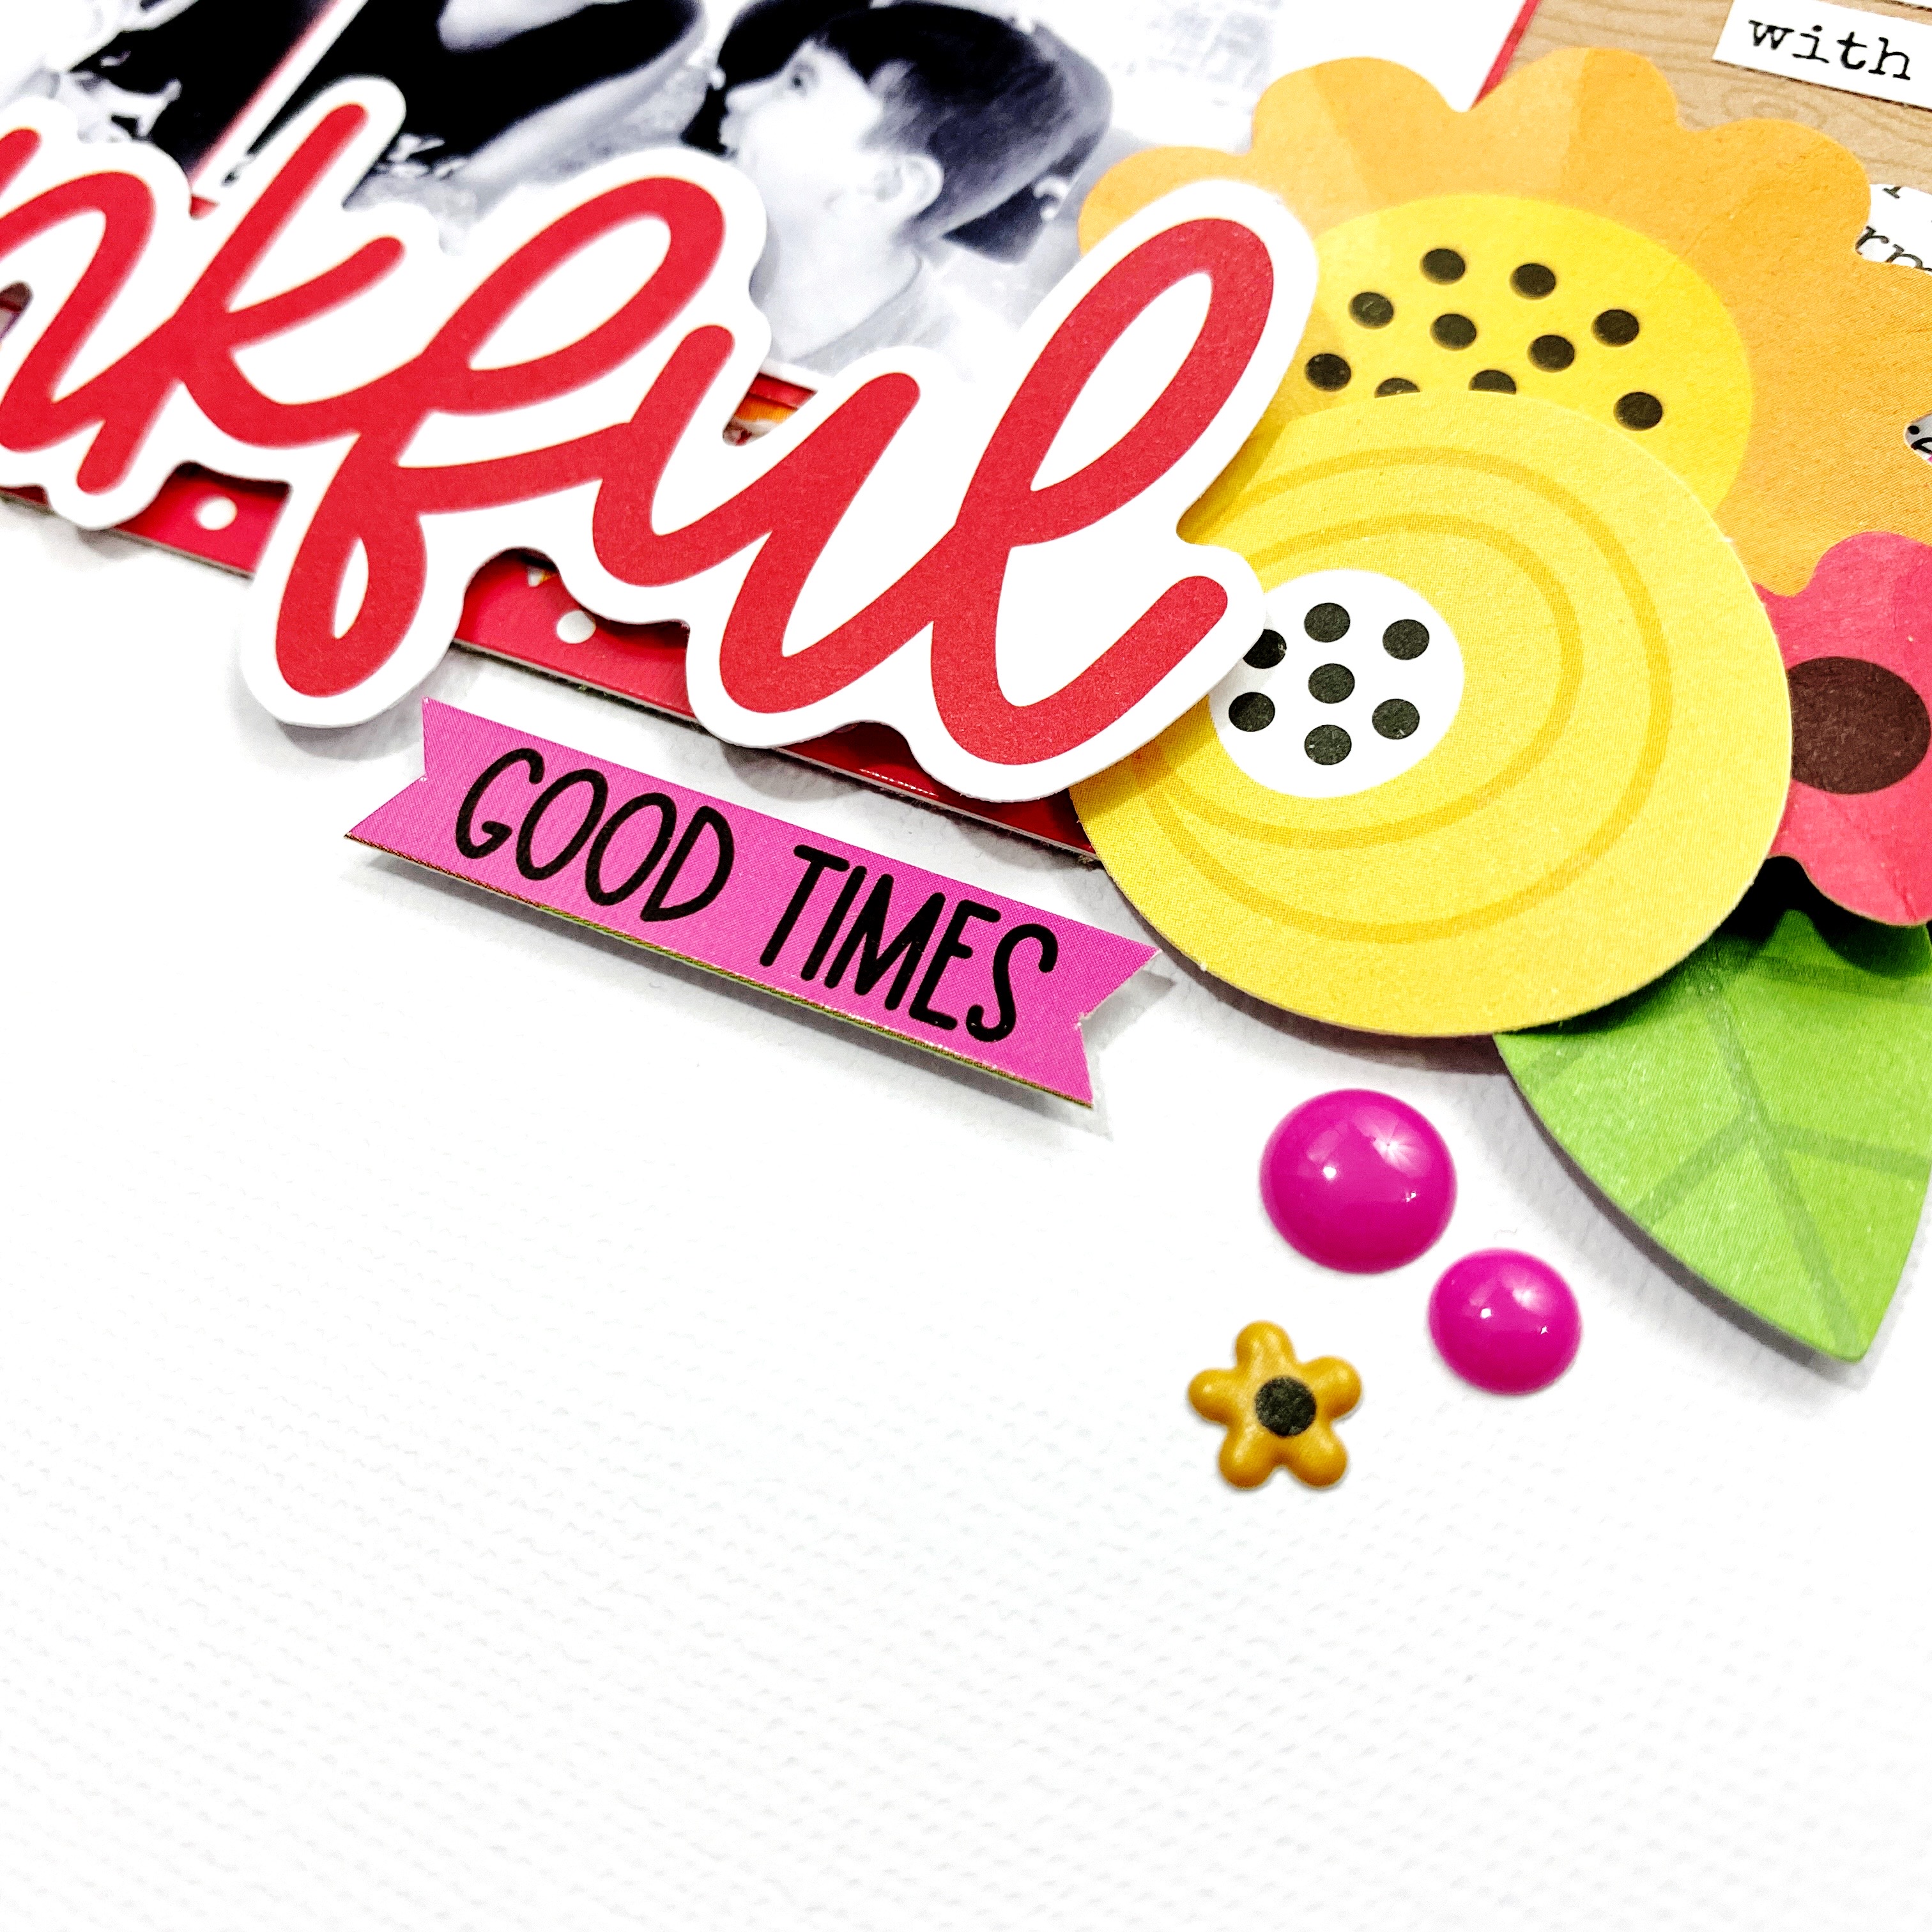
The Aflutter Sprinkles look adorable around all the pretty die cuts! I used one of the Hello Again chit chat pieces for my title and then created a cluster in the bottom right corner of my layout.

I love how this layout turned out and the photo of my niece is one of my favorites! This sweet little girl having the best time on her dads skateboard!


Thanks so much for stopping by the Doodlebug Design Blog today! If you would like to see the process video you can head on over to my YouTube channel HERE of click the video below! Have a great day!

Hello Again Collection

Wednesday, February 8, 2023

LOTS OF LOVE SWEETHEART LAYOUT | with Erica

Hello friends! Erica here with you today to share a 12x12 scrapbook layout using the Lots of Love collection and an Envelope Punch Board!

I started out by creating two envelopes with my Envelope Punch Board. I picked two different pattern papers from the Lots of Love collection!

For my layout base I used a piece of Lily White Textured cardstock that I matted onto some Bubblegum textured cardstock. I ran the layout base through my sewing machine to add some stitching detail around the page. Next I adhered these layers to the Plaid Your Mine 12x12 pattern paper from the Lots of Love collection.

I adhered the two envelopes to the layout with the smallest one being popped up with foam adhesive. I knew I wanted to add my photos to the larger envelope and a journaling spot in the smaller one.

I used some odds & ends and stickers from the Lots of Love collection to embellish around the page. To finish this layout I added a chit chat piece for my title and typed out some journaling on my computer!

Here is a look at my completed layout using the Lots of Love collection! You can check out my process video HERE on my YouTube channel! Thanks so much for stopping by and I hope you have a great rest of your day!


YOUTUBE | INSTAGRAM | FACEBOOK | BLOG


DOODLEBUG PRODUCTS USED

Lots of Love Collection
Lily White Textured Cardstock

OTHER

We R Makers Envelope Punch Board
Sewing Machine

Monday, February 6, 2023

LOTS OF LOVE LOVE YOU FOREVER LAYOUT | with Brianna

Hey friends! Brianna Lepper here with my first very blog post on the Doodlebug Design Team! I am so thrilled to be here and I'm so excited to share my first layout with y'all today. It's February and I'm feeling all of the LOVE around me and using the Lots of Love collection is such a fun way to continue spreading that love around. Here's my page, make sure to check out my process video at the end of this post.


I started by trimming a piece of textured white cardstock down to a 10x10 size. I then sized the Layered With Love patterned paper to an 11x11 and adhered my white cardstock on top of it. To add a pop of blue, I adhered both paper layers to the Petite Prints Dot-Stripe paper in Swimming Pool. I punched some holes across the page and added heart shape brads for some extra color.


Next, I took two pieces of white string and using the Bits & Pieces pack, I pulled out the larger elements to string across my layout. I added foam tape under each piece to give them some dimension.


I really like how the tags/pieces became perfect spots for all of my embellishments. I pulled a few florals from the Bits & Pieces pack to tuck and layer here and there.


I matted my photo using the 6x6 paper pad and adhered it down. For my title, I used a piece from the Chit Chat pack.


I embellished using a few of the Odds & Ends pieces and for some finishing touches, I adhered a few of the Bright Bouquet Shape Sprinkles around the page. How cute is that little bird?!


Here's one final shot of this bright and colorful layout:


Thank you so much for stopping by today, I hope that I've inspired you in some way! Have you tried stringing your embellishments across your page? I hope that you'll give it a try. See you next time friends!

Process Video:


DOODLEBUG PRODUCTS USED

Lots of Love Collection
Petite Prints Swimming Pool Dot-Stripe

OTHER

White String
Tumbled Glass Distress Oxide Ink
Blending Brush
Heart Shape Brads
White Textured Cardstock
White Acrylic Paint Spray

Wednesday, November 9, 2022

FARMERS MARKET THANKFUL LAYOUT | with Erica

Looking for an idea on how to use the tags paper in the Doodlebug collections! One idea is to trim off a row and use them as a fun border on your layout!

This is also a great way to bring in texture by adding twine or ribbon to the top of the tags!

The colors in this collection are rich and gorgeous and I love that the tops of the tags help showcase so many colors and patterns!

My white background is trimmed down to 10.75 square and matted onto the beautiful Falling Leaves paper that has been trimmed down to 11x11. I then matted these papers onto the 12x12 Fall Floral paper. I added two strips of papers in the center of the page measuring 5x12 and the other one is 2.75x12. I added one of the scalloped border stickers off the Farmers Market 12x12 sticker sheet along the bottom of the layers.

I added 4 of my photos that I printed out in black and white to the left side of the page and added the thankful title along the bottom. Then I added a couple floral embellishment clusters using the Farmer's Market bits & pieces. Around each of the the embellishment clusters I added a couple of the fall sprinkles and a tiny floral puffy sticker.

To finish off the layout I added my typed out journaling to a tag from the bits & pieces pack and tucked it in to the right side of my photos. Next I added some white doodle twine to the top of each tag.

Thanks so much for stopping by the blog today! I hope you enjoyed my layout using the beautiful Farmers Market collection! Head on over to my YouTube channel to check out the process video!


Tuesday, January 21, 2020

LOVE NOTES LAYOUT & PROCESS VIDEO | with Erica

I love using cut files as my title and today I want to share how I made my own in Silhouette Studio! It was really easy to do and I love how it turned out! I started by opening up my Silhouette Studio. I wanted to type out the letters X and O so I selected the text tool (Letter A) on the left panel. Move the cursor to the grid and type out your letters. Next open up the Text Style window on the right hand side panel and pick your font. You can also adjust the size here as well. Next I wanted to created an offset so that I could back this cut file. I highlighted the letters and then clicked on the Offset window on the top tool panel. I knew I wanted two of each letter so I highlighted them again and hit Ctrl+Right Arrow to duplicate the letters to the right. Now you are ready to send it to the machine to cut! I cut my letters out on some white textured out cardstock.
I backed the file with some beautiful papers from the Love Notes 6x6 paper pad and added foam squares to the back of the file. I picked out the Secret Admirer 12x12 paper as my background. I placed the cut file down to the center of the page. I added my two photos to the inside of the O's and love how it turned out! To embellish my layout I used some of the pretty floral odds & ends and also added some chit chat pieces. Here is a look at my completed layout using the new Love Notes collection. Check out my process video down below or; CLICK HERE to view it on my YouTube channel.
 Thank you so much for stopping by.

 Doodlebug Products Used:
 Love Notes Collection

 Other Products Used:
 Silhouette Cameo
 Therm O Web
 Adhesive  

Tuesday, October 16, 2018

Pumpkin Parry - Bootiful Fun Layout | with Anita

Who’s enjoying all the fabulous Halloween creations using pumpkin Party?
I always enjoy the fabulous colour palette with Halloween patterned papers, so bright and fun.

I wanted to try something different using twine and mini googly eyed peg bats that I made 
I’ve also created a process video on how to make them yourself!
My idea for this layout was to have the twine like a string of lanterns 
that the bats were holding in the air and to have them holding my photos as well.

I used brads to hang the lanterns and twine for the added colour 
and dimension along with the coloured sprinkles. 
I fussy cut around the ephemera pieces from the Odds and Ends pack 
to take away the white border around them. This is always a personal choice as to whether you want to use the white edge or take it off. It really depends on your project at the time.
I decided on the cute little person with the mouse as he seemed a fitting match to my photo. 
My title 'bootiful fun' was selected from the 'Chit Chat' pack.
I've created a process video of how i created my layout

And here’s my supply list 

Tuesday, July 24, 2018

Hello Lovely Layout + Process Video | with Anita

"Blue and Green should never be seen unless there's a colour in-between" is an old saying we would hear from time to time... but that was long before the Hello collection was created.  I really loved the use of navy within this range but instead of pairing it with the pinks or turquoise I decided to be a little bold and go for the lime and I really love how it turned out.
I started with the navy stripe patterned paper and cut the center out of the middle with my paper trimmer. Then I trimmed my cardstock down and layered it onto the patterned paper before adding two of the lime doilies in the corners.  I then machine stitched the border of the white card as a finishing touch. 
I backed my black and white photo with more of the navy stripe patterned paper 
then layered more patterned paper behind until I had the desired look.  I also cut the center out of a sticker and added it behind my layers.


I then created a little ruffled border using a border sticker and a strip of patterned paper and crepe paper before adding it to the bottom of my photo along with some die-cuts, sprinkles and sequins. 


Then I added my title using a word die-cut from the Chit Chat pack 
and a word sticker from the This and That sticker sheet.


I hope you enjoy the process video I created:


Product list 
5981: poppy plaid
5979: navy stripe
5976: lovely
5973: petite & pretty
4268: sequins assortment pack 
5832: hello assortment glitter sprinkles
5844: hello shape sprinkles
5909: hello odds & ends
5910: hello chit chat
5912: hello mini icons sticker
5932: hello this & that sticker
4601: limeade mini doilies


Thursday, February 15, 2018

Chit Chat Focus | Planner Pages + Process Video with Jennie

IMG_8673I don't know about you, but I always have about a million ideas swirling in my head of projects I want to work on or ideas I have for in process projects.  I knew I wanted to create something to keep track of all the things but it took a bit to come up with the perfect plan.  Enter my personal Color Crush binder, the Doodlebug So Punny collection and a great idea!

That's cute so far, right?  Each tab will house a different project I'm working on, or planning to start.  I had to decorate each divider with the super cute So Punny Collection - and all of the adorable Chit Chat! Adding these to each divider made the perfect accent and really made the whole thing POP!

IMG_8676
Talk about perfect! An adorable pun to match the tea set - but with that black and white edge it really pops!
IMG_8677
Talk about stealing the show!  I mean, the pizza with a face is downright cute but the text and speech bubbles really draw me in!
IMG_8678
Now, to balance out all of the really embellished pages, I wanted to keep one super simple.  One where you focused solely on one bit and weren't deciding where to look first.
IMG_8679

It's impossible to pick a favorite page - I mean, look all the cute bits and bobs throughout.  However, the black paper and the cute elements on this page definitely make this one a contender.
IMG_8675
Thanks for stopping by and hopefully you enjoyed this idea!

Would you like to see how this whole thing came together?  Come check out my process video for this planner right here!
Pin It button on image hover