Friday, October 27, 2017

Washi Tape Challenge: DIY Washi Tape Twist Ties by Karen

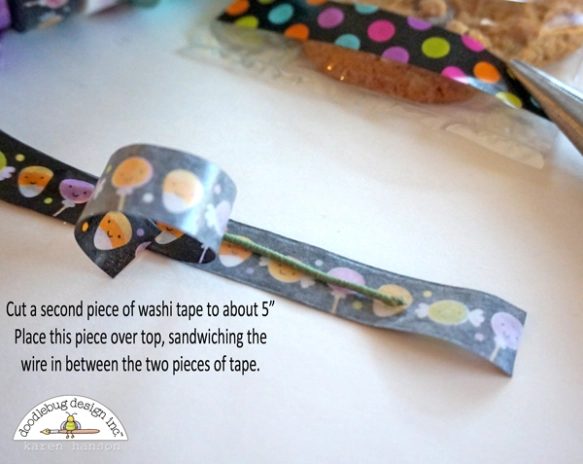
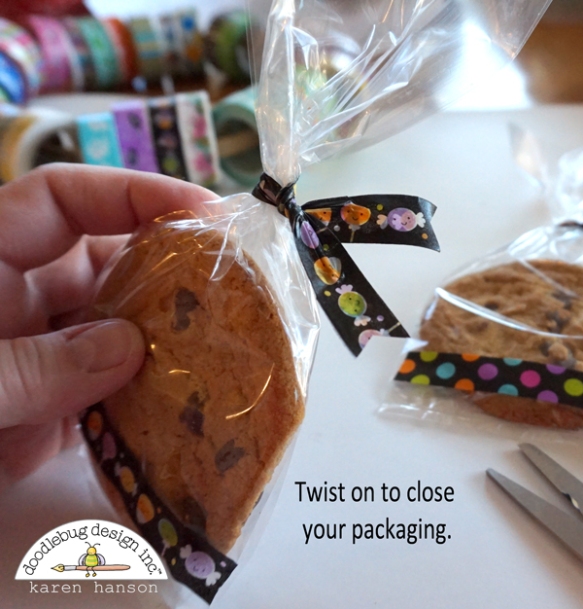
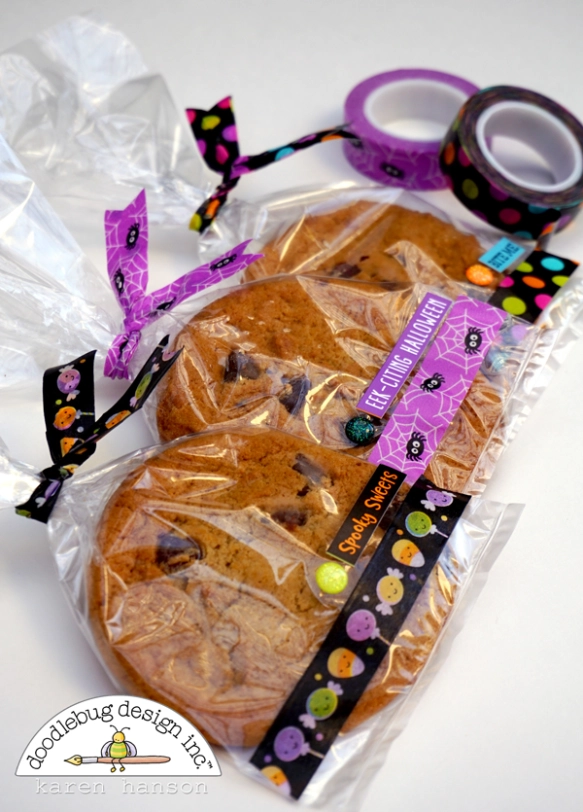
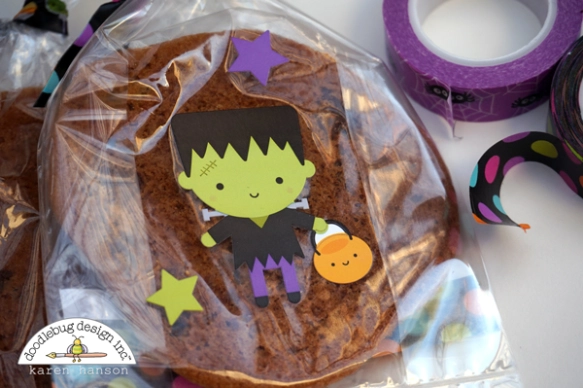
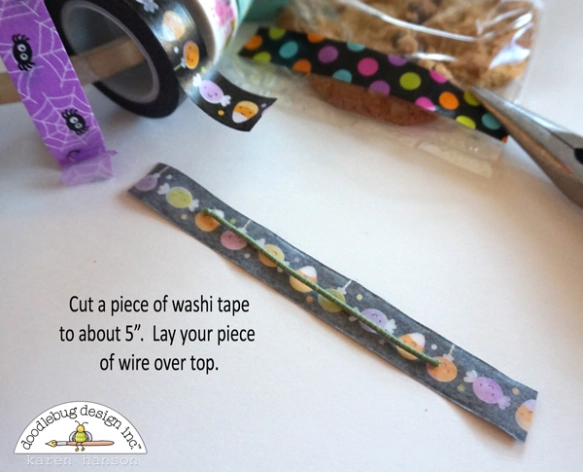
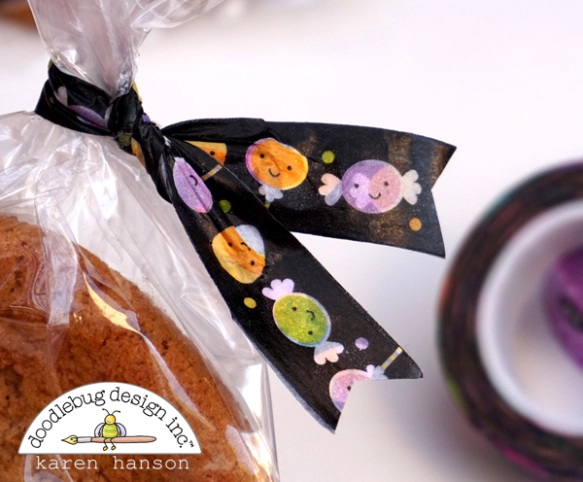
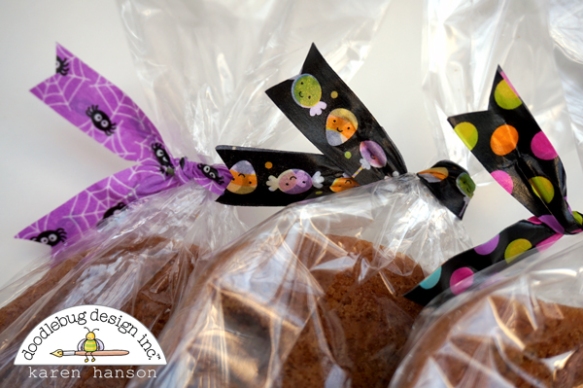
Hi everyone! It's Karen, and today I want to share a little secret with you - I am intimidated by washi tape! Yes - it's true...I absolutely love washi tape and have a huge collection of it, but I often feel like I am not sure how to use it to all of it's amazing potential! Sticky, flexible, durable...it's seems like a shame to just stick it down on paper all the time. So let me introduce you to my experiment...washi tape twist ties! This project started in my usual form - a cute strip of washi tape across the bottom of these cellophane treat bags! Now don't get me wrong...a cute strip of this tape on a cellophane bag is amazing! the flexible nature of the product makes it work a hundred time better than a strip of paper or even a thicker sticker strip. And teamed up with a fun sentiment for a 12x12 this & that sticker sheet like this one from Booville... ...and a super cute glitter sprinkle - you are all set! And when I am feeling particularly creative, I even flip over the treat bag and add a few stickers for a little surprise! Now typically, I would stop there...perhaps using some cute Doodle twine for the top or even folding it down in the back and sealing it with another strip of washi. But not today! Today, I played around with a way to use the washi tape on the top, and while tying didn't work - twisting did!! Here's how you can do it too! Just a note about the wire - almost any type will work here. The trick is to hold it between you finger and try twisting it to see if you can do so easily. The floral wire I had was a bit think, but it was still malleable enough to work! If you only have traditional twist ties at home, just use those and cover with the washi tape! The result is a cute way of closing your treat bag that coordinates with the bottom and holds it's shape extremely well! Given that the washi tape is both strong and flexible, it withstands the twisting extremely well! Washi tape - you are my new best friend!! With Christmas coming as well, I can't wait to whip up a few more of these with Milk and Cookies!! Thanks for stopping by! Hugs, Karen
Thursday, October 26, 2017

Washi Tape Challenge: Sweet Treats Layout by Anita

Hi there Doodlebug peeps,
Anita here today sharing a layout using milk and cookies collection 
And a fun washi tape idea! Using it to cover cardstock behind cut file cuts

So I started with the polka dot background and layered my cardstock on top that I had trimmed 1 inch of 2 sides to give that polka dot border..then I added a few doilies at 2 corner of my layout and machine stitched around the edge..then it was time to work on the rest of the layout..
I knew I wanted to use the washi some way that would blend with my cutfile cut that I drew thinking of sweet treats so I decided on a cupcake and to use the washi tape to decorate behind my cut out 


I started by cutting out each part by tracing the 3 parts of the cupcake the bottom,middle and top
Then I started on the top first added the pink for icing and the rhinestones for sprinkles and topping it with a gingerbread man..


Next I used a brown polka dot washi tape for the sponge middle and the the happy holidays washi for the cupcake pan..and adding it to my layout using double sided foam tape 


Then I added some clusters of die cuts and a doily to the bottom right corner 


Then I matted my photo on some patterned paper from the collection and add a little cluster of embellishments 
And then adding my title in 2 different colours at the bottom of my photo 


Wednesday, October 25, 2017

Washi Tape Challenge: Two Cards & a Kid's Craft Box by Courtney Lee

Hello everyone! I hope you have been enjoying all the awesome washi tape projects that the DT have been doing! Courtney Lee from Court's Crafts here with a few more!

For this first card I wanted to use a bunch of washi tape from the Cream and Sugar collection that I was in LOVE with but didn't get to use on my original projects with this collection. So I grabbed it and had this idea of making "confetti" out of it. 

The chevron was half size washi tape so it took two of those side by side to make it the same size as the others. 

I just cut white squares out and covered them with the washi and then popped them as desired with dimensional tape. 

I added some heart shape sprinkles, sequins, and stickers and voila! Ready to send to someone I love!

I bought these cute cases for the girls so they would (ahem) stop fighting over craft supplies. Best $2.99 I have spent yet!

I grabbed Emmaline's and added her name using the new Abigail font on this awesomely bright rainbow washi tape. Isn't the Abigail font perfect!? It might be my most favorite font ever. 


How cute is that?!

My last card was actually my first idea. I wanted to make a "present" out of the washi tape.

I was originally intending it to be clean and simple and then kept adding and adding and LOVED it. I had it on an embossed white background with this awesome glitter paper as a border but just had to have more sparkle! 

I added this cute gingerbread man and the word, "Sweet" from the Milk and Cookies Odds and Ends. This is one of those cards that looks so much cuter in person. I cannot wait to send it out!

I hope you enjoyed my projects! How do you love to use your washi tape?! Please share with us on the doodlebug facebook page

Pin It button on image hover