
I know I tell you this every year about this time, but those little chocolate eggs are my absolute weakness. You know the ones I mean. I know you do. When those hit the stores, I am done for! The great news is that I always have an excuse to buy them because Doodlebug releases the most adorable Easter collections that are begging to be turned into treat containers. Cue this year's Hippity Hoppity collection...

I mean, it doesn't get any cuter than this! Amazing colours and patterns and the most adorable Shape Sprinkles that were the perfect feature for these little containers!

Those little chickies in the Sweet Tweets pack - "sweet" is absolutely right!

I trimmed up these containers with of the Spring Meadows paper and a sentiment from the Chit Chat pack. A simple, but oh, so cute container for those infamous eggs!
And just in case you love those eggs as much as I do and needed an excuse to buy some (because I know you have already bought the Doodlebug collection, right?), I thought I would put a little tutorial together for you so you can make them too!
Hippity Hoppity Treat Container Tutorial:

2. For the top - cut a piece of paper 9 x 2 3/4" Along the long edge, score at the 2 1/8", 4 1/4" 6 3/8" and 8 1/2". Turn your paper 90 degrees and score at the 1" and 2 1/4" marks.

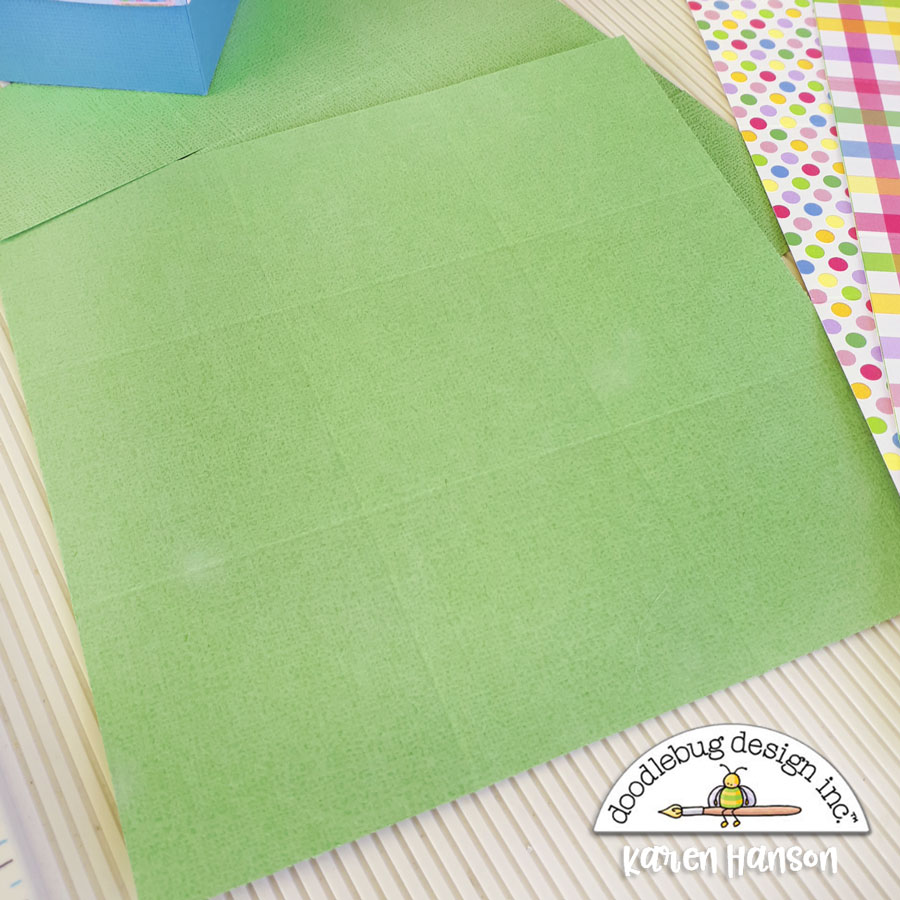
3. On the base piece, cut up from the bottom along the score lines. Trim off a triangular shape to the bottom corners on both the left and right sides. Turn your paper 180 degrees and repeat on the opposite edge.

4. Flip over your paper and run liquid glue on each of the triangular sections. I like to use the liquid glue as I find that it is stronger once dry (I want to make sure they can hold those eggs securely). Fold these ends up and tuck them inside the remaining square sections to form the sides of your container.
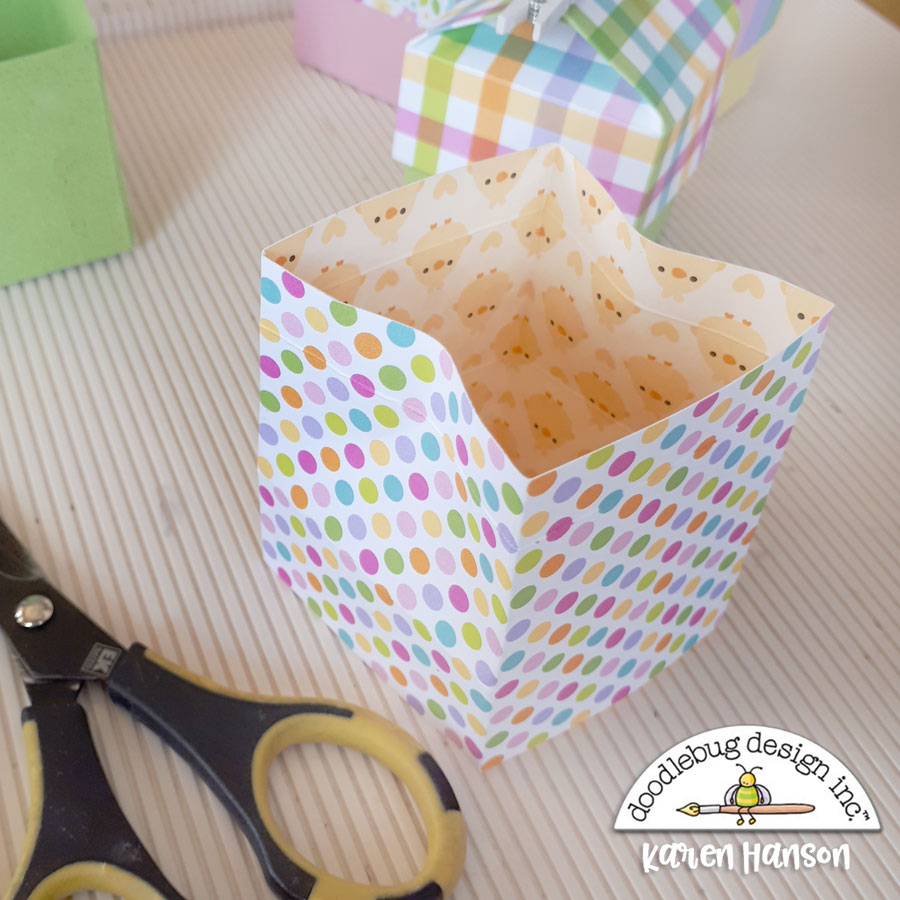
5. Using the top section, add liquid glue on the 1/2" flap and glue together to form a tube. On opposite sides (it doesn't matter which ones as long as the are opposite), pinch the paper slightly inwards. Make sure the 1/2" score section is at the top.

6. Using your fingers, continue gently pressing inwards along the pinch until this shape emerges.

7. Add some liquid glue along the 1/2" top tab and pin closed right on the bottom of the tab until dry. Doodlebug's mini clothespins are actually perfect for the job!

8. And then embellish away!
These make a perfect addition to an Easter basket, make great thank-you gift for teachers and other special people or look adorable as place setting treats on your Easter dinner table! I hope you will consider giving them a try! Thanks for stopping by!
![]()
Mini clothespins


Where can I buy Doodlebug Design supplies
ReplyDelete3 Craft Chicks-a family run scrapbook store sells all things Doodlebug has to offer! They also do virtual retreats in a box. They are fun and also have fabulous customers on these virtual retreats. It is great to support them and their little shop! Look them up online. They will ship!
ReplyDeleteSuch a cute candy box!! Can't wait to try this!
ReplyDeleteSo cute, but I think there is an error in the scoring instructions for the lid. How is it possible to score at 2 1/8”, 4 1/4”, 6 3/8” and 8 1/2” in a piece only 2 3/4” wide? Looking forward to trying this.
ReplyDeleteYou are absolutely right! Sorry about that! Here's what it should read:
Delete2. For the top - cut a piece of paper 9 x 2 3/4" Along the long edge, score at the 2 1/8", 4 1/4" 6 3/8" and 8 1/2". Turn your paper 90 degrees and score at the 1" and 2 1/4" marks.
How sweet!!
ReplyDeleteSUPER ADORABLE!!! Thanks for sharing how you did it!
ReplyDeleteSuch a super cute idea thanks for sharing
ReplyDeleteI need these boxes in my life!!!!
ReplyDelete