
Hi everyone! Karen here, and I have a bit of a confession to make. Up until a few of years ago, I was not a bit Halloween crafter. Wait, wait, wait - hear me out! It wasn't that I didn't like Halloween, it was just that as a crafter who was into bright, colorful and whimsical, I just didn't love the products that we out there for Halloween. That is until I found Doodlebug!!!
Now, it's one of my favorite times of the year to craft! The weather is getting cooler so I don;t feel as guilty being inside in my crafty space, and let's face it, with adorable collections like the new Booville to work with, who needs anymore reasons!
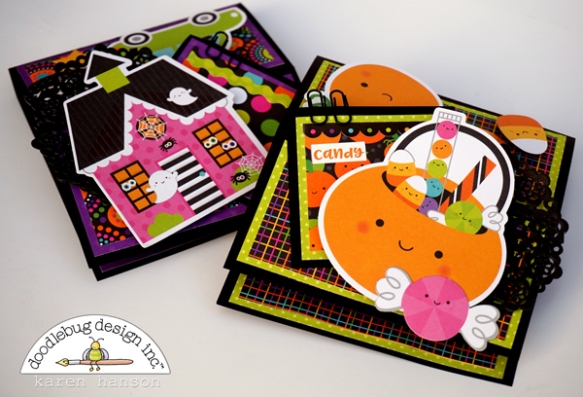
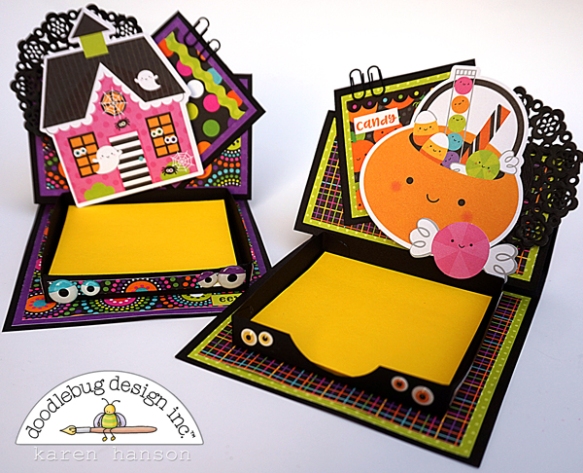
Today, I wanted to share a little paper crafting project that serves as a little Halloween treat - but not the candy kind! These little sticky note holders are a favourite project of mine! I love making these as teacher gifts or for anyone that I know loves a sticky note or two or three (and who doesn't, really!). I also create these as birthday cards, leaving a message written on the top sticky note for the recipient to see when they open up these cuties.
I actually created one of these last month as part of our All About Me challenge, and I promised a tutorial coming up soon! Well, I have it for you today!! And once you see how easy these are to make, you will be making these for Halloween, Christmas, Easter...well, I think you get what I am saying! So let's get started!

First, start by cutting a piece of sturdy cardstock at 4.25" X 9.5". Doodlebug's textured cardstock works perfectly for this part. This will be the base of your whole unit.
Next, score it along the long edge at 4.5", 5" and 7.25".
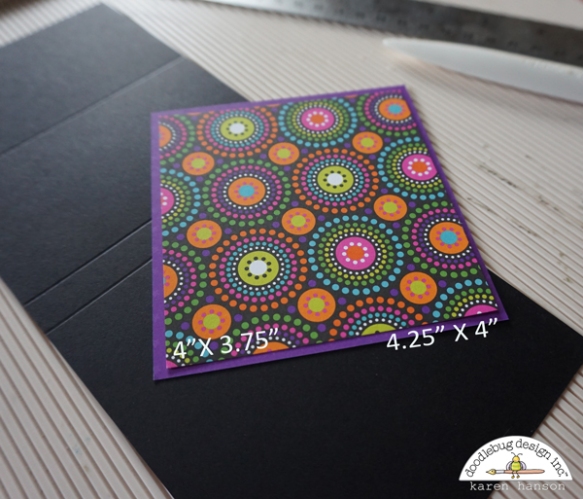
Now we are going to create the embellishments for the base. Cut mat paper at 4.25" X 4" and patterned paper at 4" X 3.75". Glue the patterned piece on top of the mat (I like a dry adhesive for this part so I don't get any warping, but use what you are most comfortable with).
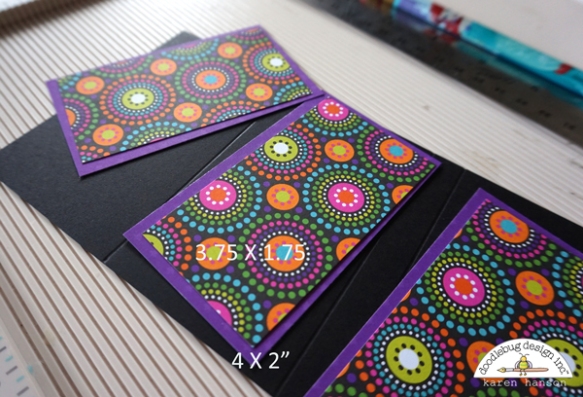
Now, cut 2 mat papers at 4 X 2" and 2 patterned papers at 3.75" X 1.75". Layer these as well and glue in place.

Attach these pieces to your base as shown above. Essentially, the biggest piece goes on the bottom, and the other two go back to back to back on the reverse side.
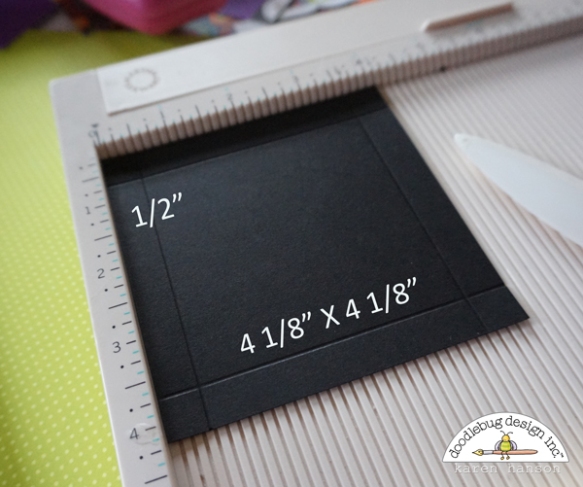
Okay, so far so good! Now we need to create the little box that holds the sticky notes. Cut cardstock 4 1/8" X 4 1/8"
Place on your scoring board and score at the 1/2" mark. Turn that cardstock 90 degrees and score again at 1/2". Repeat on all four edges.
 Optional step - find the centre of on side of the cardstock base at 1 9/16" from the score line. Use a circle punch to create the moon shaped cutout, stopping at lease 1/8" before the score line. This will make it a bit easier to take out the sticky notes once the stack gets lower.
Optional step - find the centre of on side of the cardstock base at 1 9/16" from the score line. Use a circle punch to create the moon shaped cutout, stopping at lease 1/8" before the score line. This will make it a bit easier to take out the sticky notes once the stack gets lower. 
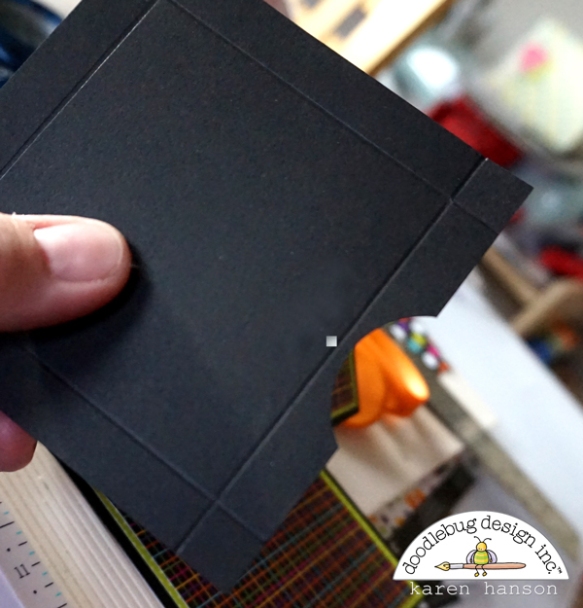
Snip up along one score line stopping where it intersects with the next score line. Turn the cardstock 90 degrees and repeat. Do this for each corner. Fold along all the score lines.
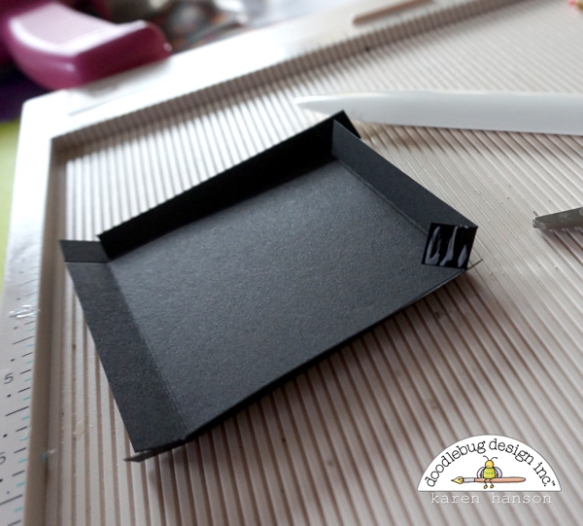
Add adhesive along the backside of each little tab you created in the last step. I like the strength and stability I get from using a liquid glue for this step, but any adhesive will do the trick! Work your way around gluing each corner one at a time.
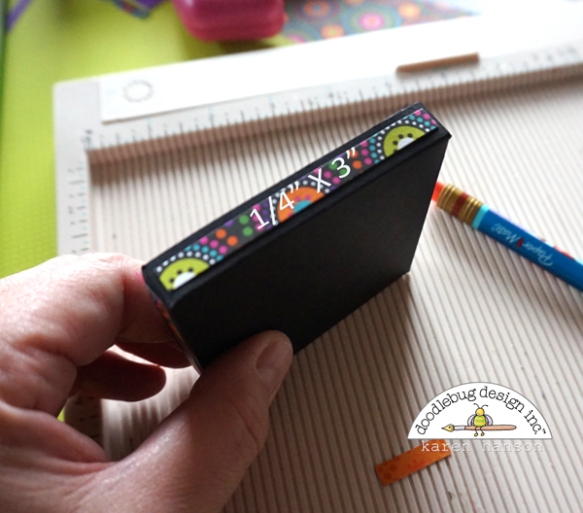
Cut 3 pieces of patterned paper at 1/4" by 3". Glue on your cardstock base that you just created. Note: you will not need a piece for the backside of the box as it isn't really visible once the project is complete. You will also only need 2 of these pieces if you completed the optional step with the punch.

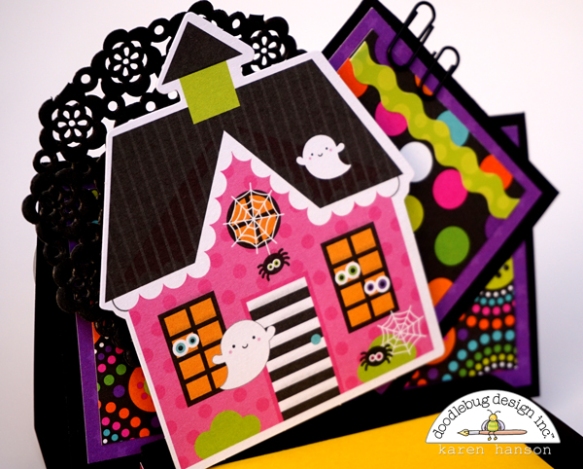
And now comes the fun part - glue the cardstock box you created onto the base, placing the box about 1/4" in from all the edges of the matted patterned paper, and the have a fa-boo-lous time decorating!!
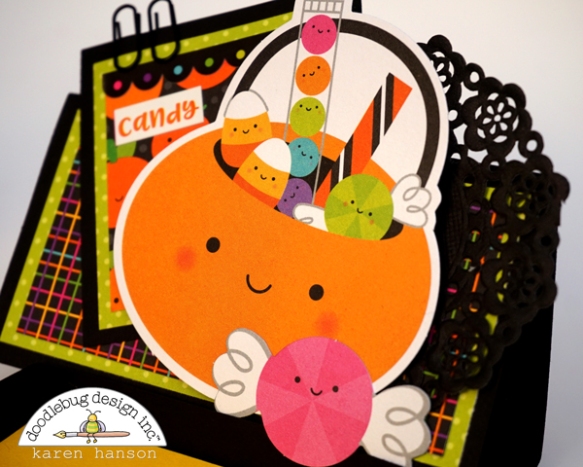
The Odd and Ends packs are my favourite for embellishing these holders - they are the perfect size and with all the variety, you can create a hundred or more of these...
...see?! I also used one of the cutie cute mini doilies and some mini paper clips because, well, I love them! 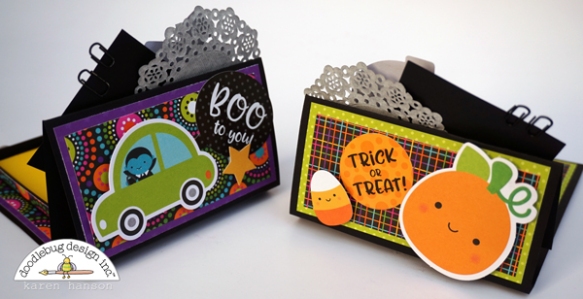
And don't forget the back. This is a create place for a little sentiment or a message to your recipient.
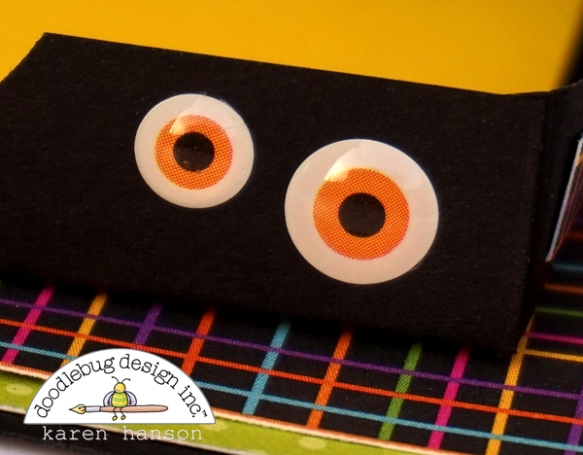
Now, can I just say that my favourite product in the this new collection have to me the Eye Candy Shape Sprinkles. I added these on the little boxes in the front instead of my usual sprinkles. I just love, love, love these! I mean who wouldn't love crafting for Halloween with products like this?!
So there you have it - a fun project for Halloween that doesn't include any sweets - except for sweet Doodlebug product of course! Let me know if you have any questions about the tutorial!
Thanks for stopping by and have fun crafting! Hugs, Karen


Oh my stars! I LOVE these! Thank you for the showcases, the tutorial and, especially, the smiles! I need to find these products in my part of Canada...on the search right now!
ReplyDelete~carol
cm- I am so glad that you liked it! As a fellow Canadian, I am also always on the lookout for companies that carry Doodlebug!
DeleteThese are adorable!! What a fun little gift!
ReplyDeleteThanks Kathy!
DeleteOh so fun and I'll
ReplyDeletebe scraplifting this
for Halloween for sure!
Carla from Utah
Yeah! I hope you share pictures when you do!
DeleteAbsolutely awesome !! Idea AND design !
ReplyDeleteAbsolutely love these little cuties! Did you use the 12x12 paper or the 6x6 paper?
ReplyDelete