Tuesday, July 21, 2020

BAR-B-CUTE LAYOUT | with Tegan

The brand new Bar-B-Cute collection is full of color and fun! I don't have any food or bar-b-que photos to document (yet!) so no problem I just pulled out all of the general papers and pieces to use. I love all of the adorable patterned papers in this collection so I was glad that I was able to incorporate a lot of them on today's page.
I started by using the cloud cut file from the Doodlebug Design Lots O' Luck Rainbow with Clouds cut file to create a repeated cloud background design. I then backed the cutout with some of my favorite Bar-B-Cute patterned papers. I then embellished the top corner with some adorable Odds & Ends pieces. Aren't those ants walking along the banner just the cutest?!
I anchored my photo with the Bar-B-Cute Blueberry Plaid patterned paper and a piece of the Petite Prints Dot-Stripe patterned paper in Ruby. I then embellished my photo with a cute hot air balloon Mini Icons Sticker, Ephemera Chit Chat piece, and an adorable Picnic Parade ant shaped Sprinkles sticker.
 How cute is that sun themed patterned paper? And how adorable is that die cut sun peeking out from behind the tree? Of course I had to include this sun shaped Odds & Ends piece because we are wearing our sunglasses in this photo! 
There are so many cute things to love about the Bar-B-Cute collection that I can't pick a favorite, can you?! I really do love the ants marching across the page, though! 
Thanks for stopping in today! I hope I have inspired you to grab some of the adorable Bar-B-Cute collection for your next project! 

Doodlebug Design Products Used:
Bar-B-Cute Collection
Floral-Graph Petite Prints Patterned Paper in Blue Jean
Dot-Stripe Petite Prints Patterned Paper in Ruby
So Much Pun Assortment Sprinkles
Green Grass Washi Tape

Monday, July 20, 2020

BAR-B-CUTE PICNIC BASKET PARTY FAVORS + TUTORIAL | with Karen

Every year, we celebrate my oldest daughter's birthday with a picnic in the park. While picnics might look different this year, having a little thank-you for those who are attending is a part of tradition that I am just not willing to part with! And considering Doodlebug has the perfect new collection called Bar-B-Cute, I couldn't help but make some little party favours to share with our guests! 
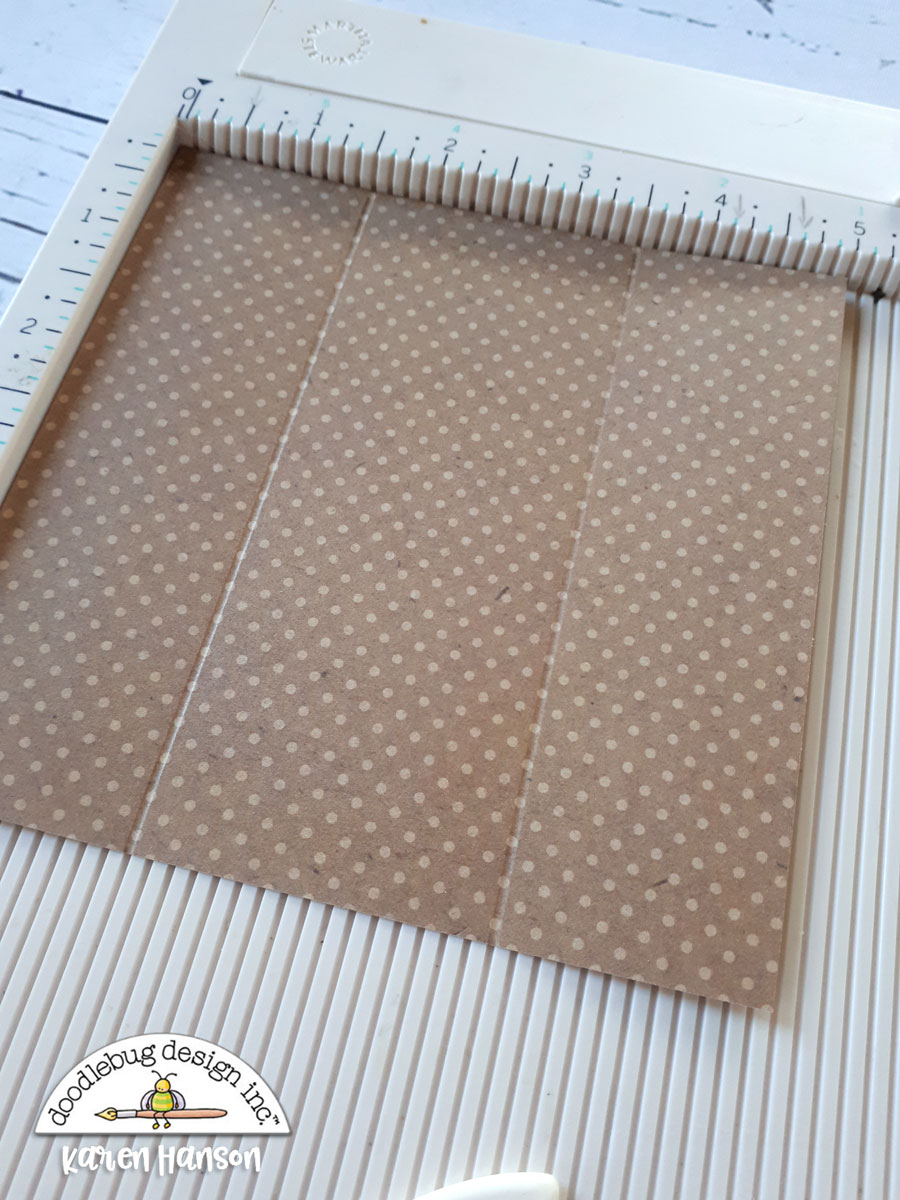
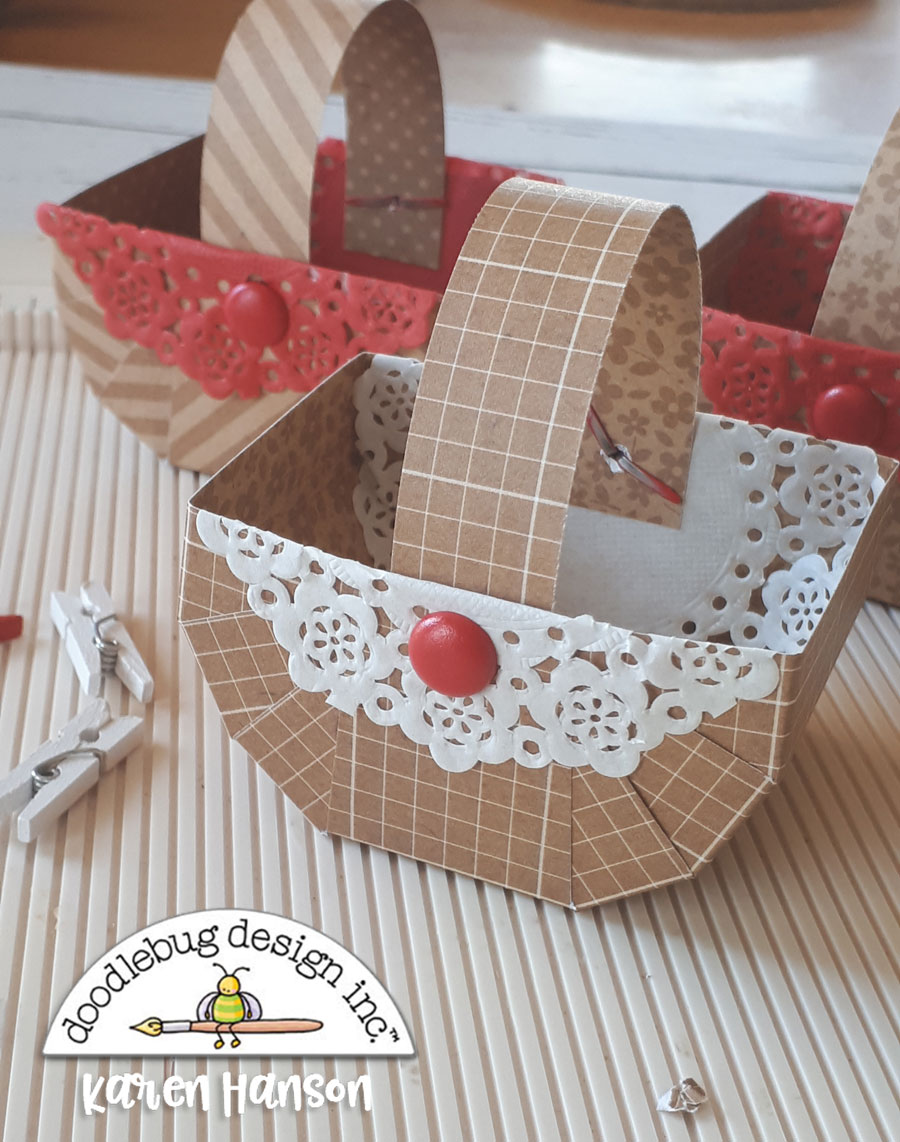
These little picnic baskets are the perfect size for a few little treats... ...and the cutest set of mini cards that you can ever imagine. 
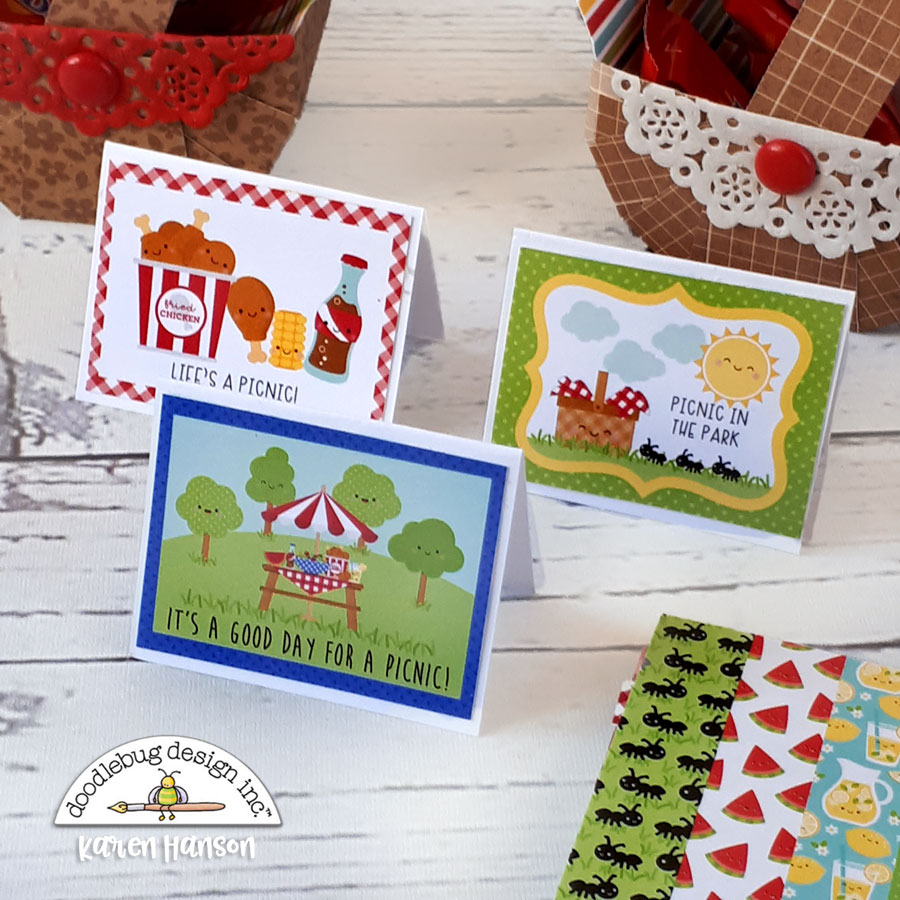
These little sentiment cards can be found in the 6x6 paper pad - simply cut them out, add them to a mini base and pop them inside the basket! It really doesn't get cuter than these! 
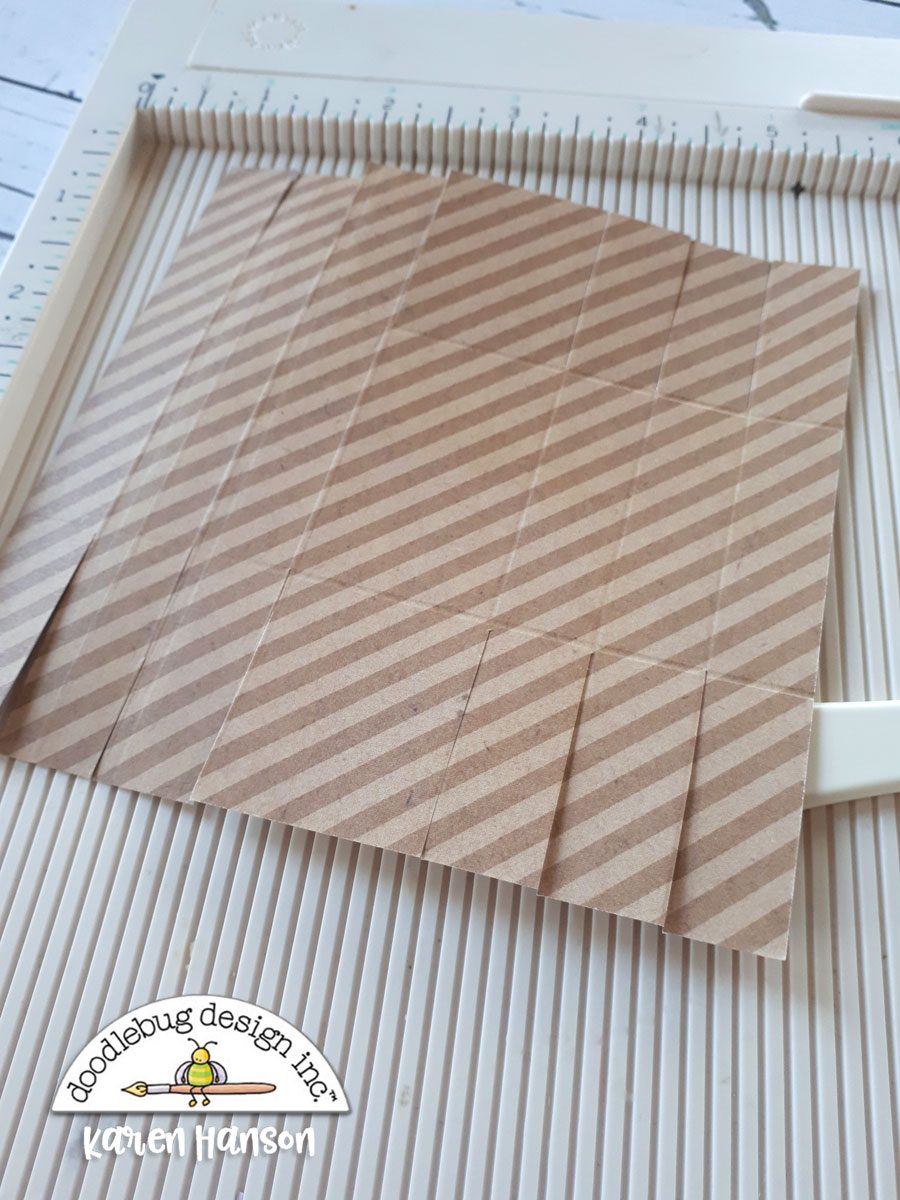
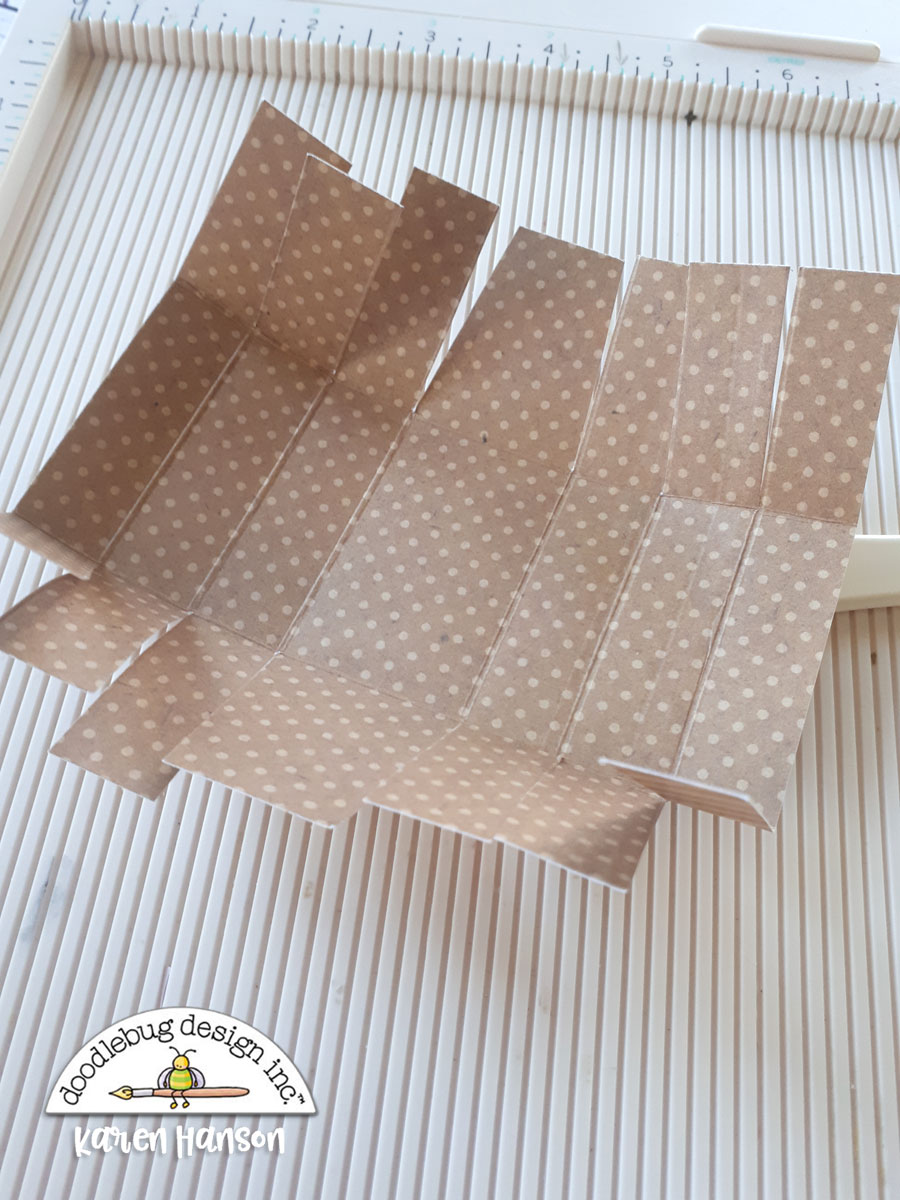
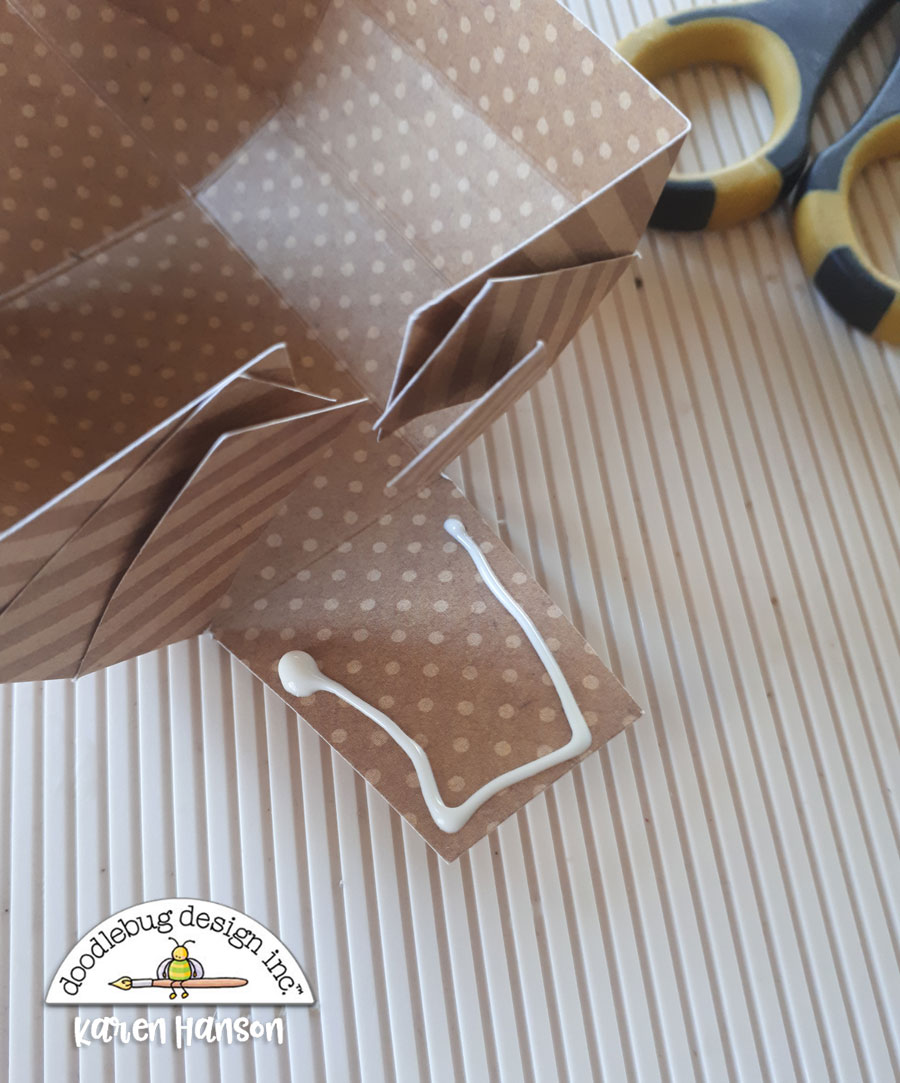
Here's how you can make them too:
Cut a sheet of Petite Prints paper at 5x5 (one per basket) and another strip of paper that measures 3/4" X 5".
 
Score your 5x5 sheet at 1.5" and 3.5".
Rotate the sheet of paper 90 degrees. Score at 5/8", 1 1/4", 1 7/8", 3 1/8", 3 3/4", 4 3/8".
Cut up and down along each of those score marks stopping al the middle section of the basket.
Focusing on the middle section (the largest one), trim off an angle about 1/8" in. Do this for each side of the paper (both sections)
Fold all of the score lines.
Starting on one side, fold in the smaller sections, overlapping each. It doesn't matter which order you do - just keep it consistent on each of the sides of your basket.
Once you are happy with how it is coming together on both sides, fold down the middle/largest section and add glue on the inside. Note: I actually used too much liquid glue here! A little goes a long way, and you don't want it squishing out the sides like mine did.
Once the ends are lined up the way you like them and straight across the top, use a paper clip or mini clothes peg to hold it in place while you work on the other side.
Once the glue has set, grab a mini doily and fold it over the side edge of your basket. Repeat on the other side.
Hole punch in the middle of both sides of the basket going through the doily as well.
Punch your long strips about 1/4" from both edges.
 Use a chunky brad to adhere the handle on the inside of the basket.   
And to make it look even more like a picnic basket, cut a stip of paper from the B-B-Cute collection at 2"X6". Trim off each end to make a triangular shape (I went in 1" on each end). Slip it into your basket and press down in the middle.
Fill with treats and get ready to enjoy or give away!
Thanks for stopping by!
Doodlebug Design Product:
Bar-B-Cute Collection
Petite Prints
Mini doilies
Chunky brads

Friday, July 17, 2020

BAR-B-CUTE LAYOUT | with Maryám

It's summer! Well, at least in the northern hemisphere because here in the south it's still winter. The brand new Bar-B-Cute collection is perfect to document all of our summer stories, even though if they are from previous years. For today's layout, I'm going to be using a photo my mom took back in 2008 along with some of my favorite Odd & Ends pieces from the collection.
To create my layout, I started by selecting five of my most favorite pieces from the Odds&Ends set. I then punched some holes around some parts of each one of the illustrations and added hand-stitching details using embroidery thread from the same color as image.

Next, I adhered the Odds&Ends pieces I stitched before onto my page using foam squares and added some die-cuts from the ChitChat set in different parts of my layout.
Continuing with the process, I added my photo and journaling on the right side of my layout and also added some little sprinkles and shape sprinkles to complete the design.
Let's take a look at the finished layout!

I really enjoyed working with the Bar-B-Cute collection. I hope you guys enjoyed this post too and liked the ideas I shared. If you have any questions just leave a comment below or send me an email. I'll be happy to help you.
Have a wonderful day!

Doodlebug Products Used: 
Bar-B-Cute Collection
Blue Jean Teensy Type Cardstock Stickers

Other Products Used:
Embroidery Thread
Vellum Paper
Foam Dots
Liquid Adhesive
Pin It button on image hover