Friday, July 24, 2020

BAR-B-CUTE - CHATTER TELEPHONE | with Jennifer

Hello Doodlebug friends. I have been planning to make this little phone for some time now but was waiting on a collection to use on it. Even though my project isn't anything to do with BBQ'S the Bar-B-Cute collection worked perfectly.
The primary colors and fun patterns are exactly what I needed to create this "Chatter Box" inspired project.
Below is a quick look at how it came together.
  • To build the telephone a paper mache box,  foam board, and chipboard was used. It's basically two boxes stacked on top of each other.
  •  The dial was made in two parts. The top section was created and cut on the Silhouette from layers of chipboard. The second layer was cut from a layer of foam board.
  •  A handset was cut from 1" thick foam board and then covered with chipboard. 
  • Some wood pieces including 2-inch wood wheels were used to complete the look.
I paired 3 patterned papers from the collection with some coordinating petite prints. For the star die-cuts, I used a Doodle Cut die.  For the dial, round sprinkles, numbered with vinyl letters, and a chit chat die-cut was added to the center to finish it off.
Chunky twine was used to outline the face of the phone, on the handset/receiver, and also for the pull string.
Well, that's it from me. Thanks so much for joining me today and happy crafting!

 Blog | Etsy | Pinterest

  Doodlebug Supplies Used:
 Bar-B-Cute Collection
 Petite Prints
 Chunky Twine
 Doodle Cuts - Mini Tags (stars)
 Other Supplies:
chipboard,
 foam board,
 paint,
 wood wheels,
wood pieces.

Thursday, July 23, 2020

BAR-B-CUTE MULTI PHOTO LAYOUT | with Erica

Looking for a way to get multiple photos on a 12x12 layout! Try playing around with the size of your photos! 4x6 and 3x4 sized photos can take up a lot of room on your page. Try a fun size photo to help you get more photos on a page! I really like to use an app called PicFrame. I can create different sizes and they have ready made templates I can just drop my photos into. For my layout today I was able to get 6 fun sized photos on my page using the super cute Bar-B-Cute; collection! I really love to showcase the adorable papers so I created some rays of pattern paper coming out behind the photos! To do this....and it took me a minute to figure it out and I phoned a friend...I laid my photos out on a piece of plain cardstock how I wanted them to go on my final layout. I used my ruler to draw the rays from the corners of my photos to the corner of my cardstock. Next I cut out the rays and then traced them onto the different pattern papers I wanted to use from the Bar-B-Cute; collection. I distressed the edges of the rays a little bit and then adhered down to my white textured cardstock. I added foam adhesive to the back of all my photos to add some dimension. I pulled out the Bar-B-Cute; odds & ends, chit chat pieces and stickers to embellish around the photos. I tried to color coordinate the embellishments with the pattern paper as best I could. I really love how it came out! For my title I used one of the Bar-B-Cute; chit chat pieces and some alpha stickers from Doodlebug Design. The new Sunshine Alphas were perfect! Here is a look at my finished layout. Thanks so much for stopping by today! I hope you enjoyed my layout using the new Doodlebug Design Bar-B-Cute collection.

Wednesday, July 22, 2020

BAR-B-CUTE MINI ALBUM + TUTORIAL | with Shellye

If you have the "Bar-B-Cute" 6X6 Paper Pad, then you don't need much else to craft this crazy-cute Pocket Mini-Mini Album!

Along with the 6X6 paper pad, you'll also need: smooth white cardstock, twine, 12X12 sheet of patterned paper and any embellishments that you'd like to use!

I took eight sheets of different patterns from the paper pad and prepared them.  First, I scored each paper in half vertically; turning the paper, I next scored at 4".  Keep in mind that the bottom 2" will be folded up to form the pocket, so make sure the design won't be upside down.  

As above, cut a "V" along the bottom 4" SCORED line.  This will allow the pockets to fold up without bunching in the middle. 

Cut 1.5"X1" strips for each pocket; this will be the gusset.  Fold the strips in half so you'll have a 1.5"X0.5" strip.  Attach the strip to the outer edge of the pocket flaps.  


Once you have all of your pocket pages prepped, create an accordion strip to attach the pages to.  Cut white cardstock to 4"X8.25".  Score at every 1/4".  Use liquid glue or a1/4" tape to adhere to the pages (front and back) inside of the accordion folds.  Also, make sure to leave the front and back flaps open so that they can be attached to the cover. 


Next, I prepared the base cover from an 8"X4" strip of white cardstock.  I scored the cardstock at 3.25" and 4.75".  Above you will notice that I attached that front accordion flap to the cardstock.  
The white cardstock cover was then covered with a larger strip of patterned paper.  Using regular Doodle Twine, I stitched down three areas (of the accordion) to the spine to help hold in place.  

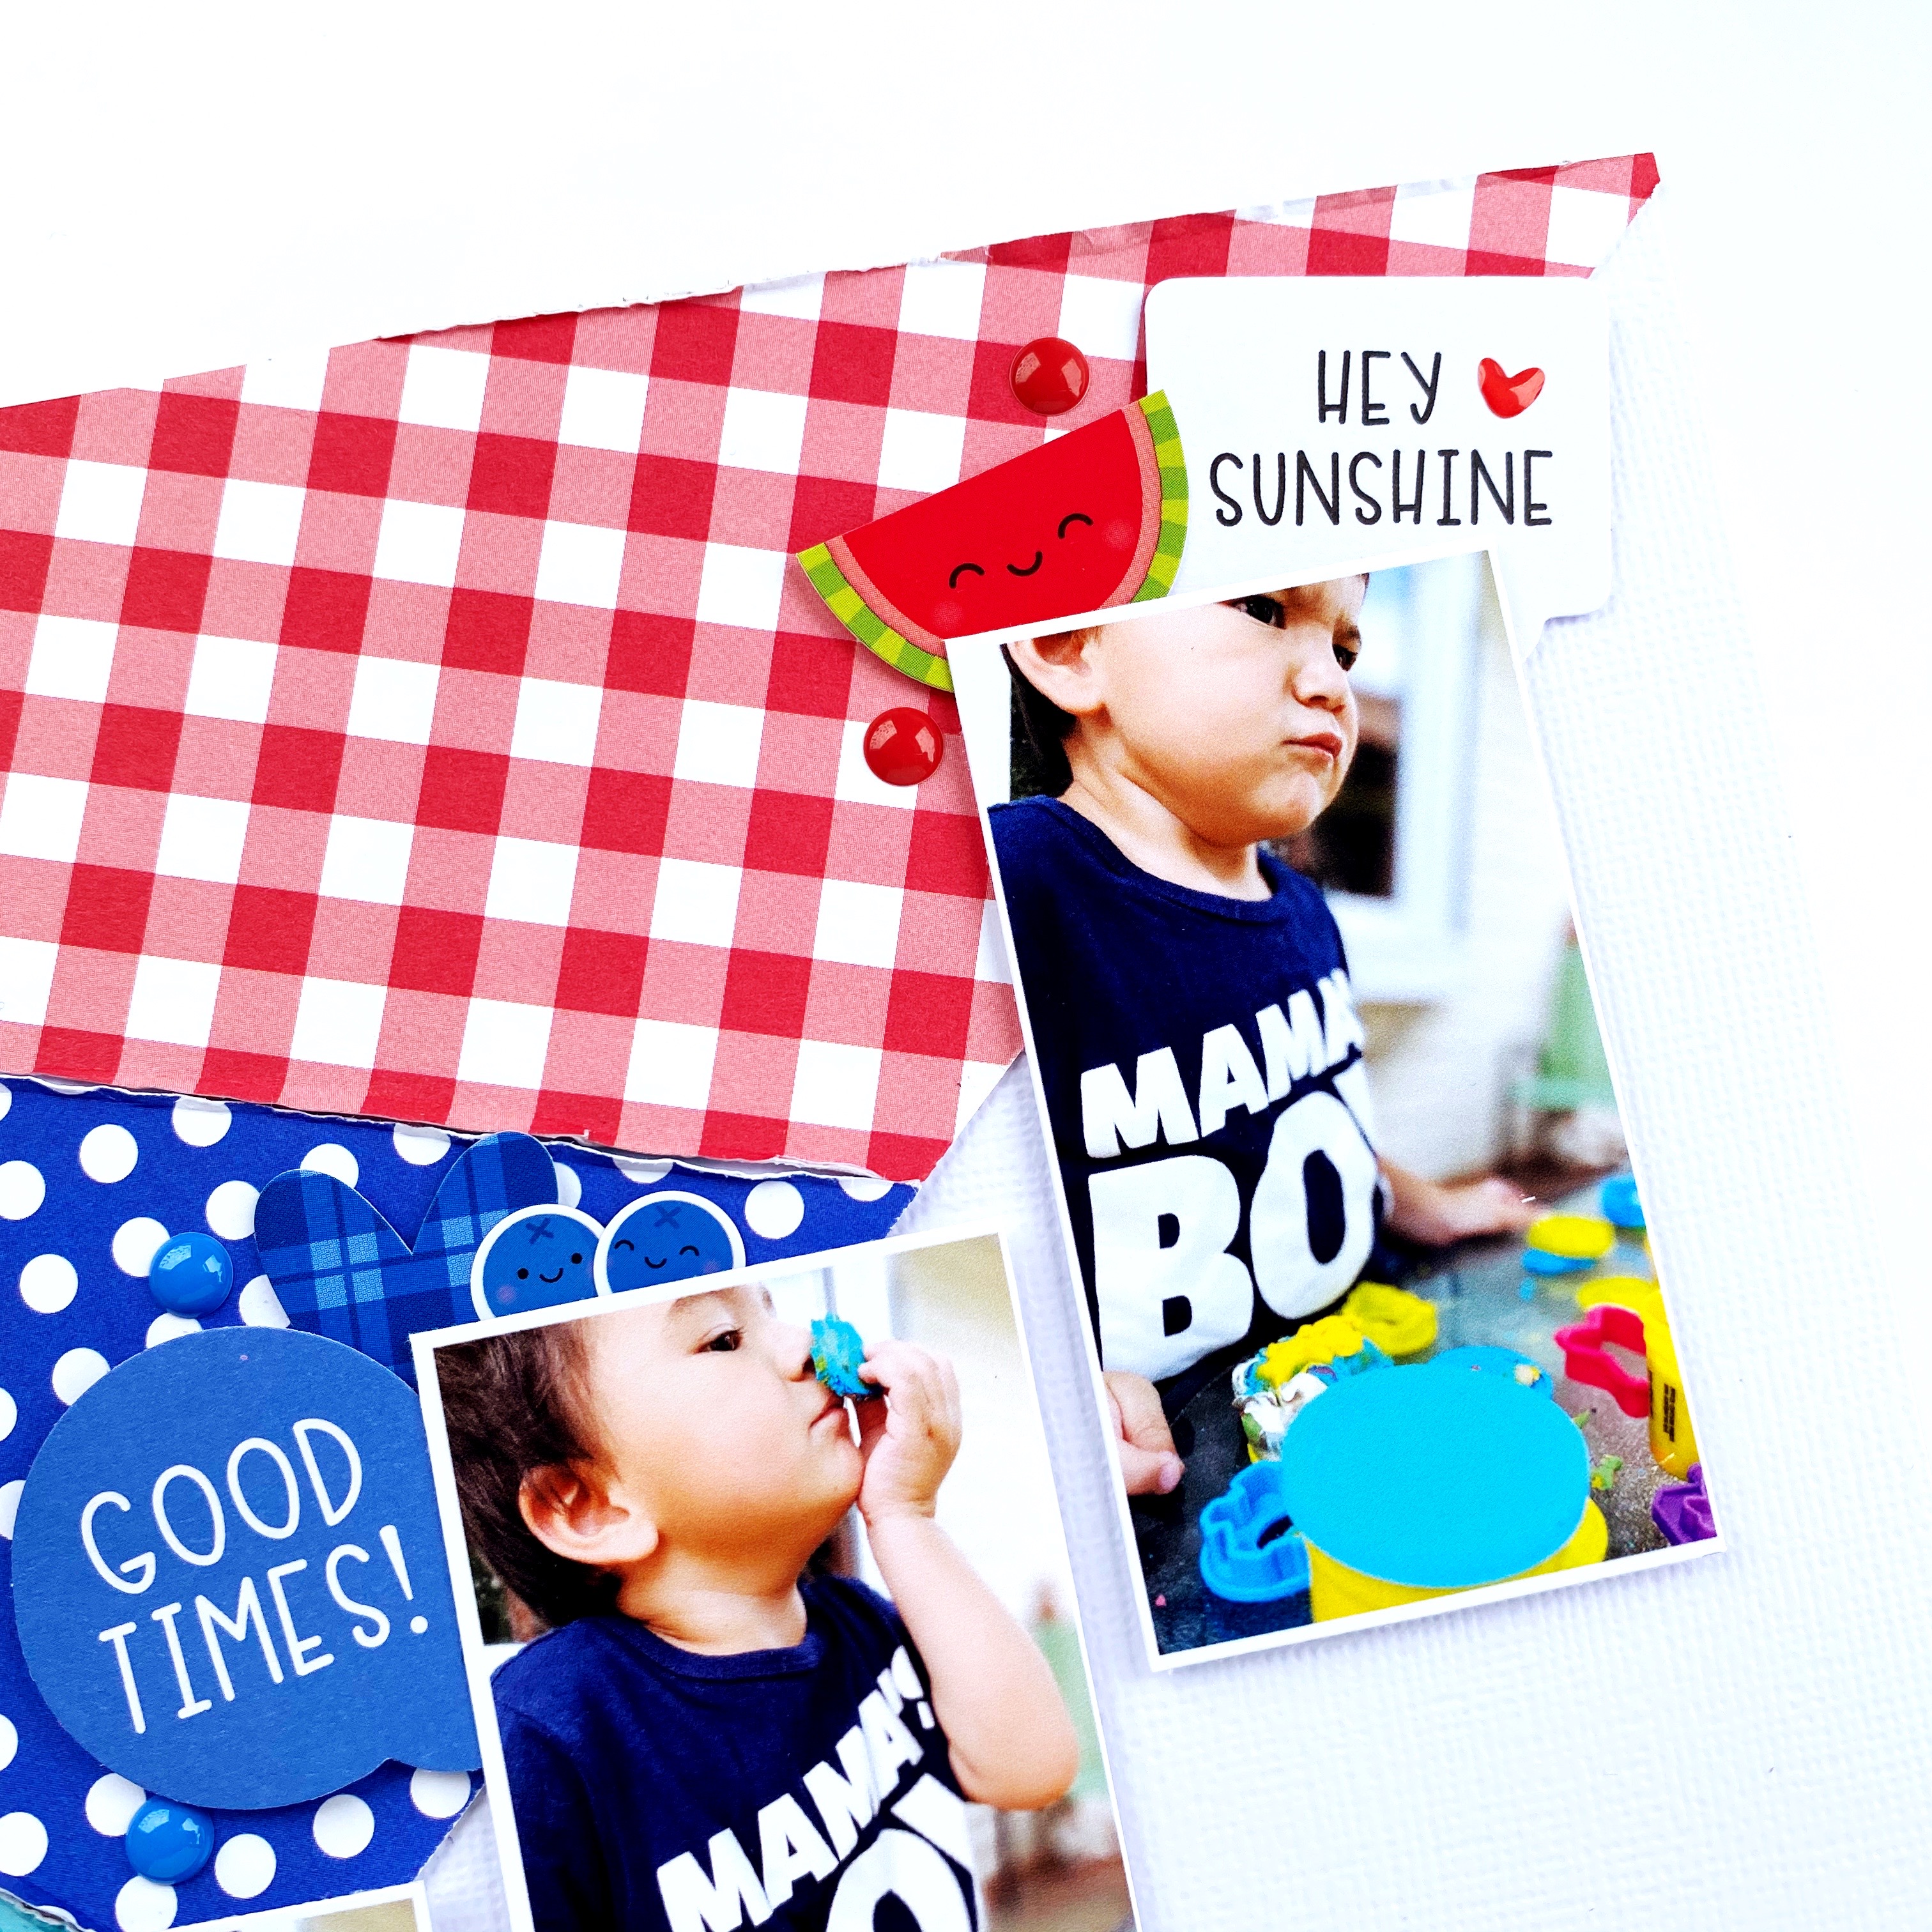
Now, let's walk through the pages!  Again, I used die-cuts, enamels, stickers, and leftover strips of paper to complete the pages. For the tags, I used the Large Tags Doodle Cuts to die-cut from the smooth white cardstock.


How much fun is that!  You could also think about building the album and letting the kids decorate and journal for a cute summer keepsake :)

Thanks for joining!


Doodlebug Design Product:
Bar-B-Cute Collection
Bar-B-Cute 6x6 Paper Pad
 Sprinkle Shapes
Sprinkles
Doodle Pops
Ladybug Twine
Large Tags Doodle Cuts

Pin It button on image hover