Showing posts with label buffalo check-wood grain cardstock. Show all posts

Wednesday, March 10, 2021

HIPPITY HOPPITY EASTER TREAT BOXES | with Wanda

Hi crafty friends! Today I'm sharing some fun Easter Treat Boxes - decorated with the newest Doodlebug collection called Hippity Hoppity! Think bunnies and lambs and carrots and pretty pastel colors for Spring! Easter is my favorite holiday and I really enjoy making treats for friends and family during this time of year. There are so many pretty candies to give away. My treat boxes today come together quickly by using the fabulous Doodle Pops as my focal element.

1

 I started this project by die cutting treat boxes from the awesome Buffalo Check paper pad in a soft sunny yellow. The perfect base for layering colors and elements. I wrapped papers around the bottom of the treat boxes and also layered green scalloped stickers. I topped them off with twine and mini clothespins in yellow.

1

 A close up of the top element- Tie a bow with twine doubled up, attach with a clothespin, and finish off with a tiny carrot from the Sprinkles from this collection. So festive and cute!

1

 I used the Chit Chat elements banners and word bubbles for the sayings on the boxes. 

1

 This little bun bun says "Happy Easter!"

1


1

This collection is so sweet and it's sure to make you happy while you're crafting treats, cards or scrapbook pages! I'll be back soon - have a great day!


1BLOG | INSTAGRAM | FACEBOOK

DOODLEBUG SUPPLIES:
Hippity Hoppity Collection
Limeade Twine
Bumblebee Tiny Clothespins
Buffalo Check Petite Prints
Heart Sprinkles

OTHER:
Scalloped Treat Box Die
Clear Glue

Monday, January 18, 2021

BIRTHDAY CARDS | with Karen

One of my favourite things about this time of year is my "free crafting" time. There are no pressures for upcoming holidays so I can just grab some of my favourite supplies and play. Birthday cards and general greetings cards are always needed to for my card stash so they are fun projects to create just when I feel like getting a little crafty.

Last year, Doodlebug launched a fun woodland creature-winter themed collection called Winter Wonderland. It is still one of my favourites. And it is a perfect fit with the awesome Petite Prints Buffalo Check-Wood Grain Collection so I decided to do a little mix and match.

The Petite Prints were the perfect base for my cards! To create a little more contrast, I went into my craft stash and found some little leftovers I had from the Cream and Sugar collection so I used those to back my sentiments.

And then the fun began! Out came the Forest Friends and Winter Wonderland stamp sets. Coloured up with alcohol markers to match the colour scheme I was using, these still remain to be some of my favourite stamps ever created by Doodlebug.

I hope you have some time right now to craft just for the fun of it! May your crafty stash and spirits benefit!

Thanks for stopping by!

BLOG | INSTAGRAM

Doodlebug Design Product:
Petite Prints Buffalo Check-Wood Grain Collection
Winter Wonderland Stamps
Forest Friends Stamps
Tiny Hearts Shape Sprinkles
Other Products:
White cardstock

Monday, January 4, 2021

PETITE PRINTS TREAT BOXES | with Karen

I love Christmas. But I also really love the few weeks after Christmas - the time when things seem to slow down a bit, I get to catch my breath and get myself all set up and ready for the year ahead. Without any major holidays coming quickly, I always find this is a great time to clean up my crafty space and stock up on some of my essentials - product like Doodlebug's Petite Prints collections and project bases for cards and treat containers! So today, I thought I would feature this great product and show you one of my tricks to staying on top of projects for the year to come!  
So, the great thing about the Petite Prints collection (besides all the great patterns) is that all of the colours coordinate with the themed Doodlebug collections. So, I find that this product makes great bases for cards and treat containers like pillow boxes that I can then embellish depending on the season. While I am making one of these generic bases, I always cut out a few and just leave them unfinished and ready to fold as the year goes one. And since the Petite Prints are double sided you get two for one!
   
For today's project, I went ahead and just decorated them up with some some of my favourite embellishments - DoodleTwine, Jewels and Mini Paper Clips. But later in the year, I may grab one or two and decorate them up with a Valentine's collection or a birthday- themed collection. The base is ready to go and I just get to have fun decorating!  
 Although I have to say - they are pretty darn cute this way too!

So grab some of your essentials and get yourself all ready for the year ahead - and maybe decorate up a few to give out some treats in January too! heaven knows we could sure use it!  Thanks for stopping by!

BLOG | INSTAGRAM

Doodlebug Design Product:
Petite Prints Buffalo Check-Wood Grain Collection
Chunky DoodleTwine
Mini paper clips
Jewels
Other Products:
White cardstock

Tuesday, November 17, 2020

PUMPKIN SPICE FALL LAYOUT | with Traci

Hi friends!  As promised, I have the 12x12 companion page for the autumn layout that I shared with you a few weeks ago.  Here's the link to that first page. 

And here's my second page....

For this page, I used a really fun die cut circle background from Jillibean Soup.  It's called White Simple Circles, but you could also cut something like this with your cutting machine if you have one.


To make backing the white circles easier, I just punched Pumpkin Spice pattern paper out with a 1.75" circle punch and glued it to the back.  I added white card stock behind some of them so that I could pop up a cute small odds n ends, like that adorable mushroom.


I also let the wood grain background show through a few of the circles.


Those cute pumpkin smiles just make me so happy! I finished the page with a couple of cute word stickers from the This N That sticker sheet.

Here's a pic of the two pages side-by-side. Again, the first page was posted on November 3rd on my blog, and here on the Doodlebug blog :)


I hope these two pages have given you some fun ideas for Pumpkin Spice, 3x4 photos, and adding lots of cute pattern paper to your layouts.  Hugs my friends ... happy crafting!


DOODLEBUG PRODUCTS USED:
Pumpkin Spice Collection
Buffalo Check-Woodgrain Petite Prints

Thursday, November 12, 2020

PUMPKIN SPICE PUMPKIN PATCH LAYOUT | with Erica

Where do you find inspiration when you find yourself in a creative rut? One of my favorite things to do is pull out a cut file to back. This helps me do something creative and get my creative juices going! For todays layout I used the Pumpkin Spice collection and a cut file from Lacey Ann Designs.
   
I backed the cut file using papers from the Pumpkin Spice 6x6 paper pad. Once I had the cut file backed I was still feeling like I could not figure out a design so I decided to go ahead and cut the mandala I just backed and was pleasantly surprised with how much I loved it!
 

Instead of pulling out a piece of white cardstock for my background which is what I do about 99% of the time I used one of the new buffalo check-wood grain petite prints. I adhered the two pieces of the mandala to the wood grain pattern paper using some wet adhesive. I left the tips of the cut file free of adhesive so they would have a little movement on the page and add some texture. I love that some of the pieces curl up on the page.


The photos I am documenting are of one of our trips to the pumpkin patch. I took our three younger boys to pick out some pumpkins and we took some photos! I knew they would be perfect for this layout and collection.


When using mandalas or anything round on my page I love to create a title that follows around the object. I used the Sunshine alphas in tangerine and just love how it turned out. I kept the embellishments pretty light around the page since the mandala was pretty large on the page.


I used some of the Pumpkin Spice chit chat pieces and odds & ends. For some dimension I pulled out some doodle pops and added a couple of them to my page. Here is a look at my completed layout. 


Doodlebug Design Products Used 
 Pumpkin Spice collection 
 Petite prints buffalo check-wood grain

Tuesday, November 10, 2020

PUMPKIN SPICE FAMILY FUN LAYOUT | with Tegan

Hi Doodlebug friends! I couldn't wait to play with the amazing Pumpkin Spice collection again! I am in love with the amazing mix of fall colors and the adorable little animals in this collection. On today's layout, I also had fun creating a fun background design using the buffalo check side of the brand new buffalo check and woodgrain patterned papers. Come take a look!

I used the Sunflower Fields and Happy Fall patterned papers to create a colorful background for my layout. Here I embellished my page with a fun scalloped sticker from the This & That Sticker Sheet. I then added a couple epoxy Happy Fall Shape Sprinkle leaves on the sticker for a little added dimension. I also added a couple cute lady bugs from the Sunflower DoodlePops. 

I then challenged myself to do something fun with the buffalo check patterned papers and a 1 1/2" circle punch that I hadn't used in forever. I simply punched out 1 1/2" circles using the Bon Bon, Swimming Pool, Tangerine, Mandarin, Bumblebee, and Limeade buffalo check patterned papers. I then cut these circles in half and lined them up in a cluster on the page. I love that they create a cute backdrop for the adorable Beary Cute DoodlePop 3D sticker! I used the Doodlebug Design Flea Market Fall Leaves cut file and my Silhouette Cameo to cut out the large orange leaf.

I love using words from the Chit Chat Ephemera Pack to help me easily create a great page title! I then completed it with some darling Sunshine Alphabet Stickers! I then again used the Doodlebug Design Flea Market Fall Leaves cut file to cut out the yellow leaf here.

What is your favorite part of the Pumpkin Spice collection?! I love it all so much I haven't picked a favorite yet. I really do love the darling little Beary Cute DoodlePop sticker though! 


Thanks for joining us today! I hope I have inspired you to grab some of the adorable Pumpkin Spice collection and the darling buffalo check patterned papers for your next layout!

 Doodlebug Design Products Used:

Pumpkin Spice collection
Buffalo Check Woodgrain Petite Prints Patterned Papers
Sunshine Alphabet Stickers - Swimming Pool
Flea Market Fall Leaves cut file

Friday, November 6, 2020

PUMPKIN SPICE HOT DRINK HOLDER TUTORIAL| with Tya

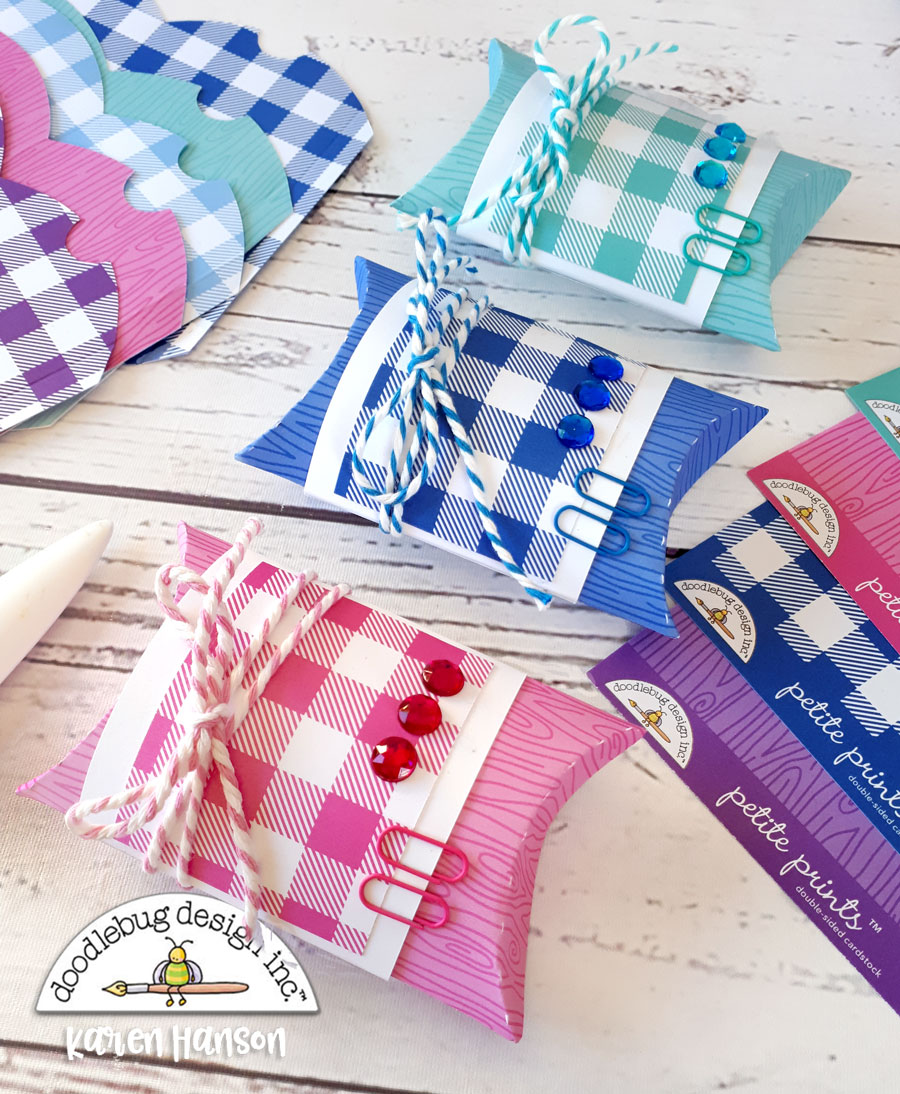
Hey there! I'm so happy to be here on this Friday sharing my latest project with you! As one who adores this time of year and all the cozy things that come with cooler weather, one of my very favorite things is curling up on my couch with a warm blankie and a mug of something nice and warm! Sometimes is hot cocoa, sometimes is apple cider... I love them both!  I thought I would make a few little gifts for my neighbors to share this time of year with these fun little Hot Drink holders. 


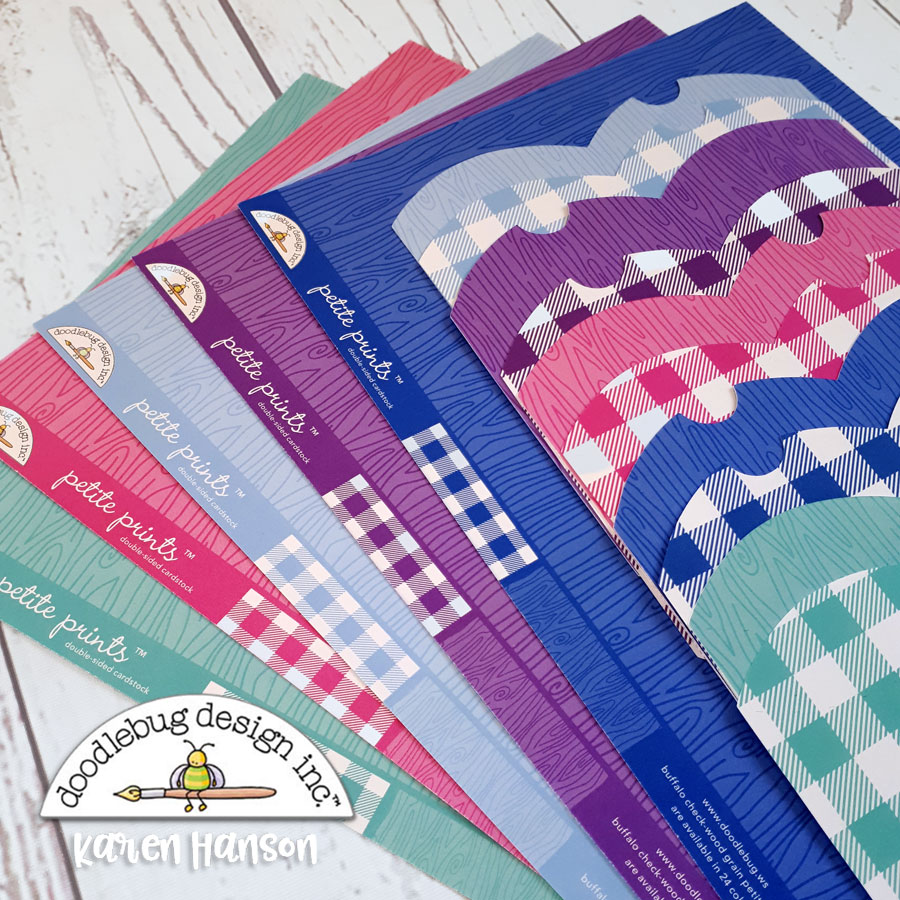
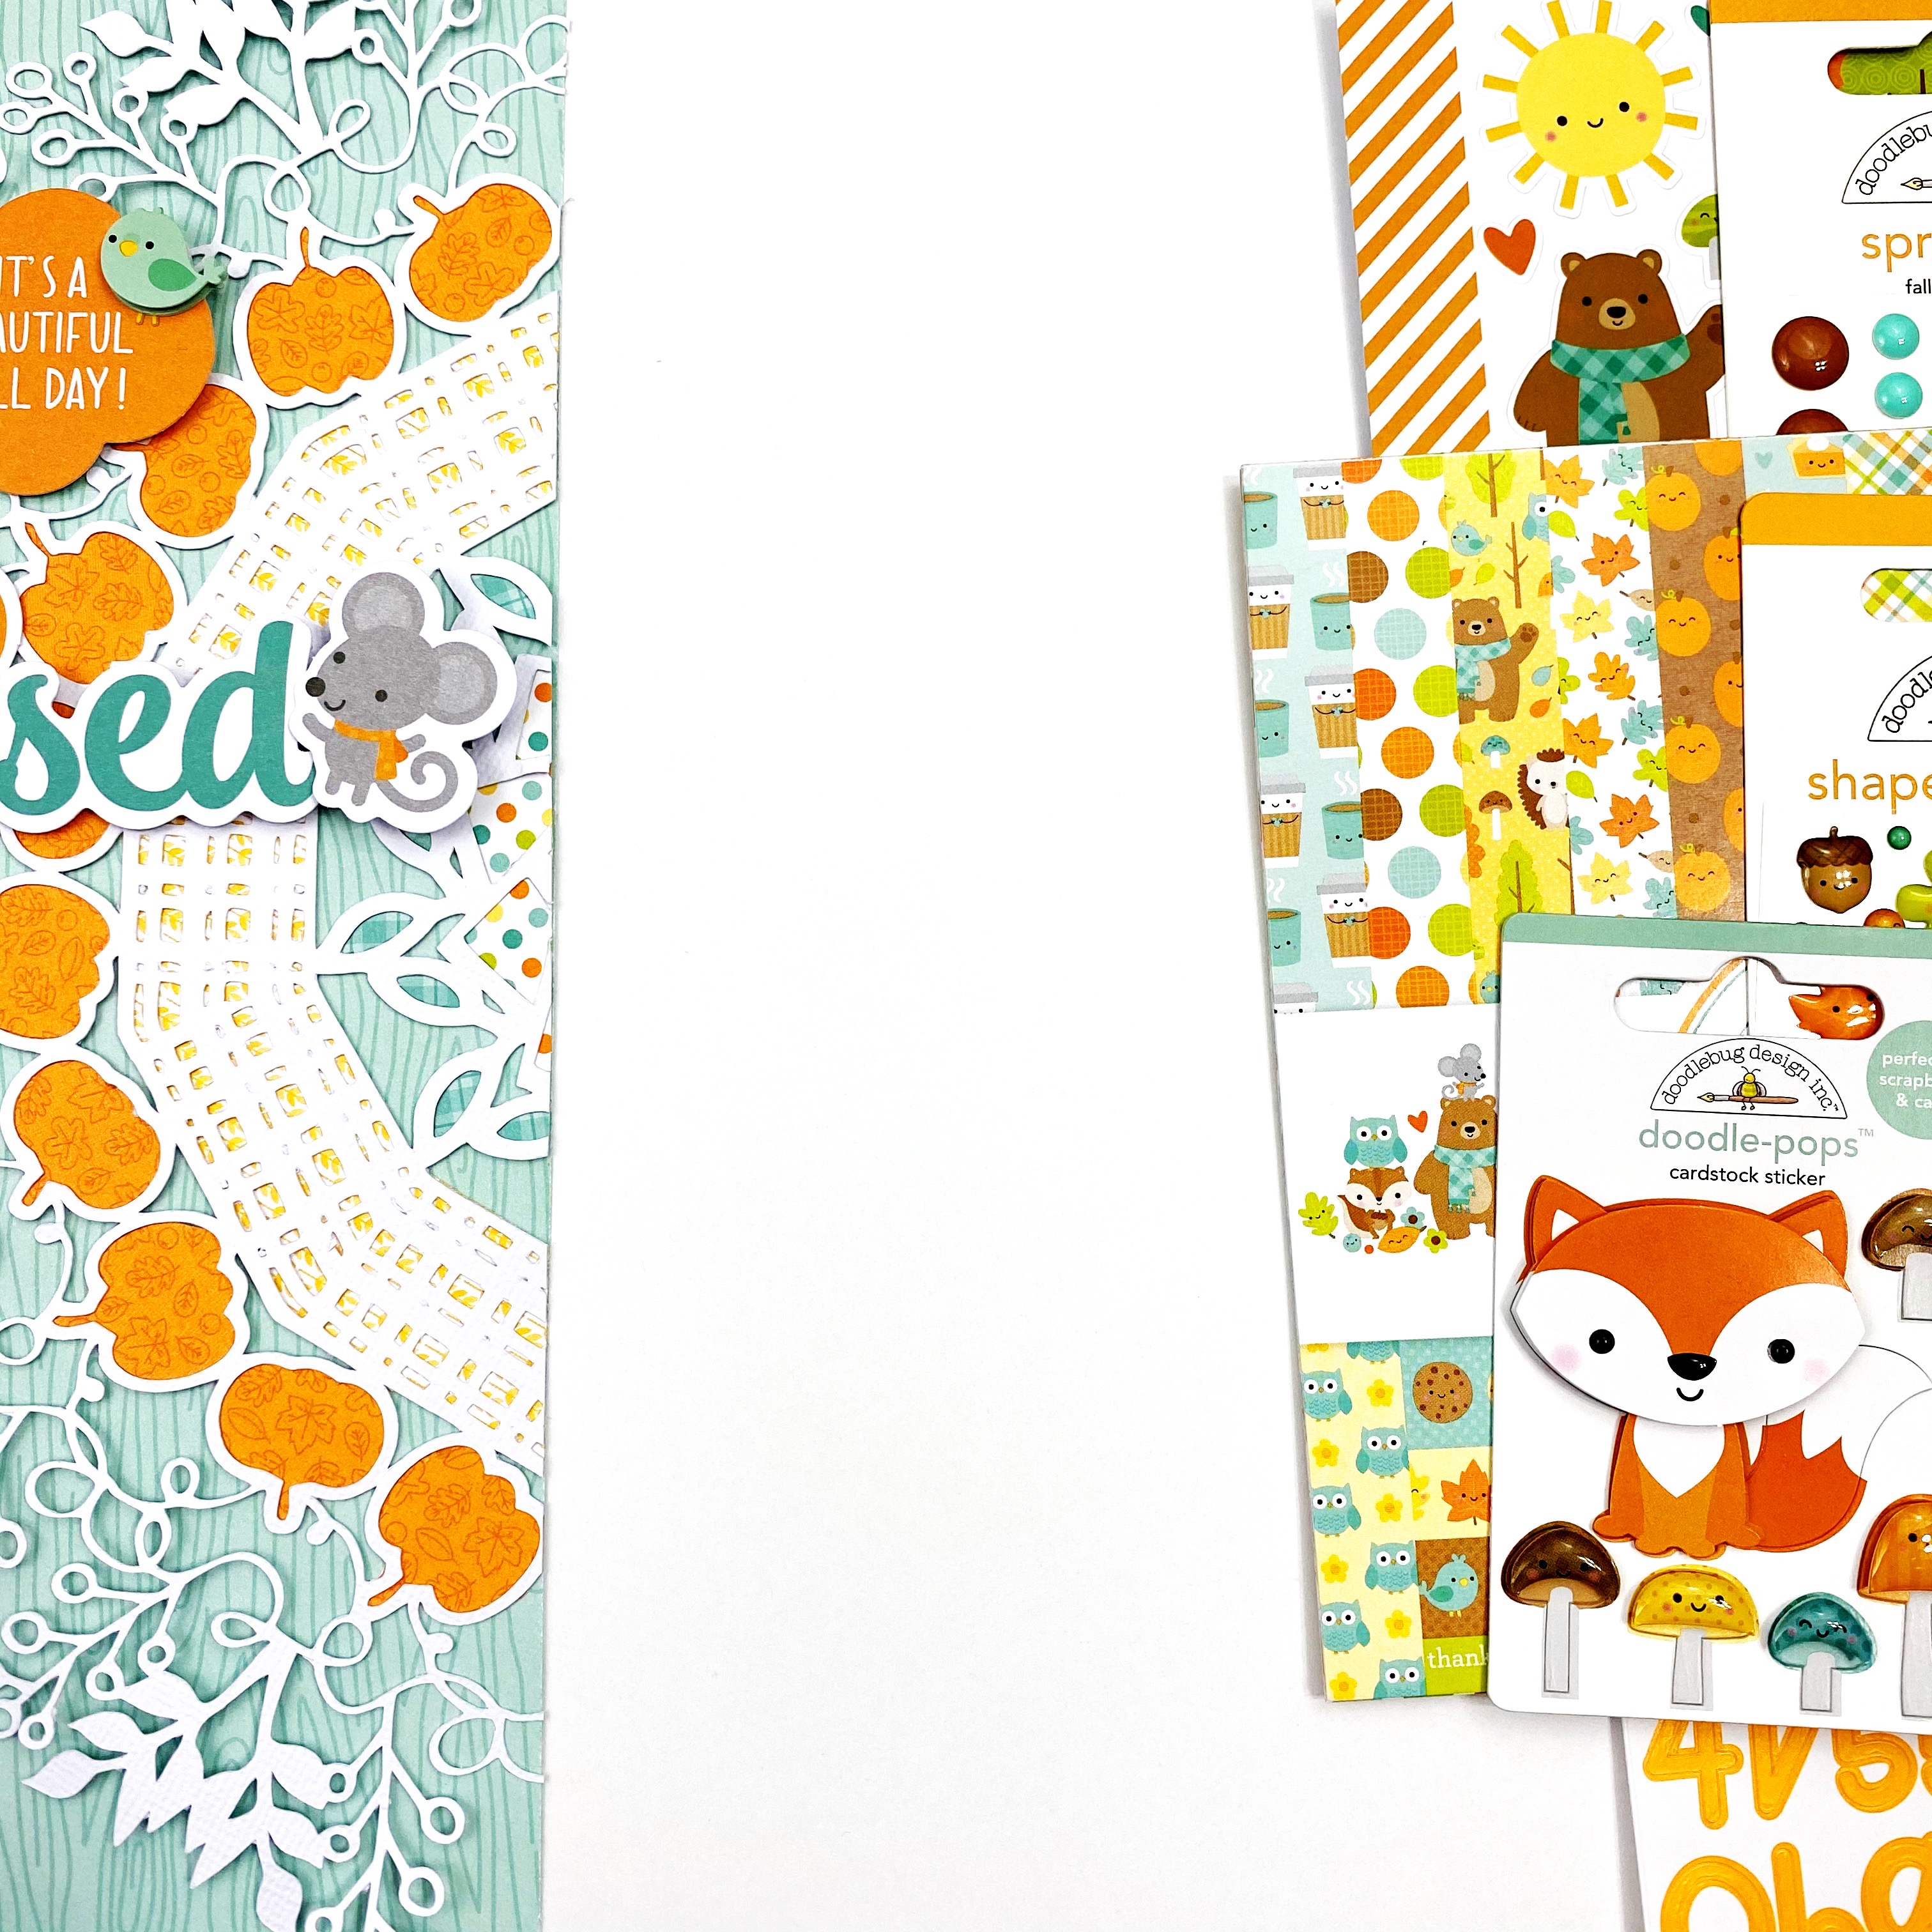
As you can see, this project does not take a lot of products to make, yet they are super cute! I was so excited to use our new Buffalo Check pattern paper to make these. I also did a little stamping - which I usually don't do a ton of, but the "You're Sweet" stamp found on the "Pumpkin Spice" stamp set made for the perfect sentiment for these holders. I also included some little drinks and hearts which are from the "Pumpkin Spice" and "Bake Me Happy" Shape Sprinkles to decorate.  

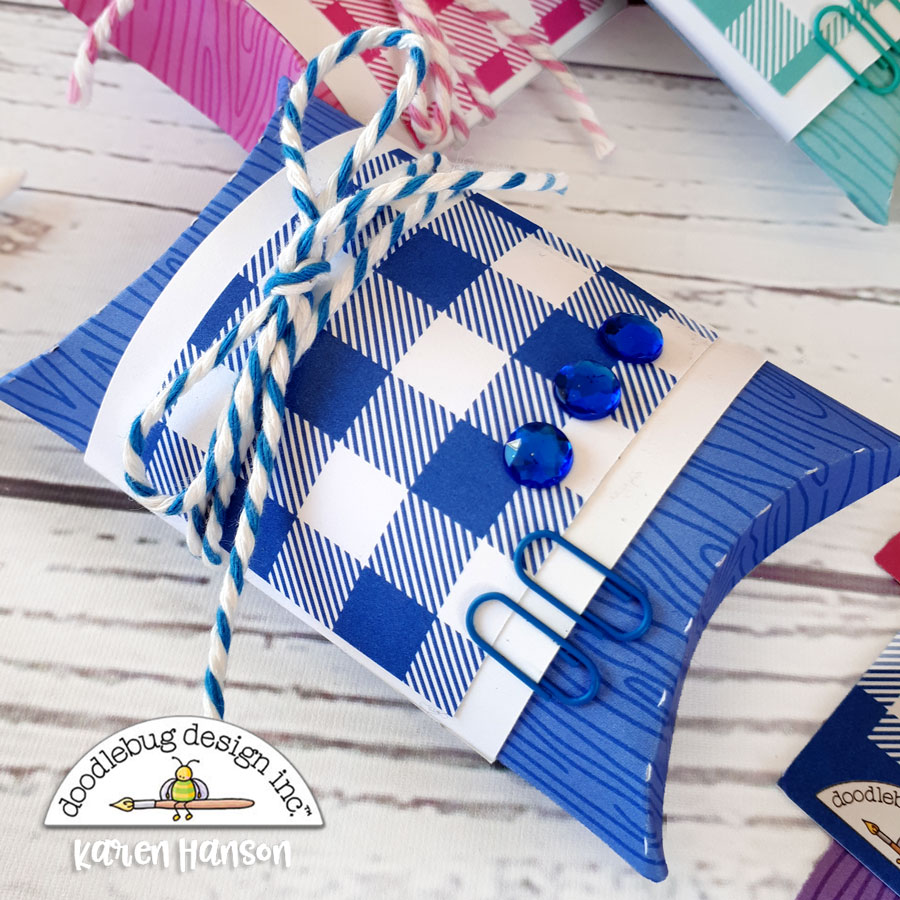
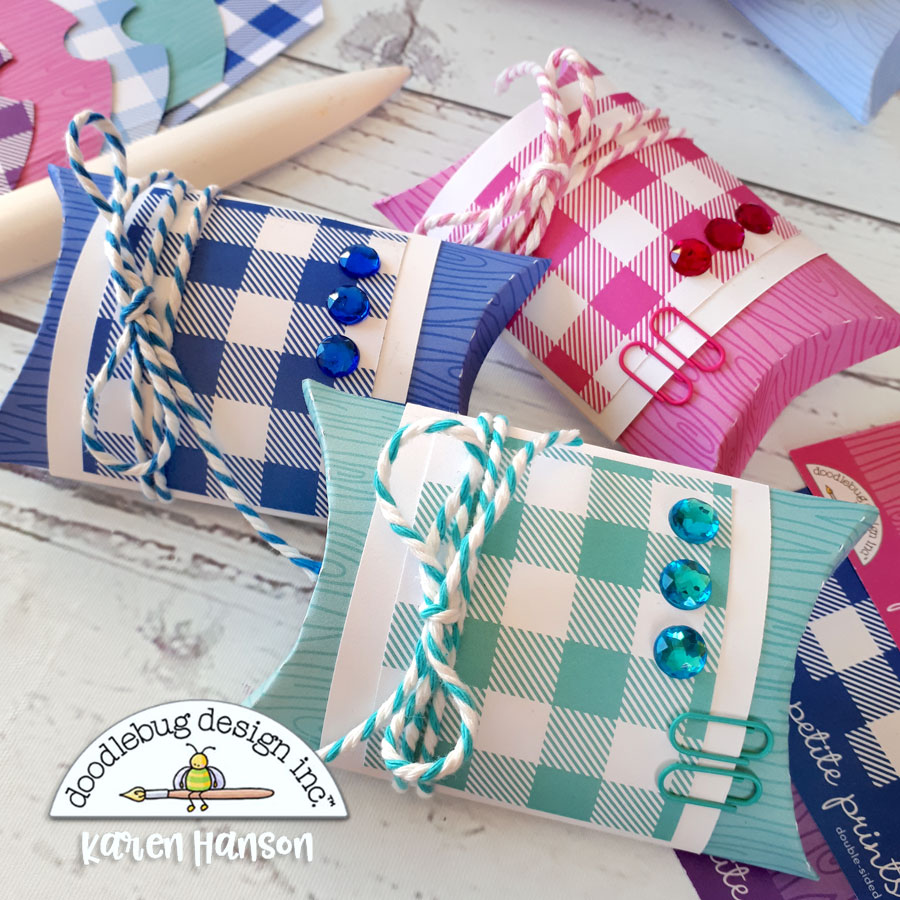
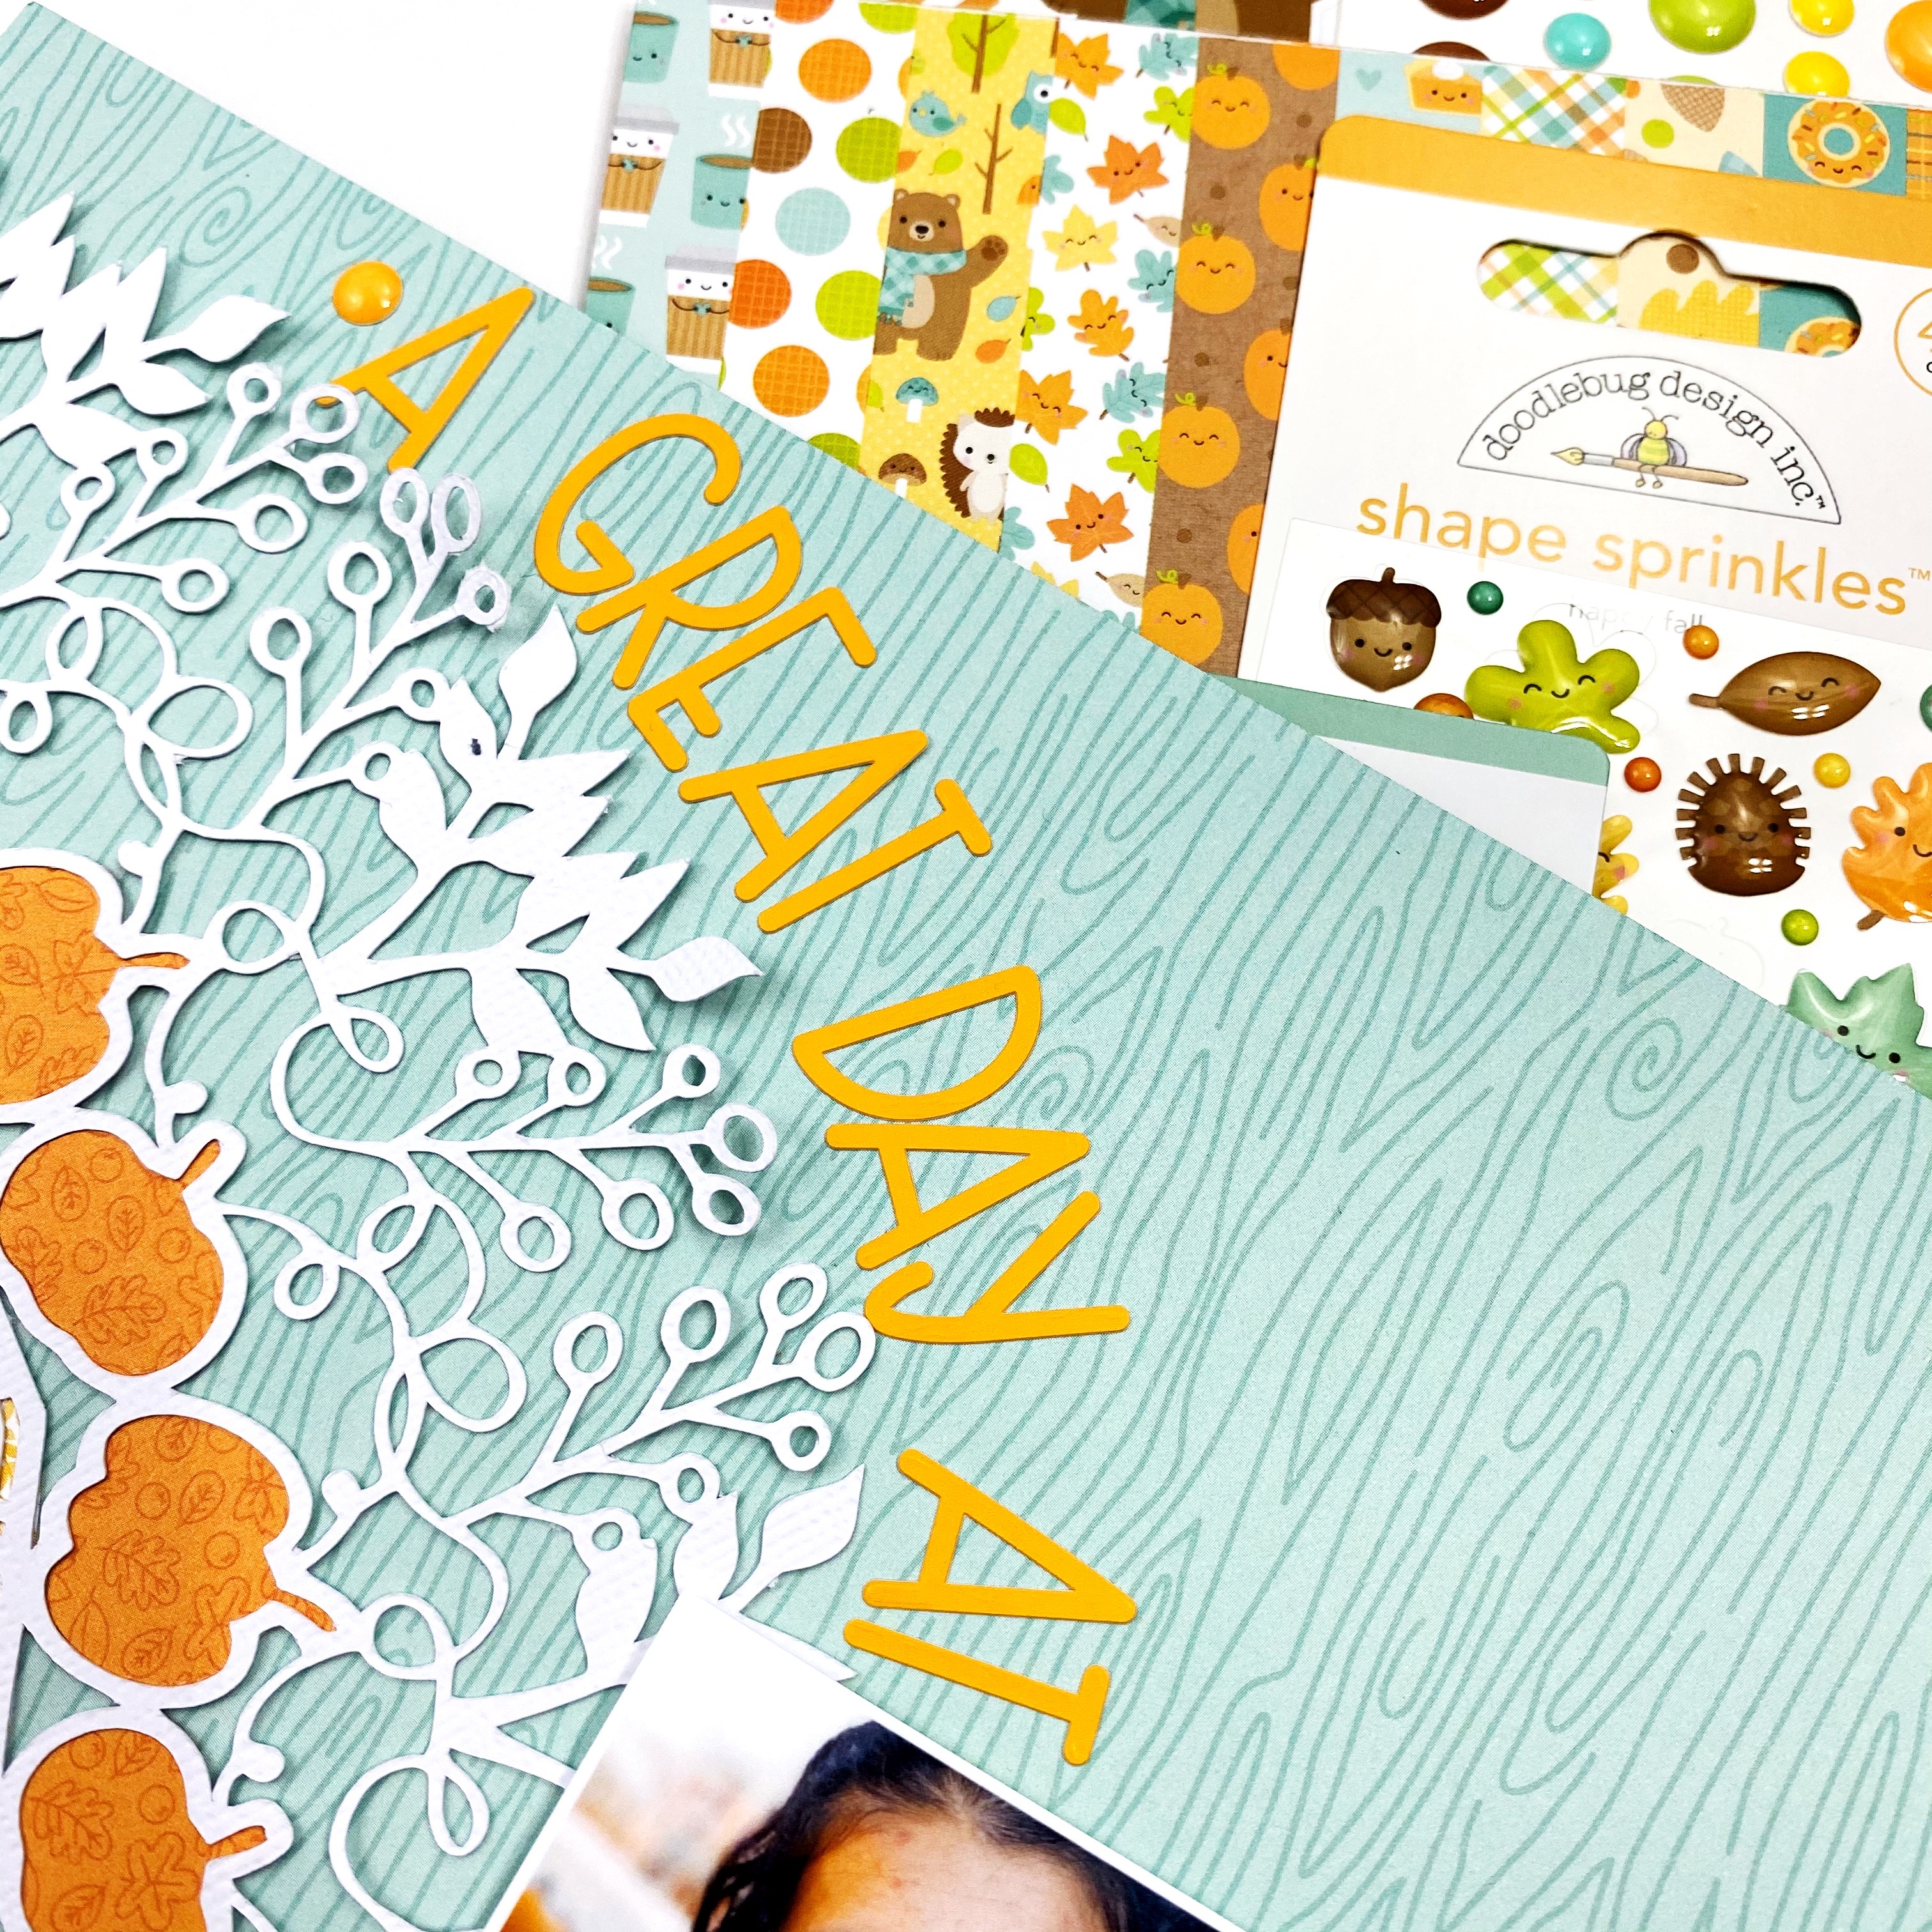
I used both sides of the Buffalo Check papers on my holders with the plaid part on a strip on the front of the holder and then the super fun woodgrain paper that lines the inside of the holder. Both of these patterns are wonderful and coordinate so well with the Pumpkin Spice collection!

These are super easy to make and I'd like to share a  tutorial with you on how you can make some of your own! Here we go! 

First, you will need an 8 1/2 x 8 1/2 inch of paper. I used some basic kraft cardstock for my holders.


We need to cut this paper in half so we get 2 triangle shapes. To get this, simply place the paper diagonally on a paper trimmer with two ends on the cutting line.


This is what the paper will look like when you are done trimming it.
Next, grab a scoring tool and lay the long end across the top of your score board. Score the paper as shown at 4 inches and 8 inches.

Next, trim a piece of pattern paper just under 4 inches ( like 3 7/8) x 6 inches. Glue the paper in between the center of the 2 score lines you just made. Trim the top edges off so they are even with the kraft paper base. 
Now, go ahead and fold on your score lines and then add some strong tape along the bottom edge of the two flaps. 
Finally, here is your completed holder. All you need to do now is decorate it up! 
To decorate mine, I cut a 2 1/8 inch stitched circle with a die-cut and then stamped my sentiment and decorated the circle.  I then die cut a scallop circle with some of our Bon Bon textured cardstock to back the circle. I added these two to the center of the holder with some foam tape. You can also add some twine and a button around the Buffalo Check strip if you'd like

These little cuties were a breeze to put together and now I have a fun stash that I can keep on hand and pull out whenever I'd like to send one off. These would also make really fun teacher gifts, friend gifts, or even little favors to put on your Thanksgiving tables. You could even add a gift card to a favorite coffee shop for some added fun. There are so many great reasons to share a little bit of warm and cozy greetings to someone special this year! Thank you so much for stopping by today and happy crafting my friends! 

BLOG INSTAGRAM YOUTUBE *

DOODLEBUG PRODUCT USED:

Tangerine Buffalo Check paper
Pumpkin Spice "Pumpkin Spice" Shape Sprinkles
"Bake Me Happy" Shape Sprinkles
Bon Bon Textured Cardstock

OTHER PRODUCTS USED:

Kraft Cardstock
White Cardstock
2 1/8 Stitched Circle Die
Scallop Circle Die
Manual Die Cutting  Machine
Scoring  Board
Strong Tape
Foam Tape
Drink packet
Twine
Button


Tuesday, October 20, 2020

GHOST TOWN PUMPKIN PATCH LAYOUT | with Traci

Pumpkins and mice and spiders, oh my!  Pumpkins are always cute ... but only Doodlebug could make spiders and mice look cute!  I had lots of fun with this page layout using the brand new Ghost Town collection.  
For this layout, I got my inspiration from a new metal die that I purchased recently.  The die is called Circle Windows, by Photoplay and I love how easy it was to cut out the rectangle with three cute stitched circles for a fun design. I filled the circles with a few photos and some 6x6 pattern paper from Ghost Town and the new Buffalo Check prints.  


The background of the design is a 12x12 kraft buffalo check wood grain with some linen tangerine for a pop of orange. How cute are those icon stickers!  The little cowboy and cowgirl were perfect for this pumpkin patch page.


Okay, see what I mean about the mice and the spiders?!  Adorable!  The little mice look so cute on foam tape ... like they are crawling around on the page :) 

I know you are loving all of the new collections from Doodlebug, and I hope I've inspired you to take lots of pictures at the pumpkin patch this year ... especially since you'll want to use that adorable pumpkin stand die cut on a page!  Until next time, happy scrappin'! 


DOODLEBUG PRODUCTS USED
Ghost Town Collection
Buffalo Check-Wood Grain Cardstock

OTHER
Circle Die
Pin It button on image hover