Showing posts with label Valentine. Show all posts

Sunday, January 27, 2019

FRENCH KISS Treat Boxes | with Karen


I love Valentine's day! It's a fun day for me to remind the people that I love that they are important. But it isn't for everyone, and that's why I love the new French Kiss collection from Doodlebug. If you love Valentine's Day, this collection is for you. If you don't, this collection is for you too! Really! Inspired by the adorable Doodlepops in this collection (Doodlepops that I usually hoard actually), I decided to create some treat containers that were adorable enough for Valentine's Day, but also "generic" enough to give away for any purpose. With a few score lines and a few cuts, these containers came together in no time. 
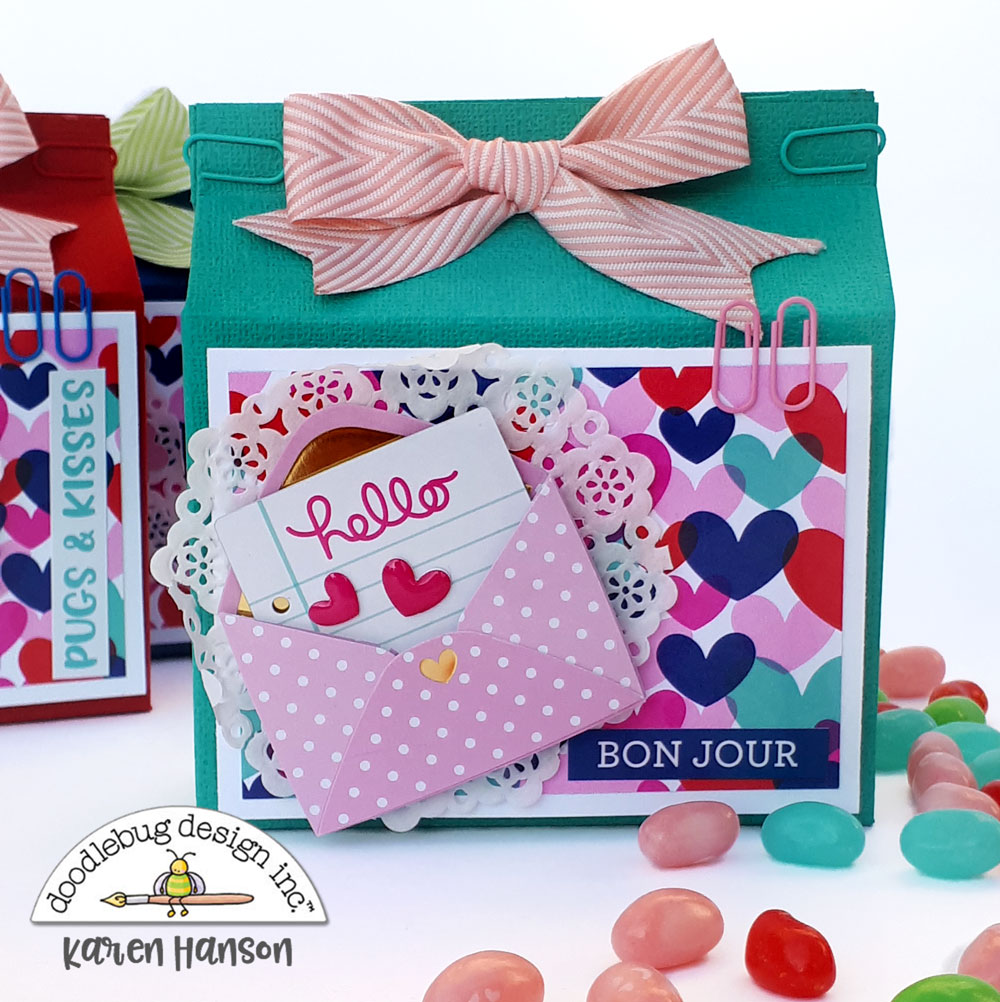
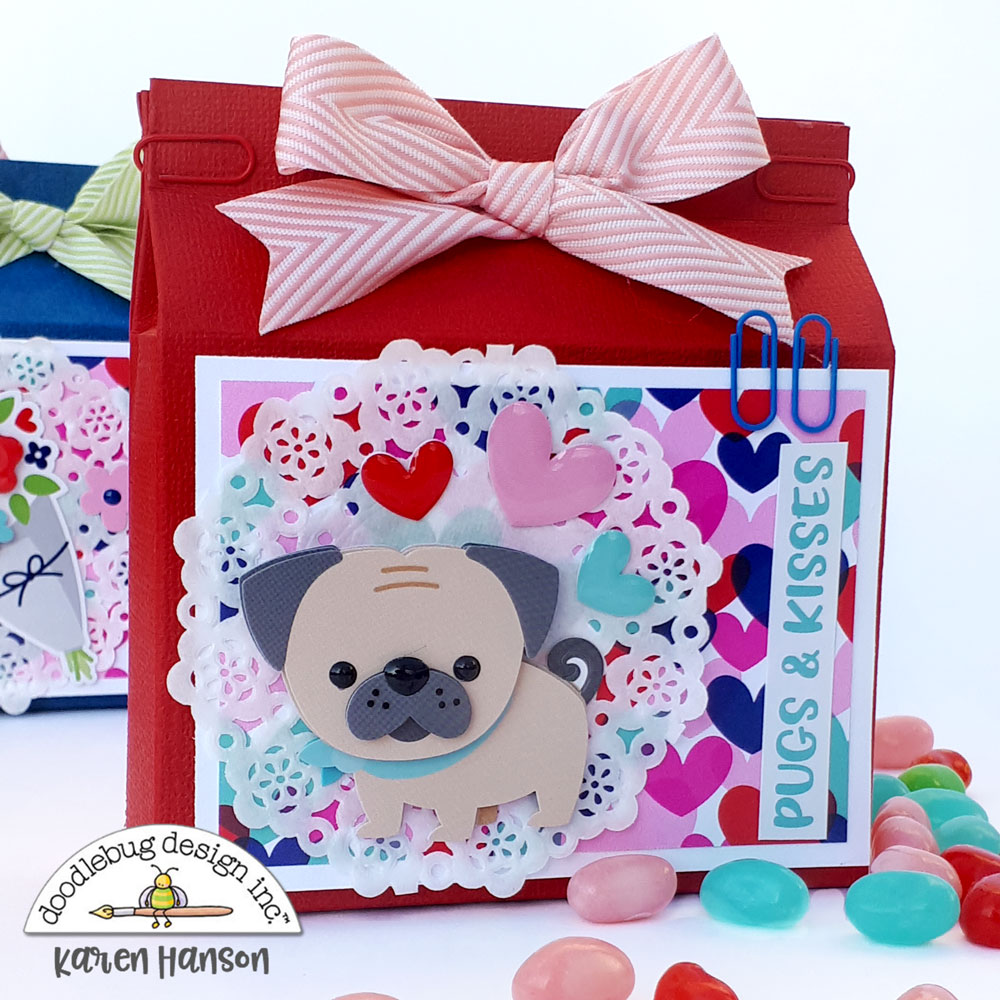
The Doodlepops were the perfect focal point on the front of the containers, simply placed on top of some adorable mini doilies in Lily White.  
 With a cute sentiment from the This and That sticker sheet and a couple of mini paper clips on top of some matted French Cafe patterned paper, these little containers pack a dynamic little punch that says everything from "hello" to "thank-you" to "I love you" - Valentine's Day or not! I can't wait to give these away to some great colleagues in the coming days!

So get out there and make something adorable with this collection - just because!
Thanks for stopping by!
;
Doodlebug Supply List:
Other:
ribbon

Sunday, January 13, 2019

FRENCH KISS Card Inspiration | with Kay and Karen

KAY MILLER:
Valentines day is rapidly approaching and the new French Kiss collection is so perfect for creating some quick, easy and super fun cards to share with your family and friends! These are even easy enough that the kids could make them for their classmates! 

For my first card, I used the Simply Spring Cards & Envelopes. I used some patterned paper from the French Kiss 6x6 paper pad and layered that across the card front. I added the cute puppy and other elements with foam tape to make them pop.


For this card, I used paper from the French Kiss 6x6 paper pad. I used the clouds for the background and cut a strip of the blue for the street. I then added the cute elements with foam tape. I added a few Shape Sprinkles baby hearts above the girl’s head.


Doodlebug Supply List:

French Kiss 6 x 6 Paper Pad
Cards & Envelopes Simply Spring Assortment
Matte Sprinkles Love Assortment
Shape Sprinkles baby hearts
French Kiss Chit Chat
French Kiss Odds & Ends

I hope you have enjoyed my card today! Thanks so much for stopping by!


KAREN HANSON:
Although French Kiss is the cutest Valentine-themed collection ever, I decided to create some general purpose cards.  This collection is a great way to show you love someone any time of the year, on their birthdays or simply as a way of saying "hello".
Both of these cards utilize a step-card design which gave me plenty of space to use a handful of the adorable Odds and Ends die cuts on each.  This collection is definitely going to be on my crafty table year round...if I don't use it all up by the end of the month first!


Doodlebug Supply List:

Friday, June 17, 2016

Mix & Match Challenge: Don't Stop Playing layout by Melinda

Who has a craft room that has more product than your local scrapbook store? I'm not saying that I do, but sometimes I wonder when I'm ever going to use everything I have purchased over the years? So that's why I think it's important to really use what we have in the most efficient way possible... to get the most out of our 'stash'. Mixing and matching is a perfect way to use up product that has been left from a previous collection(s) and add it to a new collection so we still feel as though we are playing with new supplies.


Doodlebug have a base palette of 12 colours with which they create all their collections so everything from one range of product to the next will match perfectly. Every now and again an extra colour or two are added to a certain range but never fear, it is always perfectly in sync with the rest of the line so you never have to worry about colour clashing. That's why you can grab those old papers you've been holding onto and marry them with your latest purchase and they will always blend to perfection. And to give you an example... this layout was created using product from the Spring, Summer, Autumn, Valentine's and Easter collections.


One of the easiest designs to create using Doodlebug products are... of course... rainbows! This particular rainbow was very simple to make and it was done without using an electronic cutting machine so a perfect design for those of you who still like to do things by hand. I dusted off my old Martha Stewart circle cutting tool and cut six circles in varying sizes from the Petite Prints - Swiss Dot papers.


I didn't bother going all the way around as it was easier to just do one sweep with the cutting tool rather than having to stop half way and change hands. I will the be the first to admit I never get that right and always end up with a rather odd shaped circle.


Once I had positioned my rainbow pieces in their correct order I laid a ruler over the half way mark and cut through each piece to give a straight line at the bottom. However, this takes a bit of effort as you need to hold the ruler down firmly so the pieces don't slip. An easier way to do this would be to draw a line across your pieces and then cut using a pair of scissors.


When assembling the rainbow onto my layout I started with the outermost piece first so that I could position it exactly where I wanted it to sit. If you start from the smallest piece you may find that your rainbow is sitting further to one side than the other or perhaps too close to the top of your paper.


And now for the fun stuff... adding the embellishments!


I simply layered my pieces using foam pop dots to create a fun and colourful landscape for my photos. Now I wonder if you can pick all the different collections I've used?


Thanks for stopping by today!


Sunday, January 31, 2016

Sweet Things Collection: Love You Layout by Melinda

Can you believe it's February already and Valentine's Day is just around the corner? It's Melinda with you today and although I'm not really into celebrating the day of love on Feb 14, I do still love to use a collection that boasts lots of hearts and flowers.
And to make the 'Sweet Things' collection even sweeter, Cynthea has added mint green to the already gorgeous colour combination. I can never pass up an opportunity to use the colour mint.
To put my layout together I marked out a heart shape onto the background and added journaling using Doodlebug sentiment rub-ons. I then filled in the gaps with hand stitching over little clusters of embellishments.
TIP: Whenever I hand sew into sticky-back embellishments I dip my needle into baby powder every few stitches so it doesn't get all gooey from the adhesive.
The main cluster of flowers underneath the photos are made from the pre-cut 'Valentine Flowers' craft kit which contains over 35 reversible mix & match floral pieces. So you can flip them over to find the best combination for your project.
So, how is everyone going with their Valentine's plans? I have to finish a sneaky card for The Farmer and then I'm done. Thanks for stopping by - Melinda


Pin It button on image hover