Hi Doodlebug peeps!! It's Jessy Christopher here! For today's tutorial, I have created a layout using the new collection from Doodlebug called "Boys Only". I love the vibrant colors and the cute boys elements on the papers and stickers. I wanted to make this layout really fun by including stars and paper airplanes!
When I was young, I was taught to fold paper airplanes and play with my friends in school and with my neighborhood friends as well. It definitely brought back a lot of memories. Fear not... if you are not sure how to fold a paper airplane. I have created a tutorial just for you!
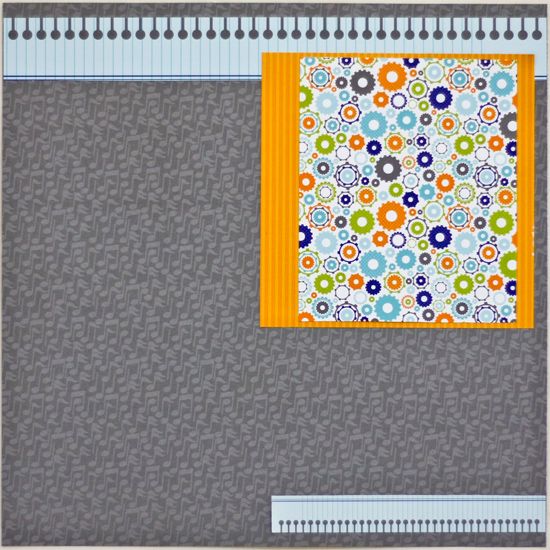
Before we move on to the paper airplane, let's work with the base of the layout.
Step 1: I used the 'superstar paper' and punched stars on it.
Step 2: I cut & pasted the following papers: 'clip art', 'geared up', 'anyway' onto the 'jam session' paper (background).
Step 3: I added the 'superstar' paper and also added the 'banner card stock sticker'. Of course with that cute little photo too :)
_____________________________________
Step 4: Here is a tutorial on folding a paper airplane:
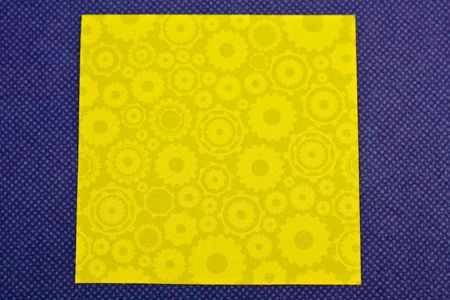
First I cut a square 3"x3".
Fold in half.
Open up and fold the upper edges down to the centerline.
Turn it around/to the back and fold half again. Make it flat.
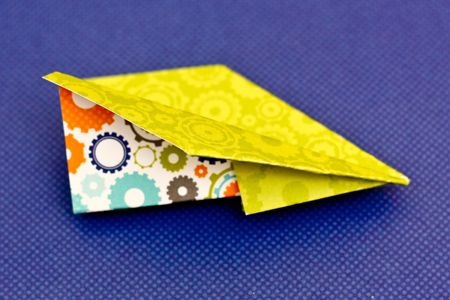
Fold the top all the way to the bottom line. You should have a "pointy tip" at the front.
It should look like this.
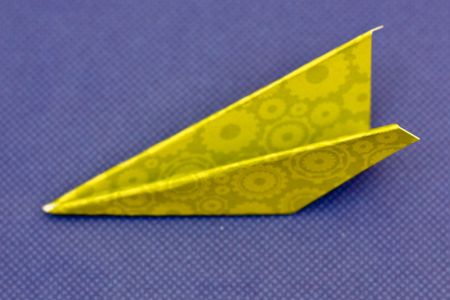
Then fold the bottom edge up to the centerline. Fold the other wing in a symmetrical fashion.
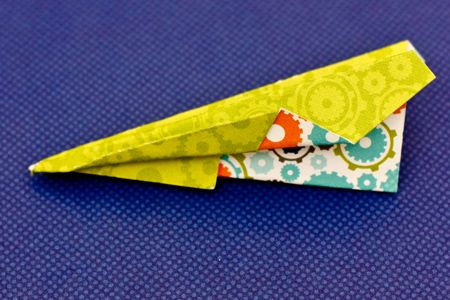
Cut the airplane into half.
Ta daa.. this is what you will get.
_____________________________________
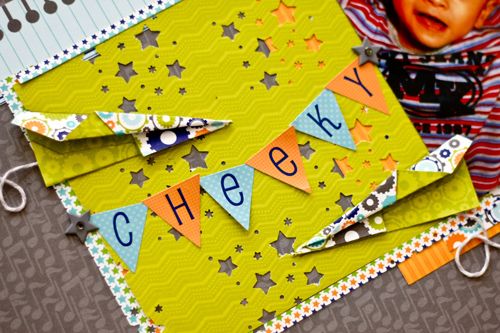
Step 5: Here's the completed layout! To add fun to the layout use Doodlebug twine to create the flying trail. I have also created a frame all around the 'superstar' paper by using lil stripes. Also added a lil more of the stickers & brads.
I hope you enjoyed today's tutorial and thank you for coming by!
Xoxo Jessy









Love the star punches and the airplanes.
ReplyDeleteCute Jessy!
ReplyDeleteSuper cute Jessy! What a great idea!!
ReplyDeletethat is adorable...perfect touch!
ReplyDeletefun page! The airplane added the perfect touch!
ReplyDeleteAbsolutely adorable!I can't wait to give this a try!
ReplyDeleteSo cute! What brand is that star punch?
ReplyDeleteLove it!