
The year is almost over and the most wonderful time of the year is here... To make this time even more happy and cheerful, Doodlebug released another amazingly sweet Christmas collection called Let It Snow. I'm so excited to show you my first project with the collection.
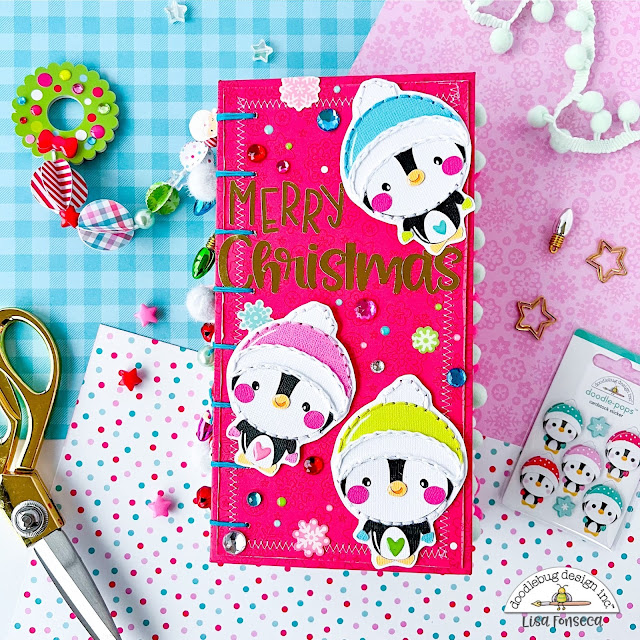
I created a coptic book, using Doodlebug TN inserts. This mini book can fit soooo many things and can be used as a mini album, planner, notebook, TN, whatever you want. I LOVE how it turned out.
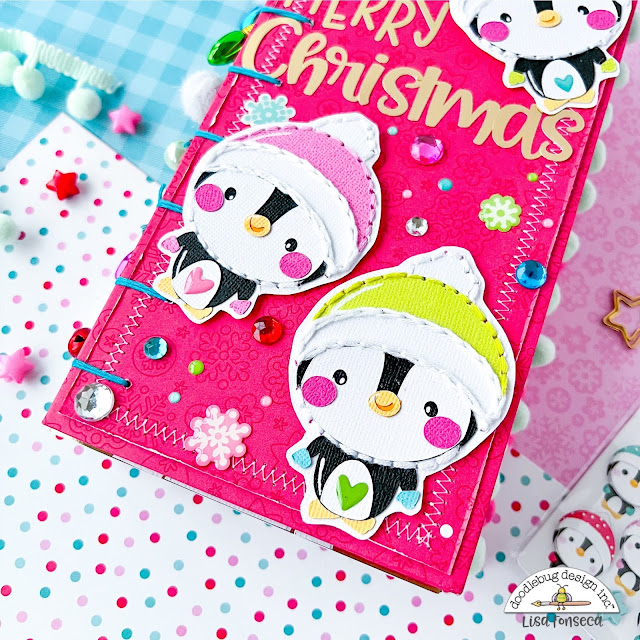
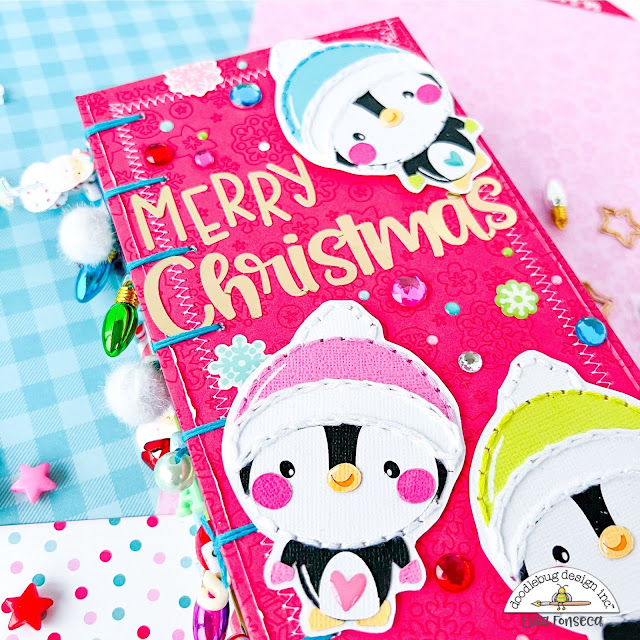
I created the cover and back using chipboard and patterned paper from the collection. I love this pinkish red paper. You can't really see it on this photo, but it has snowflakes all over and it's really pretty. I decorated the cover with three little penguins. Those are Let It Snow cut files and I stitched around them with embroidery thread. I used Sunny and Abigail alpha stickers in gold for my title and then added a ton of jewels and enamel dots.
I chose 6 TN inserts that had matching colors and decorated each cover with cute embellishments from the collection.
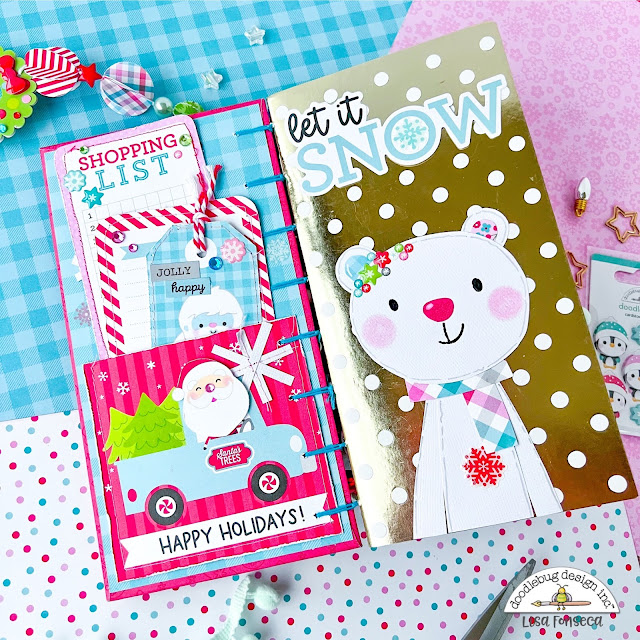
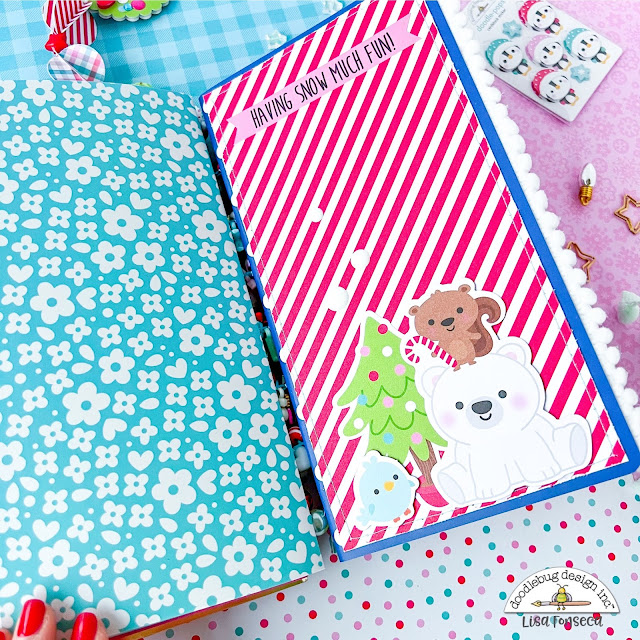
On the back of the cover, I added a little pocket, a cute tag and lists. On the cover of the first signature/insert, I created this little ice bear and added a die cut piece from the Chit Chat pack.
On the cover of this insert, I added patterned paper and a few die cut pieces. To add more cuteness, I used three enamel dots.

Here I used one of the envelopes and cards from the Cards & Envelopes pack. I decorated it with die cuts and jewels and adhered it to the cover of the third insert. The card is on the inside of the envelope and I decorated that too. To make the envelope stay shut, I used little magnets.

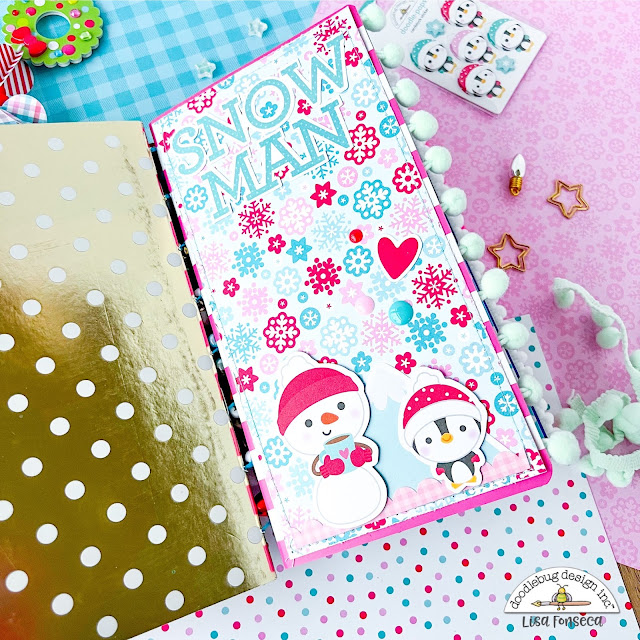
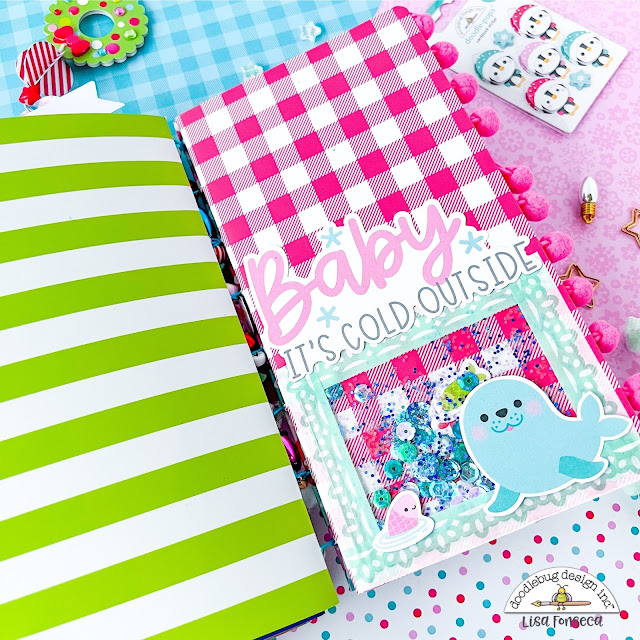
Some more patterned paper, die cuts and enamel dots on these two covers... And finally the last insert, To decorate this one, I created a little shaker pocket with sequins, glitter and little die cut fish.
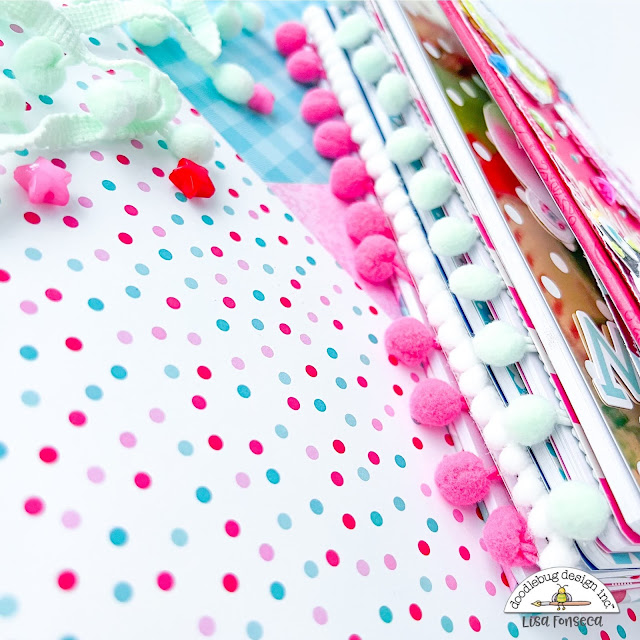
When the cover and back and all the inserts were ready, I bound the coptic book, using teal embroidery thread and a looooooot of charms and beads. It turned out super cute. Then I added pompom trim to three.
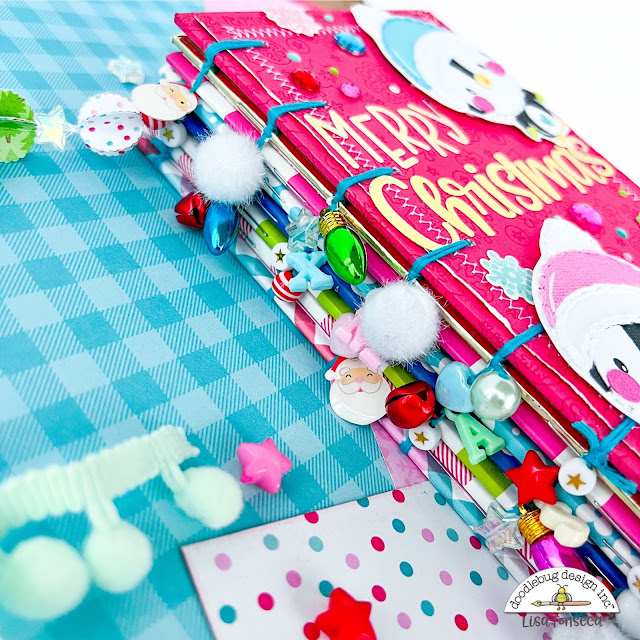
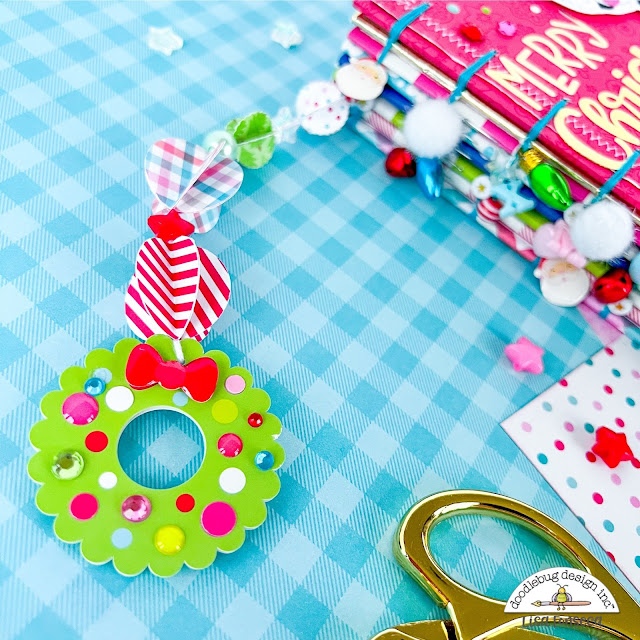
For the cherry on top, I created a tassel with self-made 3D baubles, beads and one of the Doodle Pops.
Here's a little tip for turning your Doodle Pops into "charms". Since they are layered and secured together with foam dots, you can disconnect them, turn the back piece around and reattach them back to back. You'll have a cute little embellishment you can add to your tassels. LOVE how it turned out!!! :)
Thank you so much for stopping by and see you very soon!!! :)


No comments:
Post a Comment