
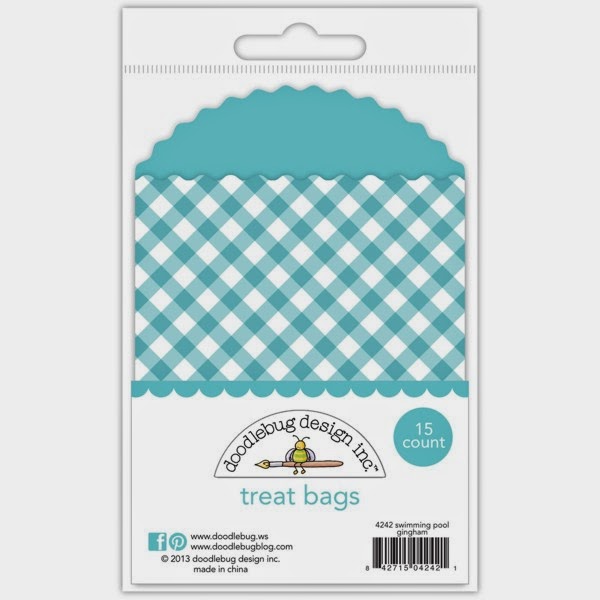
First, lets show you the variety of treat bags we currently offer:


In fact, we're starting off by featuring a fun "interactive card" idea from Sharm.
Hi there! Sharm here to show you what you can use those awesome treat bags by Doodlebug Designs for. The treat bags need not be used for the conventional treats..but can also incorporated into your paper projects in many ways.
Some of the projects that I use the treat bags for are as follows:
1) Storybook / Project Life Cards
2) Cards
3) Banners
4) Layouts
5) Treat holders!
For my project today, I'd like to share with you a little interactive card I made.

Some close-ups


1) Slit a little strip about the size of the straw that comes in the pixies pack on the side of the treat bag. be careful to create the slit on only the top of the treat bag and that it doesnt cut right through the back.
(this will act as the slider).
* I would recommend that you completely open up the treat bag to do this
2) Put a flag right through the straw and cut off the protruding bits of the straw. You want it to look seamless. Further embellish with flowers etc
3) Cut a piece of cardstock to fit into the treat bag. Embellish the card and slot it into the treat bag. Make sure that part of the cardstock is visible through the slit you just created in step 1 and that it is tight enough

4) Once you have slot the card in, apply a thin line of glue on the slit (onto the cardstock) and adhere the little slider onto it. Once dried, move it back and forth to make sure it's able to move. When you move the slider flag, it should cause the little card inside the treat bag to move up

5) Gently push the card back in. Push the 'Hi' flag upwards to see the card inside the treat bag to pop-up again.
Materials Used:
Hope you'll have fun making this!


This is such a fun card Sharm!!
ReplyDeleteWay to go, Sharm!! This is so cute and such a fun, fantastic idea!!
ReplyDeleteGreat card!! Love the treat bag with the flowers and the light blue one :)
ReplyDeleteI'm absolutely in love with those little treat bags...how stinkin' cute!
ReplyDeleteVery clever idea and so cute! :)
ReplyDeleteSo fun and clever! Love it!
ReplyDeleteVery creative way to use thes adorable bags.
ReplyDeleteThe treat bags are SO PRETTY and SO MUCH FUN!!!
ReplyDeleteLOVE Sharm's card is DELIGHTFUL & CLEVER, GREAT tutorial too => THANK YOU for sharing your CREATIVE INSPIRATION :)
As always, I've pinned some CRAFTY TEMPTATION & INSPIRATION :)
Deletehttp://www.pinterest.com/pin/247275835765562539/
http://www.pinterest.com/pin/247275835765562533/
http://www.pinterest.com/pin/247275835765562529/
Adorable project!
ReplyDeleteI love to use bags for my pocket scrapbooking. I hope I win!
ReplyDelete