Tuesday, July 20, 2021

CUTE & CRAFTY EVERYTHING IS BETTER WITH FRIENDS LAYOUT | with Erica

Hey friends! Erica with you today with a fun 12x12 scrapbook layout using the Cute and Crafty collection. For today's layout I really wanted to focus on the Craft in Color 12x12 pattern paper. This is one of my favorite papers and I thought it would be great to highlight it on my page.

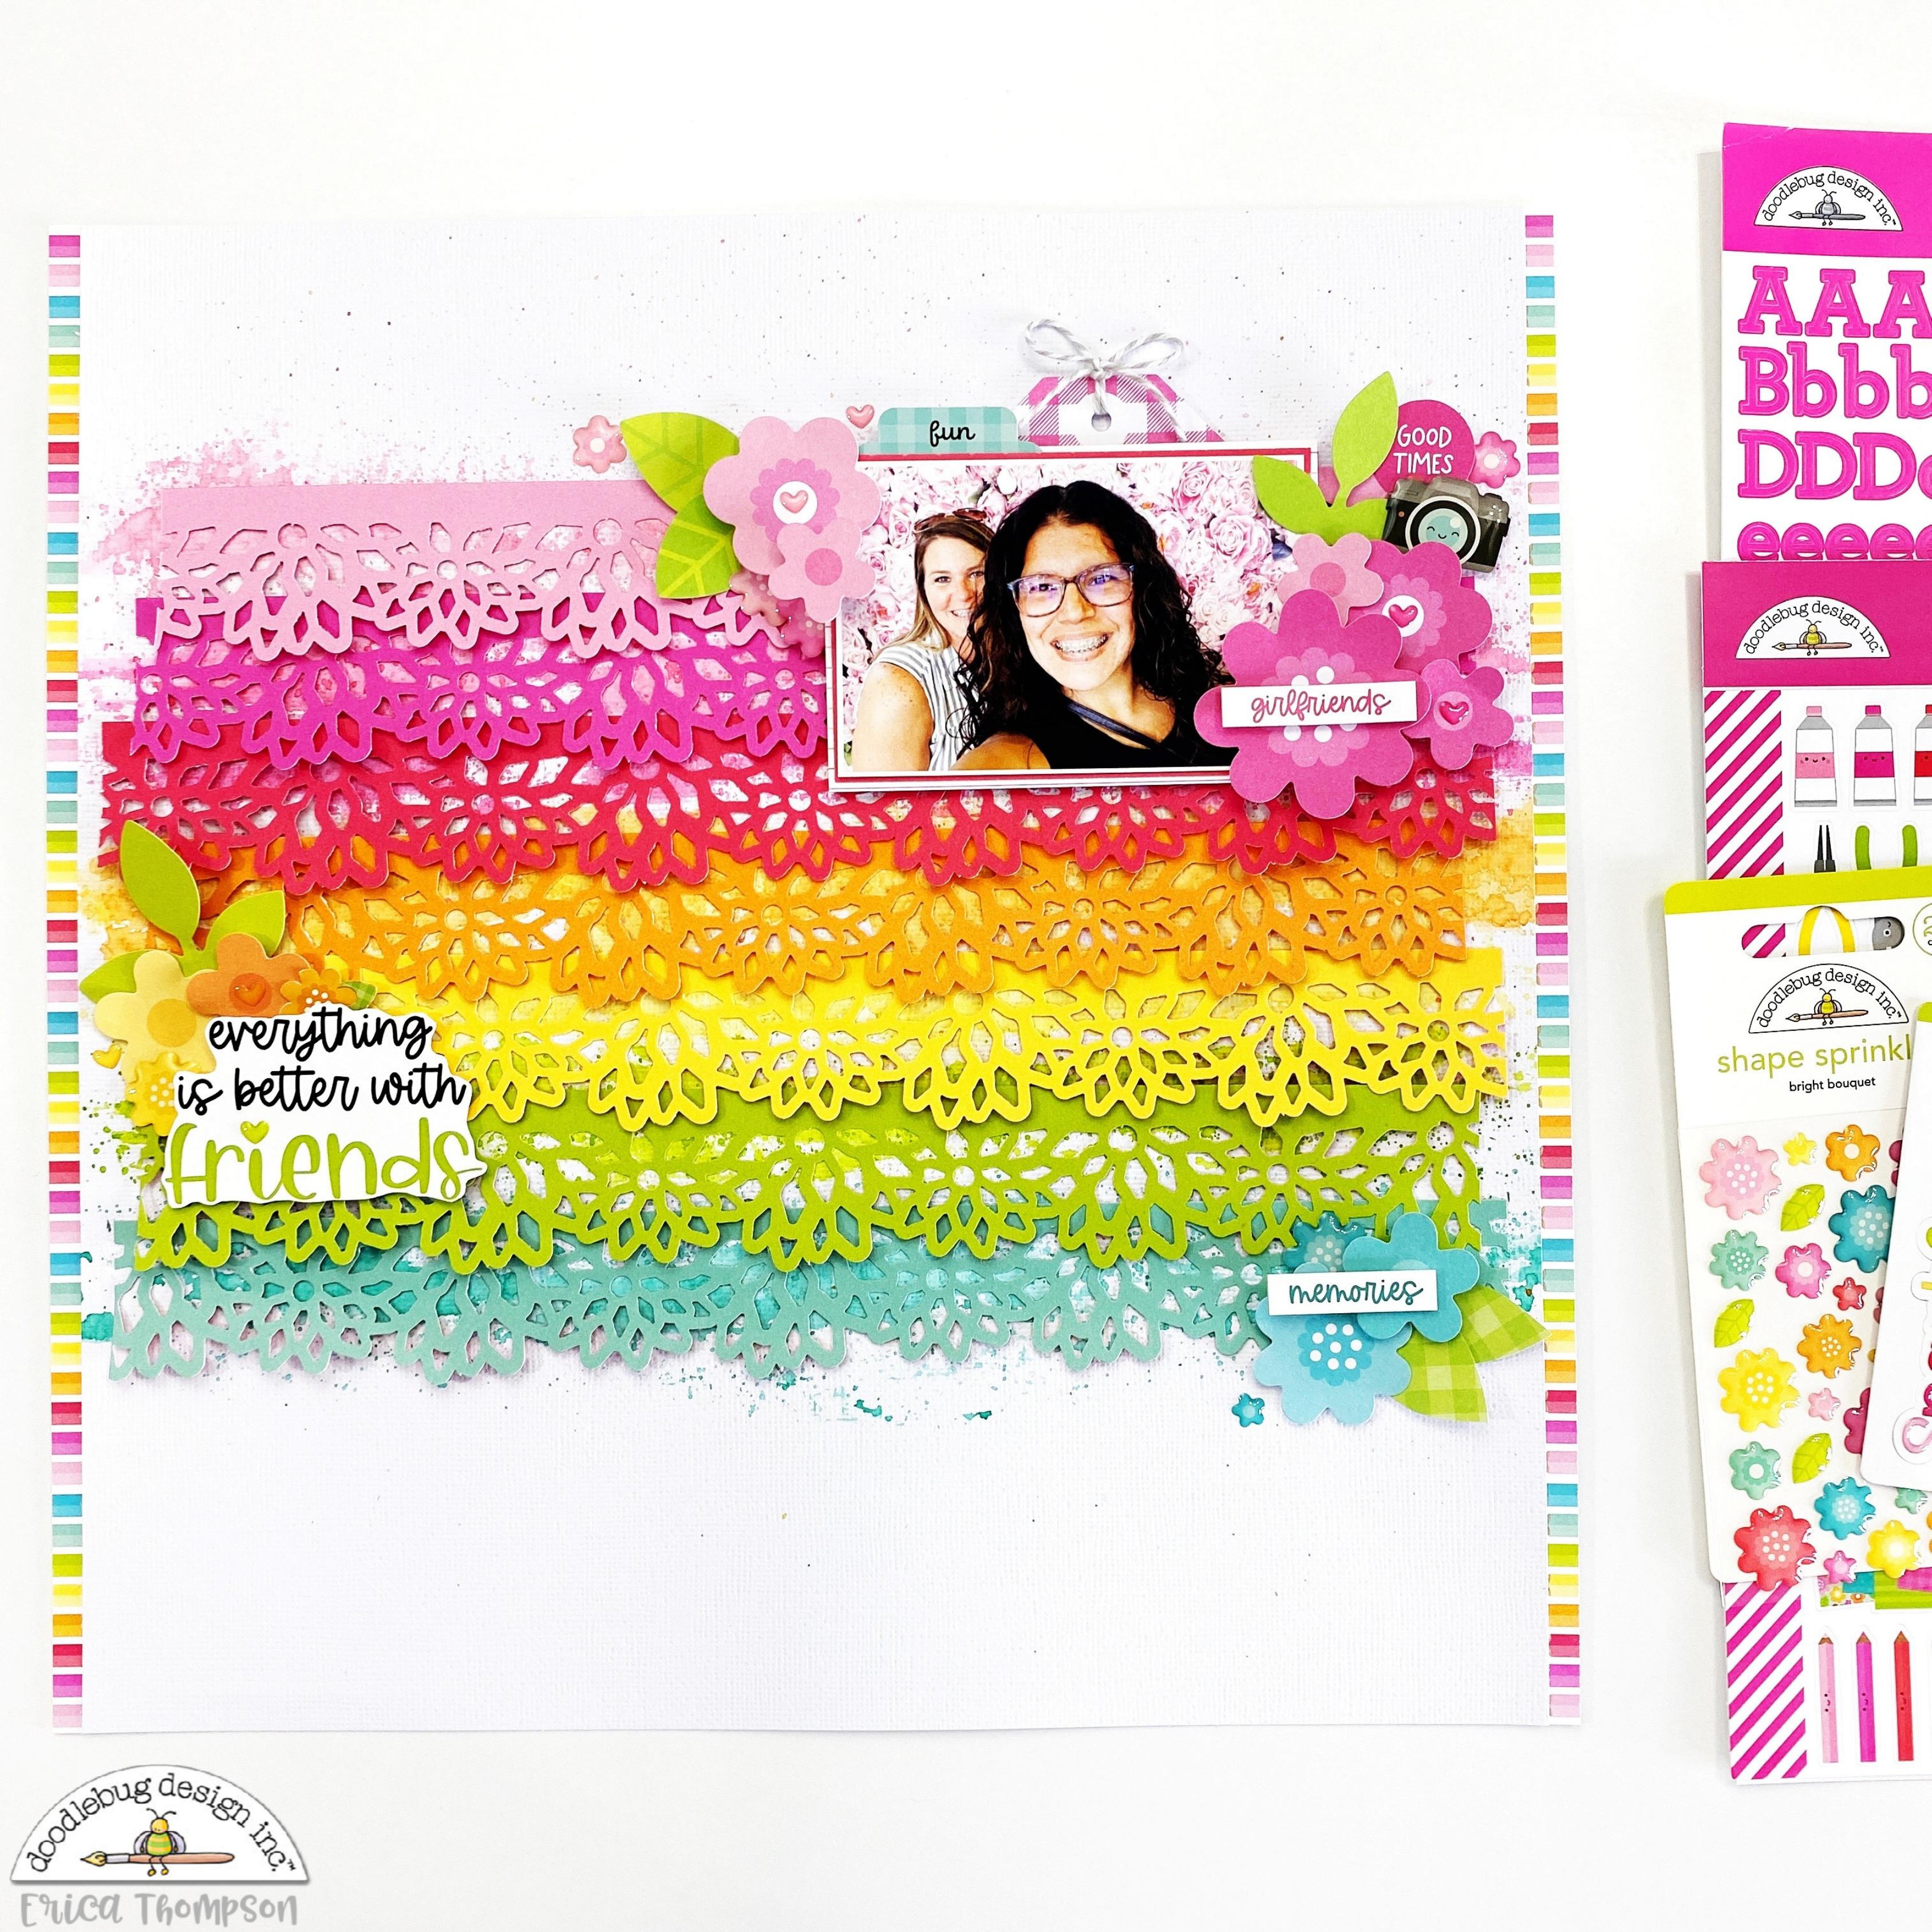
I started by cutting the strips of color from the Craft in Color 12x12 paper. I then used one of my large paper punches to punch out the strips.

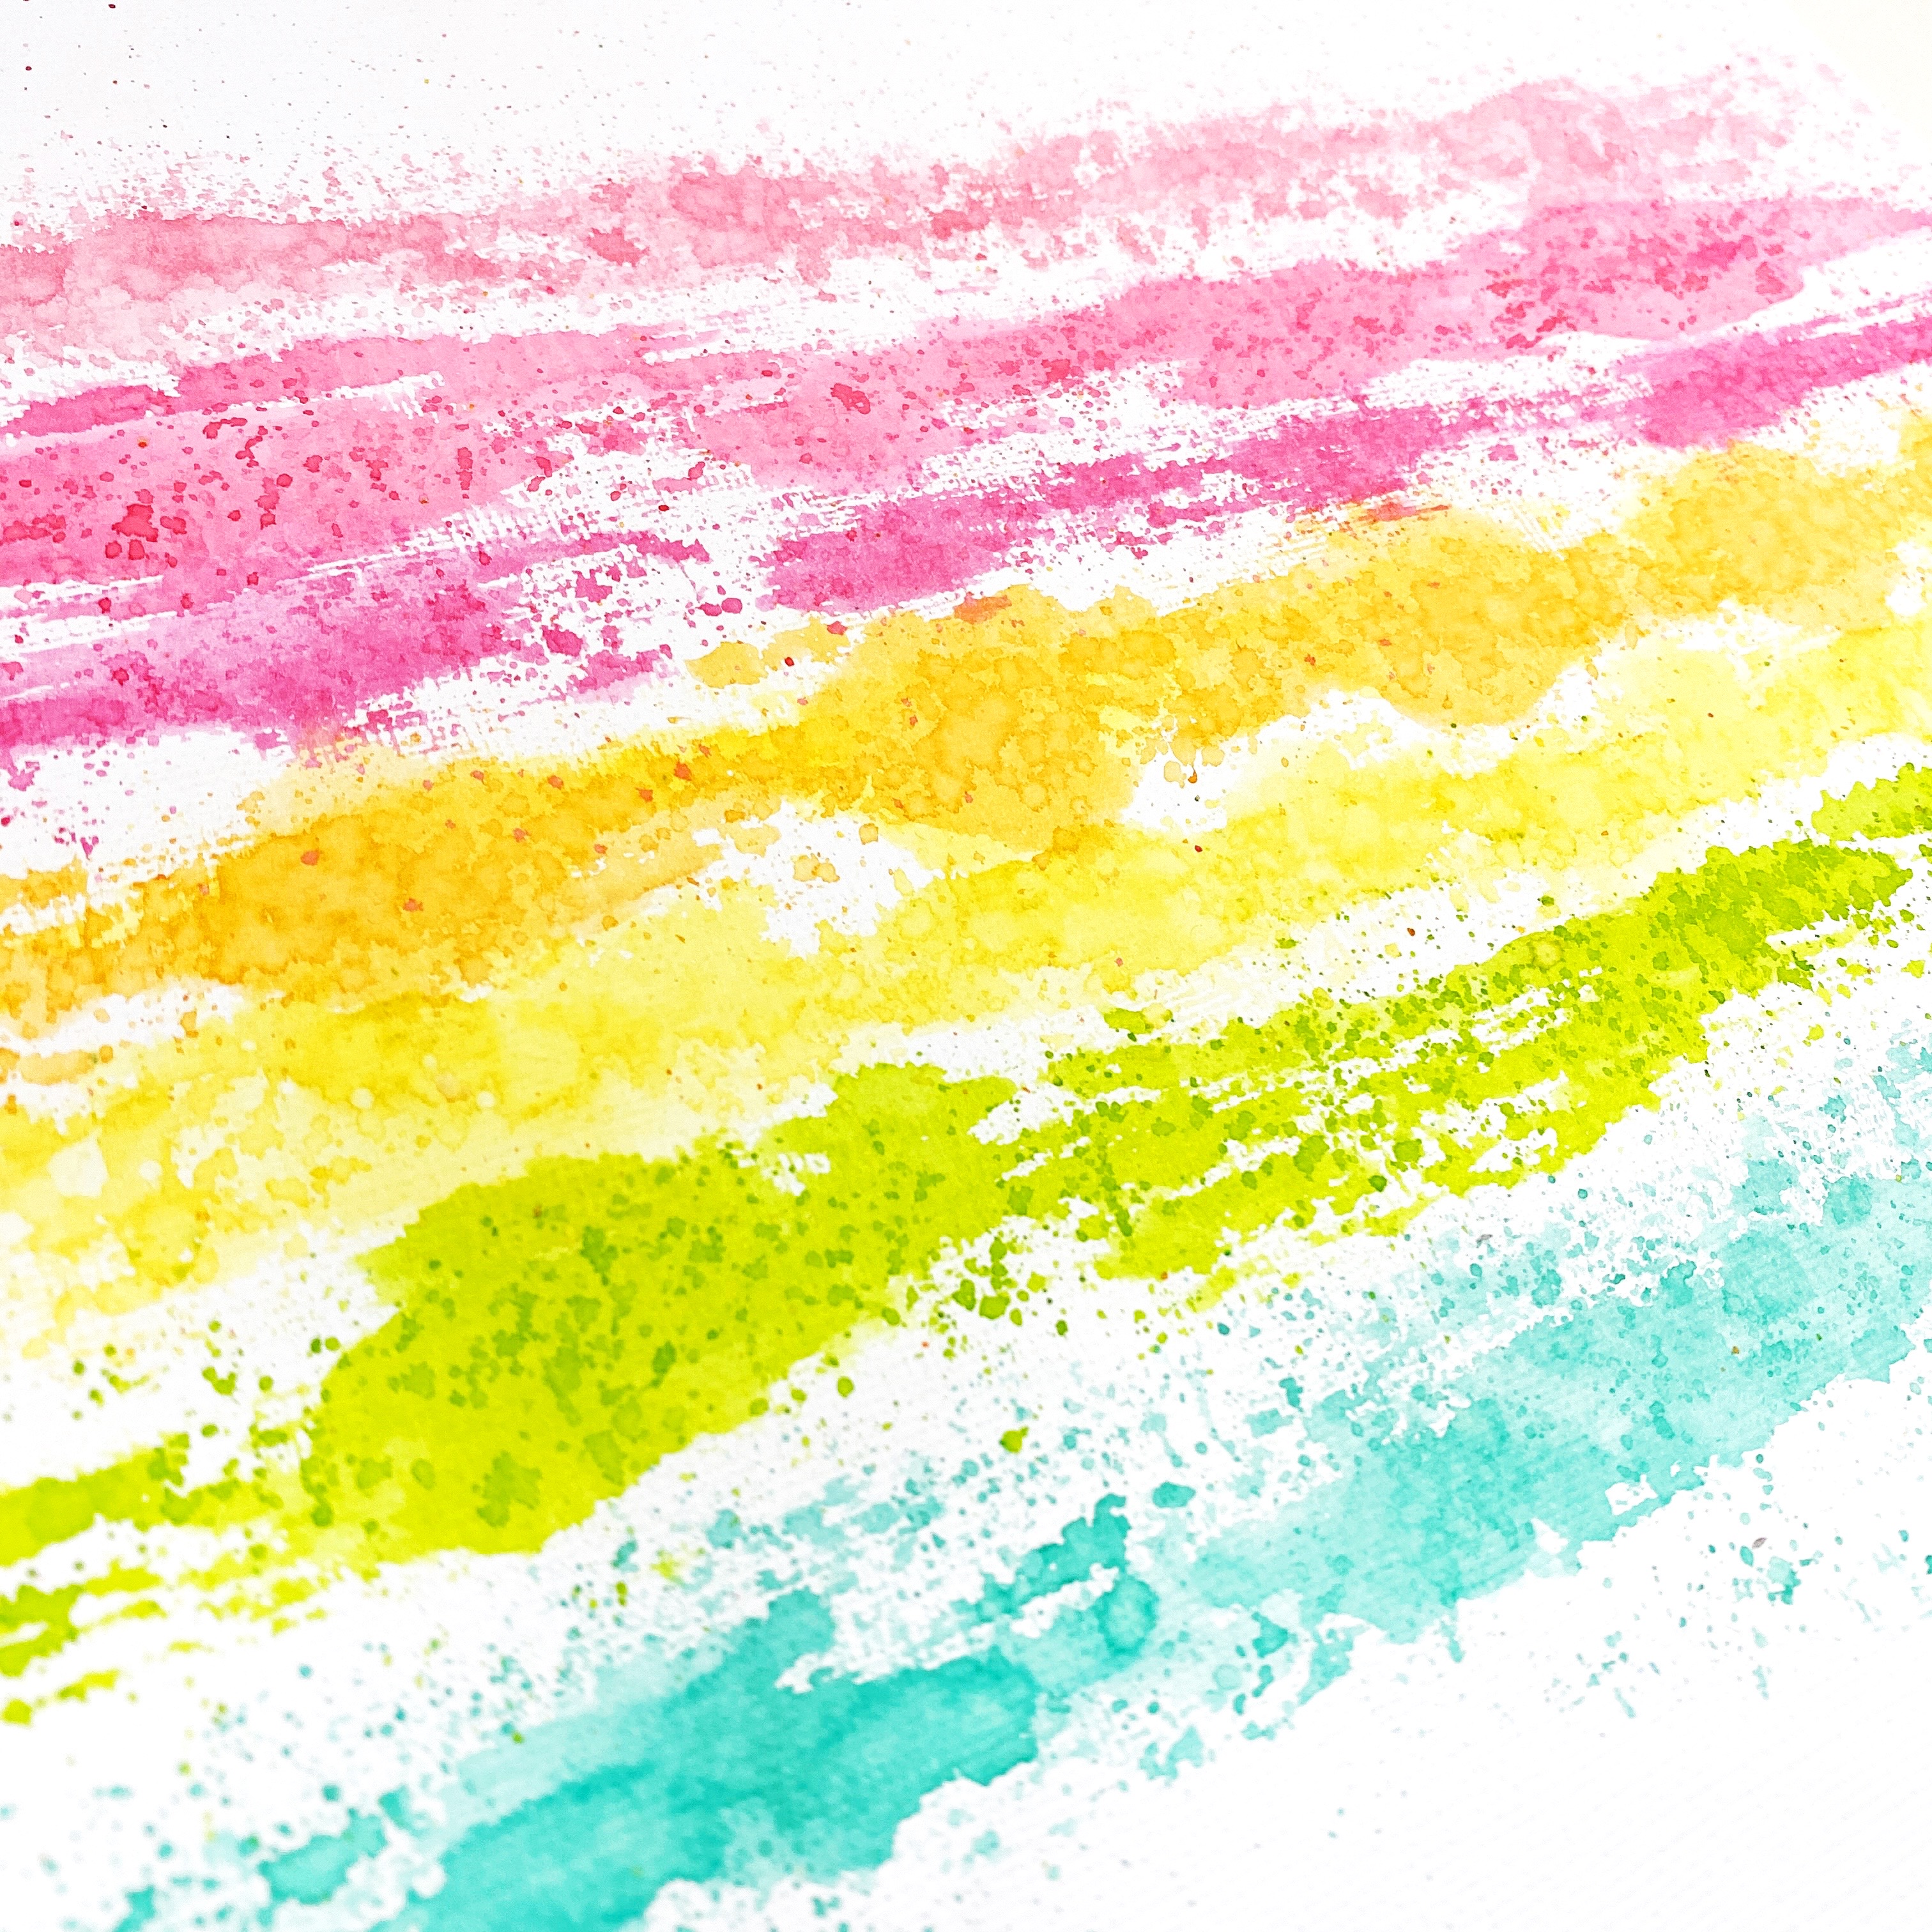
Next I took my Catherine Pooler inks and created strips of watercolor across my white cardstock. I knew a lot of this color was going to be covered up but I love that the color can be seen peeking out from the punched strips.

I adhered the punched strips to the background and ruffled up the ends just a little bit for some dimension. The Cute & Crafty collection is perfect to document more than just your scrappy adventures! I wanted to document a girls day with one of my besties! We went to a Sip & Shop and had so much fun! They had a fun backdrop set up so we snapped a photo!

To embellish around the page I used a some florals from the Cute and Crafty Bits & Pieces! I love this die cut pack so much! I created some floral clusters around the page trying to match the colors in the punched border strips!

For my title I used one of the large stickers from the 12x12 Cute and Crafty cardstock stickers and trimmed around the words with my scissors. I pulled out a couple packs of sprinkles to add around the page and to some of the floral centers! I just love how colorful this page turned out!

Thanks so much for stopping by today! I hope you enjoyed my layout using the Cute and Crafty collection.

Doodlebug Products Used

Cute and Crafty Collection
Bits & Pieces
Rainbow Heart Sprinkles
Bright Bouquet Sprinkles

Other Products Used

Catherine Pooler Designs Ink

Monday, July 19, 2021

CUTE & CRAFTY TREAT PILLOW BOXES | with Karen

I don't know about you, but I love to snack when I am crafting. I have learnt what works with my clumsy nature (I cannot tell how many projects I have ruined with a split drink) so little bite sized morsels of goodness that I can pop in my mouth are usually my go-to. Now, I don't often have people over to craft, but the new Cute & Crafty Collection has me thinking about all my crafty friends. And here's the deal, if you were to come over, I would definitely share my snacks! In fact, I would even make you some cute pillow boxes to hold the snacks - because the only thing better than crafty snacks are crafty snacks wrapped in Doodlebug goodness!

All-three-1

To create these pillow boxes, I simply used one sheet of 12x12 paper from the Cute & Crafty Collection, flipping over one to get a different pattern and then using the left over 6" to create 3 - 2" sleeves.

Close-up-1

Then I grabbed my new favourite product - Bits and Pieces - to create a few layered flowers and a little tab on one side of the sleeve for embellishment. This product makes projects as easy as can be - no special tools or cutting machines needed to create great visual focal points on your projects that can be layered to your heart's content.

Close-up-2

I finished them off with a few Mini Rainbow Heart Sprinkles, a cute button and some Doodle Twine for some added texture. Then I filled them up with treats (and ate a few) and they were all set to go!

All-three-2

So I guess the only question I have left to ask is - who is coming over to craft with me?  Thanks for stopping by!

BLOG | INSTAGRAM

Doodlebug Design Product:
Cute & Crafty Collection
Doodle Twine
Buttons
Mini Sprinkles - Rainbow Heart
Other Products:
Adhesive

Friday, July 16, 2021

CUTE & CRAFTY CREATE WITH FRIENDS LAYOUT | with Lisa

The crafty collection that you've been waiting for, is finally here!!!  When I got the new Cute & Crafty collection, I couldn't wait to create something with it... I even took a photo of me and two friends, when we were scrapping, to make sure to have my photo ready to go.  Here's my first layout created with the new super adorable Cute & Crafty collection.


For this first layout, I wanted to make sure to use as many of the cute little stickers, as I could. An easy way to do that, is to have something on your layout, that you can fill with stickers and embellishments.  Since it's a crafty collection and I love to have my layouts super colorful, I decided to go with splashes of color, that I could fill with tons of embellishments. 
I started by choosing the patterned papers and cardstock and then cut out random, wonky shapes for the splatters. As a background, I used the Colorful Canvas paper filled with little splatters of color. I just LOVE that paper and was so pleased to see it in the collection! :)


When I had my big splatters cut out, I inked the edges using my Distress Oxides and then distressed the edges with my scissors. I adhered them to the background, just putting a bit of glue in the middle of each splatter, so that the edges would bent up and give a lot of dimension. 

I went through the cardstock stickers and started adhering them to each splatter, using matching colors.  I also used enamel hearts and dots and jewels in each of the colors to fill smaller holes. I loved using some of the buttons and threaded some embroidery thread through them, with a little knot. 


I matted my photo on some layers of patterned paper, adhered it to the layout and then went on with my title. When it was time to create the title, I noticed that the background would be a bit crowded and that the title would probably have a hard time standing out... So I used white paint and a baby wipe to create some lighter areas around the photo. I wasn't sure how to make the title. At first I thought I wanted to make each letter with a different color. I tried that, but with all the color going on, it wasn't working. So I decided to go with a cursive font and the color black. 


I liked that a lot better and that way the title was really standing out and balanced the black in the photo. I added the words "with friends" to my hand-cut word "create", using alpha stickers in black.   I used two Doodle Pops around the photo and then also used some black enamel hearts and splattered some black ink, to add more black around the page. 


For a final touch, I ripped a bit of the background page from the upper right and bottom left and backed the missing pieces with the striped rainbow paper from the collection. 


I hope you like the layout and are excited to try the new collection!  Thanks for stopping by,


Facebook
 Instagram YouTube


Doodlebug Products Used:
Cute & Crafty Collection
Doodle Twine
Colored cardstock

Other products used:
Black pen
Distress Oxides
Black enamel hearts


Pin It button on image hover