Friday, September 3, 2021

CUTE & CRAFTY 3D SEWING MACHINE | with Jennifer

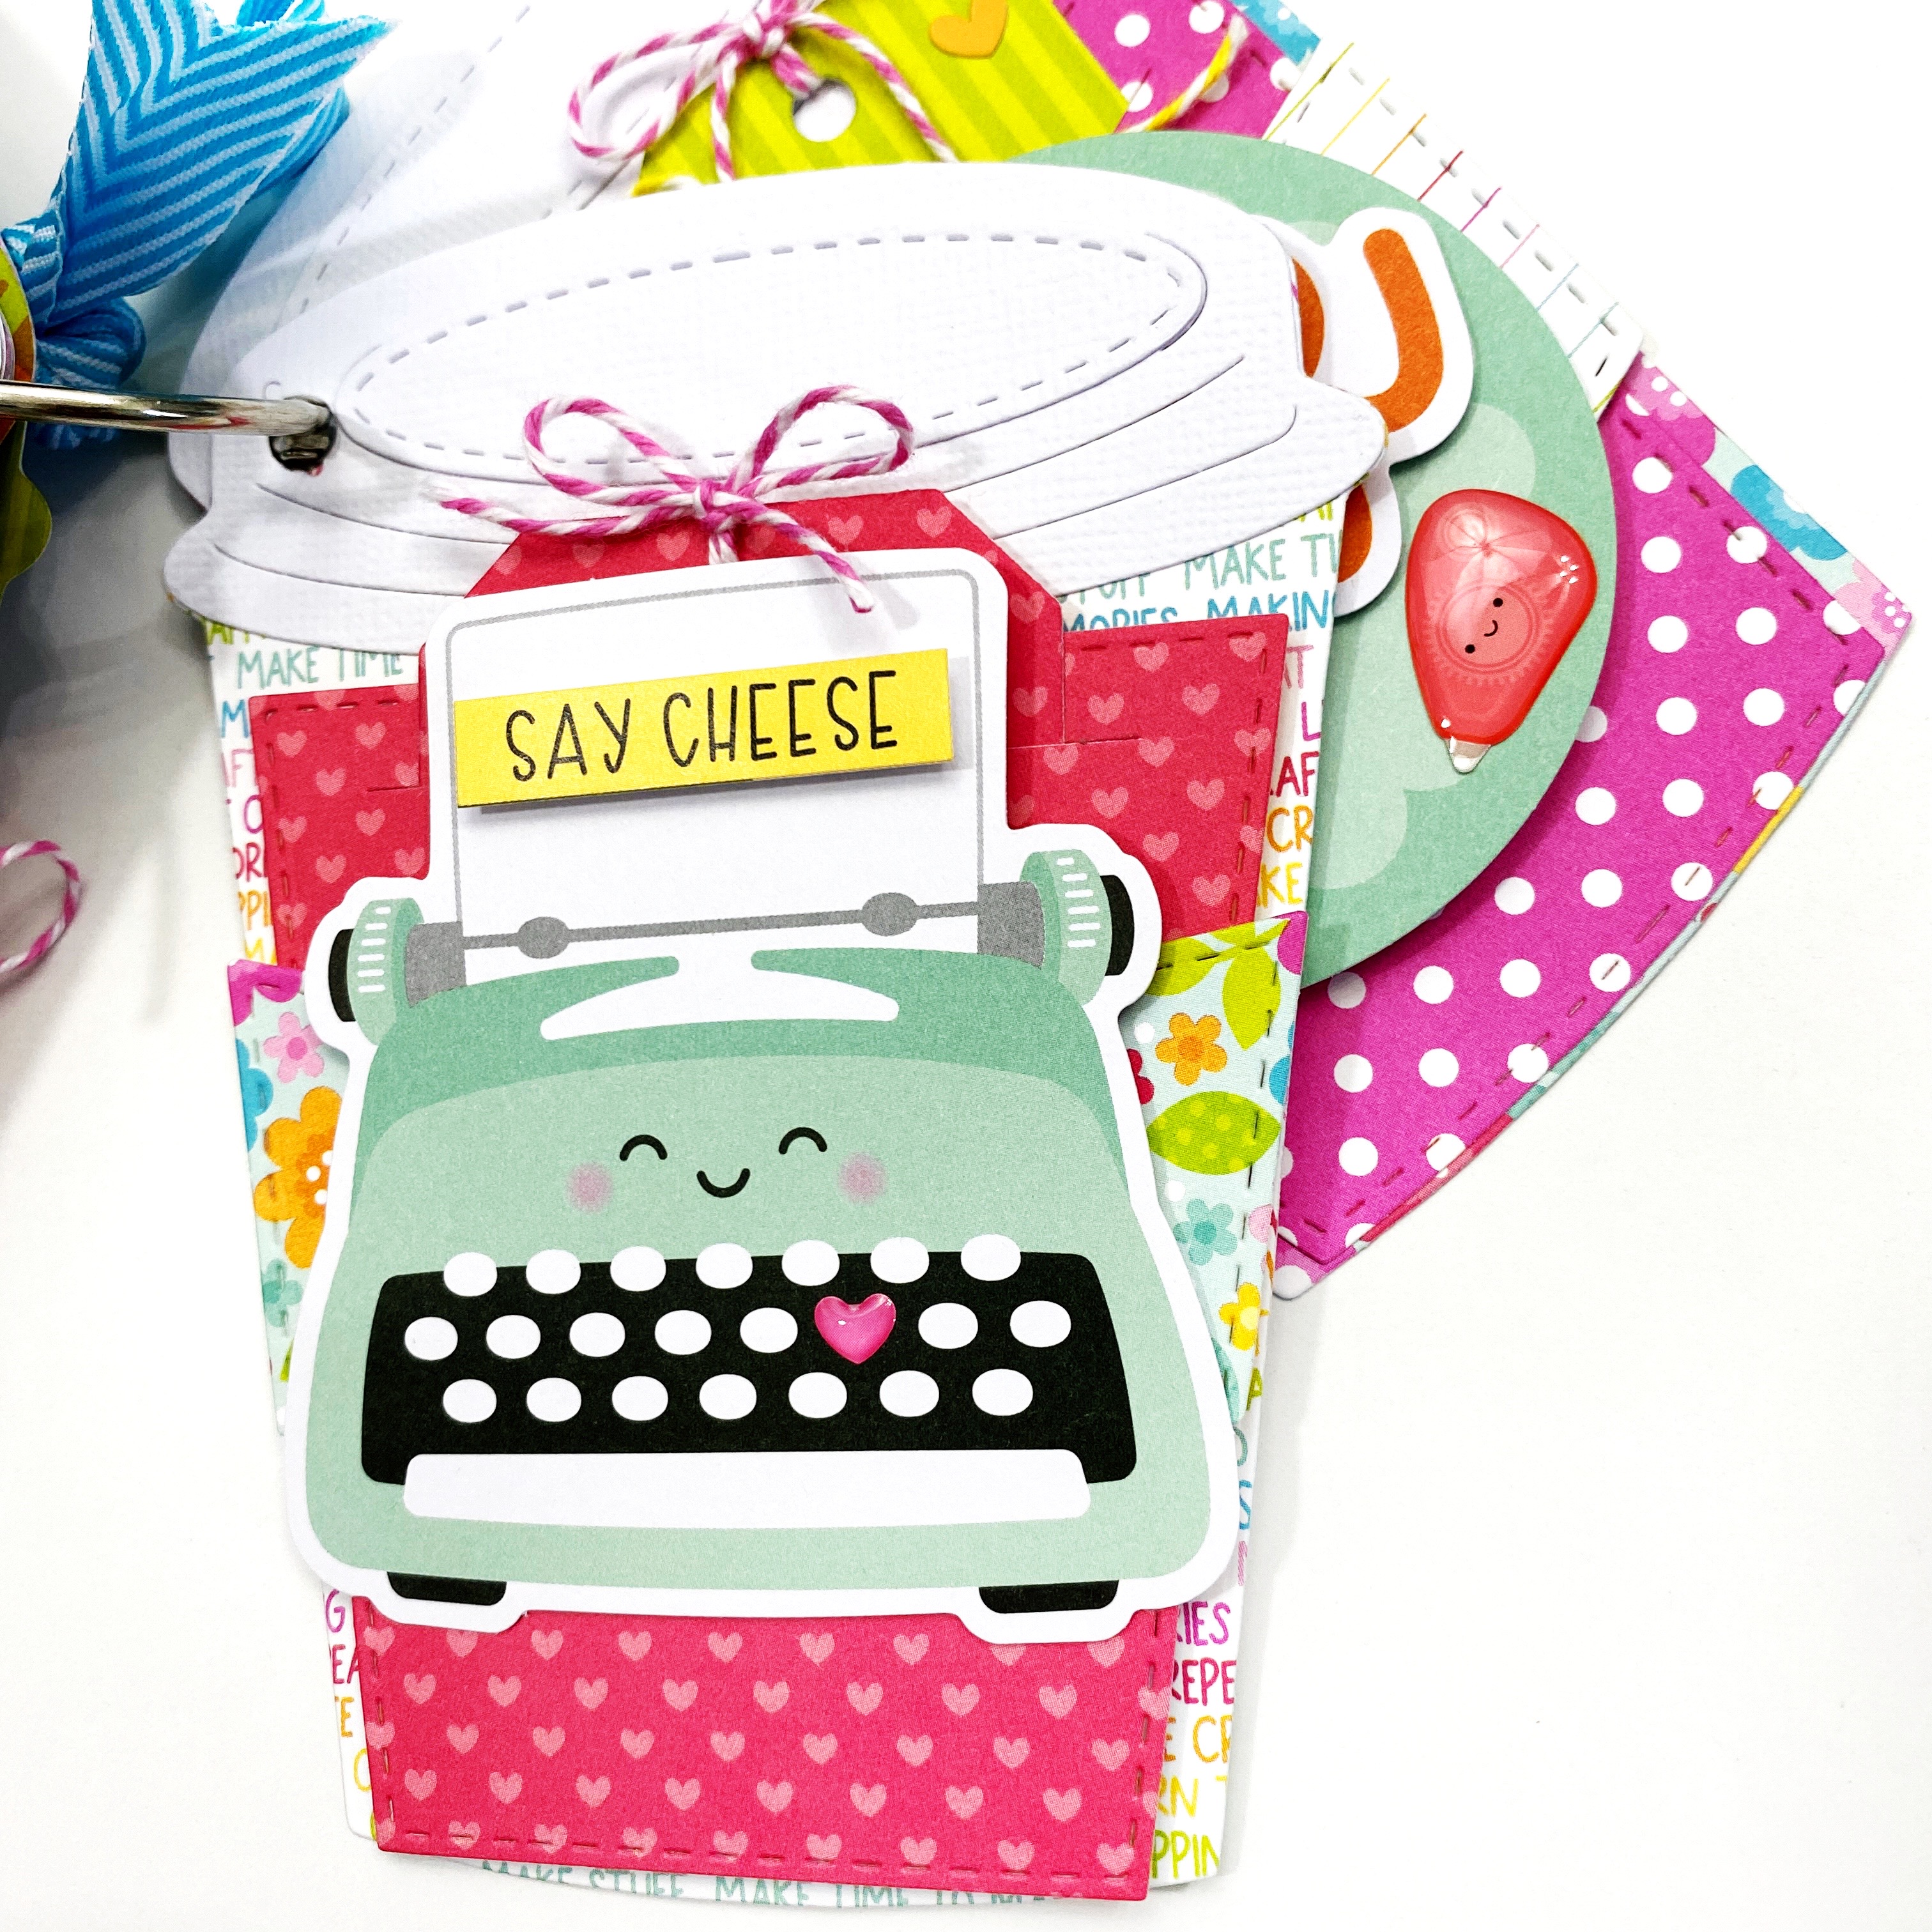
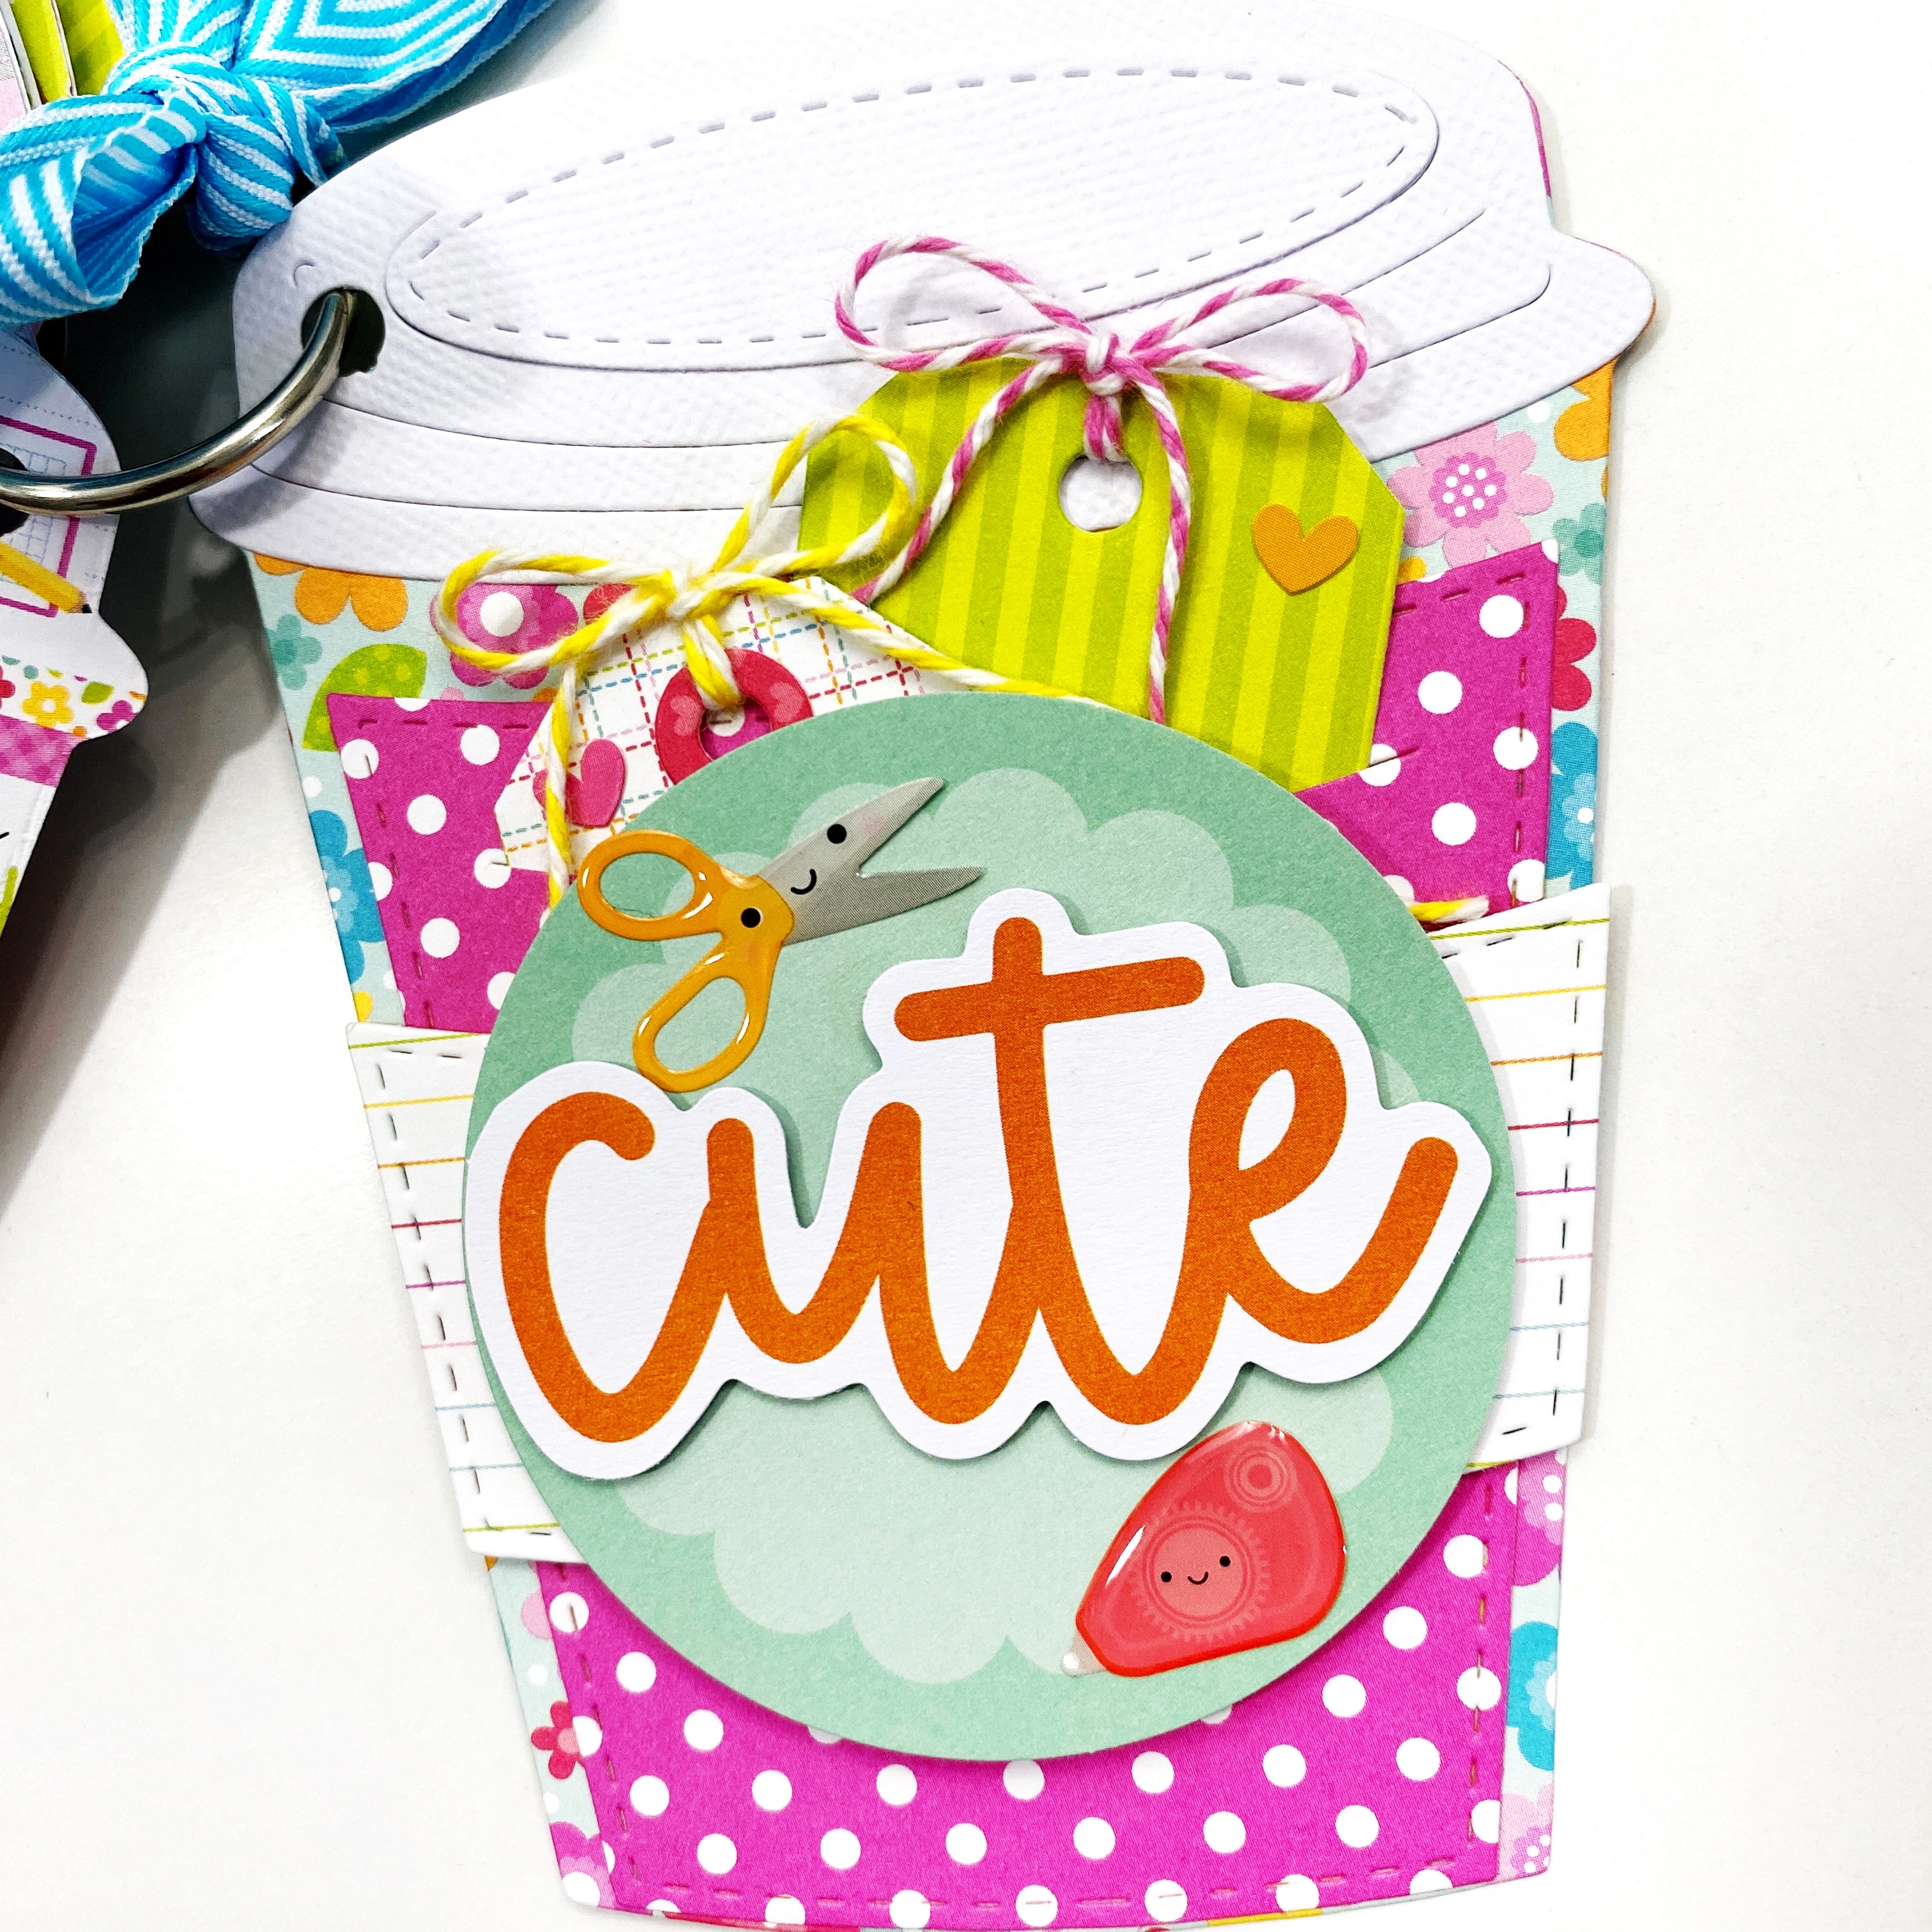
Hello Doodlebug friends. It's so good to be back and sharing this fun piece I created using the Cute and Crafty collection. My project is centered around this little cutie.

Here she is all dressed up and looking "sew" cute in her Doodlebug patterned papers and embellies.

Here's how the machine looked when I got started. You can see I omitted some of the cutting file design and just kept the basic shape. It was cut from 9 layers of foam board, which is almost 2 inches thick. So to cut this out I used my table saw. After cutting out the machine I decided, to cut two more additional layers. One for the back and one for the front. This time I left a half inch off the bottom as indicated in the pics below. Using chipboard I covered the entire machine with chipboard

Here's my draft of the machine, with all the wood and chipboard pieces I used. The pieces were covered with patterned paper or paint.

The spools in the file were so adorable, so I tried to recreate them. I added a little paper and embroidery floss for the body and tiny sprinkles for his eyes.  The label adds a little color and of course a cute pun.

I always love to add a title to my pieces and here you can see I used buttons, die-cuts and and stickers to the front of the machine. A little stitching and a measuring tape, fit with the theme and were added as well.


Thanks for joining us today. Happy Crafting!! :)

 Blog | Etsy | Pinterest

DOODLEBUG SUPPLIES

Cute and Crafty Collection
Chunky Twine
Sewing Machine Cutting File
Boutique Buttons
12x12 Petite Prints - woodgrain/ buffalo, linen/gingham


OTHER
wood spools and other small wood pieces

chipboard
paint
foam board
tape measure

Thursday, September 2, 2021

CUTE & CRAFTY COFFEE CUP MINI ALBUM | with Erica

Hey friends! Raise your hand if you love to create mini albums? I am a mini book lover and have so much fun creating chunky books to use up my smaller pieces of leftover pattern paper!

I have been using the Doodlebug Design Cute and Crafty collection a lot and have smaller pieces of scraps to use up! A mini album is perfect for this and I can fill it with scrappy adventures with my friends! I wanted to do something a little different so I pulled out a coffee cup gift card holder die from My Creative Time. I have used this die many times to create fun gift card holders but today I am going to use it to create a mini album!

I cut the different pieces out in a bunch of different papers from the Cute and Crafty collection. I wanted this album to be so fun and colorful. Instead of using the slots for a gift card I am going to use it to hold tags and photo mats so I can tuck in lots of photos and journaling!

I used some of the tabs from the Cute and Crafty Bits & Pieces pack to create little pull tabs for some of the photo mats.

Using the Doodle Cuts Stand Alone Large Tags set and my paper trimmer I created some tags. I tied bows at the top of the tags using the Doodle Twine in colors to match the collection.

Embellishing this mini album was so much fun! I added Odds and Ends, Stickers, Doodle pops and different shape sprinkles throughout the album.

I can't wait to fill this sweet coffee cup album up with some scrappy memories!

I hope you enjoyed this mini album! It was super easy to put together and it was a great way to use up some Cute and Crafty scraps! Thanks so much for stopping by today!


YouTube | Instagram | Facebook | Blog

Doodlebug Products Used

Cute and Crafty Collection
Doodle Cuts Large Tags

Other Products Used

Coffee Cup Gift Card Holder Die

Wednesday, September 1, 2021

CUTE & CRAFTY CANDY WRAPS | with Karen

It is back to school time in the Scrappycanuck household! The summer has come to an end and we are starting to get back into the groove of things. Well....sort of...

But you know what always helps with these kinds of transitions? Doodlebug and chocolate, of course! And while the new Cute and Crafty collection is perfect for us crafters, it also happens to be PERFECT for school themed projects too! So I decided to make some little chocolate bar sliders that I could give to some of my teaching colleagues just as a way of saying, "Welcome back and here's a little something just in case!"

Chocolate bar sliders are really just a little sleeve that you create to cover a tasty treat of your choice! The ribbon is tied in a way that the bar can slide up without having to be untied. But really, if someone just needs to get right in there quickly, the bow offers a quick release method as well! 

As I was deciding on the papers I wanted to use for the project, I realized that the 4"x3" cards on the Precious Posies paper was the perfect size for my sliders and offered all sorts of cute options for my sentiments. How easy is that?

I embellished them a bit with some Sprinkles and Mini Jewels and then created the sleeve from the Bright Ideas paper - my favourite pattern in this collection actually! I added some Mini Doilies and Min Paper clips for texture and interest too! Once they were loaded up, I was all set.

Well, I have a few more of these to finish up for my pals so I better get back to the crafty table! If you are facing any transitions right now in your life, I hope they are as smooth as chocolate for you too! Thanks for stopping by!


BLOG | INSTAGRAM

Doodlebug Design Product:
Cute & Crafty Collection
Shape Sprinkles - Bright Bouquet
Mini doilies
Mini paper clips
Other Products:
Adhesive

Pin It button on image hover