Showing posts with label Treat Containers. Show all posts

Thursday, September 11, 2025

FARMERS MARKET TREAT CONTAINERS | with Karen

Good morning Doodlebug fans. Today, I am over the moon because I get to share a project with one of my favourite collections - Farmers Market. I know, I know - I say that about every Doodlebug collection. But this one is one of my favourites because it reminds me of all the things I love about this time of year - the end of the growing season, the warm colours and all the plants in my garden that I worked on all summer. It's a comforting time of year for me and I feel like this collection captures that feeling.

Because of all that, this collection often inspires to give thanks and to give to others. Treat containers are a great way to do that. You can tuck a little note inside together with a little treat and you can spread the warm fuzzy feelings of the fall with those are you.

For these pillow boxes, I actually decided to use some Petite Prints as my base. I actually love using these printed papers for treat containers because I don't have to worry about coordinating colours. Because the Petite Prints come in the classic Doodlebug colours and are monochromatic, you can even make up a whole set to keep on hand to match any collection you are working with. I always cut a bunch at a time to keep in my stash!

For these cuties, I used the Farmers Market patterned paper for the band because those smiling veggies make me smile. I would like to think that this is how all of my plants are feeling at this time of the year - all plump and happy! Then I layered some of the Bits & Pieces from the collection on top. There are so many pretty floral shapes and leaves to create your own little paper bouquet on top. Use some foam adhesive underneath them to get some added dimension!

And then for a little sparkle, add a few mini jewels to take the project to another level. There is something about adding a little shiny touch that elevates the project a bit. And since the mini jewels have adhesive on them, it couldn't be easier to just "zhuzh" it up a bit.

There you have it! Fill these treat containers with some goodies or even some seeds that you have harvested from your garden and you have a beautiful little gift to share with those that you are truly thankful for! It will give the fall warm fuzzies for sure! Thanks for stopping by! Hugs,


BLOG | INSTAGRAM

DOODLEBUG PRODUCTS USED

7823 farmers market 12x12 patterned paper
7818 bits & pieces farmers market
7817 chit chat farmers market
6134 petite prints floral-graph
5448 petite prints dot-grid-daisy-linen
6718 mini jewels bumblebee assortment

OTHER

Adhesive

Monday, March 18, 2024

BUNNY HOP BUNNY TREAT CUPS | with Kathy

I'm a big fan of cute little treat holders... boxes, bags, cups... I love them all! (well, maybe it has something to do with the treat itself....)  When I saw the Bunny & Friends Doodle Cuts, I knew exactly what I was going to make with them!  Check out these fun little bunny flower cups!!


I started by making a few of the bunnies from the Doodle Cuts set.  I dressed them in fun spring colors using some petite prints.  I then made little flower cups using SVGs from Lori Whitlock with papers from the Bunny Hop 6x6 pad. (I downsized the files to 60%)  I love the smaller prints... they're perfect for little projects!  I attached the bunnies' paws to the cups using a little hot glue so it looks like they are holding the flowers.


How bright and spring-y they look!  I like my projects to look as cute from the back as they do on the front, so I cut extra outfit pieces and decorated the back of the bunnies. I added little white pom-poms for their tails!  


Here are some close ups of the individual bunnies...


I plan on using these on my Easter table, but they would also make fun classroom treats or a little something for a friend or coworker!  I hope you all have a wonderful Easter, that's it for me today, thanks for stopping by to peek!


DOODLEBUG PRODUCTS USED

Bunny Hop Collection
Bunny Hop Coordinating Textured Cardstock
Bunny & Friends Doodle Cuts
Floral/Graph Petite Prints
Plaid/Polka Dot Petite Prints
Sprinkles

OTHER

Flower Bowl Bundle SVGs
Pom-Poms
Hot Glue
Sizzix Big Shot

Tuesday, June 13, 2023

PETITE PRINTS TREAT CONTAINERS | with Karen

I am a huge fan of creating treat containers. I love being able to have some on hand every now and again for a quick pick me up for those around me. The side benefit is that I have an excuse to go shopping for treats to put inside, and maybe sneak a few as I am filling them up.
  All-three-1  
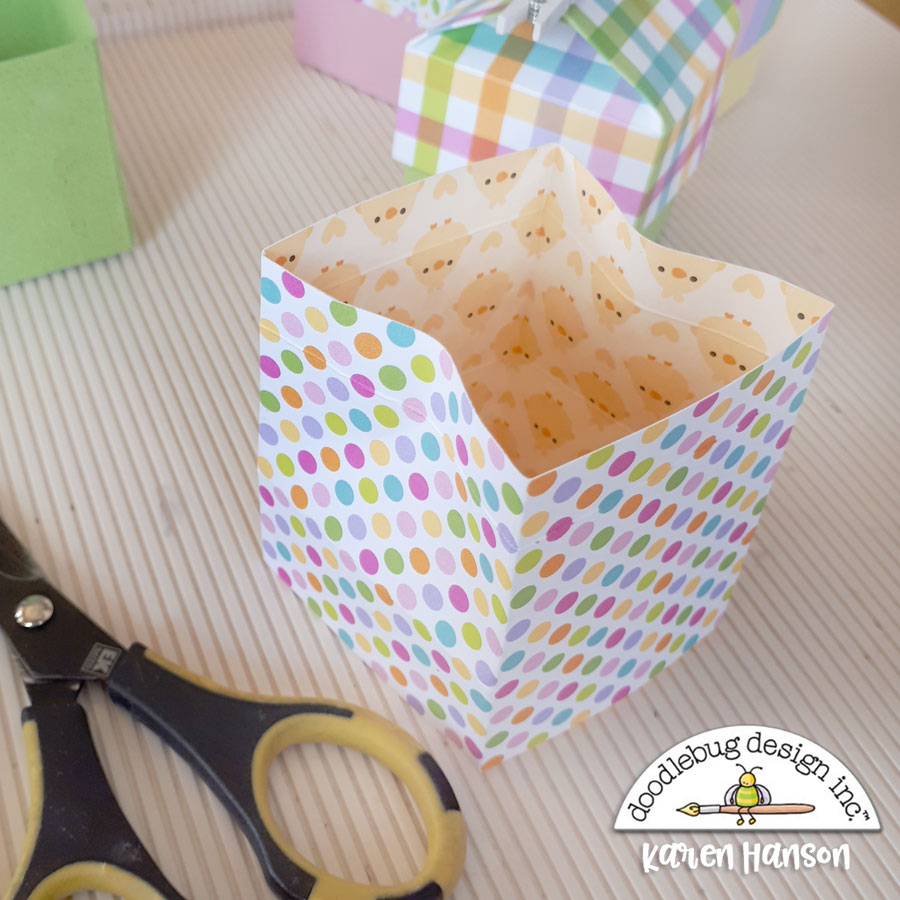
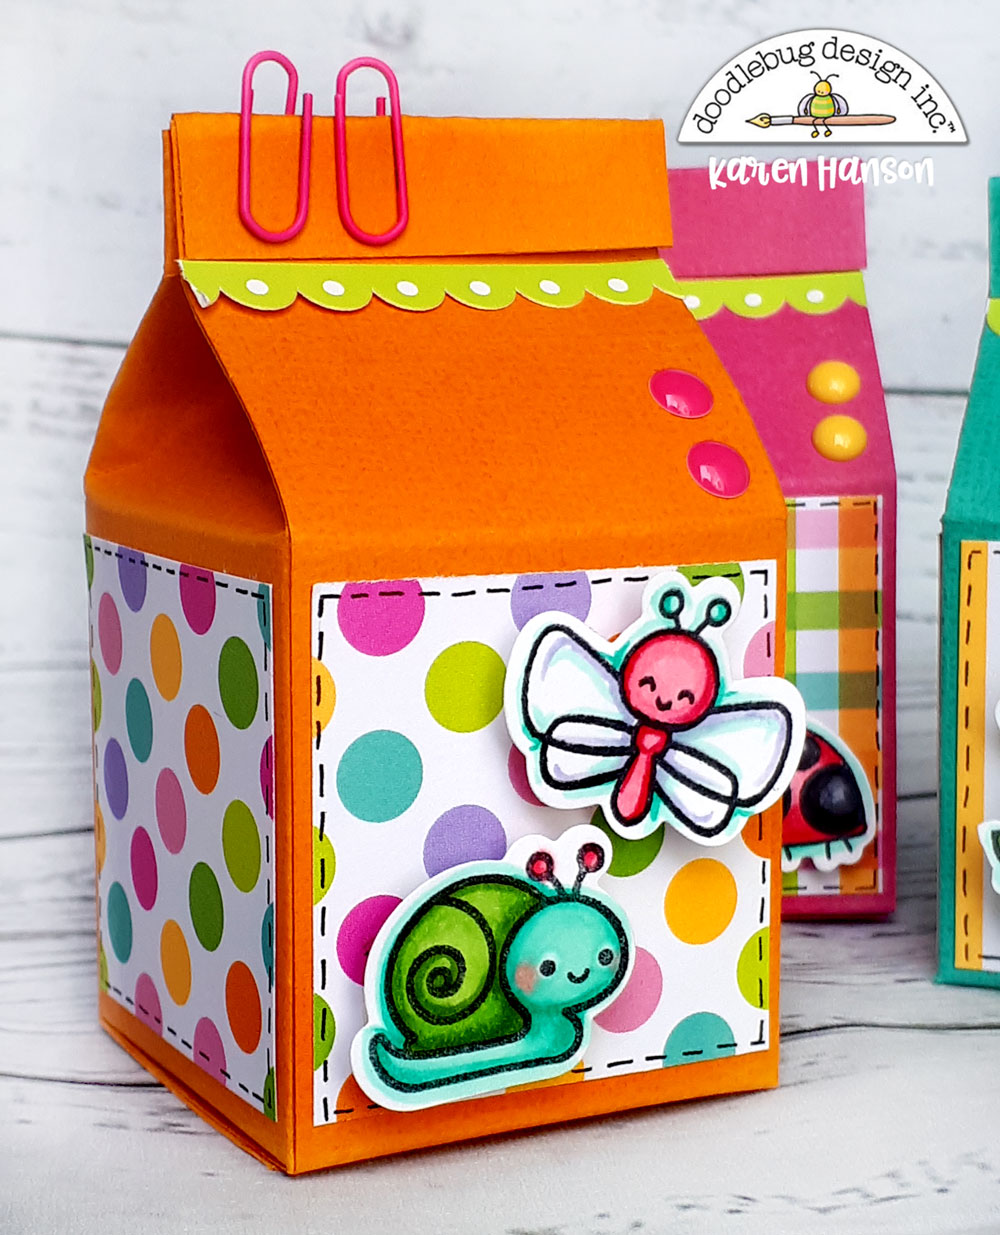
Without question, one of my favourite treat containers to make are these cute mini milk cartons with a removable lid. And one of the best Doodlebug products to craft them with are the Petite Print 12x12 papers!
  Open 
Petite Prints are perfect because each side has a different design, but the colours are a perfect match. You can create these little monochromatic pieces that are also really interesting.
  Close-up-1 
And the patterns are versatile enough that you can also use them for embellishments too. In this case I used the Candy-stripe Sprinkles paper to create all parts of these 3D flowers. Since it is such a subtle print, it works perfectly!
  Close-up-2 
And if you are not necessarily for the mixing of patterns, we can't be friends. I am just kidding - of course we can be, and I will just make you one of the treat containers with the same side of the pattern for both top and bottom!
  All-three-2 
Yup - I feel like I could make these everyday and be happy. They are just cute, bright and cheerful. I think I need to go make sure more! Oh, and if you want to know how to make there, I do have a tutorial here on the Doodlebug Blog that you can check out. Thanks for stopping by! Hugs,


BLOG | INSTAGRAM

DOODLEBUG PRODUCTS USED

Petite Prints - Candy-stripe Sprinkle
Mini Paper Clothes pin
Mini Jewels

OTHER

Adhesive
Monday, March 1, 2021

HIPPITY HOPPITY TREAT CONTAINERS | with Karen

I know I tell you this every year about this time, but those little chocolate eggs are my absolute weakness.  You know the ones I mean.  I know you do.  When those hit the stores, I am done for!  The great news is that I always have an excuse to buy them because Doodlebug releases the most adorable Easter collections that are begging to be turned into treat containers.   Cue this year's Hippity Hoppity collection...

I mean, it doesn't get any cuter than this!  Amazing colours and patterns and the most adorable Shape Sprinkles that were the perfect feature for these little containers! 

Those little chickies in the Sweet Tweets pack - "sweet" is absolutely right!  

I trimmed up these containers with of the Spring Meadows paper and a sentiment from the Chit Chat pack.  A simple, but oh, so cute container for those infamous eggs!  

And just in case you love those eggs as much as I do and needed an excuse to buy some (because I know you have already bought the Doodlebug collection, right?), I thought I would put a little tutorial together for you so you can make them too!

Hippity Hoppity Treat Container Tutorial:

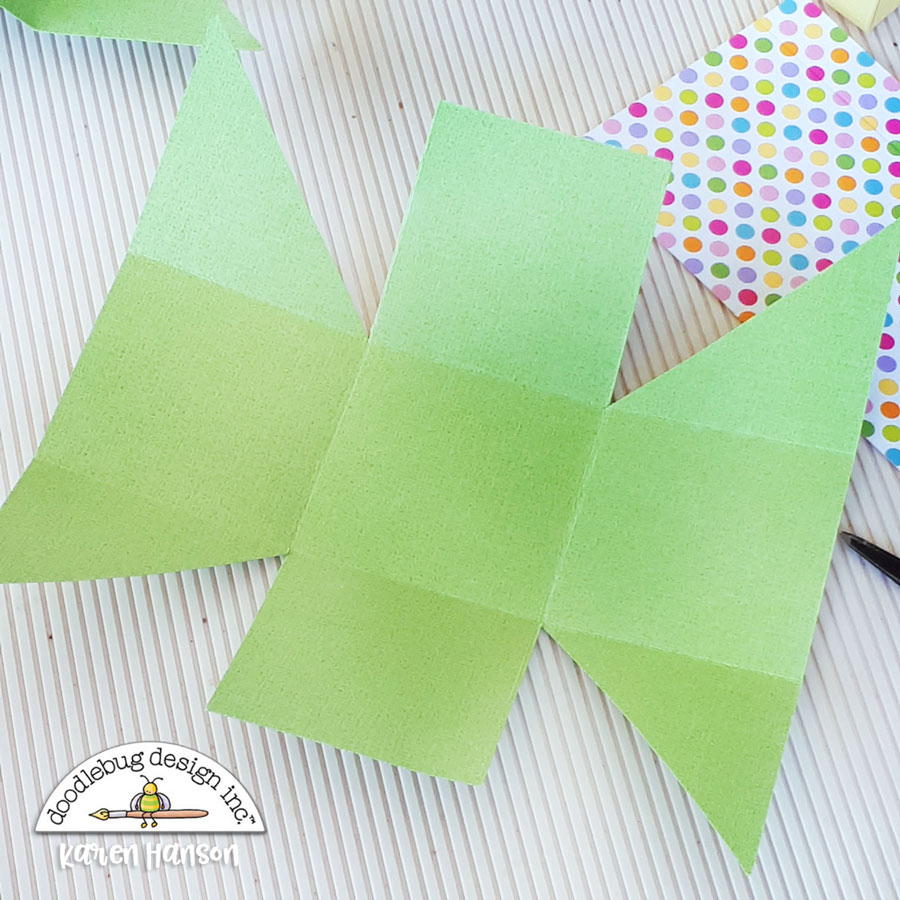
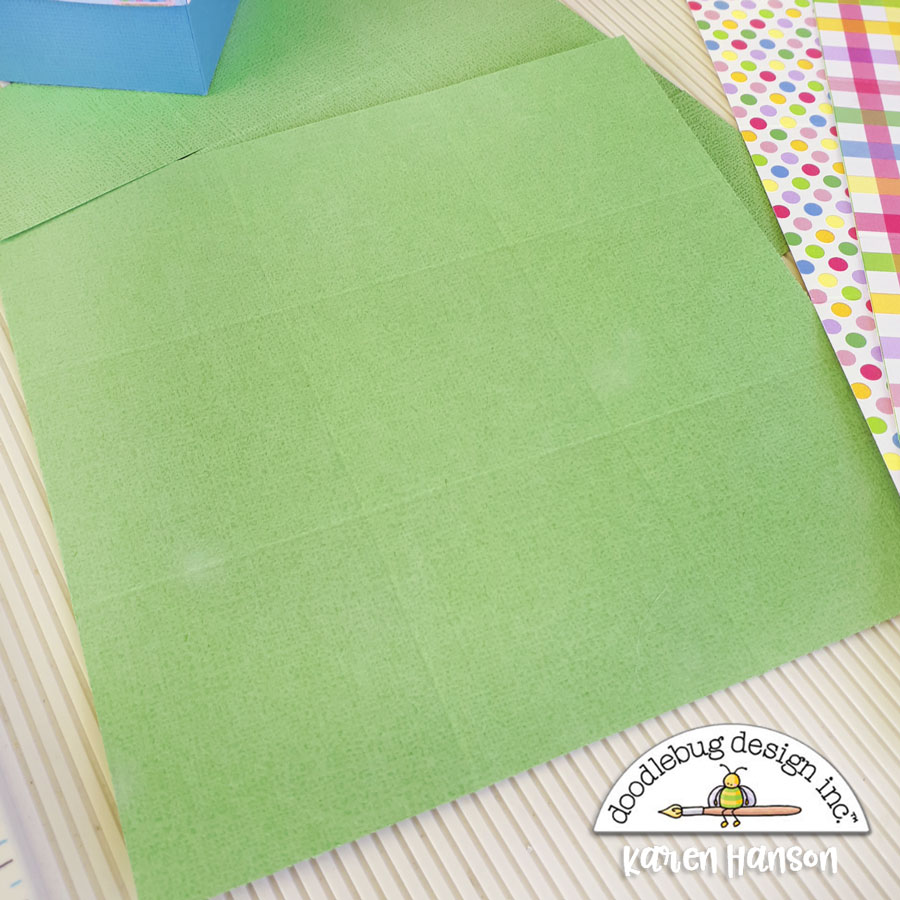
1.Cut a piece of paper (I love the textured cardstock for the bases) to 6x6".  Score at the 2" and 4" marks.  Turn your paper 90 degrees and score again at the 2" and 4" marks.  

2. For the top - cut a piece of paper 9 x 2 3/4" Along the long edge, score at the 2 1/8", 4 1/4" 6 3/8" and 8 1/2". Turn your paper 90 degrees and score at the 1" and 2 1/4" marks.

3. On the base piece, cut up from the bottom along the score lines.  Trim off a triangular shape to the bottom corners on both the left and right sides.   Turn your paper 180 degrees and repeat on the opposite edge.  

4.  Flip over your paper and run liquid glue on each of the triangular sections.  I like to use the liquid glue as I find that it is stronger once dry (I want to make sure they can hold those eggs securely).  Fold these ends up and tuck them inside the remaining square sections to form the sides of your container.  

5. Using the top section, add liquid glue on the 1/2" flap and glue together to form a tube.  On opposite sides (it doesn't matter which ones as long as the are opposite), pinch the paper slightly inwards.  Make sure the 1/2" score section is at the top.

6.  Using your fingers, continue gently pressing inwards along the pinch until this shape emerges.  

7.  Add some liquid glue along the 1/2" top tab and pin closed right on the bottom of the tab until dry.  Doodlebug's mini clothespins are actually perfect for the job!

8.  And then embellish away!  

These make a perfect addition to an Easter basket, make great thank-you gift for teachers and other special people or look adorable as place setting treats on your Easter dinner table!  I hope you will consider giving them a try!  Thanks for stopping by!

BLOG | INSTAGRAM

Doodlebug Design Product:
Hippity Hoppity Collection
Textured cardstock
Mini clothespins
 
Other Products:
Ribbon
Adhesive
 

Monday, May 25, 2020

DOODLE STAMP & CUTS - TREAT CONTAINERS | with Karen

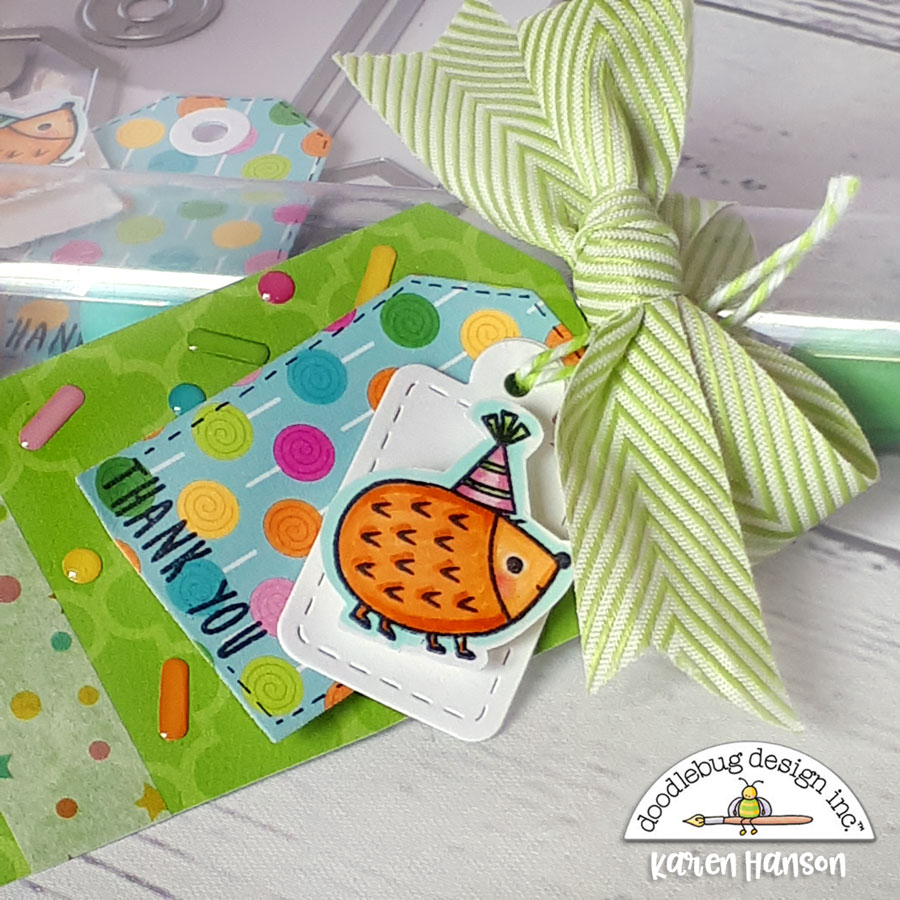
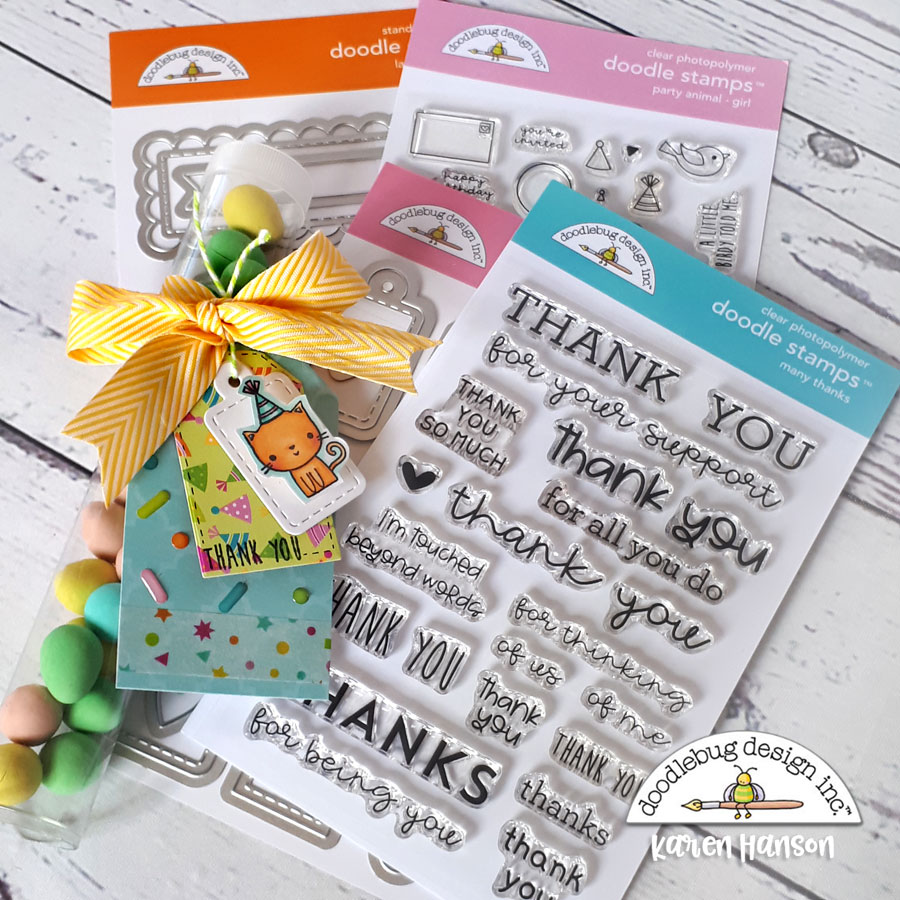
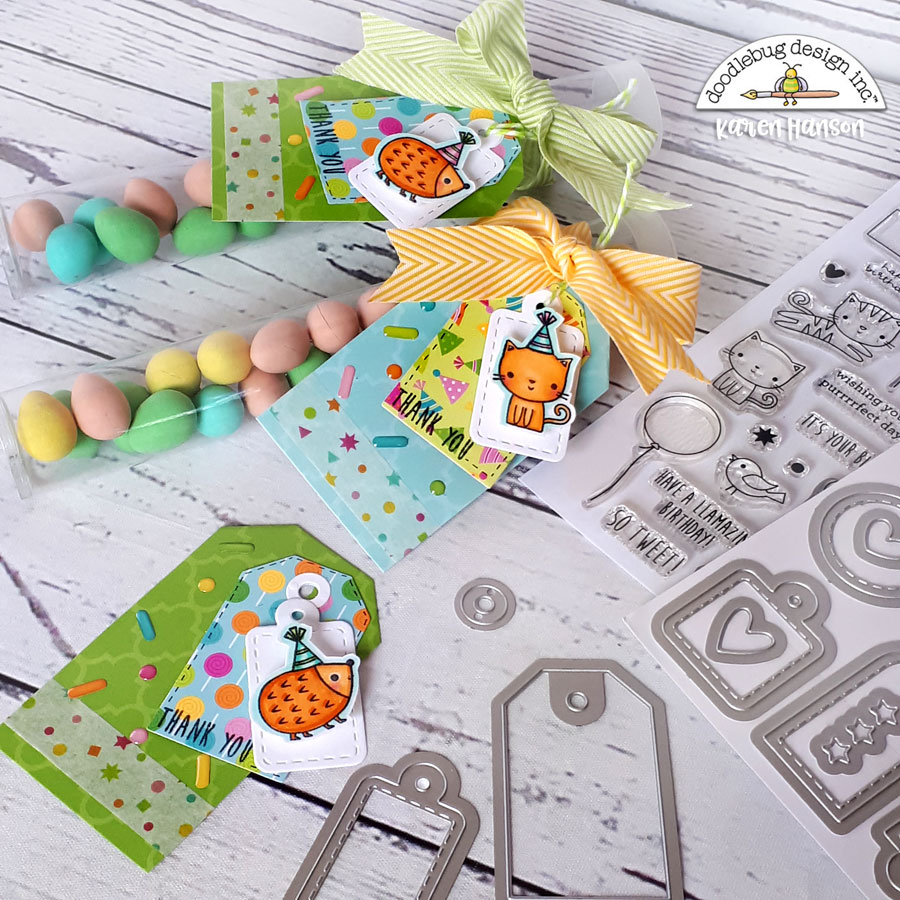
Birthdays always seem to be a time when we reach out to one another and celebrate, so one of my favourite parts of planning for a birthday has been figuring out how to say "thank-you" to those who help make it a special day. Little treat containers have become a part of our birthday traditions so the new Hey cupcake collection together with some of Doodlebug's new Doodle Cuts are a welcome addition to my crafty collection! These little tags used to decorate the treat tube came together really easily with these new products. Using a combination of the Large Tag Doodle Cuts and the Mini Tag Doodle Cuts gave me a variety of tags that were easy to layer together to create dimension. The Birthday Girl Stamp set has a number of cute little characters that are a perfect size for the mini tags. With a bit of masking to add a party hat, and a quick colour with some alcohol markers, the tags each took on a style of their own. And with some fun washi tape, a sentiment from the Occasions many Thanks Doodle stamps and and my new favourite Shape Sprinkles called...well...Sprinkles, these little little tags were everything I needed them to be! A simple way to say thank-you for helping to make a birthday special.
Thanks for stopping by!

Doodlebug Design Product:
Hey Cupcake Collection
Party Animals Doodle Stamps
Many Thanks Doodle Stamps
Doodle Cuts Large Tags
Doodle Cuts Mini Tags
Other Products:
White cardstock Alcohol markers Ink
Ribbon
Tube treat containers

Sunday, April 7, 2019

HOPPY EASTER | Easter Treat Containers with Karen

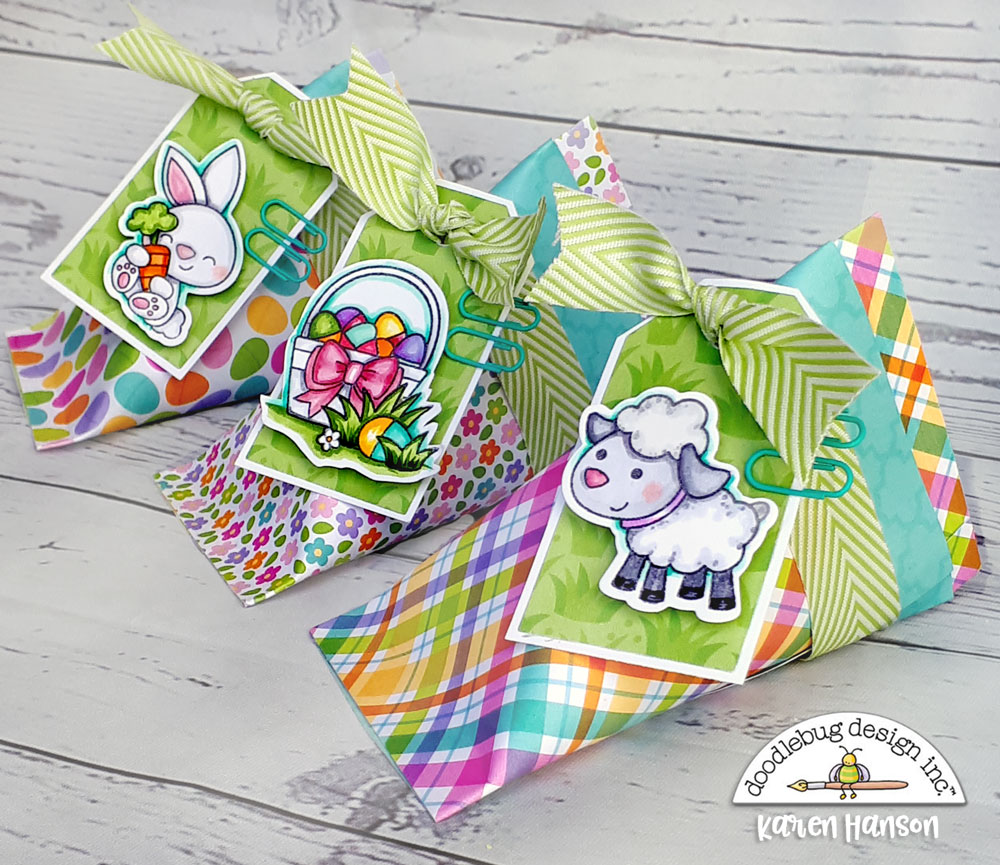
I know it's hard to believe, but Easter is around the corner! In fact, it's just a HOP, skip and jump away! So it's time to break out the mini chocolate Easter eggs...ummmm...I mean...it's time to break out the treat containers to hold those mini chocolate Easter eggs! So it's a good thing that Doodlebug has an adorable new Eater collection called Hoppy Easter and some amazing coordinating stamps and dies! With those in hand, I was able to whip up some adorable "sour cream" treat containers cute enough to hold said eggs...if they last that long! These little containers are a breeze to whip up. You can find many tutorials online, but a simple paper roll is created and then pinched together and sealed with adhesive in two different directions. That's all there is to it! I topped mine off with some of the adorable stamps from the Hoppy Easter stamp set, and then used the handy, handy coordinating dies to cut them out.
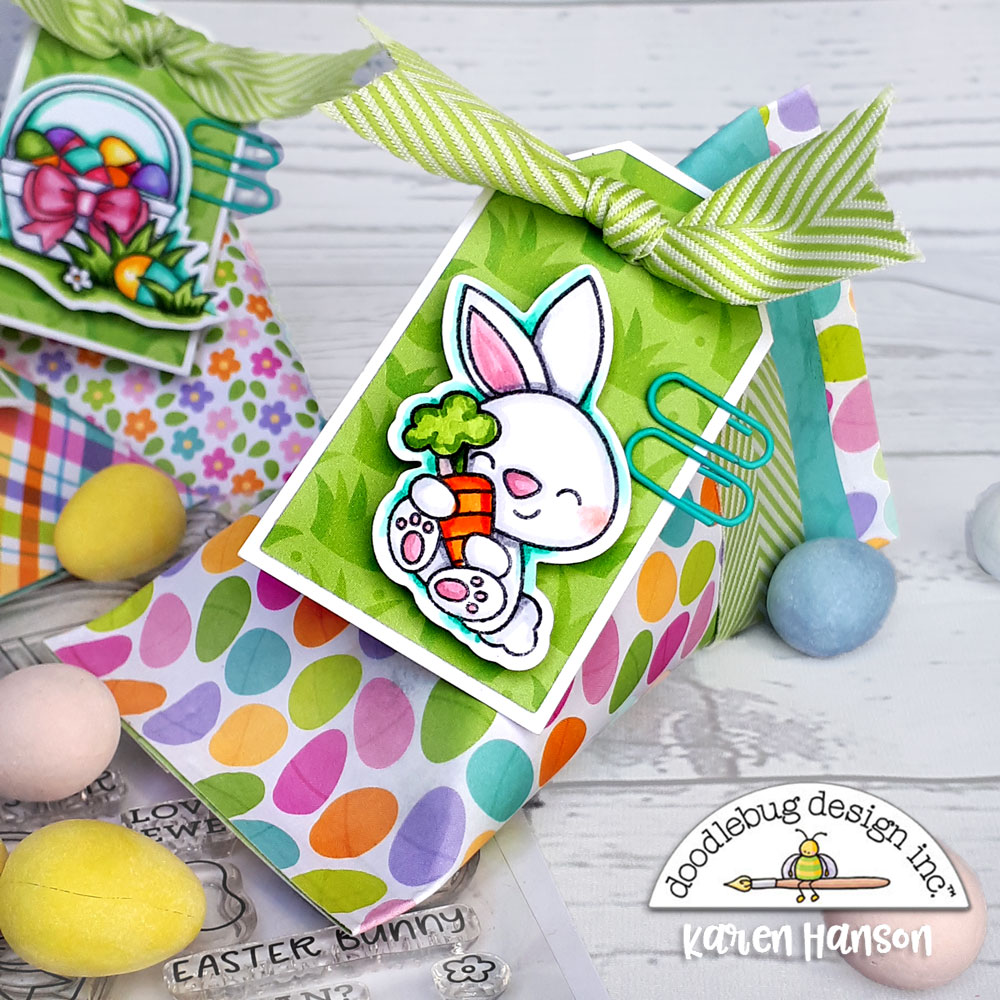
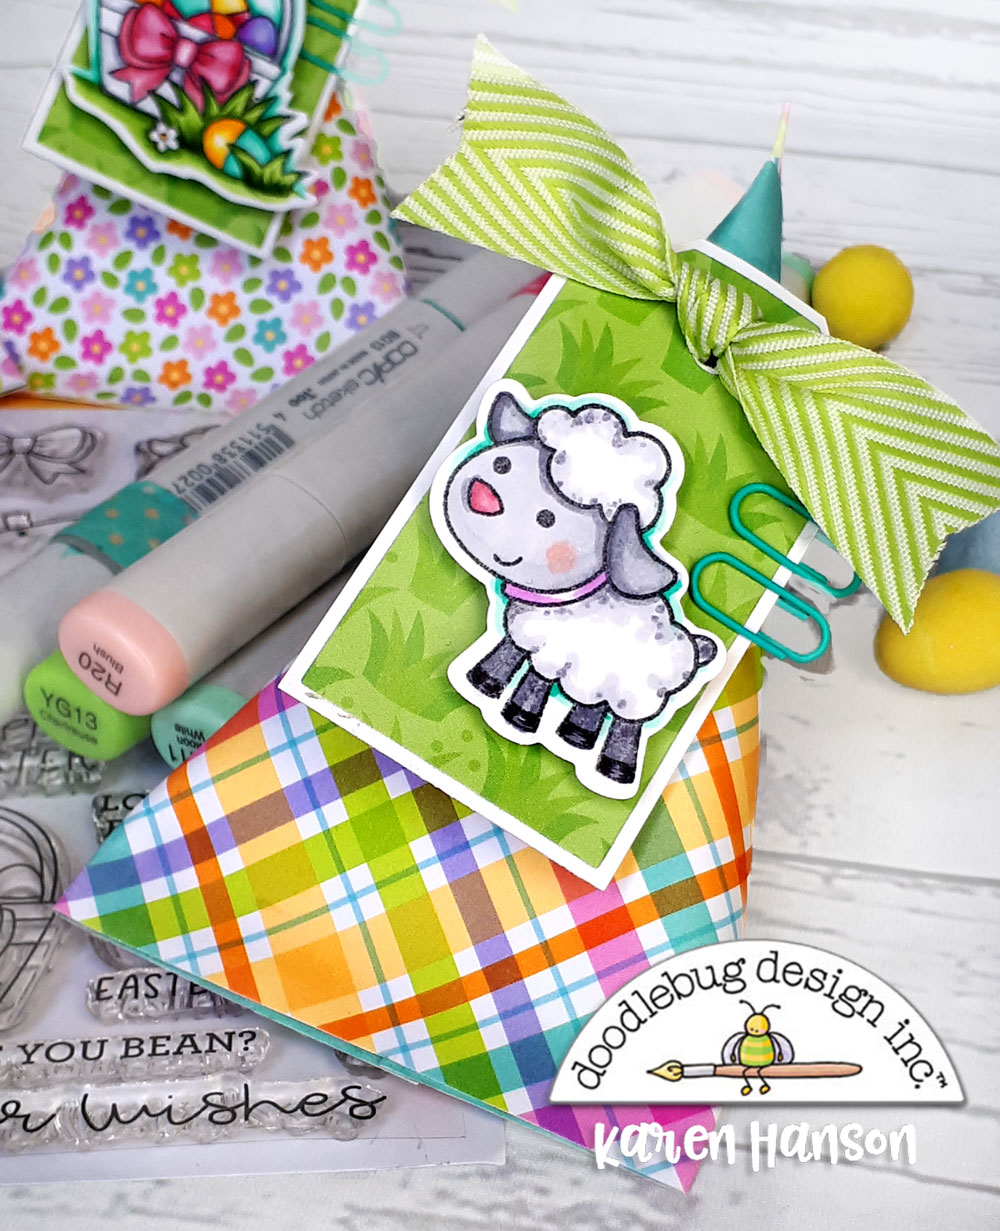
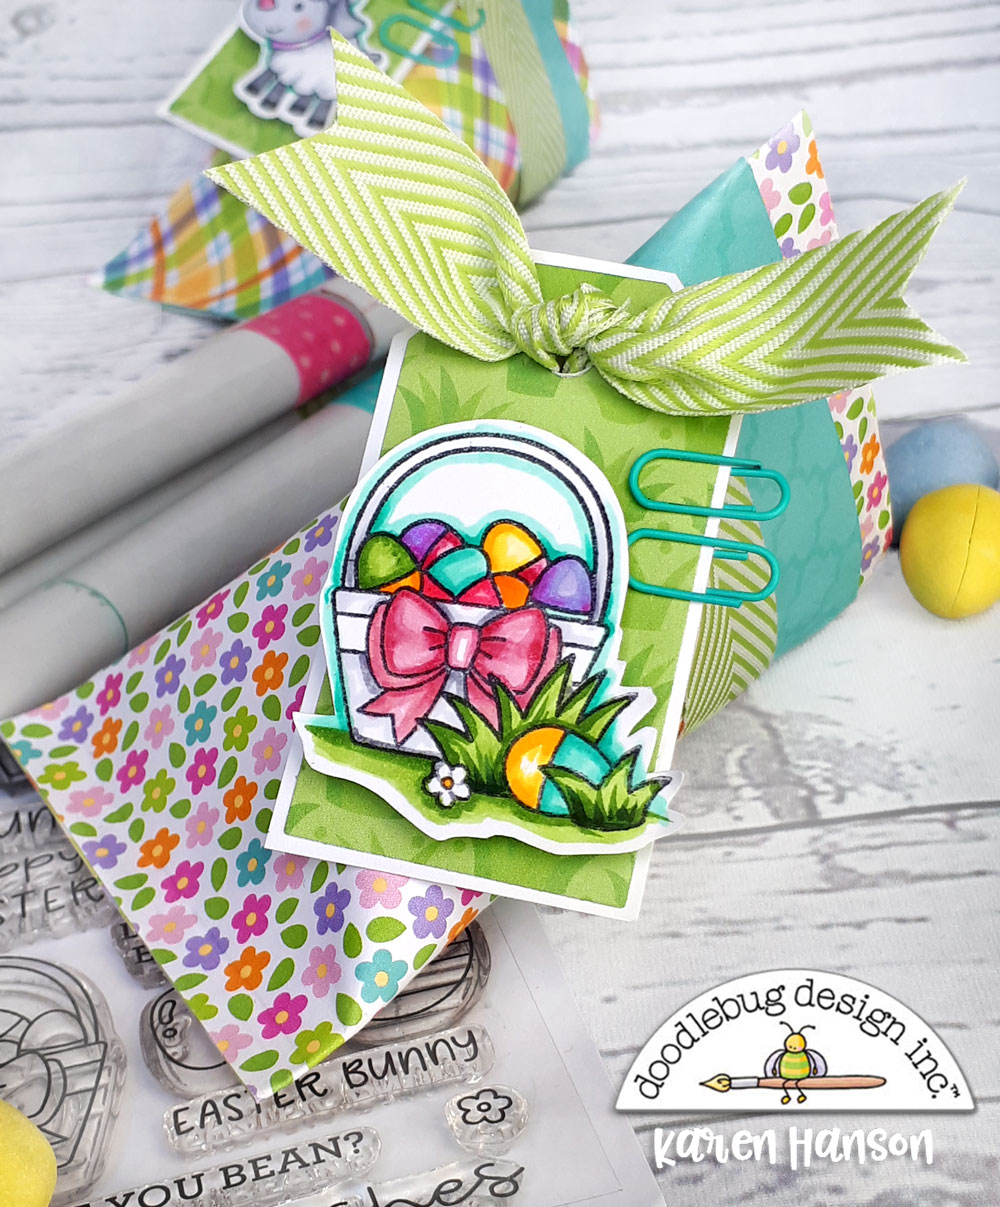
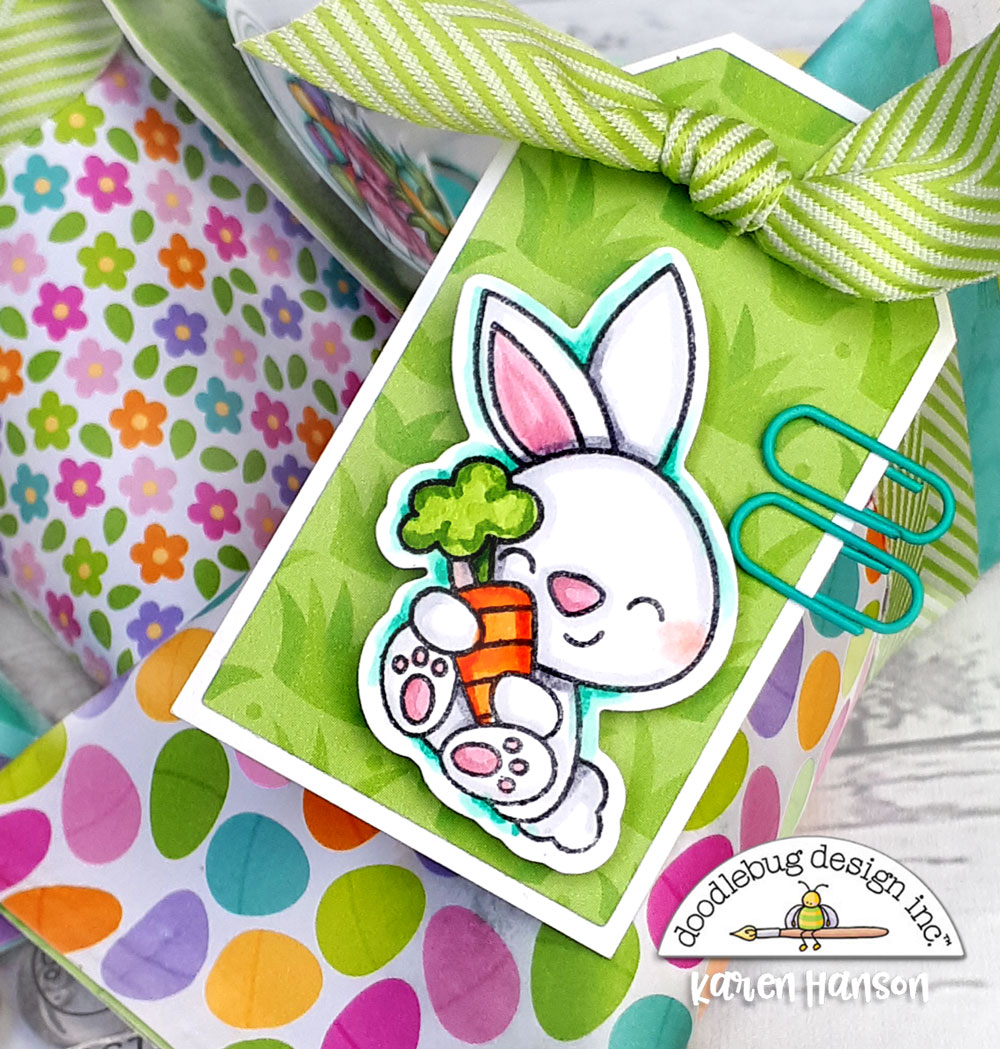
And see that adorable tag that each stamp is on?! Well that little shape happens to come from another die set that Doodlebug has created - So Much Pun - Pill Better set. There are two different sizes for you to work with, and if you love making treat containers and cards as much as I do, this is a set you will use over and over again!
And one of the other great parts about working with the stamps are all the little accessory stamps you can use to make each image your own. For this little basket, I actually used two images - one for the basket and the other for the grass and egg on the ground. With a bit of masking and layering, I was able to customize a great little image for this tag. If you haven't noticed by all the projects I have done lately with the new stamps and dies from Doodlebug, I am in love! I mean really, how can you not love that face?! I hope this project inspired you to create a little something to make your Easter hunts even more special - or at least cute enough to hold your treats until you can get to them!
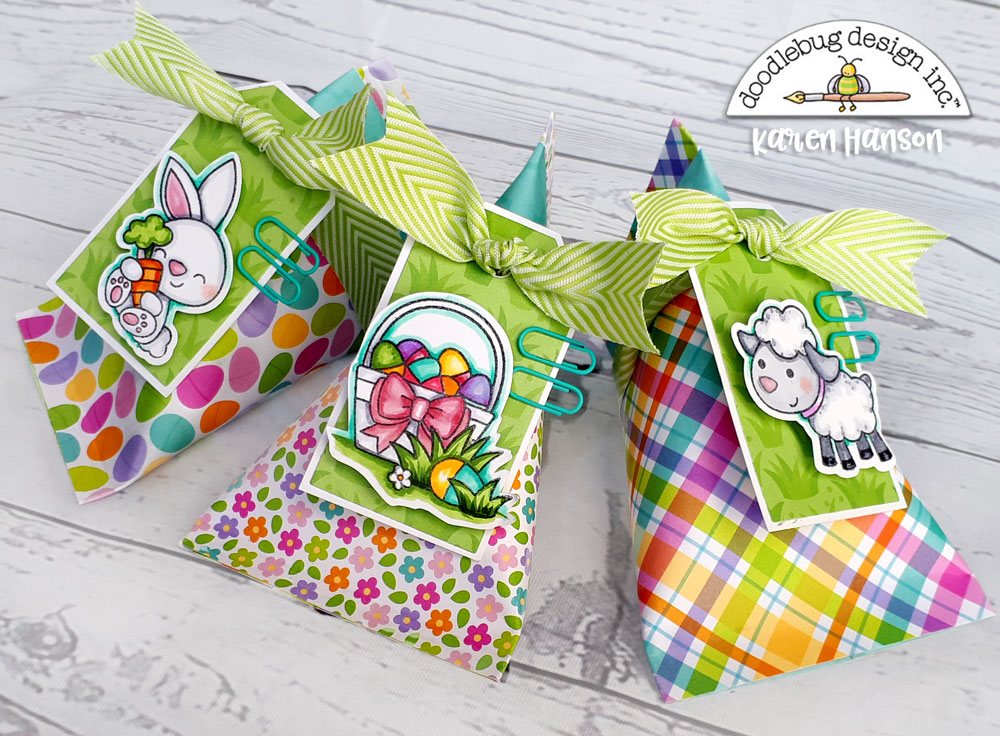

Thanks for stopping by!
Doodlebug product:
Hoppy Easter 12x12 paper pack
 Hoppy Easter stamps
Hoppy Easter metal dies
So Much Pun - Pill Better Soon metal dies
  4501: swimming pool mini paperclips
Other:Ribbon Alcohol markers

Sunday, March 24, 2019

SIMPLY SPRING Treat Containers | with Karen

It's time. No really. It's time! It has been a long and coooooold winter up here in Canada (I know, I know, it should be a long and cold winter up here), so let's just say I am ready for spring!
So, when Doodlebug's Simply Spring collection arrived on my doorstep, this collection went straight onto the crafty table. It might still be white and bleak outside, but my crafty space is filled with the spring colours and cute spring icons that make me smile. Goodbye winter - hello spring!
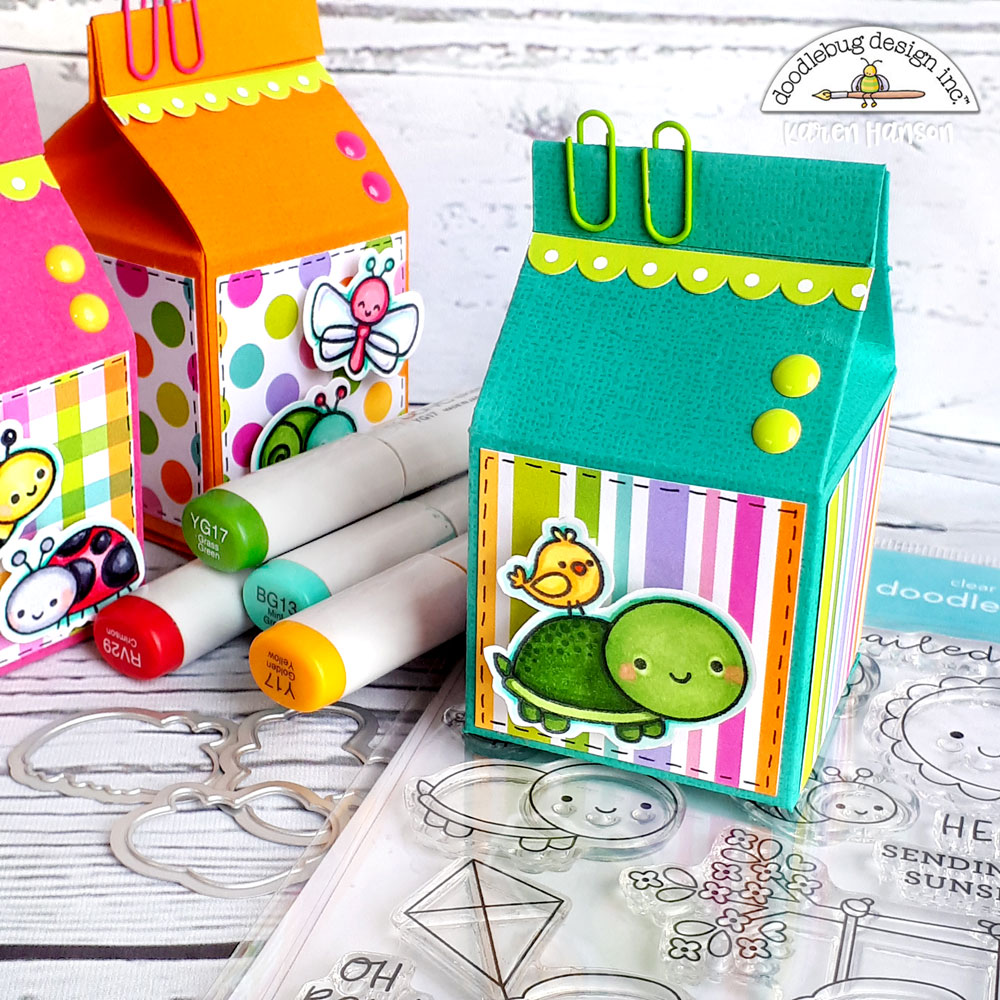
I decided to whip up a few treat containers for some of my colleagues - a little surprise for the first day of spring! With the new doodle stamps and doodle cuts, these were a spring breeze!
Each treat container is constructed out of textured cardstock and topped with patterned paper from the 6X6 paper pad. Because these treat containers are quite small, the scaled down patterns in the 6X6 are a perfect fit!
I used the darling "oh boy" doodle stamps for the little characters on each container coloured up with my alcohol markers. Each is adhered with a foam square just to give the containers a bit of extra dimension.
And the great thing about working with the new stamps is you can even play around with layering! This little bird is a separate stamp from the turtle, but I felt they were just meant to be together!
Hopefully these little creations bring a little spring smile to your face and inspire you to get crafty with this new collection!
Thanks for stopping by!
Doodlebug Supply List:
6272: simply spring 6X6 paper pad
12X12 simply spring this & that sticker sheet
6331: oh boy! doodle stamps
6332: oh boy! doodle cuts
textured cardstock (3372: raspberry; 3393: dolphin; 3380: mandarin)
mini paper clips (4499: bumblebee; 4496: bubblegum; 4500: limeade)
6225: spring assortment sprinkles 4008: bumblebee sprinkles
Other:
Copic markers
adhesive

Monday, April 9, 2018

Down On The Farm | Milk Carton Treat Containers by Karen

I'm always on the look out for little bags or containers to use for small treats so recently I had some time to sit down and make these little Milk Carton gift boxes that I can put away for a 'rainy day'.
I decided to use some amazing primary coloured textured cardstock for the base of each container, and then used some of the great smaller prints in the 12x12 patterned paper collection for the accents on each side.
 
 And then as the focal point for each container, I used a fantastic Doodle-pop; to, well...POP!
I love the dimension that these Doodle-pops; have and they are the perfect size for the little 2x2" space I had on the front.
 To add a little sentiment to each, I grabbed the funny Chit Chat die cuts and found one to match each of the Doodle-pops that I was planning to use. Oh, and did I mention that I had choice galore - there are so many great sentiments in the Chit Chat collections that I could make enough of these treat containers to last all year!
 Each container was then topped off with some of my favourite stand-bys - mini doilies, Sprinkles; and a mini paperclip, all of which happen to be the perfect size for these little containers. Oh, and if chocolate eggs are not your thing (besides the fact that we might not be able to be friends any more) you can fill these little containers with just about anything from candies to mini cookies to individual cupcakes. It's a farm-friendly project sure to bring a smile to anyone's face! Thanks for stopping by! 
Hugs, Karen 

Pin It button on image hover