Thursday, November 30, 2023

GINGERBREAD KISSES WATERFALL MINI ALBUM | With Traci

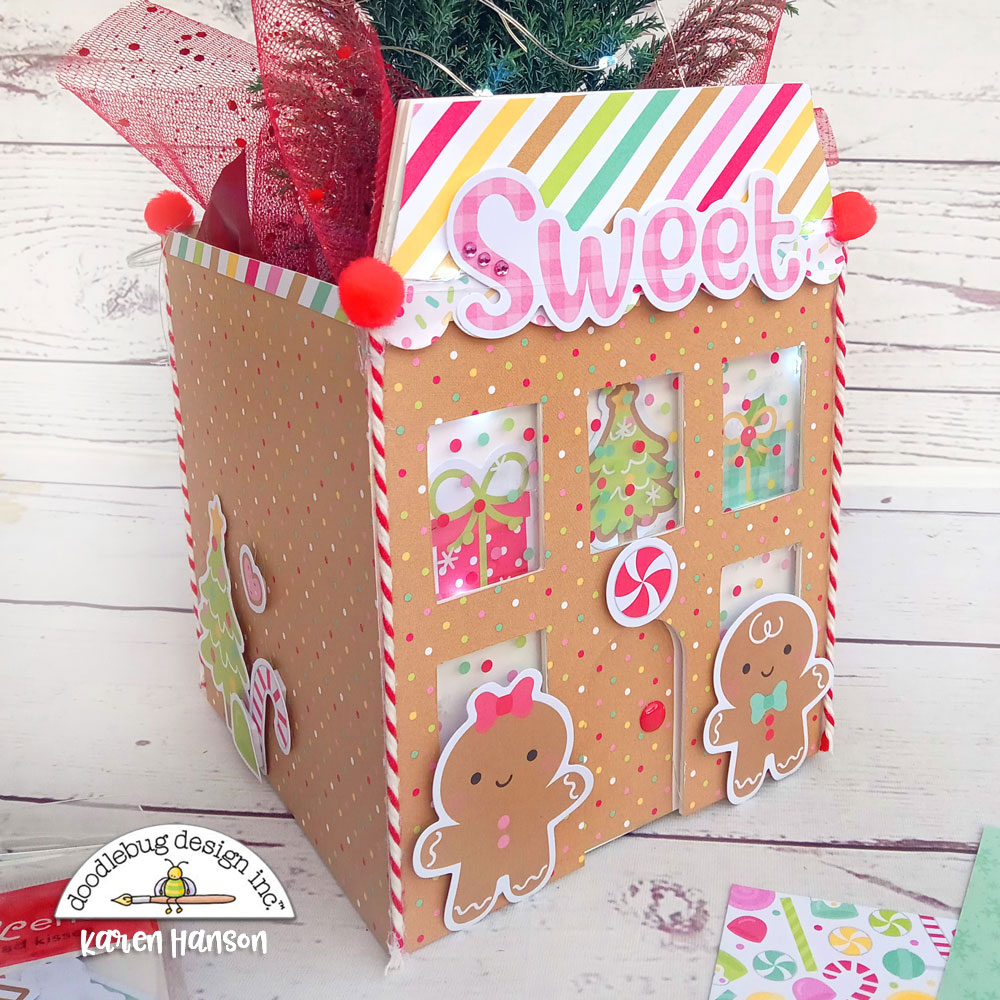
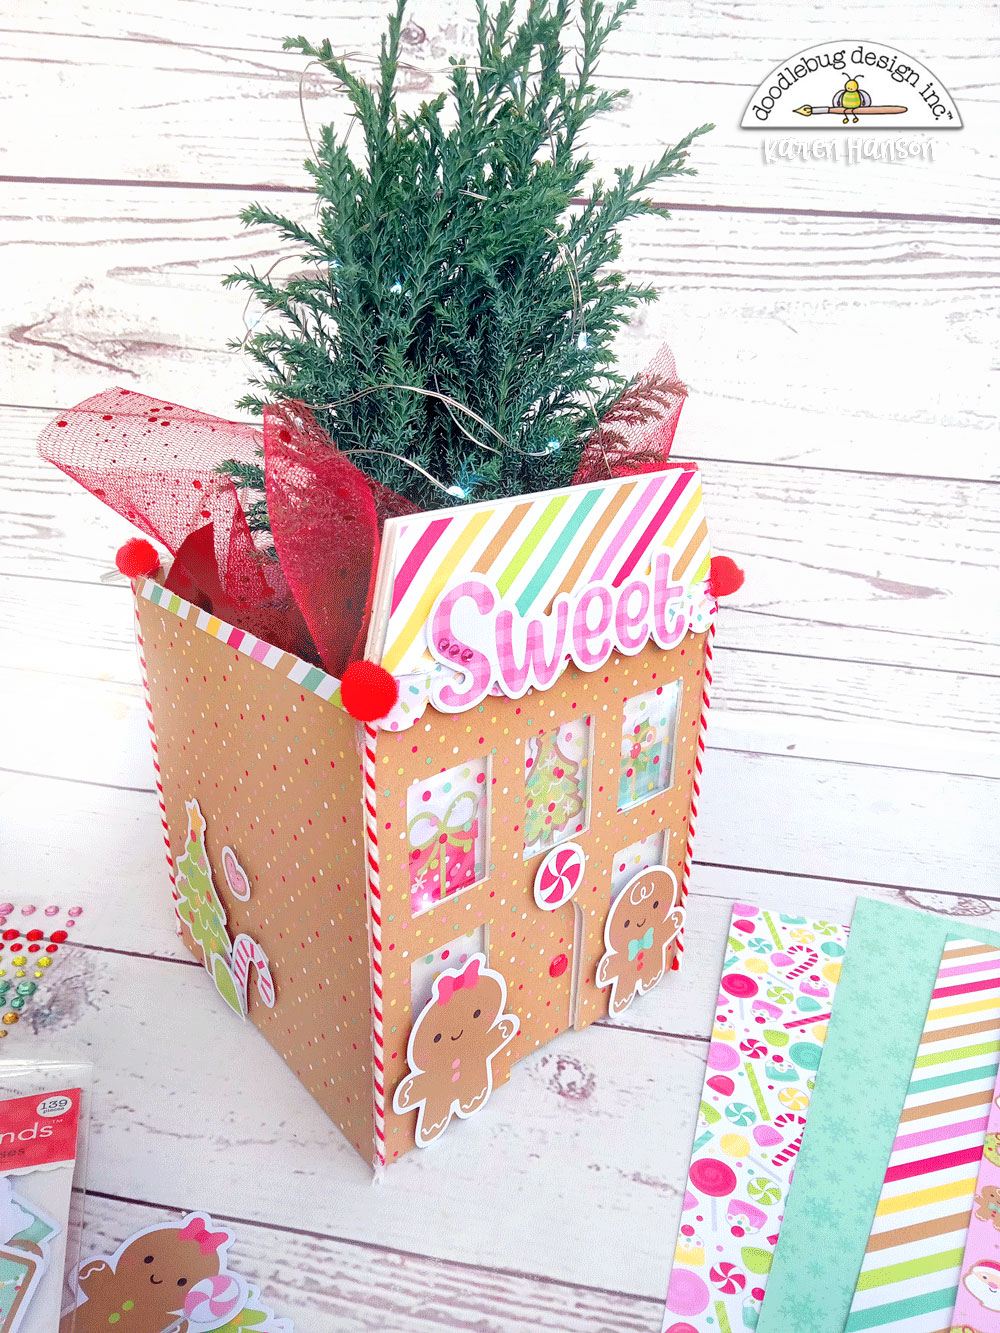
Hello everyone! Traci here and today, I'm sharing a new Christmas mini album I made with the adorable Gingerbread Kisses Collection. This one was SO FUN!! I filled it with tons of cute embellishments ... lots and lots of little enamel shape sprinkles! They're my favorite and there are so many good ones!!

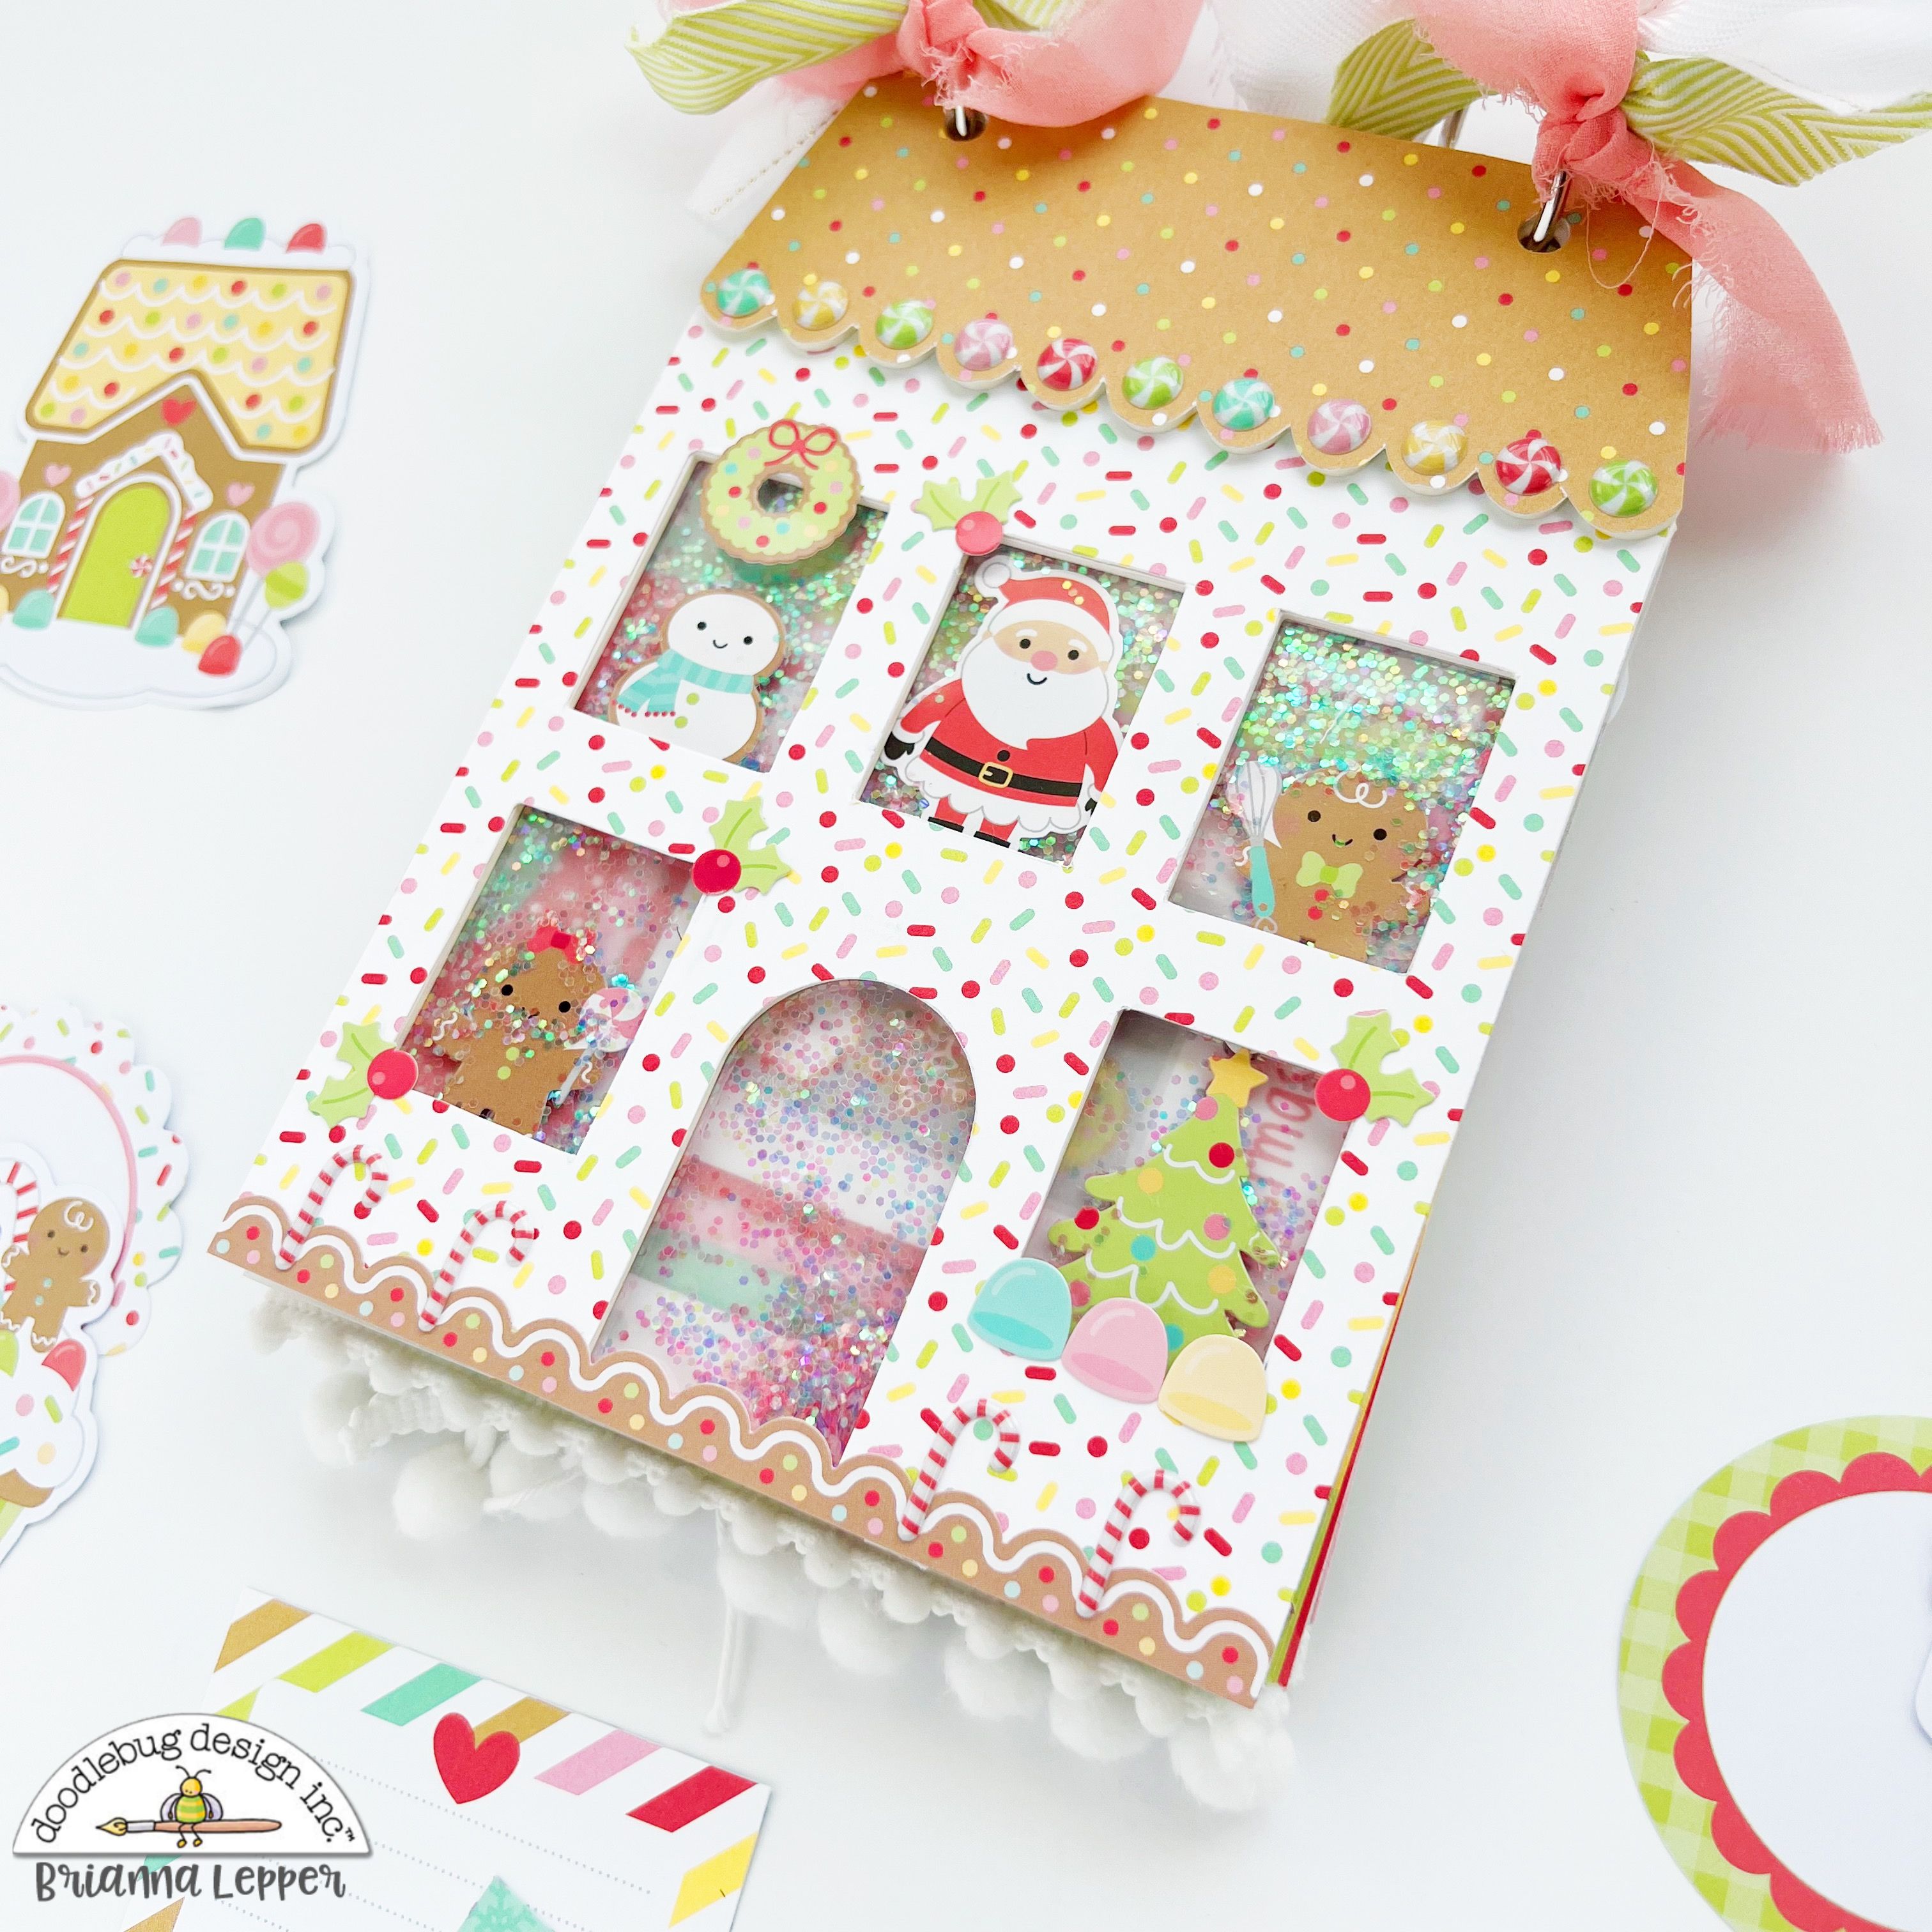
To start, I used a Lori Whitlock cutting file to cut the shape of the mini album out of white card stock, then covered the pages with 12x12 and 6x6 papers. On the cover (top page), I added the Christmas Memories sticker from the This & That sheet. It made the perfect little title for my album and if you look closely, I added 2 candy cane sprinkles and a tiny gem to it. So cute!

Inside, the first page has a 2x3 inch envelope that's perfect for a little note or photo. I covered it in the Gingerbread Kisses paper and for the flap - I used 1/2 of a punched 3" scallop circle cut from the Hello Santa paper. Then, I added the little gingerbread sticker from the This & That sheet.

I used a small circle of velcro to keep the envelope secure and inside, I added a little card covered in the Cookies For Santa sprinkle print.

Here, I used the 6x6 Sugarplums print in the background and added a photo mat, a clip board for journaling (from the Bits & Pieces), the gingerbread die cut from the Odds & Ends, and a few more fabulous sprinkles.

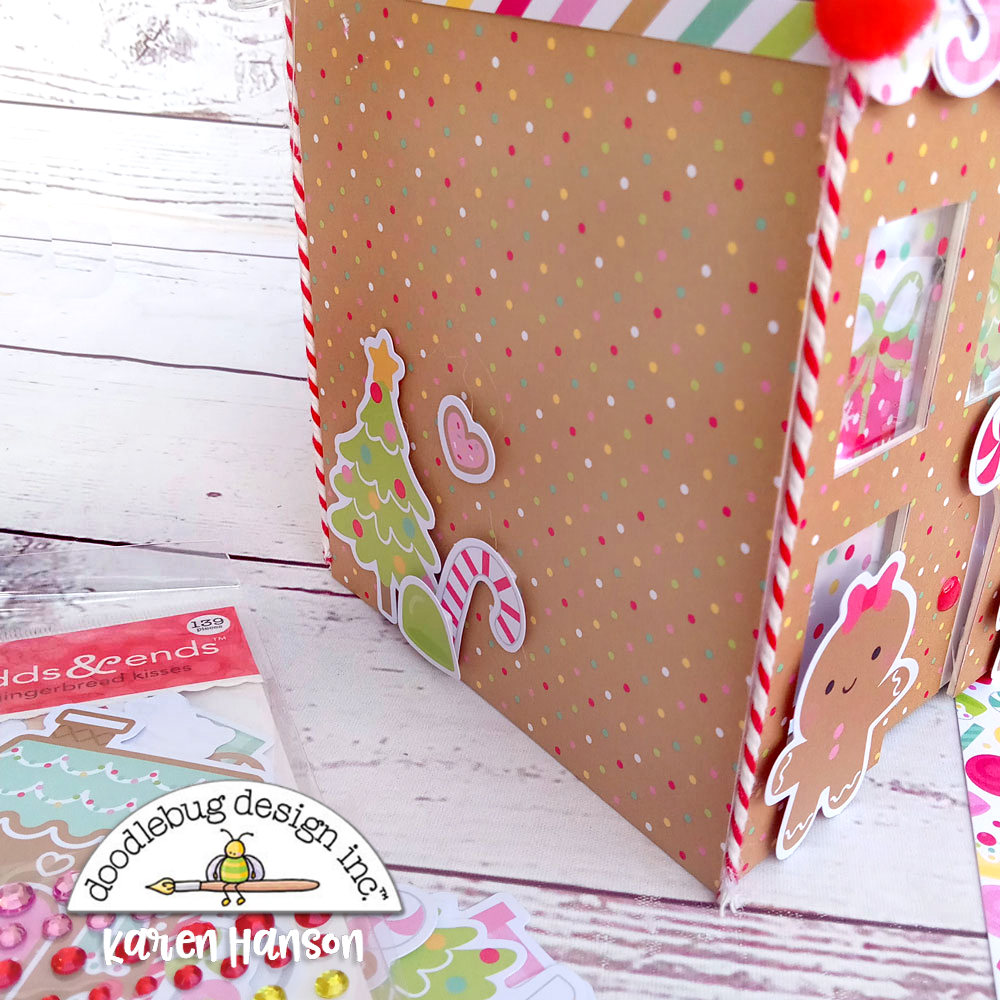
This page is so sweet. The tiny pink hearts are the 6x6 Berry Floral print. It looks really cute with the string lights (Deck the Halls) paper. The gingerbread is from the Odds & Ends and I'm loving her pink bow!

This collection has so many cute candies and cookies. I added two fun die cuts to this page, then for even MORE cuteness ... I added a bunch of the Peppermint Place enamel sprinkles to one of them! Love it.

Doodlebug gave us lots of great embellishments to highlight our holiday photos. The pieces above are perfect for an afternoon of "baking cookies". And did you see I added a few more shape sprinkles to the cookie tray? How cute is that?!!

On this page, I made a pocket with a 3x4 inch Happy Holidays card from the 12x12 Gift Wrap paper. I tucked 4 little tags from the Bits & Pieces inside. These could be used for Christmas lists, small photos, or journaling.

In addition to single images, there are also die cut pieces that look like fun little scenes. I clustered two on this page and filled the bottom space with cuteness.

I hope this mini album gives you some creative ideas. The Gingerbread Kisses Collection makes it so easy and fun to create amazing albums, cards, gift tags, etc. Happy crafting, my friends!

 
DOODLEBUG PRODUCTS USED
Gingerbread Kisses Collection

Other

Tuesday, November 28, 2023

HOME SWEET HOME ALBUM GINGERBREAD BOX | with Karen

Sometimes you come up with an idea that strikes your fancy and you just need to run with it. Sometimes it all works out nicely and sometimes you end up in "really bad date" territory (if you know what I mean).

  Full-2 

When the Home Sweet Home Mini Album showed up on my crafty table, I immediately thought of my Christmas village. All I could imagine was putting the pieces together to create a little 3D gingerbread house with the new Gingerbread Kisses collection. Now, while this product isn't intended for this, I decided to take a risk and give it a go. We all need to experiment a little with our crafts, right?! So I covered 4 of the album pages with paper from Gingerbread Kisses and then got out the glue gun. Each side was glued to the next at a 90 degree angle. I added some Doodle Twine in the corners just to finish things off. I then also trimmed the "roof" section off of three of sides. While I did try angling in the tops, I felt this looked better with the little tree that I planned on putting inside.

  Side-1 

Then the fun really started. I took the 5th side which was the page in the mini album that had the cutouts for windows and doors. I covered this one with paper as well and then lined it up with one of the other pages, placing it on top temporarily so I could see where the windows would be. I covered each window with acetate and then placed a die cut from the Odds and Ends pack behind each of the top ones. I decided to add some mini lights, so I ran these around the windows on the backside of the album page. I then used some foam adhesive to permanently attach the album pages together.

  Side-2 

Then came time for a few more embellishments. I used more of the die cuts to decorate the front with some gingerbread friends and the sides with a small little scene.

  Full-1 

I slipped my plant in side, and voila - from mini-album to "plant sleeve" (someone really needs to come up with a better name for it than that for me because that alone does not make this project seem like a good idea). While I love a beautiful mini-album (and the team has show off a bunch), don't be afraid to try something a little out of the box (no pun intended). Thanks for stopping by! Hugs,


BLOG | INSTAGRAM

DOODLEBUG PRODUCTS USED

Home Sweet Home Chipboard Mini Album
Gingerbread Kisses collection
Doodle Twine

OTHER

Adhesive
Pom poms
Mini LED lights

Monday, November 27, 2023

HOME SWEET HOME CHIPBOARD MINI GINGERBREAD KISSES | with Brianna

Hey friends! It’s Brianna Lepper here today and I’m so excited to share my Home Sweet Home Mini Album that I made using the Gingerbread Kisses collection. I can’t wait to fill it up with all of our Christmas memories this year!


To start, I covered the front of my album using the B Side of the 12x12 Cookies for Santa paper. Before I even started on the album, I knew I wanted to turn the cover into a large shaker. So I adhered a piece of clear acetate to the back of it and then added a few of the Chipboard Stickers to some of the windows. I then added some foam tape around the perimeter and filled it using a few of the Sugar Coating Glitter Assortment bottles. It looks like snow! I sealed the shaker by backing it with some vellum and then with another piece of patterned paper. I love how it turned out!


I decorated the outside using more Cardstock Stickers, Puffy Icon Stickers and a few Mini Icon Stickers.


Next, I got to work on covering the rest of the album pages using some of the 12x12 patterned papers. Here are the ones I used: Sugar Plums, Berry Floral, Christmas Jammies, Merry & Bright, Gingerbread Kisses and Gift Wrap. For my first two pages, I created photo mattes for each one and embellished using a couple Chit Chat pieces, Odds and Ends and the adorable Baking Spirits Bright Doodle-Pop.


Here’s an up close shot of that adorable Doodle-Pop!! I also included a few of the cute Gingerbread Kisses Enamel Shape Sprinkles.


For the next page, I thought it would be fun to create a little pocket for me to tuck in some ephemera. I had a scrap piece of paper so I cut it at a diagonal and added adhesive only to one corner so that it left the top half open. I then trimmed out one of the cards from the 12x12 Deck The Halls paper and tucked that in as well. For the other page, I made another photo matte and embellished with more Odds and Ends pieces. That Santa was the perfect addition!


On the next pages, I thought it would be cute to create a belly band on one and tuck even more ephemera pieces inside of it. I added a tag that I had trimmed out of the 12x12 Seasons Greetings paper and a few cards from the 12x12 Holiday Sprinkles paper. These papers are perfect for mini albums! You can add journaling or even photos to each one. For the top page, I created a simple embellishment cluster using some Bits and Pieces and a phrase from the Chit Chat pack.


I love adding different textures to my mini albums. Especially pom pom trim! It’s so neat to see it peeking out on the pages and it really brings everything together.


For the last two pages, I created a large photo matte on one and adhered a few more of the Gingerbread Kisses Shape Sprinkles. On the top page, I created another small pocket using one of the large labels from the Bits and Pieces pack. I tucked in another tag and another card that I had previously trimmed out. I added a tree from the Odds and Ends pack and adorned it with the gorgeous Mini Jewels from the collection.


Thank you much for stopping by today, I hope I’ve inspired you in some way! This mini album is so fun and can be used with any collection. I can’t wait to fill mine up with all of our Christmas photos and memories!

DOODLEBUG PRODUCTS USED

Gingerbread Kisses Collection
Home Sweet Home Mini Album
Doodlebug Twine
Doodlebug Mini Paper Clips
Sugar Coating Glitter Assortment

OTHER

White Cardstock
Assorted Ribbon
Clear Acetate

Sunday, November 26, 2023

HOME SWEET HOME CHIPBOARD ALBUM PRETTY KITTY MINI | with Tya

Well hello there! It's my turn to share my take on how I used the amazing new Home Sweet Home Chipboard mini album and I am super excited to share it with you today! Since I am a recent addition to the team, I didn't get the chance to use the adorable "Pretty Kitty "collection. So, I thought I would create this fun little mini album with a kitty theme and I really love how this one turned out!


I really thought the phrase on the top banner strip pretty much summed up the whole theme of my album. We have the sweetest kitty named Winifred and she absolutely makes our home so much better! She is an absolutely spoiled little kitty and I plan to fill up this album with some of my favorite photos of her! On my cover, I used some papers from the 6x6 paper pad and some yellow cardstock. Various stickers from the Icon Sticker sheet were used as well as the adorable "Hello Friend" Doodle Pop in the center. I also fancied up the cover with this cute cluster of ribbons, twine, a button, and this cute paw print die cut from the Bits and Pieces.


My album has 8 pages that are all decorated. Several of the pages have some fun pockets, pull-outs, and flip-out sections! Let me show you each of the pages:

My first page has a side flap with a pocket I made from one of the 3x4 cards on the "Cat Nap" paper. I tucked a tag and a photo spot with a tabbed label on it.


Here is the page with the flap opened. I decorated this portion with some spots for photos and some embellishments from the collection.


On this page, I utilized the fun "Picture Purrrfect" title piece from the Chit Chat die cuts on top of a large photo spot. The cute floral banner is also from the Chit Chat.


This is a fun side pocket page that I decorated up with one of the fun squares from the "Feline Good" layered on top of a tag. Inside the pocket are a few of the journaling spots on the "Having a Ball" paper. The addition of some twine and ribbon makes this page extra fun!


Another page, another space for a large photo of your feline friend! This page has a few stickers from the Icon Sticker sheet and the heart label from the Bits and Pieces are layered up with some enamel dots. A small sticker, that says "love this" is from the This and That sticker sheet. The cute title piece is from the Chit Chat.


This next page is a fun, interactive one! I cut 4 squares from the "Feline Good" papers and mounted them on some pieces of white cardstock that were scored in half. I laid these out in two rows and then added some sticker strips on the inside of the flaps and decorated the tops of the cards with a few stickers from the Puffy Sticker sheet. This page is finished off with a fun heart banner strip on the top of the page from the Chit Chat.


This page below includes spots for 2 photos and is decorated with cute stickers, tags, and twine. The 'Fur Baby" words are from the Chit Chat. It was fun to add one word on each of the two different photo spots.


This fun page is also interactive! I cut 2 pieces of the Backyard Bunch paper. I scored each of these papers 1/2 in from the edges to make a flap and then decorated the top section up with the sweet "Pretty Kitty " round label from the Chit Chat added on top of a die-cut scallop circle. I added adhesive to the top part of this section, leaving the bottom edge unglued so you can lift the flap up. On the inside of the page, I added a large circle photo spot and decorated the page up with some stickers and a quote die cut.


The final page is a pocket page that is stuffed with some papers from the collection fancied up with some twine, ribbon, die cuts, and stickers. The front portion of the pocket is made by layering up a sticker label from the "This and That" sticker sheet and a 3x4 card from the "Cat Nap" paper.


I truly had the most fun designing this album! The chipboard they are made with is just the right thickness to make it easy to layer and add lots of different types of embellishments. I love that these little cuties are so versatile and can be used with any of the many fantastic Doodlebug collections! So if you have a million pictures of your own fluffy fur baby like I do - do yourself a favor and pick up one of the "Home Sweet Home" albums and fill it up with all of those precious memories! Thank you so much for stopping by today! Have a great week!


DOODLEBUG PRODUCTS USED

Pretty Kitty Collection
Home Sweet Home Chipboard Album
Textured Cardstock
Chunky Doodle Twine
Doodle Twine

OTHER

Twine, ribbon, buttons

Saturday, November 25, 2023

HOME SWEET HOME CHIPBOARD ALBUM - DOGGONE CUTE | with Tarrah

The Home Sweet Home chipboard album is the perfect album to create a keepsake showcasing pictures and memories of your much loved pets! The Doodlebug Designers have all been asked to decorate the house shaped album these last 2 weeks, I decided to use the adorable Doggone Cute collection to decorate my album and I just love how it turned out!


I covered the front of the album with the 12' x 12' Man's Best Friend paper and cut out the window spaces with my craft knife. For the roof section, I covered this with the Playful Plaid paper and added the red scalloped sticker from the This and That sticker sheet. I knew I wanted to create little scenes in each of the windows on the front cover, I chose the Go Fetch blue spot paper for the windows and added some Sprinkles from the Throw, Fetch, Repeat set, some Hearts from the Happy Home Doodle Pop set, and some bone Puffy Shapes to create the pile of bones - how cute is that right?! I added the tree from the Odds and Ends die-cut pack.


I covered each of the pages with a 12' x 12' paper and worked on both sides of the pages. For the top pages, I mostly added a sticker from the This and That sticker sheet but also dressed these up a little with a puffy shape or some Sprinkles. For this page, I created a pocket to hold some journaling cards from the See Spot Run paper. I added another border sticker from the This and That sticker sheet here, a die-cut from the Chit Chat set and some of the mini heart puffy shapes in a line. I love how the dog sits at the bottom and you can see him when you close the album!


For this page, I added some tags and heart from the Bits and Pieces die-cut pack, some of the cute paw print washi tape, and a tab and a title from the Chit Chat die-cut pack. I wanted the option to add small photos here or journaling or both. For contrast under the title, I took one of the blue bone papers from the 6'x 6' paper pad and placed it under the title.


For this page, I made some photo matts using the brown spotted paper from the 6' x 6' paper pad and adhered white cardstock on top. I added a dog face puffy shape to the larger photo mat and a paw print to the smaller one. I grabbed another title from the Chit Chat die-cut pack and adhered it in the middle of the 2 photo mats.


To finish the album, I put all the pages through the rings that came with the album and I added the gorgeous I Love My Dog charm to the left ring and tied some bows to each ring with some red and white chevron ribbon from my stash. I love that I can add photos of our much loved dog - Baxter! I actually made this album for my youngest son who will pull it out and look through the photos all the time, reminding him of how much we loved Baxter.


Thanks so much for stopping by today! I hope you are inspired to decorate your Home Sweet Home chipboard album! I hope you are enjoying all the different takes on the album from the designers this week! Aren't they all so gorgeous?! Happy creating!


DOODLEBUG PRODUCTS USED

Home Sweet Home Chipboard Album
Doggone Cute collection

OTHER

Red and white chevron ribbon

Friday, November 24, 2023

HOME SWEET HOME CHRISTMAS CHIPBOARD MINI | with Miguel

I was very excited to see the new Home Sweet Home Chipboard Albums, such a great product!  You can decorate it in so many ways, I chose to use the festive Gingerbread Kisses collection!

I decided to use Gingerbread Kisses so I would be able to document some Christmas photos  On the cover, I used a Santa Doodle Pop and some Icon Stickers.  I placed these beautiful gingerbread cookies on the back waiting for Santa's arrival. I also used some border stickers from the This & That sheet to adorn adding even more fun!


I made a bow with various ribbons to give a more special touch to my album, at the top I decorated with shaped sprinkles to add shine to my project.


One way to make more space for photos is to create drop-down pages.  I also created some simple pages where I need to highlight a photograph more


Thanks for stopping by, see you very soon.

DOODLEBUG PRODUCTS USED

Home Sweet Home Chipboard Album
Gingerbread Kisses Collection
Textured Cardstock

OTHER

Ribbon
Bells

Pin It button on image hover