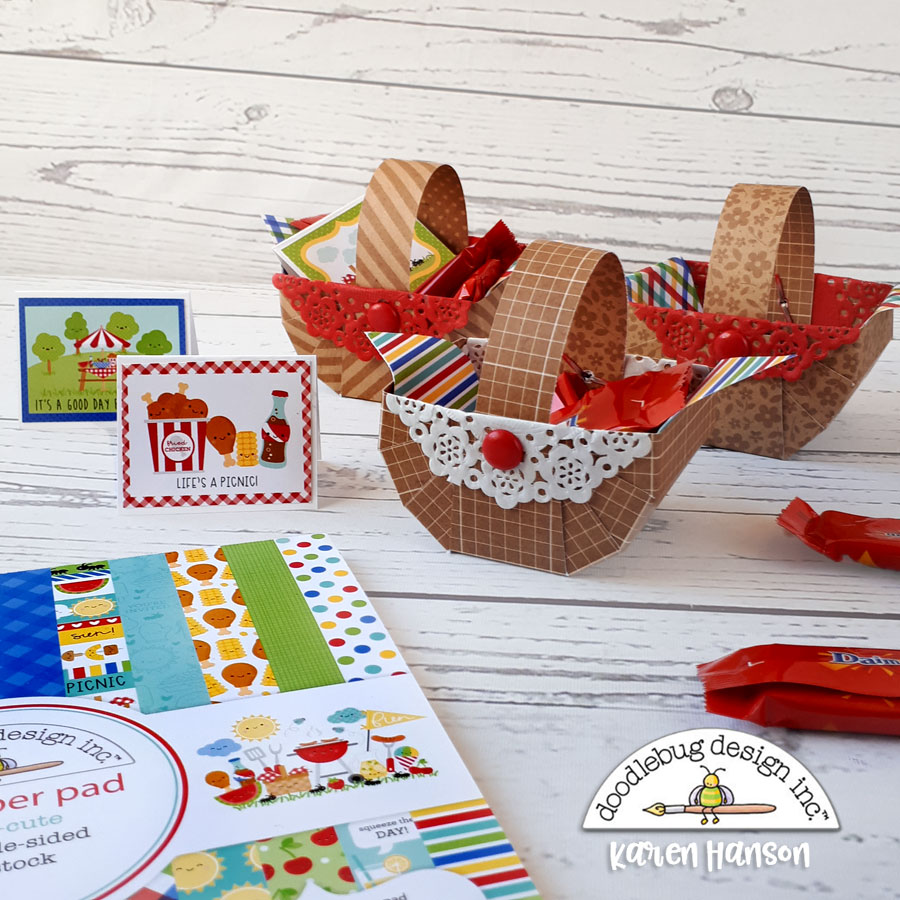
 These little picnic baskets are the perfect size for a few little treats...
 ...and the cutest set of mini cards that you can ever imagine.
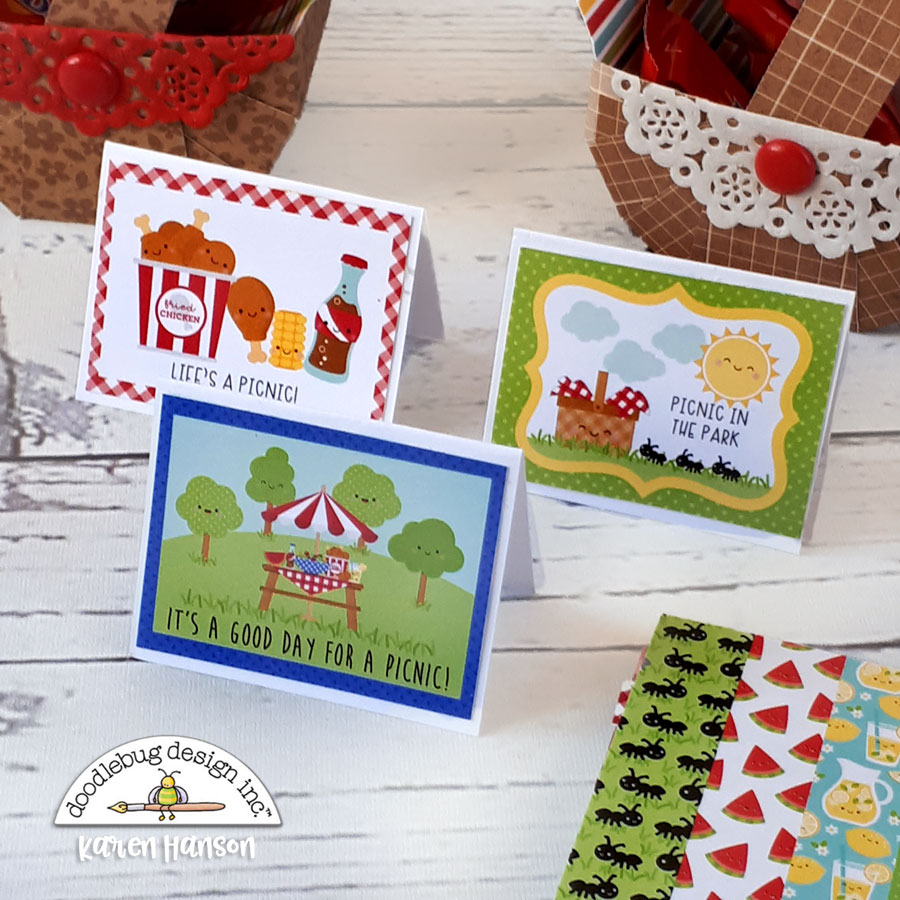 These little sentiment cards can be found in the 6x6 paper pad - simply cut them out, add them to a mini base and pop them inside the basket! It really doesn't get cuter than these!
Here's how you can make them too:
These little sentiment cards can be found in the 6x6 paper pad - simply cut them out, add them to a mini base and pop them inside the basket! It really doesn't get cuter than these!
Here's how you can make them too:

Cut a sheet of Petite Prints paper at 5x5 (one per basket) and another strip of paper that measures 3/4" X 5".
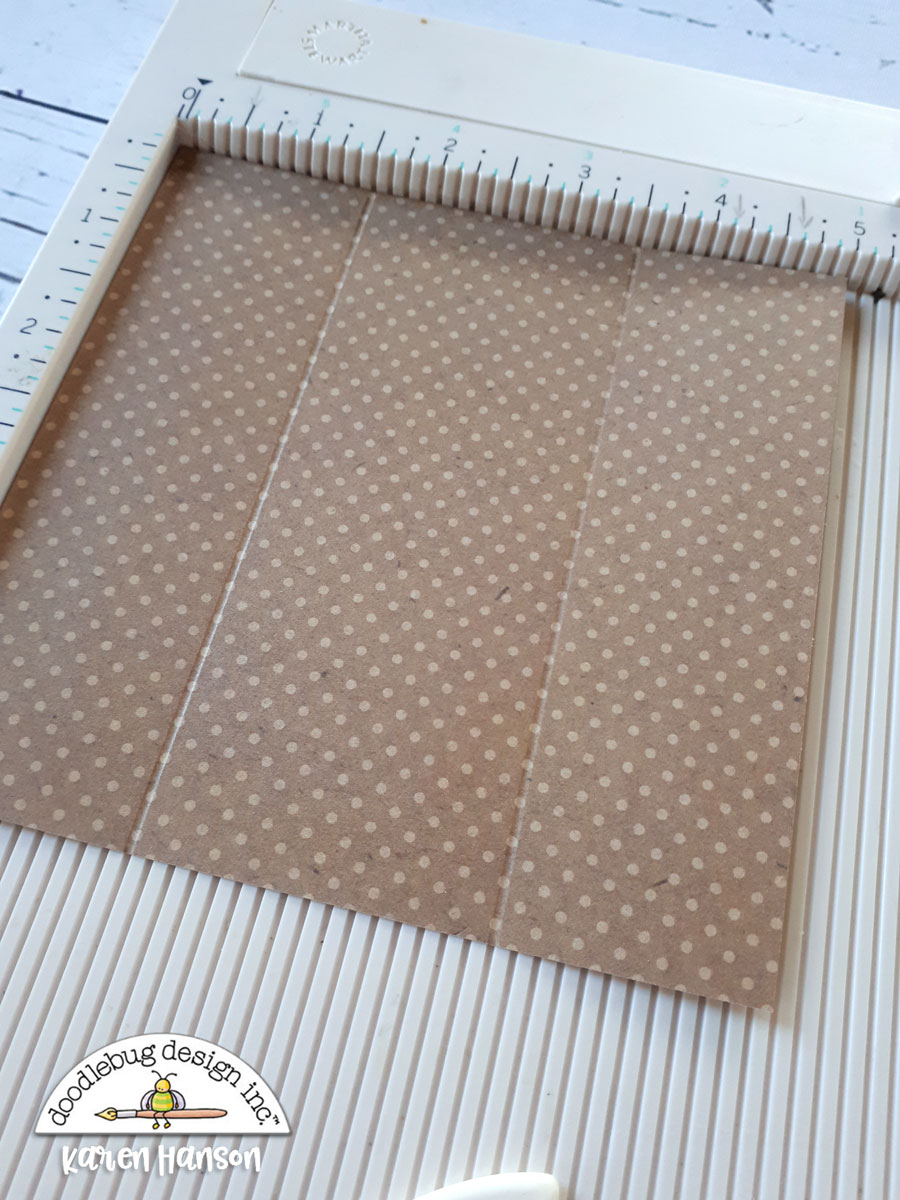
Score your 5x5 sheet at 1.5" and 3.5".

Rotate the sheet of paper 90 degrees. Score at 5/8", 1 1/4", 1 7/8", 3 1/8", 3 3/4", 4 3/8".
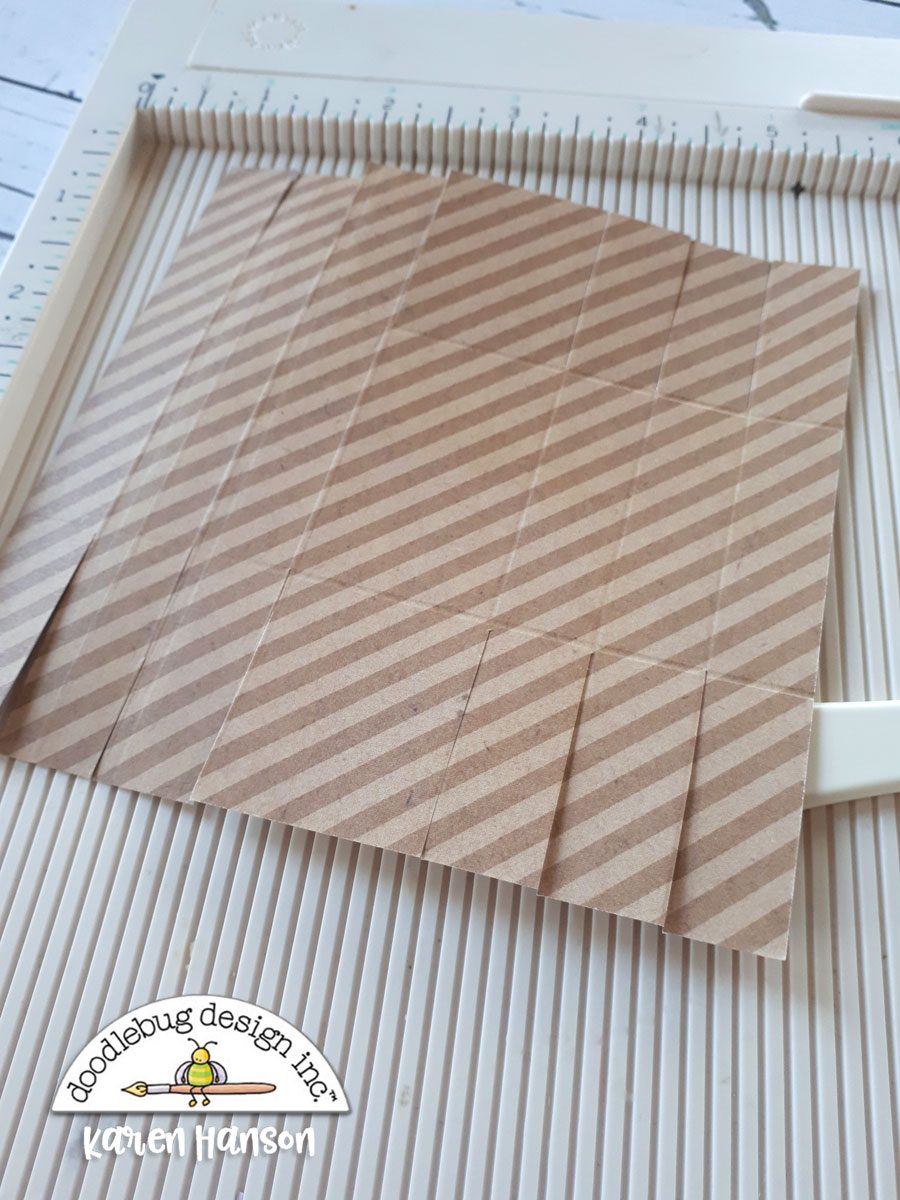
Cut up and down along each of those score marks stopping al the middle section of the basket.

Focusing on the middle section (the largest one), trim off an angle about 1/8" in. Do this for each side of the paper (both sections)
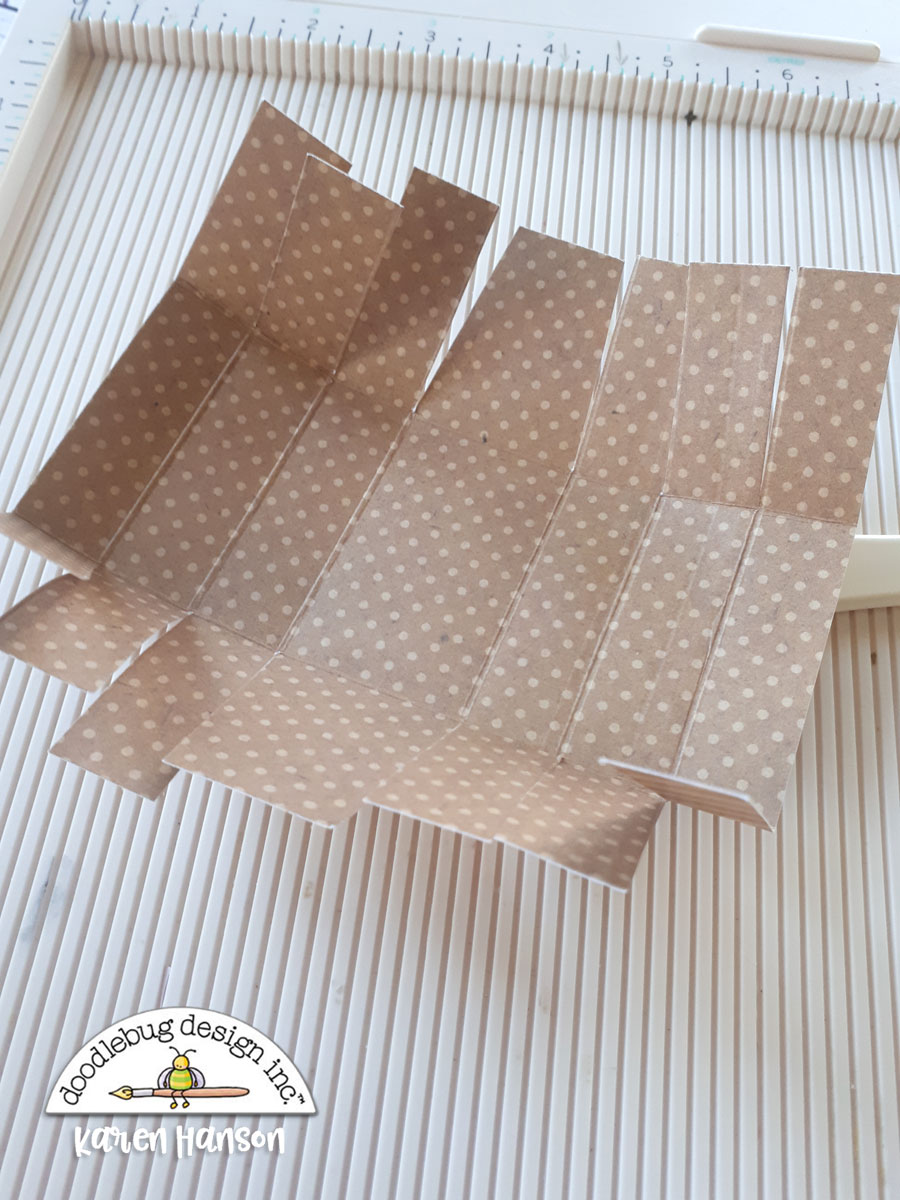
Fold all of the score lines.

Starting on one side, fold in the smaller sections, overlapping each. It doesn't matter which order you do - just keep it consistent on each of the sides of your basket.
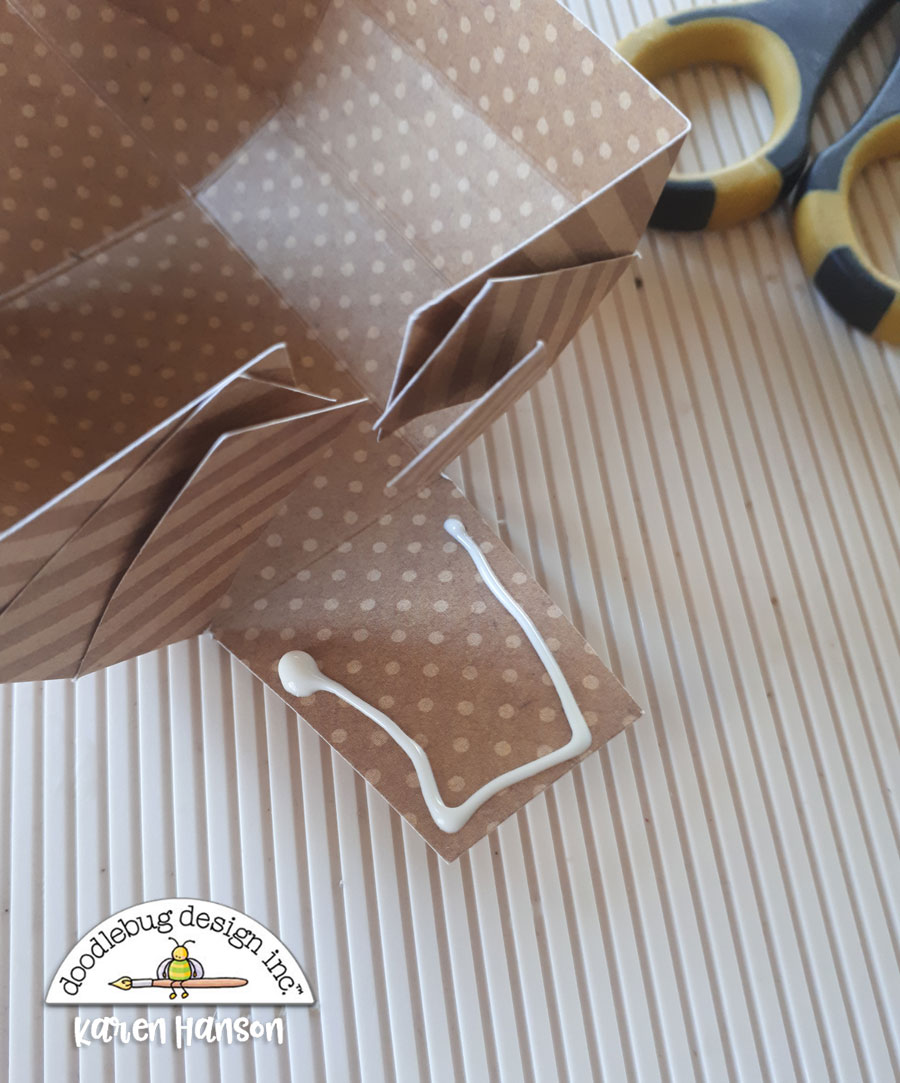
Once you are happy with how it is coming together on both sides, fold down the middle/largest section and add glue on the inside. Note: I actually used too much liquid glue here! A little goes a long way, and you don't want it squishing out the sides like mine did.

Once the ends are lined up the way you like them and straight across the top, use a paper clip or mini clothes peg to hold it in place while you work on the other side.

Once the glue has set, grab a mini doily and fold it over the side edge of your basket. Repeat on the other side.

Hole punch in the middle of both sides of the basket going through the doily as well.

Punch your long strips about 1/4" from both edges.
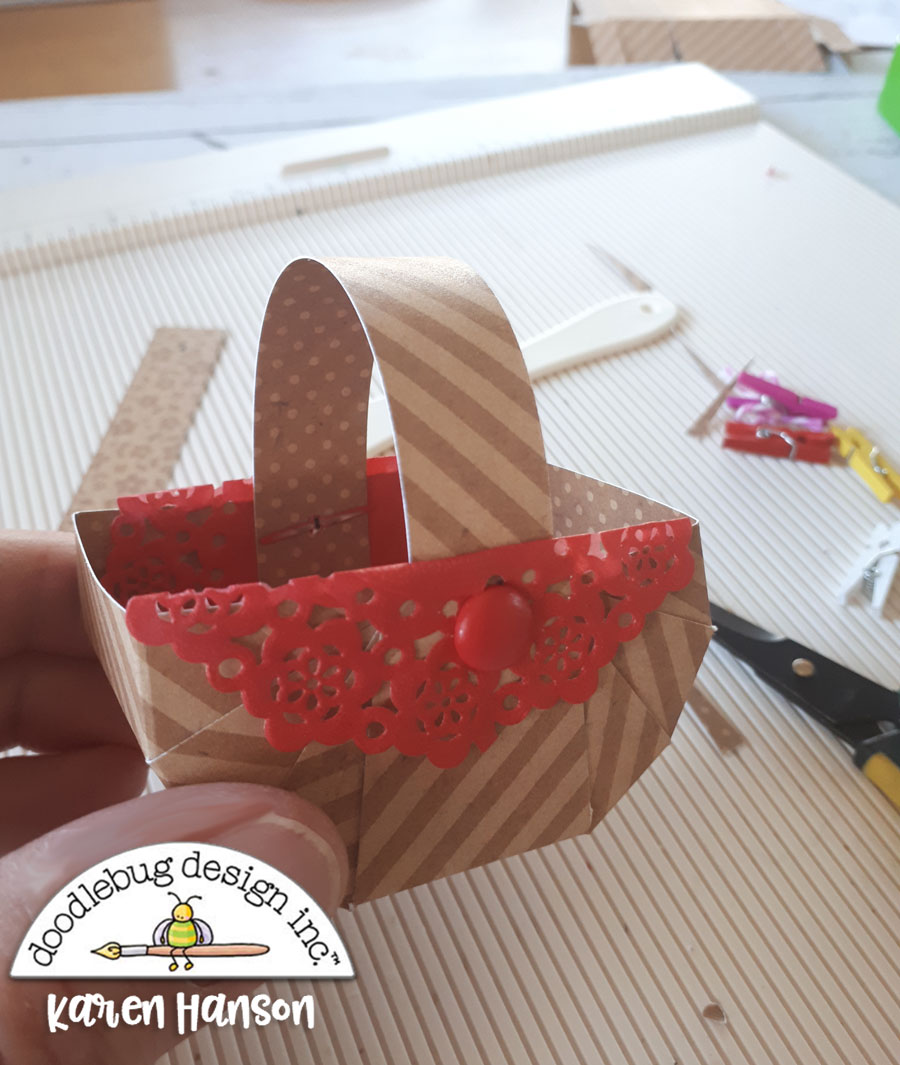
Use a chunky brad to adhere the handle on the inside of the basket.
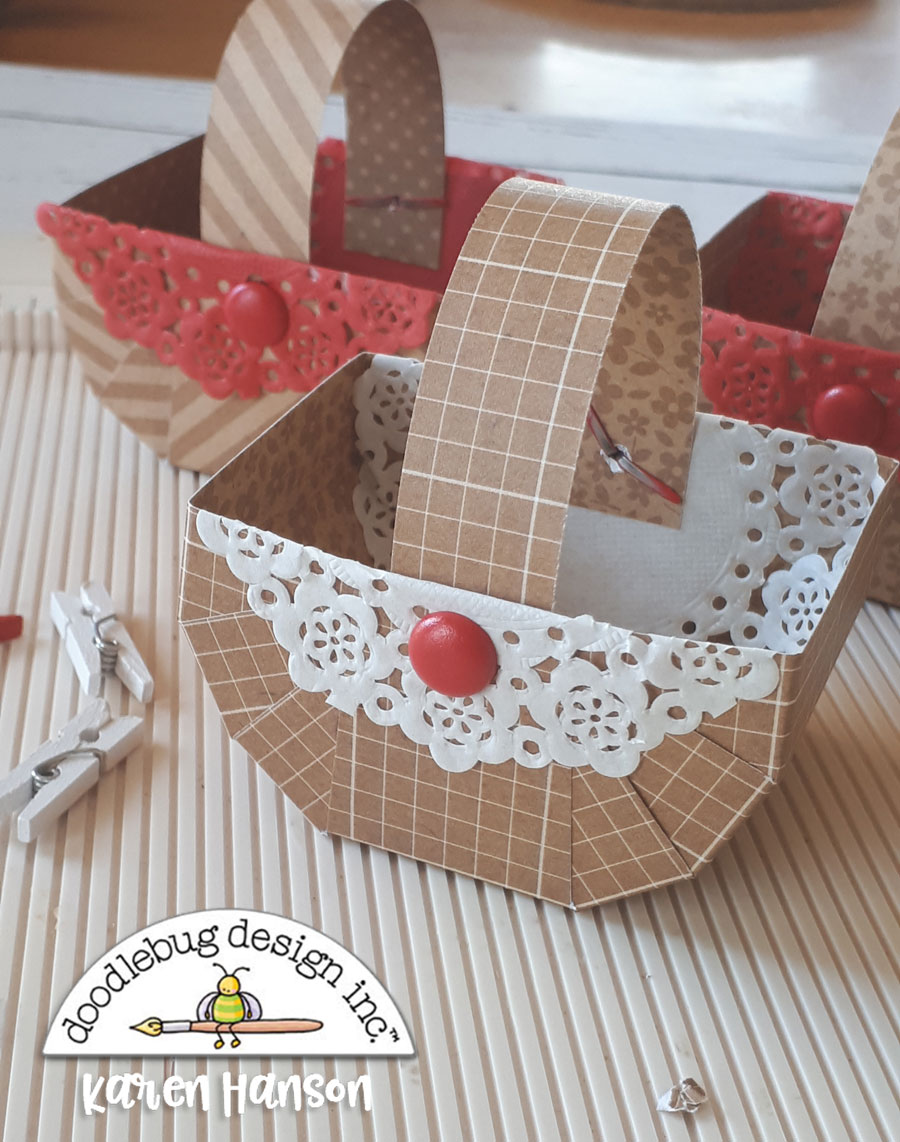

And to make it look even more like a picnic basket, cut a stip of paper from the B-B-Cute collection at 2"X6". Trim off each end to make a triangular shape (I went in 1" on each end). Slip it into your basket and press down in the middle.

Fill with treats and get ready to enjoy or give away!
Thanks for stopping by!

Doodlebug Design Product:
Bar-B-Cute Collection
Petite Prints
Mini doilies
Chunky brads



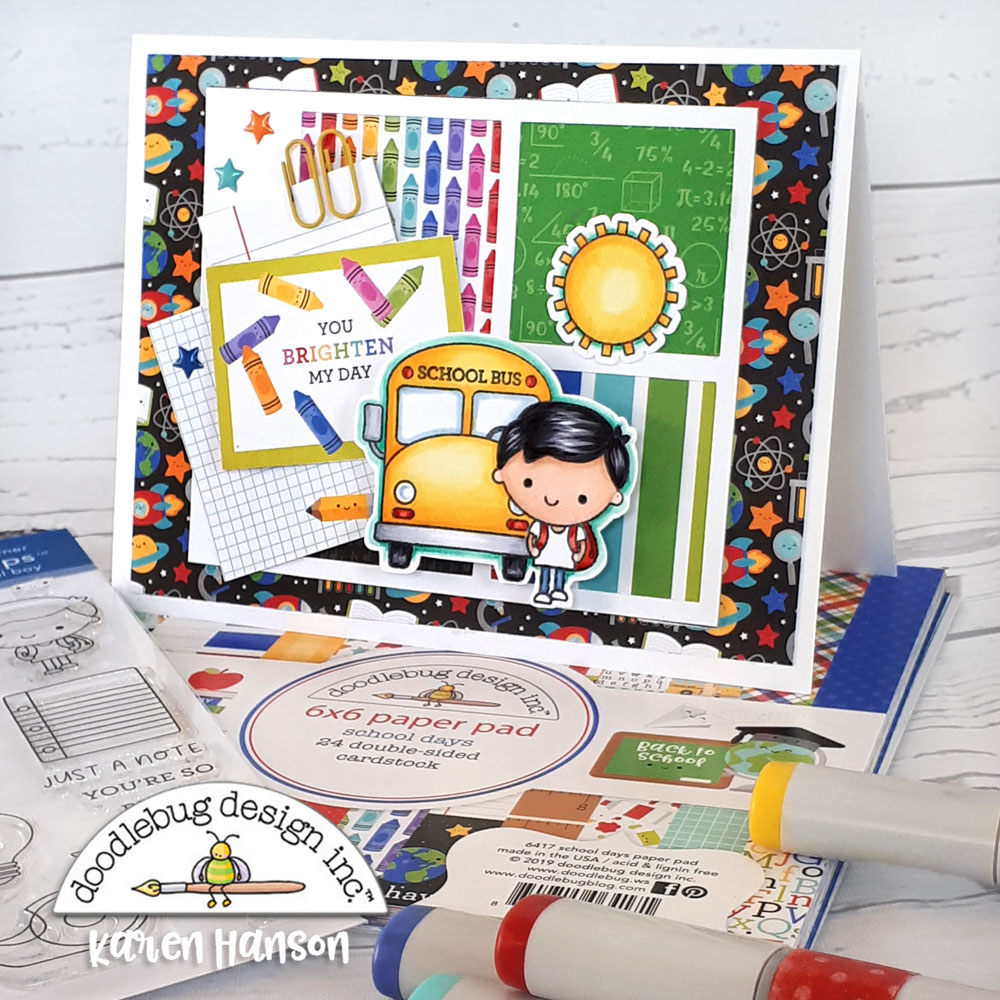 Can you tell I have been having a pretty amazing summer? Packed into it has been a whole lot of crafting, and these new collections that Doodlebug has released have made it even better! I mean, does it get any cuter than this paper (this math loving teacher is all over the formula paper)?
 And the stamps! Oh, the stamps! I did some masking to create this mini image with the little boy and school bus from the "school boy" stamp set. And while I didn't use the doodle cuts because of the masking, you could create the same effect by using the dies and simply layering the boy on top of the bus!

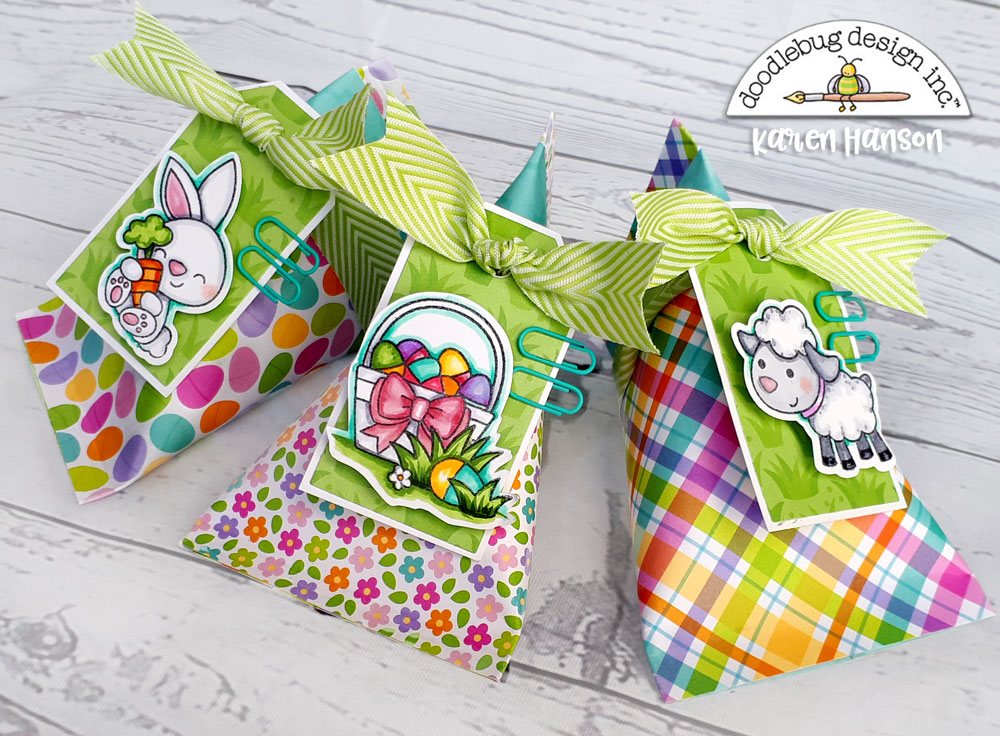
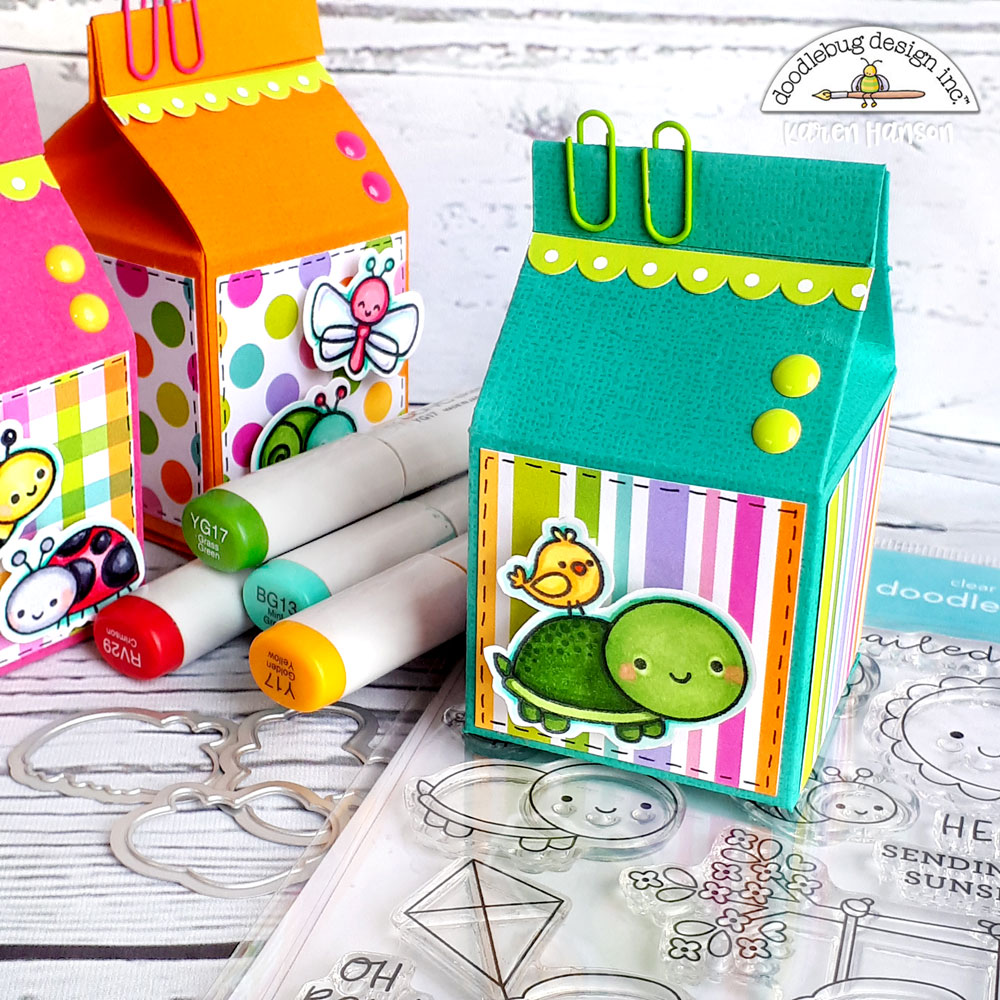
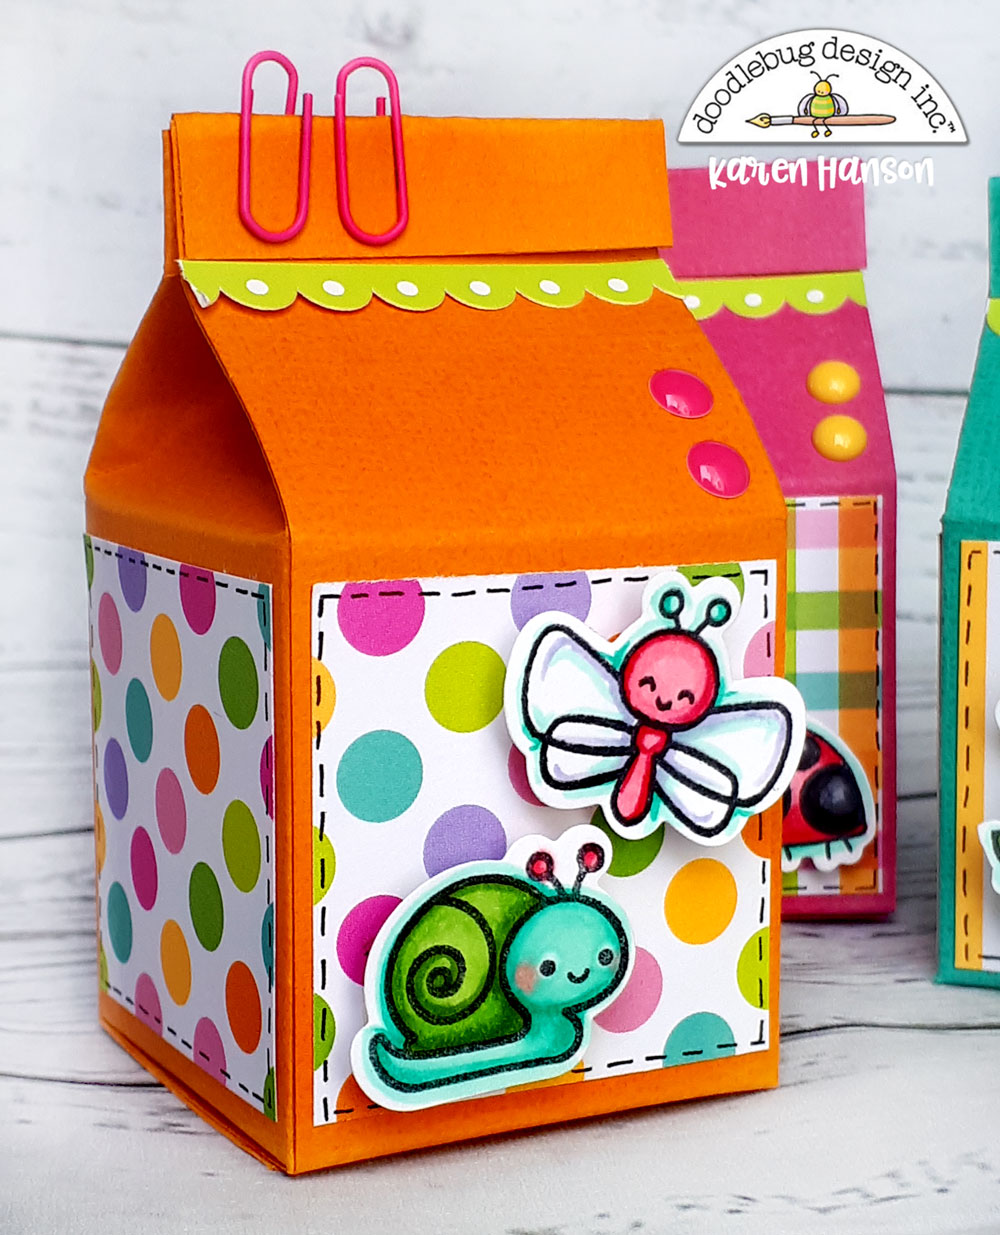
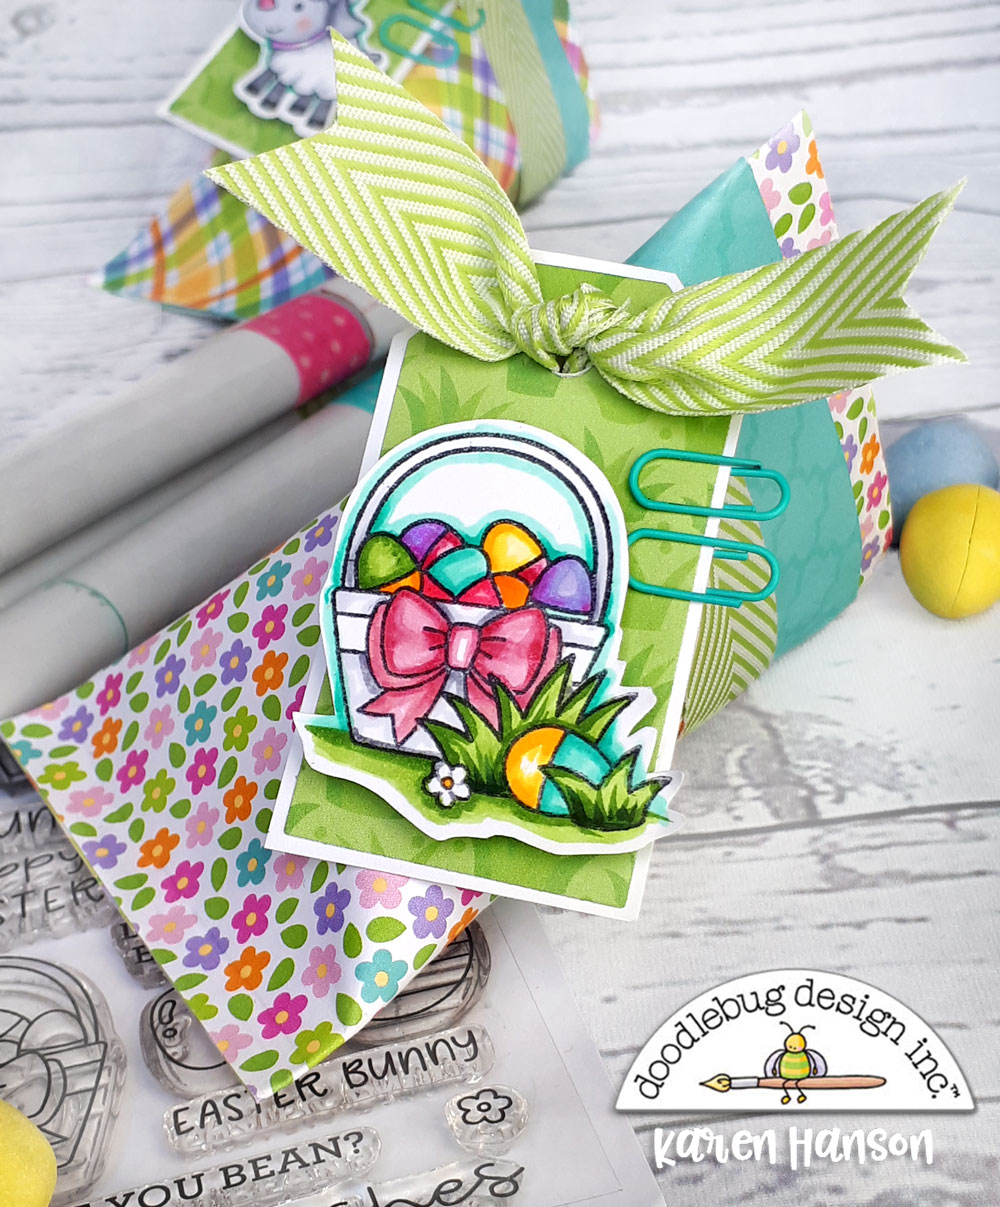
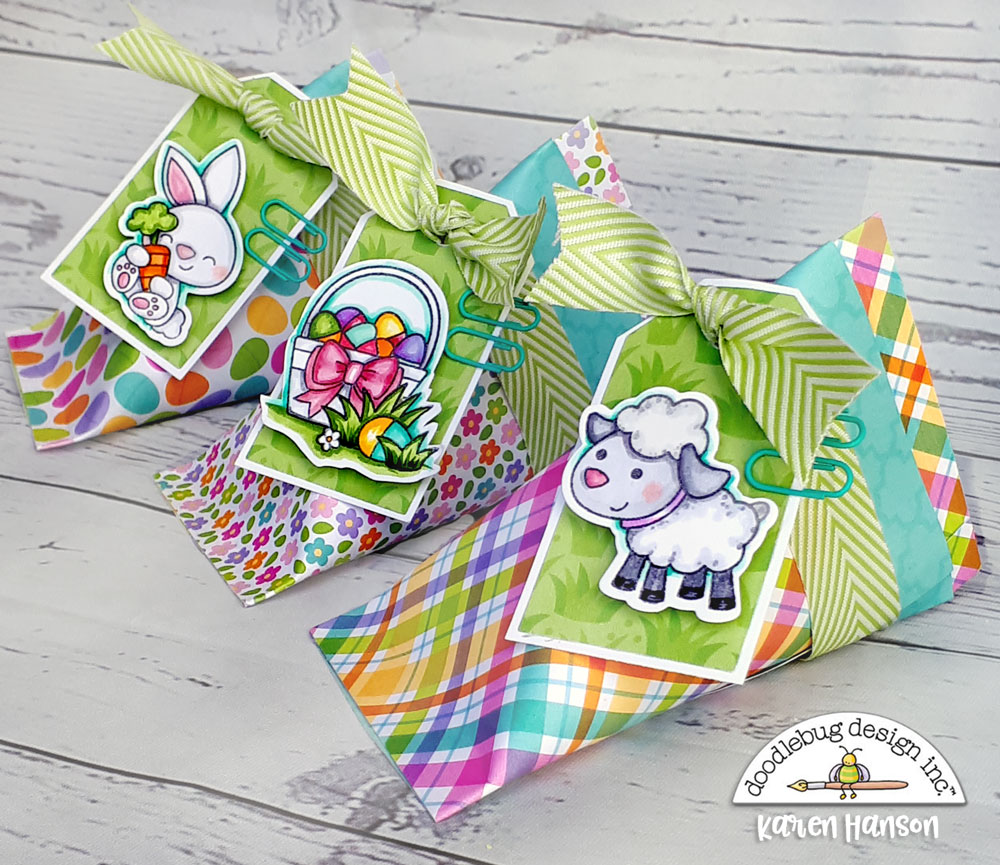 These little containers are a breeze to whip up. You can find many tutorials online, but a simple paper roll is created and then pinched together and sealed with adhesive in two different directions. That's all there is to it!
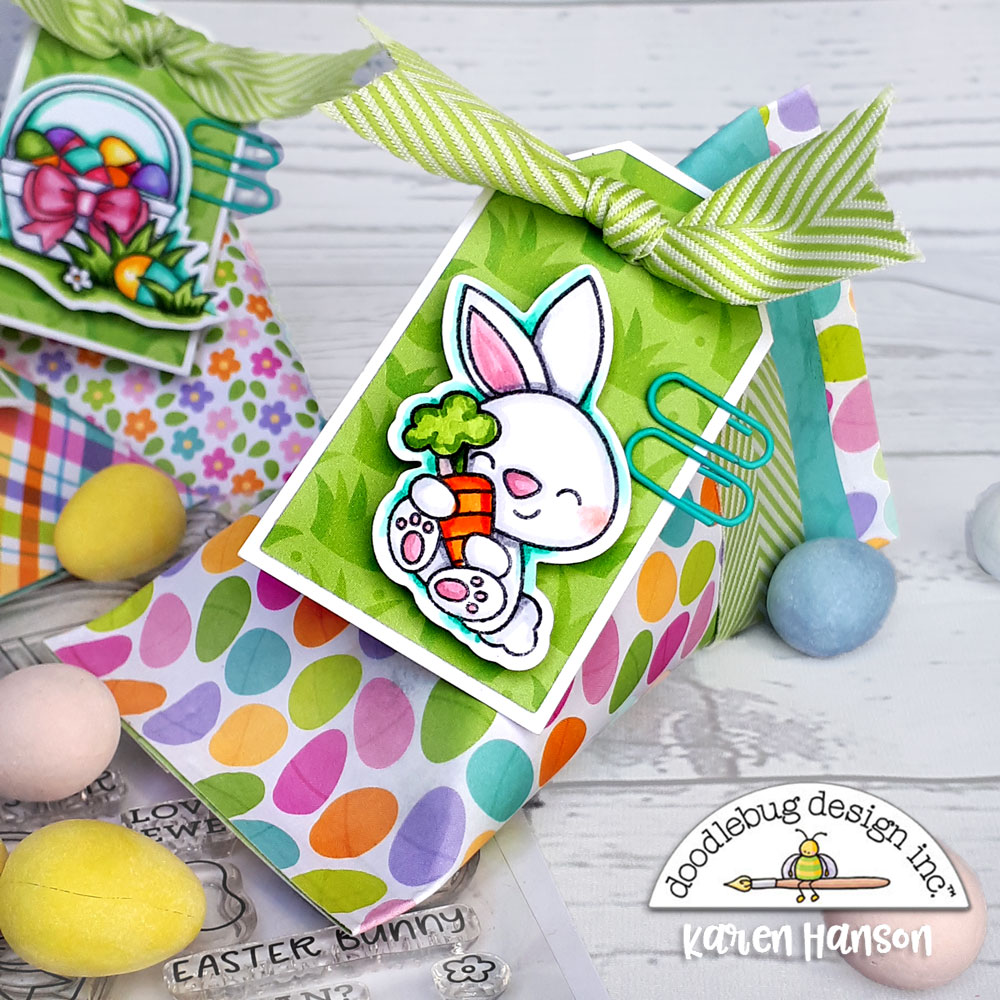 I topped mine off with some of the adorable stamps from the Hoppy Easter stamp set, and then used the handy, handy coordinating dies to cut them out.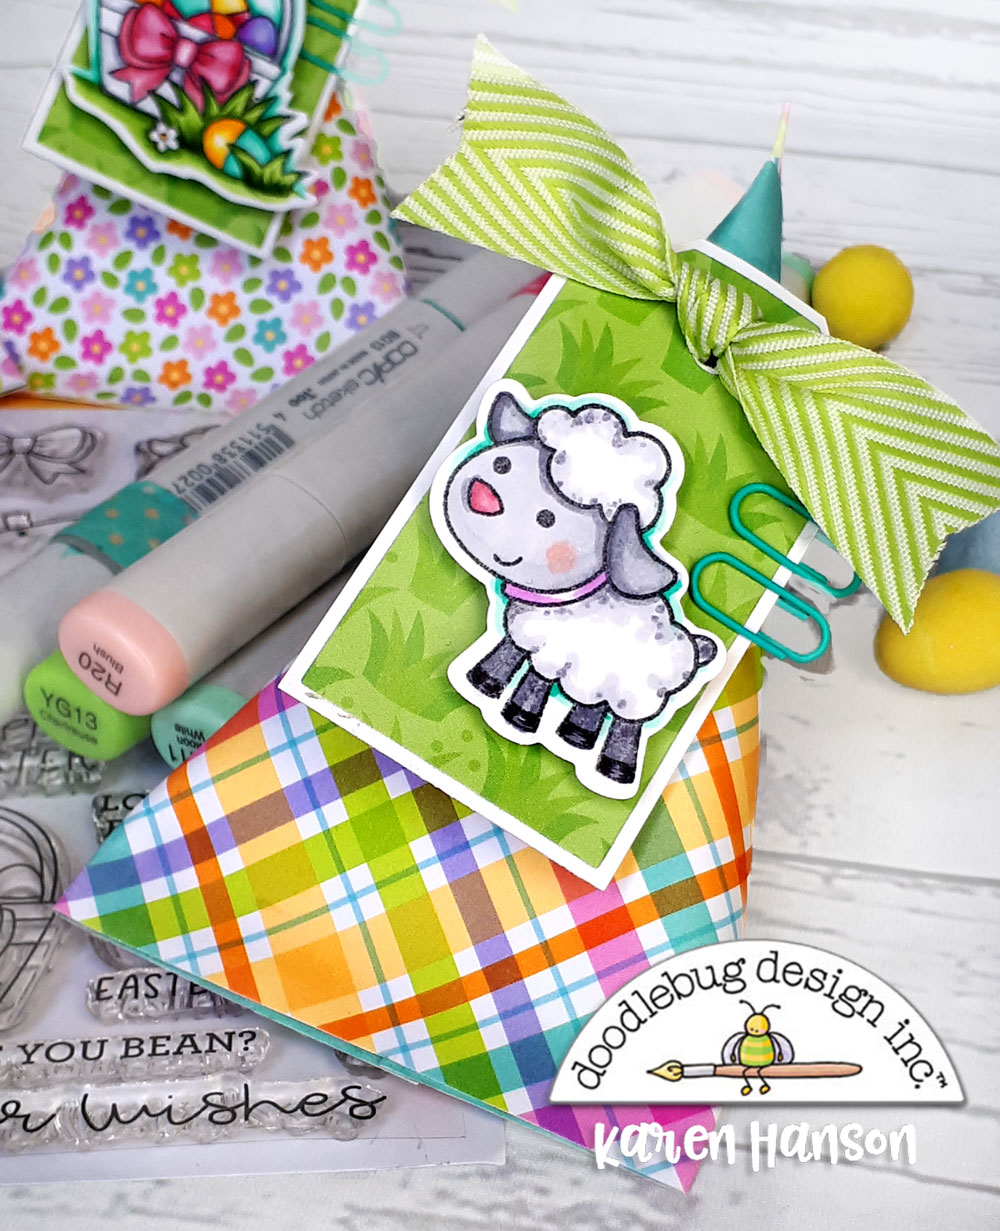
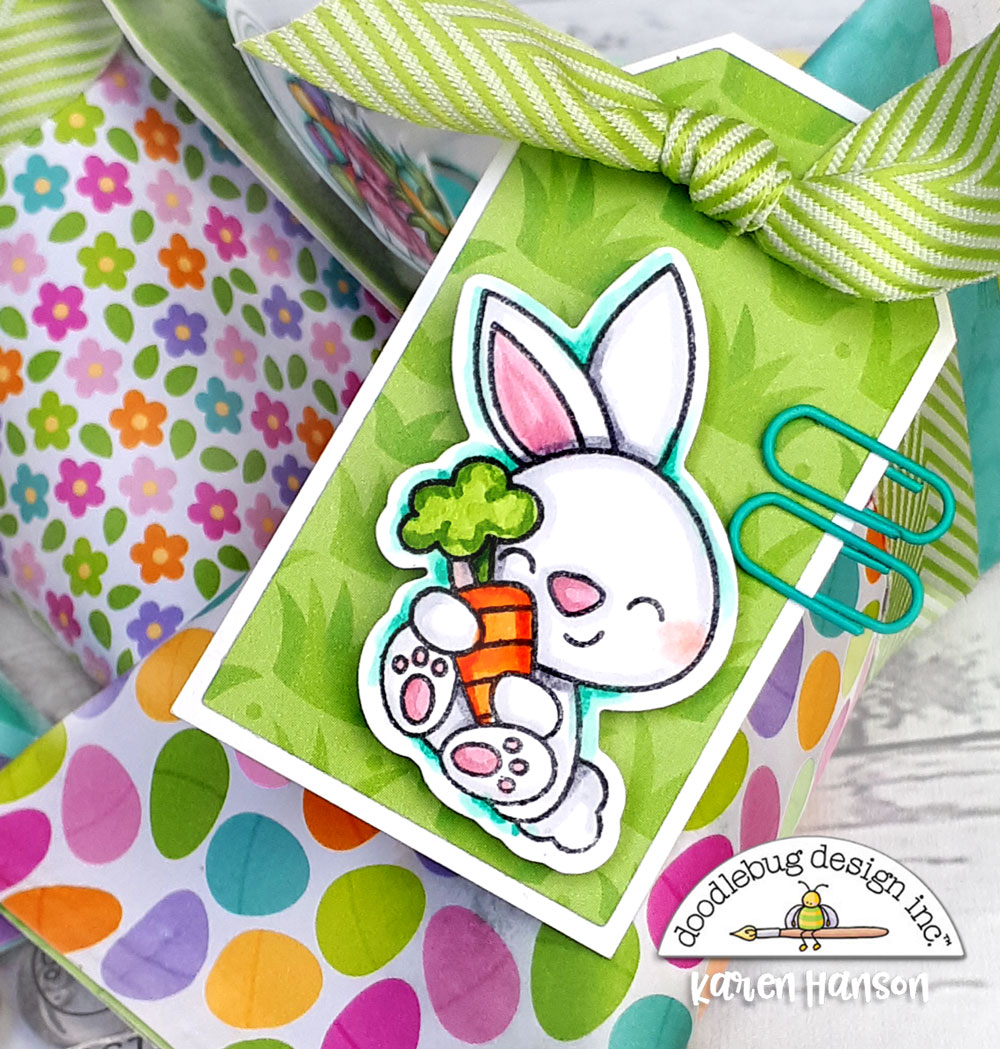 If you haven't noticed by all the projects I have done lately with the new stamps and dies from Doodlebug, I am in love! I mean really, how can you not love that face?!
I hope this project inspired you to create a little something to make your Easter hunts even more special - or at least cute enough to hold your treats until you can get to them!
If you haven't noticed by all the projects I have done lately with the new stamps and dies from Doodlebug, I am in love! I mean really, how can you not love that face?!
I hope this project inspired you to create a little something to make your Easter hunts even more special - or at least cute enough to hold your treats until you can get to them!