Showing posts with label Made with Love. Show all posts

Friday, April 5, 2024

DOODLEBUG SHAKERS MADE WITH LOVE ODDS & ENDS SHAKER CARDS | with Niella

Hi crafty crew! Let's SHAKE our way into April with the new Doodlebug Design product: Shaker fillers! These are so fun, you'll become addicted to collecting these! They come in all the fabulous colors you know and love from Doodlebug. And bonus, they come in storage tubes that will look amazing in your craft room! So let's get into my project! I've made some ephemera shaker greeting cards!

This idea will work with any of your ephemera pieces. Here I've used the Made With Love collection and selected the mixer, the grocery bag and the frosting bags! Firstly, using a blade, cut out a plain section on the ephemera piece. Choose a piece that has a promising area for an edge, this is so you can put a good width of foam tape on the sides to secure the shakers balls.


Once you cut the front section that will show the shaker balls, lay down some acetate and then the foam tape around the section where the filler will go. Encase cardstock over it to close in the shaker balls. Add to your card, then decorate!


With all the fun colors, you'll find so many ways to create with these. How about grabbing a couple colors and making a shaker mix, so darling! Another great idea is so use several as confetti! If you look carefully and zoom in on the Baked with Love card, you'll see I've glued several next to the sprinkles.


I've loved creating these! Doodlebug ephemera packs are so jam packed and generous, you are bound to have some left overs to create this project with!


If you made it all the way to the end of this post: here's a treat, a video showcase! ENJOY!


Thank you crafty crew for popping by today! I hope I gave you a crafty hit of inspiration! Don't forget to tag us in on your socials - we're looking forward to seeing your next Doodlebug Design project! Until next time; doodle dee!


DOODLEBUG PRODUCTS USED

Made With Love collection
Shaker Balls
Easter Assorted card pack
Puffy Heart Shapes
Sprinkles
Doilies
White Cardstock

OTHER

machine stitching
foam tape

Saturday, March 2, 2024

MADE WITH LOVE BAKED WITH LOVE LAYOUT | with Conny

Hello there, Crafty Friends! It's Conny, and I'm excited to share with you a 12" x 12" layout that I recently created using the lovely Made with Love collection. Originally, I had planned to put together an album, but unfortunately, I didn't have enough photos to make it happen. However, I did have a few adorable photos of my daughter Savanna cooking and having a blast, so I decided to use them to create this layout instead.


Let me walk you through the process. To start, I used the Made with Love Shadow Box Insert Kit, which comes with vellum, cardstock stickers, and shape sprinkles. I layered all the shapes on the vellum in a circle, following the example given in the kit.


Next, I placed the vellum on the Dab of Butter 12x12 cardstock, trimming it about 1/2" inch all around. Then, I placed the blush textured cardstock in the background, created a frame, and stitched all around using my sewing machine.

To add some extra flair, I added some standard eyelets at the top of the layout, placing them between the vellum at 3" and 5 1/2", and tied a bow with tulle. I then embellished the layout with Odds and Ends, Doodle-Pops, and leftover sprinkles to add a little more fun and personality.


For the photos, I decided to print them in black and white to ensure they wouldn't clash with the embellishments. Doing so also enabled them to stand out and be the focal point of the layout.


I'm thrilled with the final result of this layout, and I hope it motivates you to create your cards, a mini-album for your recipes, or a 12"X12" layout using the Made with Love collection.

Please let me know what you think about this layout, and feel free to share your creations with me. Additionally, this layout can be beautifully displayed in a shadow box for everyone to appreciate. Thanks for reading, and I'll see you all soon!


DOODLEBUG PRODUCTS USED

Made with Love Collection
Made with Love Solid Textured Cardstock
Made with Love Shadow Box Insert Kit

OTHER

Tulle
Standard Eyelets
Sewing Machine

Friday, March 1, 2024

MADE WITH LOVE CHOCOLATE CAKE LAYOUT | with Jen

I don't do many layouts. But as soon as I flipped through the paper in the Made With Love collection, I knew I wanted to make a layout and I knew just the pictures!

I started with the Dab of Butter paper for my base and topped it with Bake Me Happy. I used two of the borders from the Flour and Sugar border page.

I then layered up a bunch of pieces from the Odds and Ends pack.

For my title I took the Cupcake Chit Chat piece and cut cup off the front and paired it with the Chocolate title. And in case you're wondering, that move of stuffing the cake in his mouth? That's genetic.


Have a great day!


YOUTUBE | FACEBOOK | INSTAGRAM


DOODLEBUG PRODUCTS USED

Made with Love Collection

Thursday, February 29, 2024

MADE WITH LOVE RECIPE CLIPBOARD | With Traci

Hey guys! Today, I have a fun project to share with you that I created with the super cute Made With Love Collection. It's a mini recipe album on a clipboard that's filled with pretty flowers, hearts, polka dots, plaids, and the cutest little kitchen supplies!


I found this ring binder clipboard in my stash. It's by Maggie Holmes and it's called a Crate Paper Open Album. The clipboard was a woodgrain pattern so I covered it with the pretty 12x12 plaid paper called Cupcake Cuties.

Then, I created a cover page for my recipes with white card stock. I added the 6x6 paper titled Heartwarmer to the lower half and the scalloped border sticker from the This and That sheet. 

For the center embellishments, I used the scallop circle sticker from the This and That and layered a 2.25" circle punched from the 6x6 Bake Me Happy polka dot paper. Then, I finished it with a few flower and heart die cuts from the Odds & Ends. 

Inside the cover page, I added more of the 6x6 Bake Me Happy paper, then ... the cute recipe cards! I punched holes in the top of each one and added them to the rings.

I love the recipe cards in this collection. The set includes 36 double-sided cards. There are six of each design that have a pretty pattern along the bottom and a cute image in the corner.

At the bottom of the clipboard, I layered more die cut pieces from the Odds & Ends and added the "perfect recipe" piece from the Chit Chat. And that's it! Easy-peasy!


I hope this cute project inspires you to make your own recipe album with the wonderful Made With Love Collection. The paper and embellishments are so fun, colorful, and filled with the cutest little smiling faces!

DOODLEBUG PRODUCTS USED
Made With Love Collection
 
OTHER
 Maggie Holmes Crate Paper Open Album

Wednesday, February 28, 2024

MADE WITH LOVE HAPPY LAYOUT | with Erica

It is not secret that I LOVE using cut files on my scrapbook layouts. They help me build a page when I need that little bit of creative mojo. One of my favorite types of cut files are center focused. This means the file is meant to go in the center of your layout and makes a bold statement! The Layered Hearts cut file was perfect paired with the Made With Love collection.

 
The 6x6 paper pads are my always one of my favorite products. I love the smaller prints and they are perfect to back cut files. I used a couple pieces of the 6x6 Made With Love paper pad and a couple of the 12x12 pattern papers for the two larger hearts in the cut file.

 
I adhered the cut file directly to a piece of white cardstock that I matted onto some pattern paper from the Made With Love collection. I added some foam adhesive behind three of the hearts in the cut file to give the file some dimension.

 
My photos are printed in black and white and matted on some pretty patterned paper from the Made With Love 6x6 paper pad. I tucked the photos into the hearts and added some pretty floral Bits & Pieces. 

 
The center heart was the perfect spot to add one of the Made With Love chit chat pieces for my title. I created a few embellishments around the around the layout using Made With Love Odds & Ends and stickers. and finished off the layout with some sprinkles around the layout.

 
This collection has the prettiest colors and I love that I was able to use this baking themed collection to document our niece's bridal shower! I hope this inspires you to create with a cut file and to think outside the box when using a themed collection.


DOODLEBUG PRODUCTS USED

Made with Love Collection

Tuesday, February 27, 2024

MADE WITH LOVE CARDS | with Karen

Sometimes there are collections that just speak to who we are as crafters and creators. Doodlebug's Made with Love collection is one of those collections for me. I spend equal time in my kitchen and crafty area - in fact, my crafty area shares a space with my kitchen. So every time I make a project with this collection, it really just feels like it is mine!

First-Photo

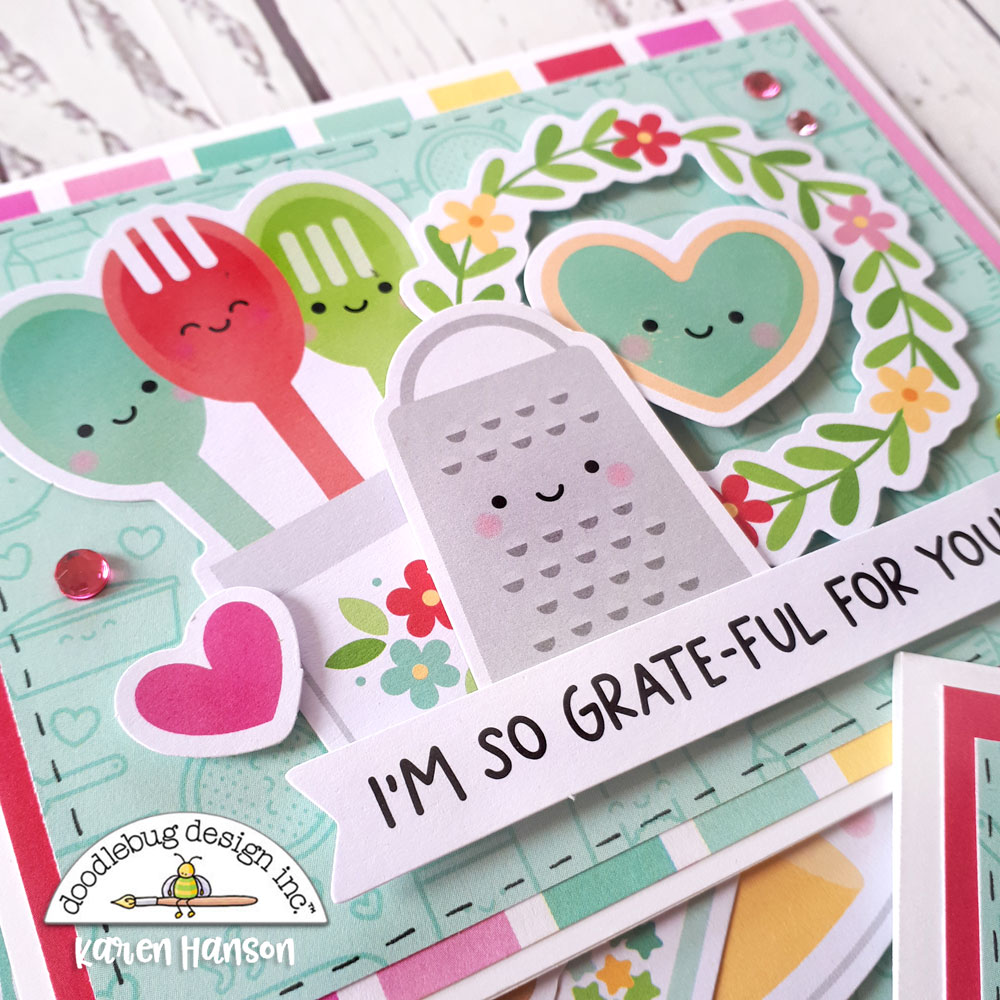
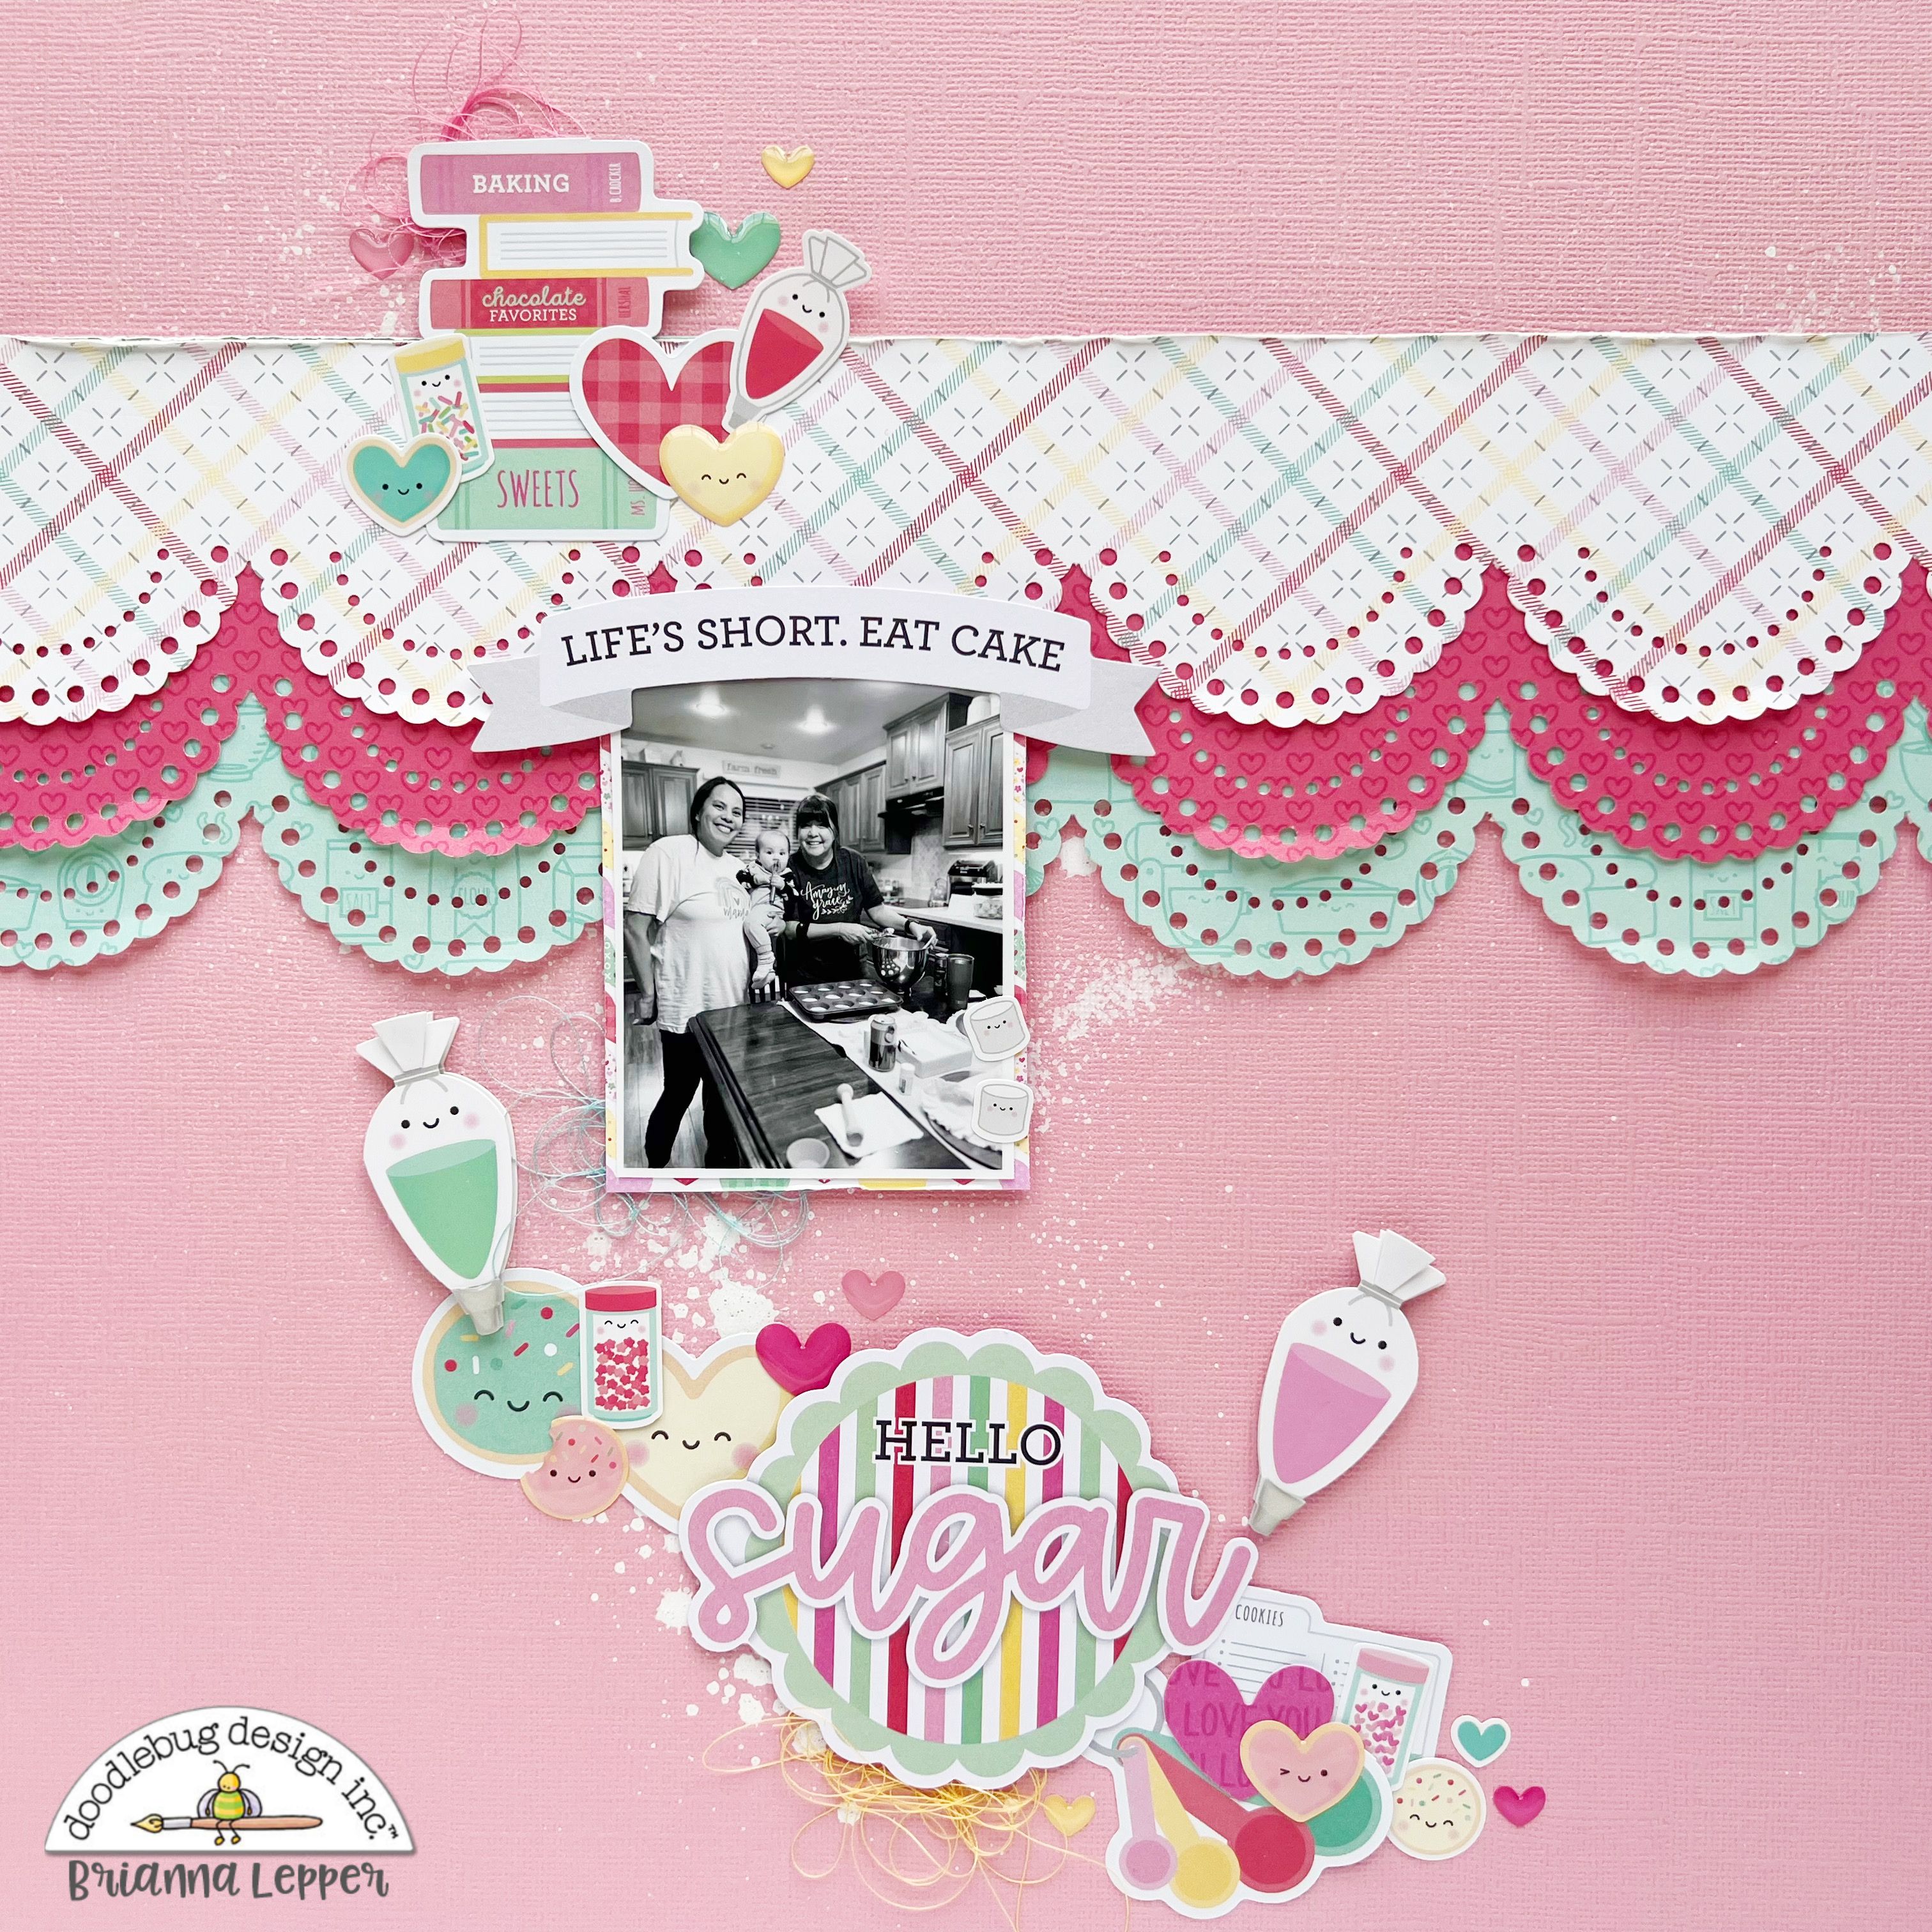
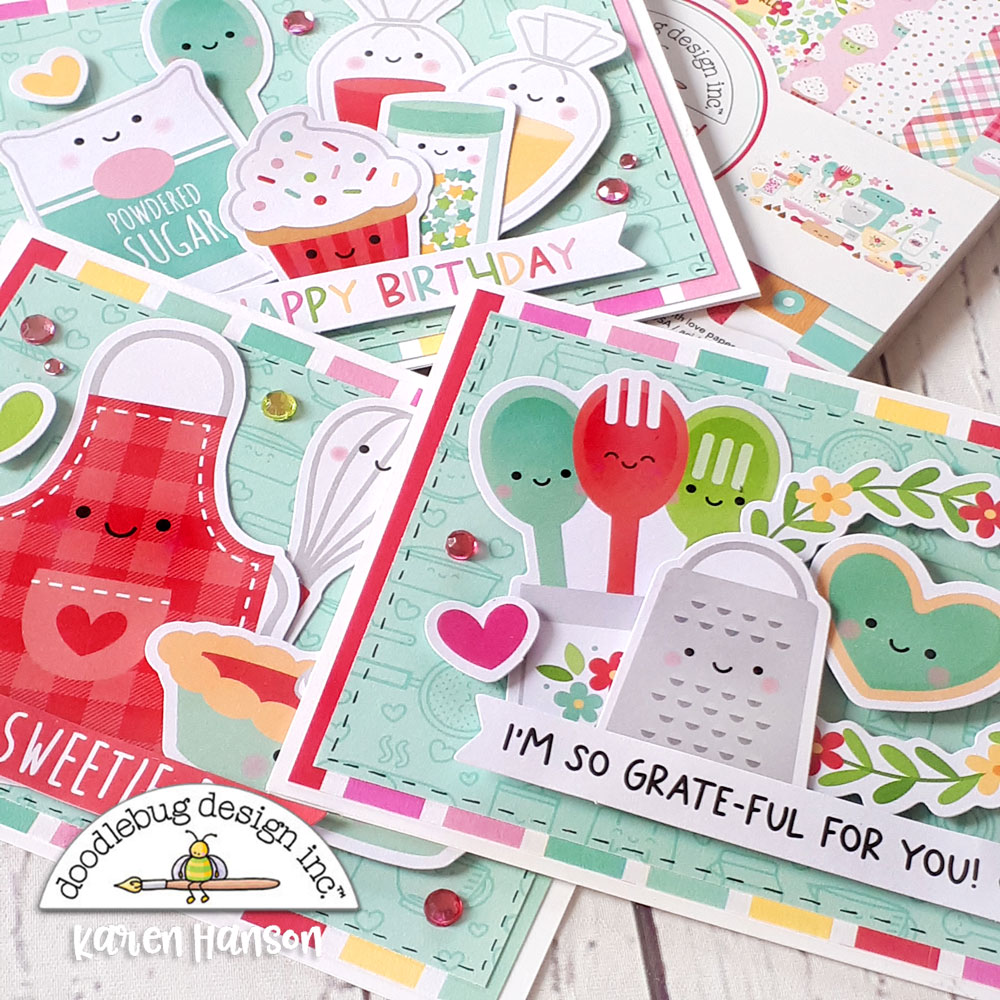
For today's project, I wanted to create some cards for some of the people closest to me that have birthdays coming up - people who I know will appreciate the adorable icons in this collection as much as I do. I started each card with layered paper from the 12x12 collection on regular A2 sized card bases that I cut from plain white cardstock.

Odds-and-Ends

And then they fun started - I laid out all of the Odds and Ends die cuts and selected the ones I wanted for each of my recipients, matching them to puns and sentiments from the Chit Chat packs. This part is always the most fun for me...while the cards have a similar shape and feel, the icon selection really sets each one apart for the recipient and can actually take me a long time to sort out. I always try different combinations and swap out shapes and sizes until things seem just right.

Mini-Jewels

Then I embellished with a some Mini Jewels for that extra sparkle and added a bit of hand-drawn stitching.

Final-photo

This playful collection is wonderful for so many reasons - for me, it's a way to share a bit of myself with those that I love. It's no wonder creating with this collection always makes me smile! Thanks for stopping by!


BLOG | INSTAGRAM

DOODLEBUG PRODUCTS USED

Made with Love Collection
Made with Love Doodle Stamps
Mini paper clips
Mini Jewels

OTHER

White cardstock
Alcohol markers
Ink

Monday, February 26, 2024

MADE WITH LOVE LIFE'S SHORT. EAT CAKE LAYOUT | with Brianna

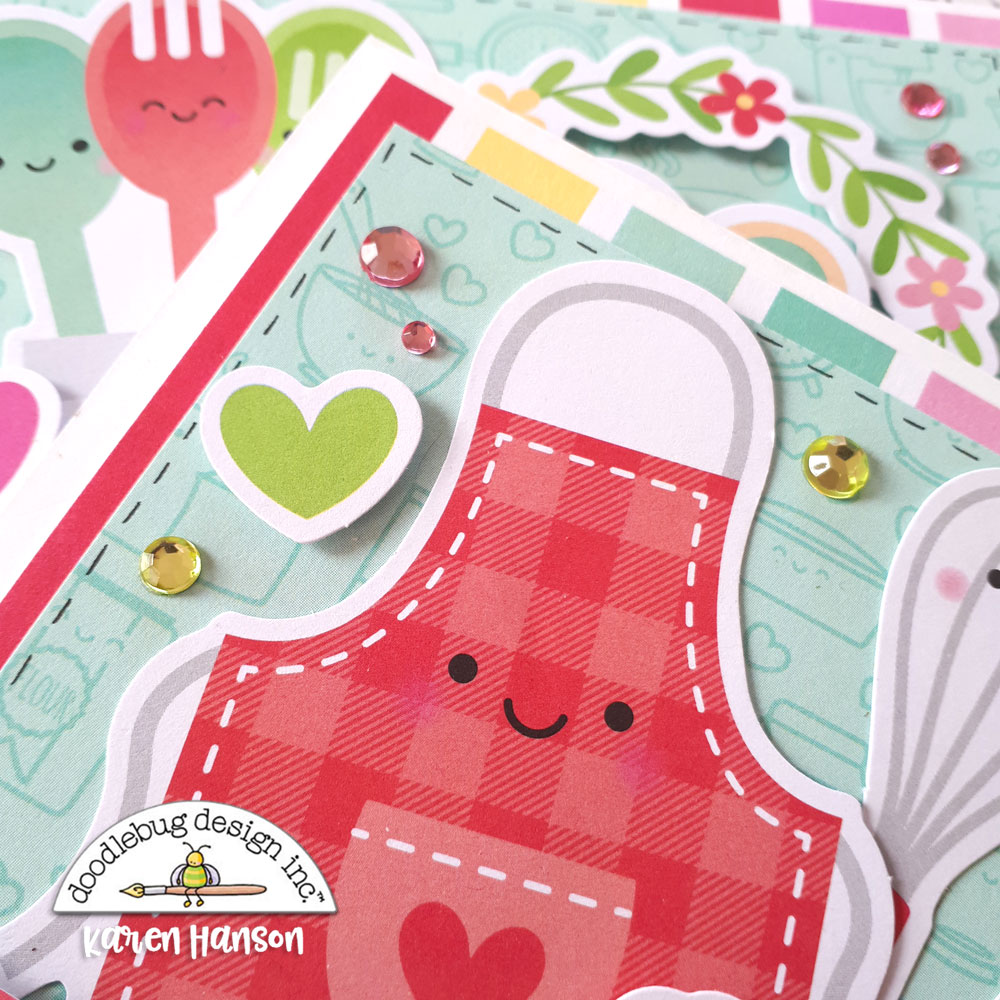
Happy Monday friends! I'm here today sharing a new layout featuring the Made With Love collection. In our family, we love to cook and bake. It's a way for us to spend quality time together, making delicious food from our hearts. We love to gather around the table and talk about anything and everything. Being back in our home state has allowed us to reconnect with our families more than just one time a year. We've really been enjoying it! Here's my page that documents a recent photo of one of our trips to my Moms house. This collection was absolutely perfect for this photo!

This collection is soft and pretty, so I thought I would pull out my large doily punch and punch some pretty edges into a few of the 12x12 patterned papers. I layered them together and popped them up on foam tape and set them aside to work on my background.

I went through the Made With Love coordinating cardstock pack and chose the Cupcake paper as my base. I thought it would make a pretty background! Before I adhered all of my punched papers down, I sprayed some white paint across my background for some extra interest and because I love the look of white paint on colored cardstock! Next, I matted my photo using the 6x6 Paper Pad and stuck it down towards the center of my page.

For my title, I chose a phrase from the Chit Chat pack and adhered it down where it would create a diagonal design across my layout. The Icing On The Cake Doodle-Pop was the perfect embellishment next to my title. I made the pink one look like it wrote the 'sugar' part of my title. How cute is that?!


Next, I took the other frosting bag and layered it on a cute cookie of the same color. I embellished using the Odds & Ends pack as well as the Mini Icons Stickers. Those little sprinkle bottles are so cute!!!!


I wanted to include a few smaller elements in my embellishment clusters, so I used the Bake Me Happy and With All My Heart Shape Sprinkles.

Here's one last look at this sweet page:


Thanks so much for stopping by today, I hope that I've inspired you in some way. I'll see you in my next post friends!

DOODLEBUG PRODUCTS USED
Made With Love Collection
Made With Love Coordinating Cardstock


OTHER
White Acrylic Paint
Sewing Thread


Saturday, February 24, 2024

MADE WITH LOVE A-DOUGH-RABLE LAYOUT | with Tarrah

Do you have a cute baker or chef in your family? I am very lucky to have one in my family and the Made with Love collection is perfect to document these adorable photos of my little baker!


I chose quite a few patterned papers for this layout - using 4 in total including Sugar Sprinkles, Flour and Sugar, Bake Me Happy and Dab of Butter. I decided on the Bake Me Happy paper for my background and trimmed down the Sugar Sprinkles paper to approximately 11' x 11' and adhered it to the Bake Me Happy paper. I then freehand drew a border around the edge using a black journal pen. I then trimmed down the Dab of Butter paper to measure 8' x 12' and adhered this piece to the centre of the layout. From the Flour and Sugar paper, I trimmed off the red gingham/plaid strip piece and the cocoa, flour and sugar jar piece. I adhered the red piece at the top of the Dab of Butter paper and the cute jar piece at the bottom.


I love the border stickers that are included on all the This and That sticker sheets! I added the small yellow scalloped one and the red plaid/gingham one at the bottom and the blue wavy one at the top. The Bake Me Happy enamel stickers are SOOO cute! I added lots of these at the top of the page! I just love their adorable faces!


In the centre of the page, I adhered my 2 cutie photos using craft foam to pop them up off the page a little. I did leave the sides of the photos free of adhesive so that I could add some embellishments, I often do this when I create my layouts, I then go back when I am happy with my page and extra adhesive to secure everything. You can see in the close up photo the shadows this creates on my page, I just love the added dimension. On the right of the photos, I added the round die-cut that says 'Baked With Love' from the Chit Chat pack. I added some of the enamel hearts from the With All My Heart pack. I also added one of the tab sticker here from the This and That sticker sheet.


Above the large photo, I tucked in the adorable rolling pin and above the smaller photo, the utensils both from the Odds and Ends pack. I also took the 'a-dough-rable' speech bubble from the Chit Chat pack and adhered that above the rolling pin. I also added the All You Knead Is Love speech bubble in the top left corner of the small photo. As my son has his apron on, I just had to add the apron cardstock sticker from the Icon sticker sheet. Lastly I stamped the date stamp using black ink and my layout was complete.


Thanks so much for stopping by the Doodlebug blog today! I hope you were inspired by my layout today! Happy creating!


DOODLEBUG PRODUCTS USED

Made With Love collection

OTHER

Date stamp
Black ink
Black journal pen
Pin It button on image hover