Showing posts with label tag album. Show all posts

Monday, March 23, 2026

LUCKY ME - SPRING TAG MINI ALBUM | with Kathy

The Lucky Me Collection is perfect for documenting your spring memories, it's so bright and cheery! I thought it would be fun to create a little tag mini album this time around, take a peek...


I started by making a chipboard cover for my mini.  I cut chipboard (2 cover pieces measuring 4 5/8" x 6 1/4", and one piece 1" x 6 1/4 for the spine. I covered the chipboard with some St. Paddy's Plaid paper on the outside and some Limeade Gingham Linen Petite Prints on the inside.  To decorate my cover I used the You Are My Sunshine Doodle Cuts.


For my pages, I created some tags using a combination of papers from the collection and the coordinating Lucky Petite Prints, stitched together.  I also created one tag using the Rainbow Drops Heavy weight acetate.  Each tag measured approximately 3 1/2" wide by 5 5/8" tall.  I cut the top corner notches about 5/8" in on each side.  For each tag I used a 3/4" circle punch to cut some lily white textured cardstock.  I used these as reinforcements for the tag holes.


Once I had my tags put together, I embellished them all with a variety of goodies including, Icon Stickers, This & That Stickers, Puffy Icon Stickers, All the Things, a Doodle Pop and lots of shaped sprinkles!  My photo mats were cut using stitched dies from my stash.  Here's some more views of the pages.


I secured the pages in my book with a white 1.5" book ring, and I used a piece of ribbon to secure the book closed.  It's now ready for me to fill with some fun spring memories!

Have you created any projects with the Lucky Me collection?  Be sure to tag Doodlebug Design on socials so we can see!  We absolutely love to see your creations.  That's it for me today, thank you for stopping by to peek!


BLOG | INSTAGRAM | YOUTUBE

DOODLEBUG PRODUCTS USED

9016 lots of luck shape sprinkles
9017 rainbow bright shape sprinkles
9019 lucky charm shaker-pops
9025 lucky me puffy icons stickers
9032 you are my sunshine doodle cuts
9034 lucky me all the things
9036 lucky me 6x8 paper pad
9037 lucky me icons stickers
9038 lucky me this & that stickers
9039 rainbow drops heavyweight acetate
9040 my lucky charm double sided cardstock
9041 color me happy double sided cardstock
9042 clover patch double sided cardstock
9043 st. paddy's plaid double sided cardstock
9044 rainbow skies double sided cardstock
9047 lucky me petite prints assortment pack
3402 lily white textured cardstock
2987 bubblegum doodle twine
8082 swimming pool - candy stripe-sprinkles petite prints cardstock
8113 lily white - plaid-polka dot petite prints cardstock

OTHER

Stitched Rectangle and Square Dies
Chip Board
Sewing Machine
Sizzix Big Shot
White Book Ring
ribbon

Thursday, March 19, 2026

LUCKY ME MINI TAG ALBUM | With Traci

Hello everyone! Traci here and today, I'm sharing an acrylic tag shaped mini album I made with the adorable Lucky Me Collection. It's filled with pretty colors, flowers, and the cutest ladybugs. This fun and simple project is great for spring photos, and ... makes a sweet gift idea for an Easter basket, a birthday, or Mother's Day!  

To make it, I used my clear Acrylic Tag Shaped Album. It's 2x4 inches and comes with 1 binding ring and 6 tags. I specifically designed this album to fit Doodlebug's cut apart tags found on their 12x12 sheets. For today's project, the tags are from the St. Patty's Plaid paper.

I had to take a close-up so you could appreciate this little cover. I used the green Clover Patch tag as the base and cut two small mats. Then, I adhered the gorgeous Love You Doodle-pops sticker on top and added 3 little red heart shaped sprinkles. Look how pretty she is! So many cute layers and enamel accents.

Since there were only 6 tags in this mini collection, I traced their shape onto 12x12 and 6x6 pattern papers and simply cut more out. Above, I used the My Lucky Charm polka dot print as the base, added a photo mat, then embellished with the flower icon sticker and This & That word sticker.

For this next page, I cut out the tag out of the reverse side of the My Lucky Charm print. Then, I created a 1.5" x 2" flippie with the adorable "hello sunshine" card. The cut apart cards in the 6x8 paper pad were the perfect size for this little tag album and now this page has space for 2 pictures!

How fun are these colorful pages? For the tag on the left, I mixed fun patterns, then decorated with a rainbow mini icon sticker. On the right, I chose the striped tag from the 12x12 St. Paddy's Plaid print. Then, I added the smaller journaling card from the 6x8 paper pad and a cute green 🏠 from the mini icons stickers. 

Above, I created another flippie with a sweet lil' mushroom scene. And just below it, I added 2 enamel flowers from the Rainbow Bright sprinkles and the "blessed" This & That sticker. The page on the right is a tag from the 12x12 St. Paddy's Plaid print, and ... it's perfect just as it is.

Here, I cut out a tag from the colorful polka dot print called Clover Patch, then added a photo mat and the cute mushrooms icons sticker.  The next page was another fabulous tag from the 12x12 St. Paddy's Plaid print and it definitely makes me happy!

I hope my tag shaped mini album inspires you to create something special with the new Lucky Me Collection. I love its bright happy colors, cute spring images, and all the great paper and embellishment options! 

To see more tag albums that I've made with Doodlebug's adorable collections, visit ... Bunny HopSweet and Spooky, and Farmhouse Tag Albums. Until next time, happy scrappin'! 😊  

 
DOODLEBUG PRODUCTS USED
 
9036 Lucky Me Collection 6x8 Paper Pad
9046 Lucky Me 12x12 Paper Pack
9018 Love You Doodle-pops
9017 Rainbow Bright Shape Sprinkles  
9038 This & That Stickers
9037 Icons Stickers
9024 Mini Icons Stickers
9025 Puffy Stickers

Saturday, December 13, 2025

OH WHAT FUN MINI TAG ALBUM | with Conny

Hello crafty friends! This is Conny from The Daily Life of Creativity, and today I’m excited to share my third project using the Oh What Fun collection by Doodlebug Design. This time I created a tag-style mini album that does not require chipboard. For my base, I used 4” x 6⅛” acrylic tags, but you can recreate this project with any tag shape or size you prefer. Even a smaller 3” x 4” version would be adorable.

I started by choosing my favorite patterned papers from the collection. The 6x8 paper pad works wonderfully for this type of project, but since mine was already used up from my first two projects, I worked with the 12x12 papers instead.

For the front and back covers, I used the Festive Flannel paper. The red flannel pattern is beautiful and works perfectly for a cover design. I trimmed it to fit the acrylic tags and adhered it to both sides.

Inside the album, I cut nine additional tags at 4” x 6” using a mix of the following patterned papers: Christmas Eve, Berry Christmas, All Spruced Up, Cookies and Candy, and Twinkle Time. Some of these repeat throughout the album, and you can flip them to keep the patterns flowing nicely.


Next, I selected a few colors from the Oh What Fun textured cardstock assortment. I trimmed these pieces slightly smaller, to around 5¾” x 4⅛”, so a decorative, patterned border would show along all edges.

Before adhering the cardstock matting, I added some interactive elements to the pages. I created small flip pages using 3x4 cards and tag shapes from the Snow What Fun, Deck the Halls, and Merry and Bright paper. I trimmed the cards and created flips that open to the left and right throughout the album, alternating direction for variety. I also added a few tag shapes between larger pages for more layering.

On one of the tags, I created a small pocket using a 3x4 card. I added hinges on three sides, adhered it down, and tucked in Bits and Pieces from the collection, including small journaling cards that are great for writing notes or adding extra photos.


To embellish the front cover, I layered three patterned papers measuring 3.5” x 5”, 3” x 4.5”, and 2.5” x 4”. On top of this layered base, I added the Playful Pixies Doodle-Pop, along with the small envelope Santa and two layered hearts in light and dark pink. The title “Merry Christmas” comes from the Oh What Fun Chit-Chat pack.

Inside the album, I embellished using puffy words, mini icons, puffy icons, Chit-Chats, Bits and Pieces, and Odds and Ends. I added small clusters throughout the pages while leaving plenty of space for photos. I also added a pink ribbon bow to one of the tags for extra cuteness and completed the entire album with enamel dots.


Thank you so much for stopping by and taking a look at my project. I hope it inspires you to create something fun this season. xo, Conny

DOODLEBUG PRODUCTS USED

8984 oh what fun 6x8 paper pad
8989 berry christmas double-sided cardstock
8991 cookies & candy double-sided cardstock
8992 christmas eve double-sided cardstock
8994 twinkle time double-sided cardstock
8995 all spruced up double-sided cardstock
8996 festive flannel double-sided cardstock
8997 snow what fun double-sided cardstock
8999 merry & bright double-sided cardstock
9002 oh what fun textured assortment pack
8965 oh what fun mini icons stickers
8966 oh what fun puffy icons stickers
8980 oh what fun odds & ends
8981 oh what fun chit chat
8950 oh what fun assortment sprinkles
8957 playful pixies doodle-pops
 
OTHER

Double-Sided Adhesive 
Liquid Glue 
Acrylic Clear Album
Score and Trim Board 
Gold Binder Ring
Tulle


Friday, July 14, 2023

PETITE PRINTS KITTY TAG ALBUM | with Jen

I just love the new Petite Prints and I thought what better way to make the most of them than with a tag album! And what better subject than my sweet velcro-kitty Gus-Gus!

I made a very simple tag album out of heavy acetate. The tag bases are 4"x6". I made a template to get the angled tops and the hole exact on all of them.  I used the Candy Stripe-Sprinkles and Plaid Polka Dot Petite Prints as my page bases.

When you mat acetate you can see through to the back of the paper on each side! It makes for a fun way to add pops of color with very little paper.

It's also a great way to use up leftover Odds and Ends and Bits and Pieces or other embellishments.

Below I have a short process video on how to mat the acetate so your adhesive doesn't show.


Have a great day!

DOODLEBUG PRODUCTS USED

Plaid-Polka Dot Petite Prints
Candy Stripe-Sprinkles Petite Prints
Pretty Kitty Collection
Alphabet Soup Puffy Stickers

OTHER

Binder Ring
Seam Binding
Heavy Acetate

Friday, February 25, 2022

LOTS OF LOVE TAG MINI ALBUM | with Ashley

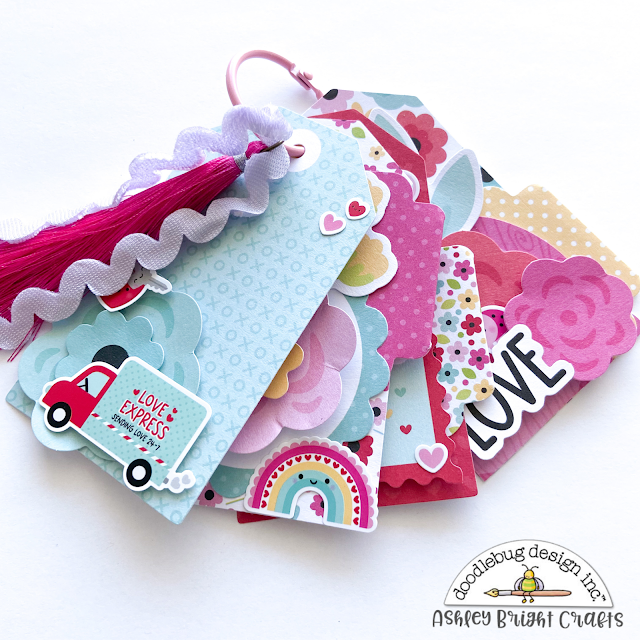
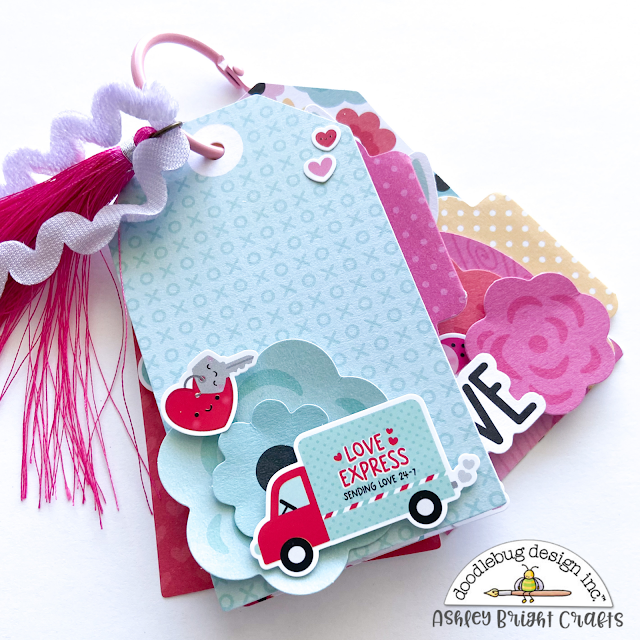
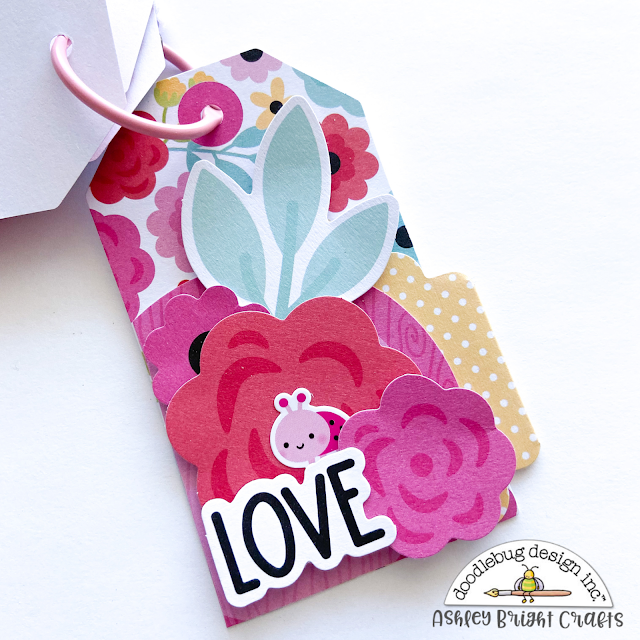
Hi All! Today I am sharing a little project highlighting the Bits & Pieces ephemera packs. There are similar items in any collection, but I used Lots of Love to make a tag mini album. 

I started with the tags from the pack to be the base of the pages of the album. 

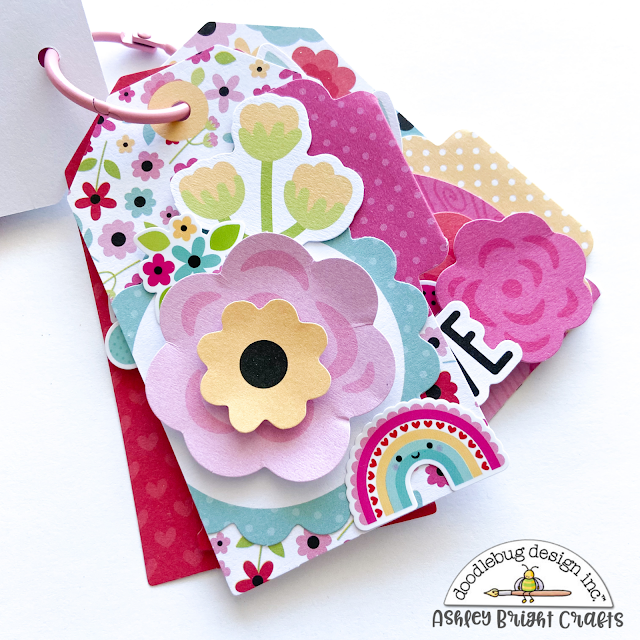
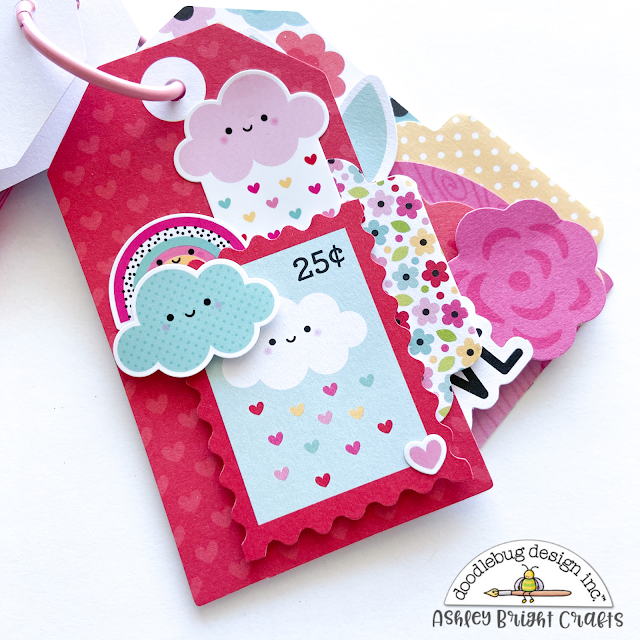
I used the flowers and tabs from the pack to add layering and details. I popped up the individual pieces with foam tape to create more dimension. 

I also used elements from the Odds & Ends ephemera pack and the mini icon stickers for embellishing. 

Each tag is one sided which is perfect for adding photos and journaling to the back. 

Thanks for stopping by! Happy Crafting!


Doodlebug Products Used 

Lots of Love Bits & Pieces 
Lots of Love Odds & Ends
Lots of Love Mini Icon Stickers

Thursday, February 11, 2021

MADE WITH LOVE TAG FLIPS | with Ashley

Tag flips are a go-to for me when I want to play with lots of ephemera from a new collection. And there are so many cute icons in the Made with Love collection so I decided to make a couple sets!


For the base, I cut different sizes of tags out of the 6x6 paper pad and added some stitching to each piece. I think all the different sizes and threads peaking out adds some fun elements. Pink and mint is one of my favorite color combinations so choosing a color scheme was easy with this collection!


To embellish, I used elements from the Odds & Ends and Chit Chat ephemera packs as well as the sticker packs and the shape sprinkles. 

I also accordion folded some of the mini tags and clipped them together with a mini paperclip for a little interactive element to each set. 


I hope you enjoyed seeing the details of this project. Thanks for stopping by! 


DOODLEBUG SUPPLIES USED: 
Made with Love Collection


Pin It button on image hover