Showing posts with label Easter Treat Box. Show all posts

Friday, March 15, 2024

BUNNY HOP CARROT HOUSE BOX | with Jen

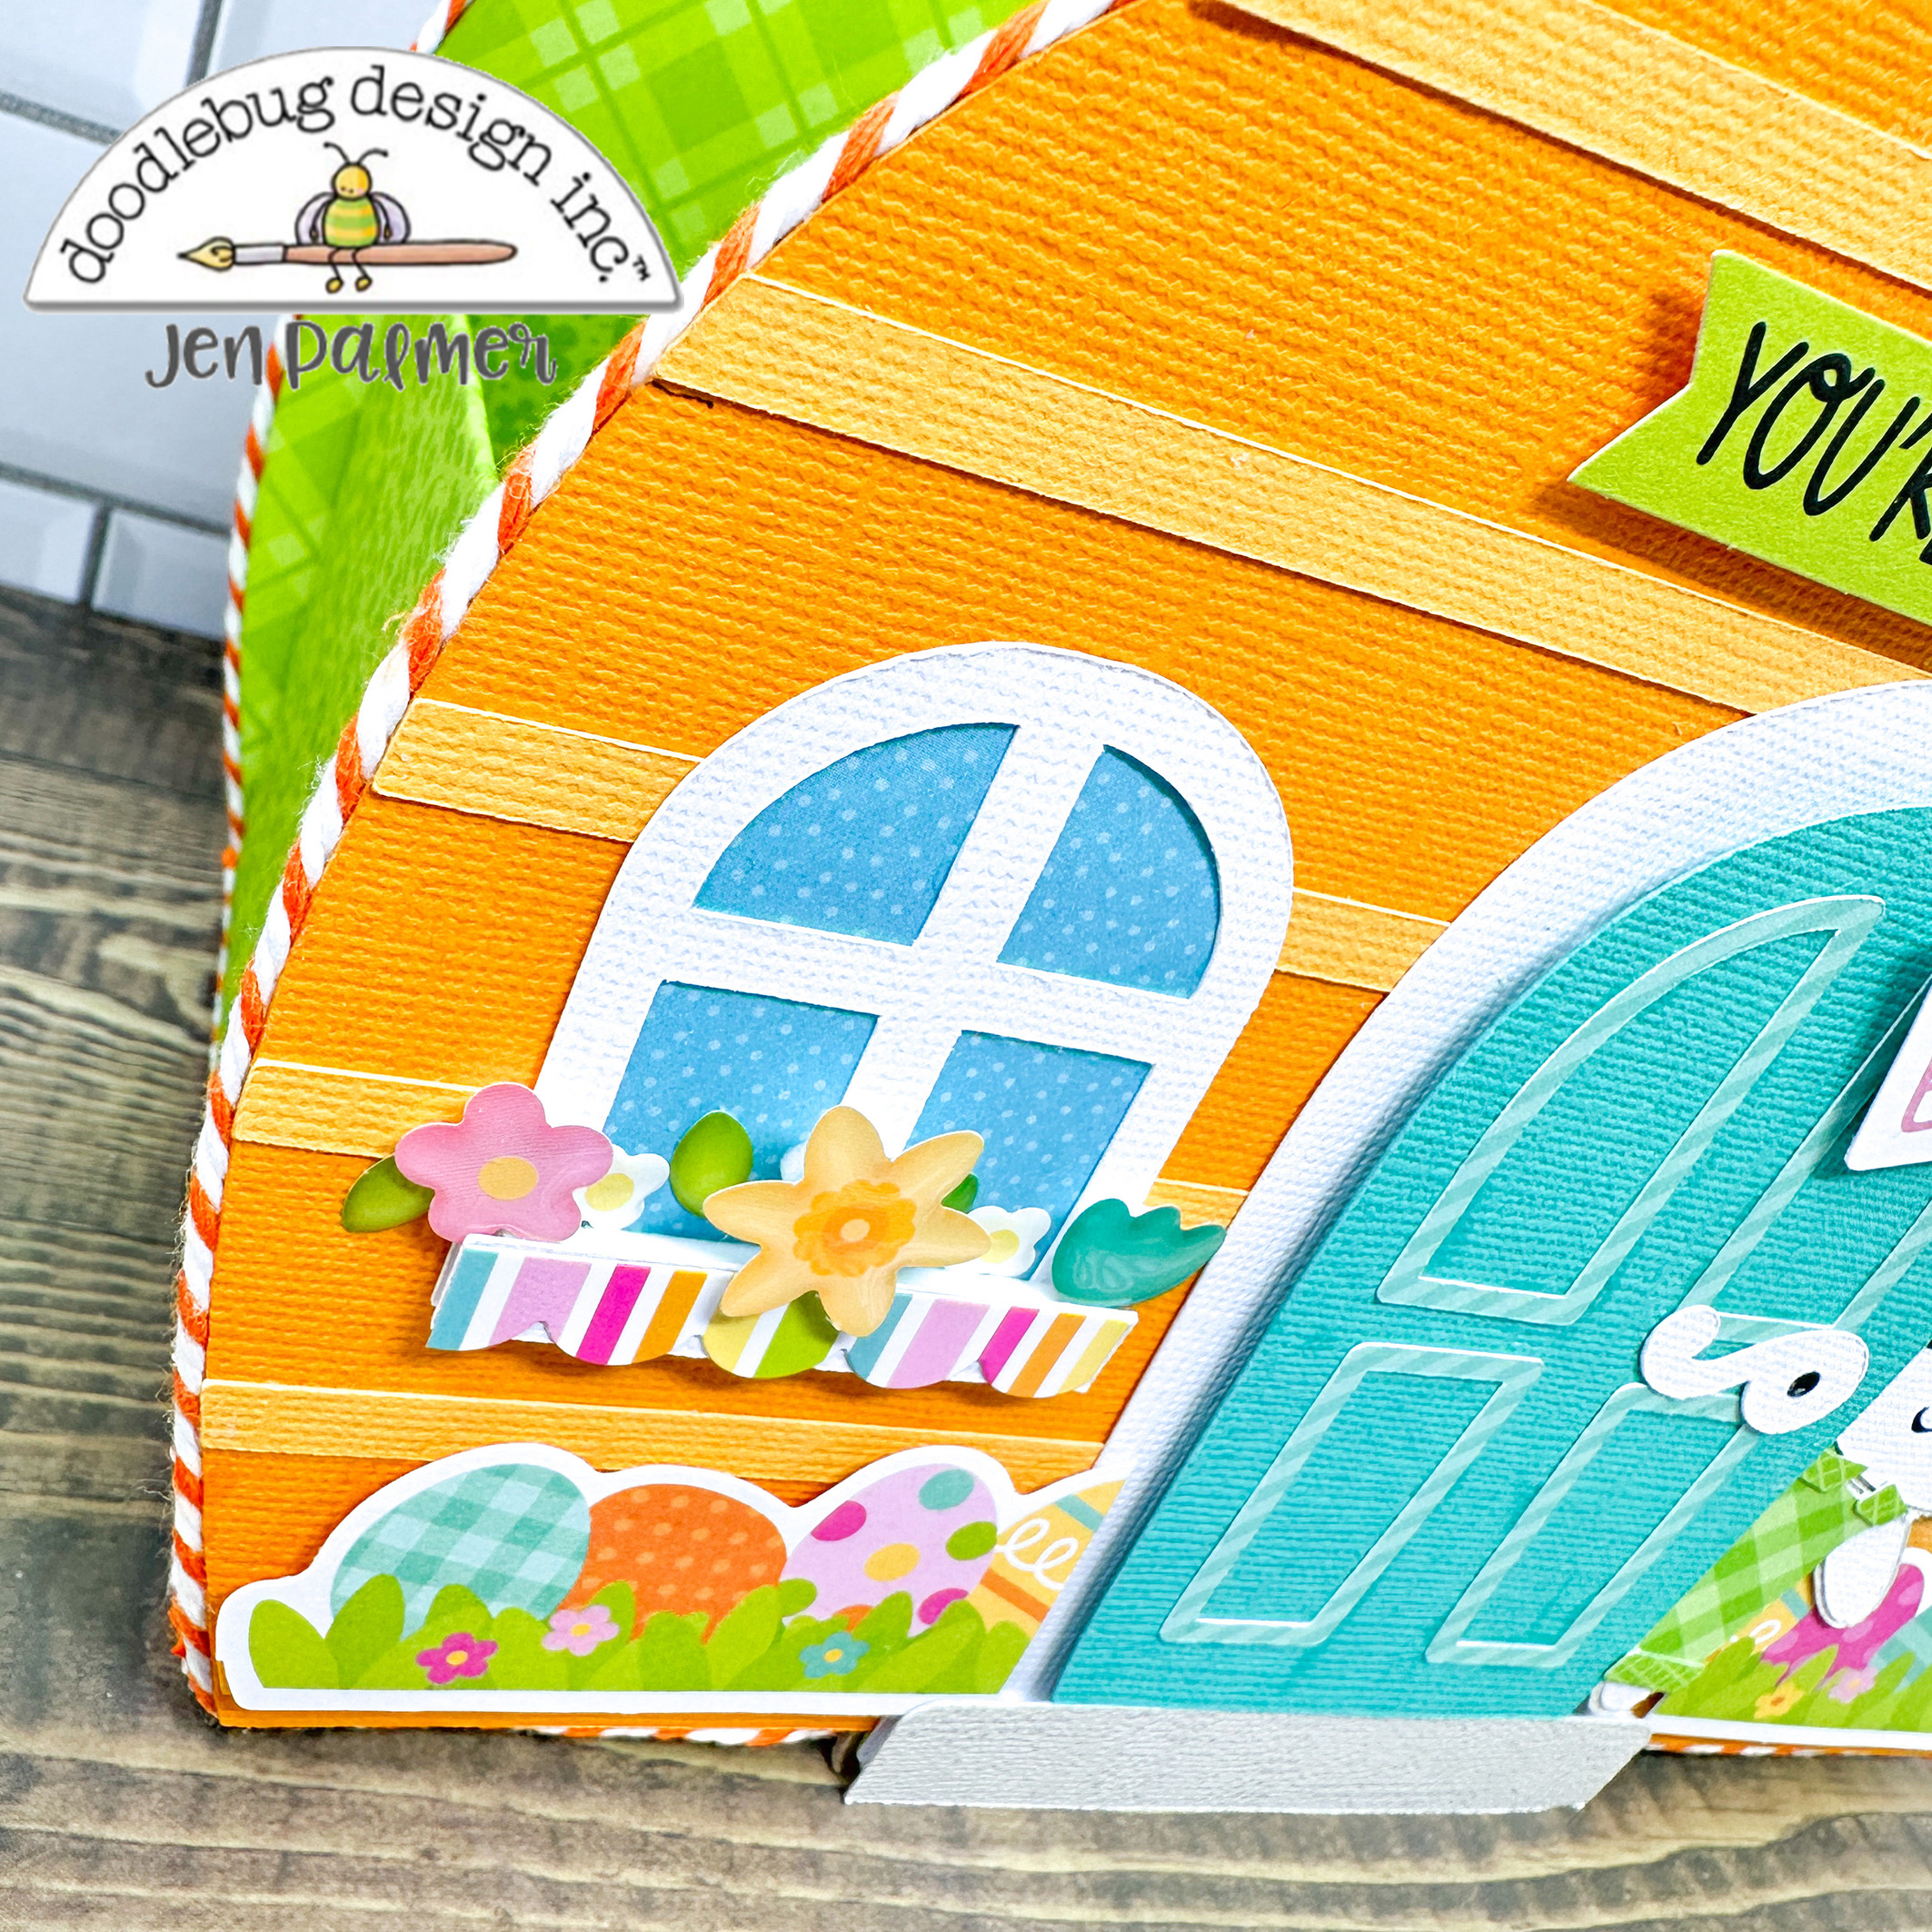
Easter is on it's way and with it I have a fun off the page project for you! I used one of the Bunny Hop Carrot House SVG's available in the Lori Whitlock shop to make a fun shaped box.

The overall project measures about 7 1/2" wide and 8" high. The box is 4" x 7". I used my Cricut to cut all my pieces for the carrot house. I used a mix of solid Doodlebug cardstock and Petite Prints.


Instead of cutting the flowers that are part of the file I used the Hello Spring Shape Sprinkles in the little window boxes. I popped some of them up for added dimension. I added some pieces from the Chit Chat pack for decoration. I also used one of the border stickers from the This and That sticker sheet.


I finished it off with Tangerine Chunky Twine to cover the raw edges of the chipboard and give it a more finished look.


The tutorial of how I size and prepare the file to do an off the page project, along with the assembly tutorial, can be found here.  Have a great day!

DOODLEBUG PRODUCTS USED

Bunny Hop Carrot House 3 SVG File
Bunny Hop Coordinating Cardstock Pack
Citrus Dot Stripe 12x12 Petite Prints
Citrus Plaid Polka Dot 12x12 Petite Prints
Citrus Floral Graph 12x12 Petite Prints
Limeade Gingham Linen 12x12 Petite Prints
Swimming Pool Candy Stripe Sprinkles 6x6 Petite Prints
Tangerine Doodle Twine

OTHER

12x12 Lightweight Chipboard
Foam Tape

Tuesday, March 12, 2024

BUNNY HOP EASTER TREAT BOXES | with Karen

Here comes Peter Cottontail, Bunny Hop-ping right onto my crafty table! Can I just tell you how much I love this collection - the colours, the cute icons, the combination of florals and patterns. It really is adding a spring into my crafting and I can't wait to share all the fun with you. So let's get to it!

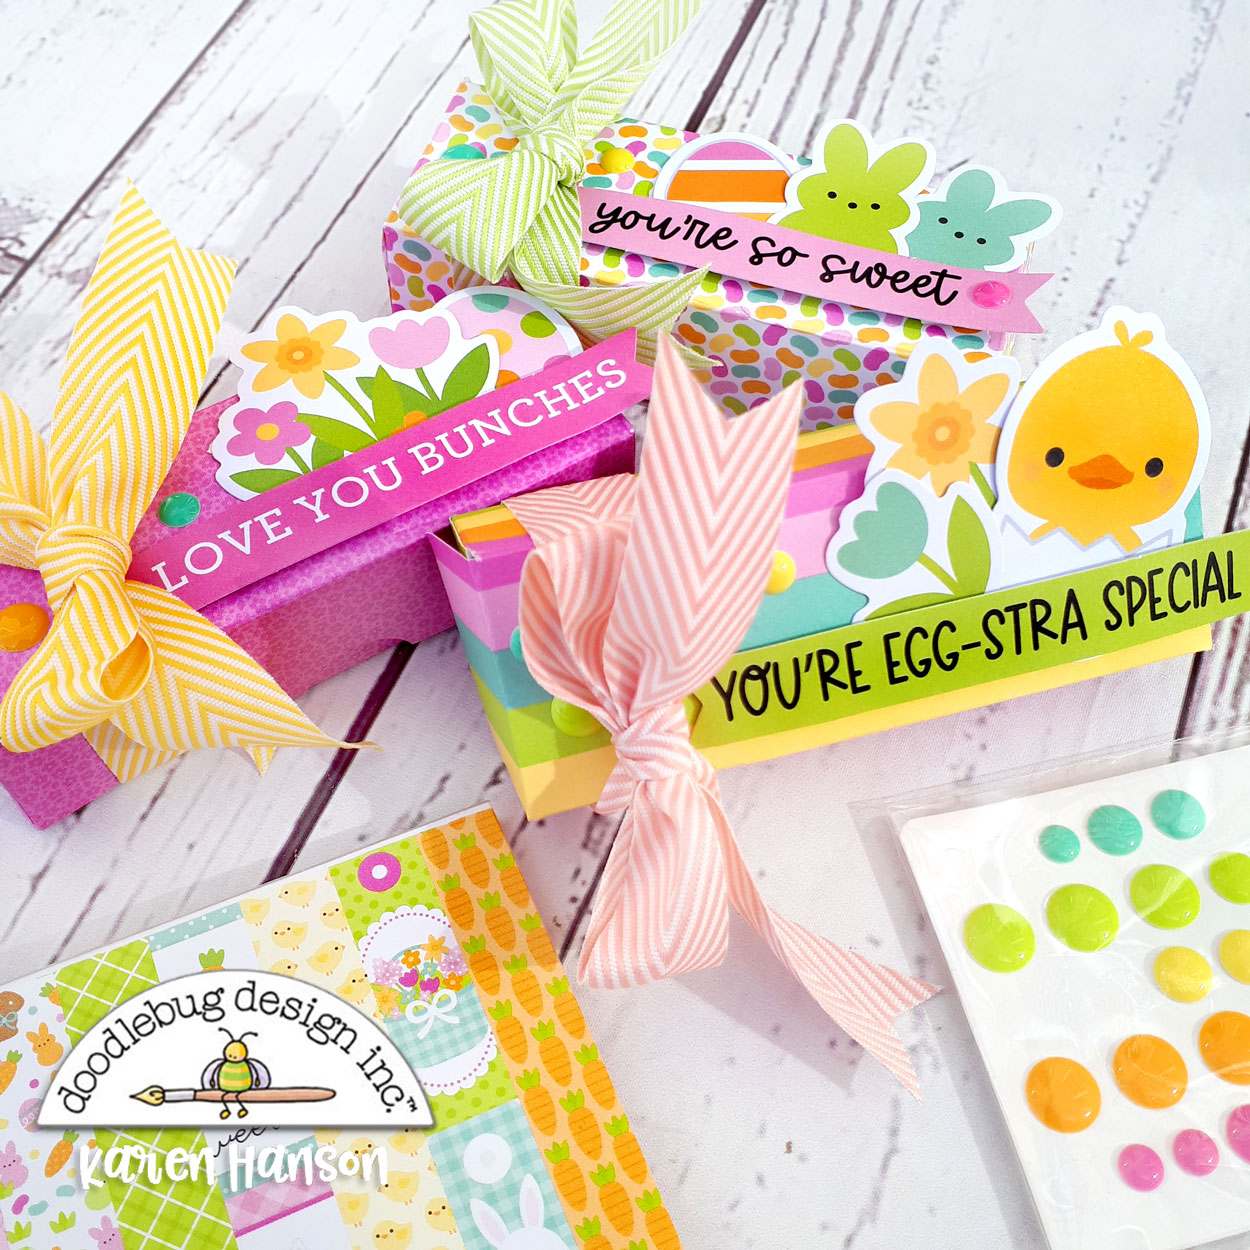
Boxes-1

I know that Easter is a very special time, but I have to admit that I am a sucker for all the treats. Creating fun little treat containers is one of my favourite projects for the season.

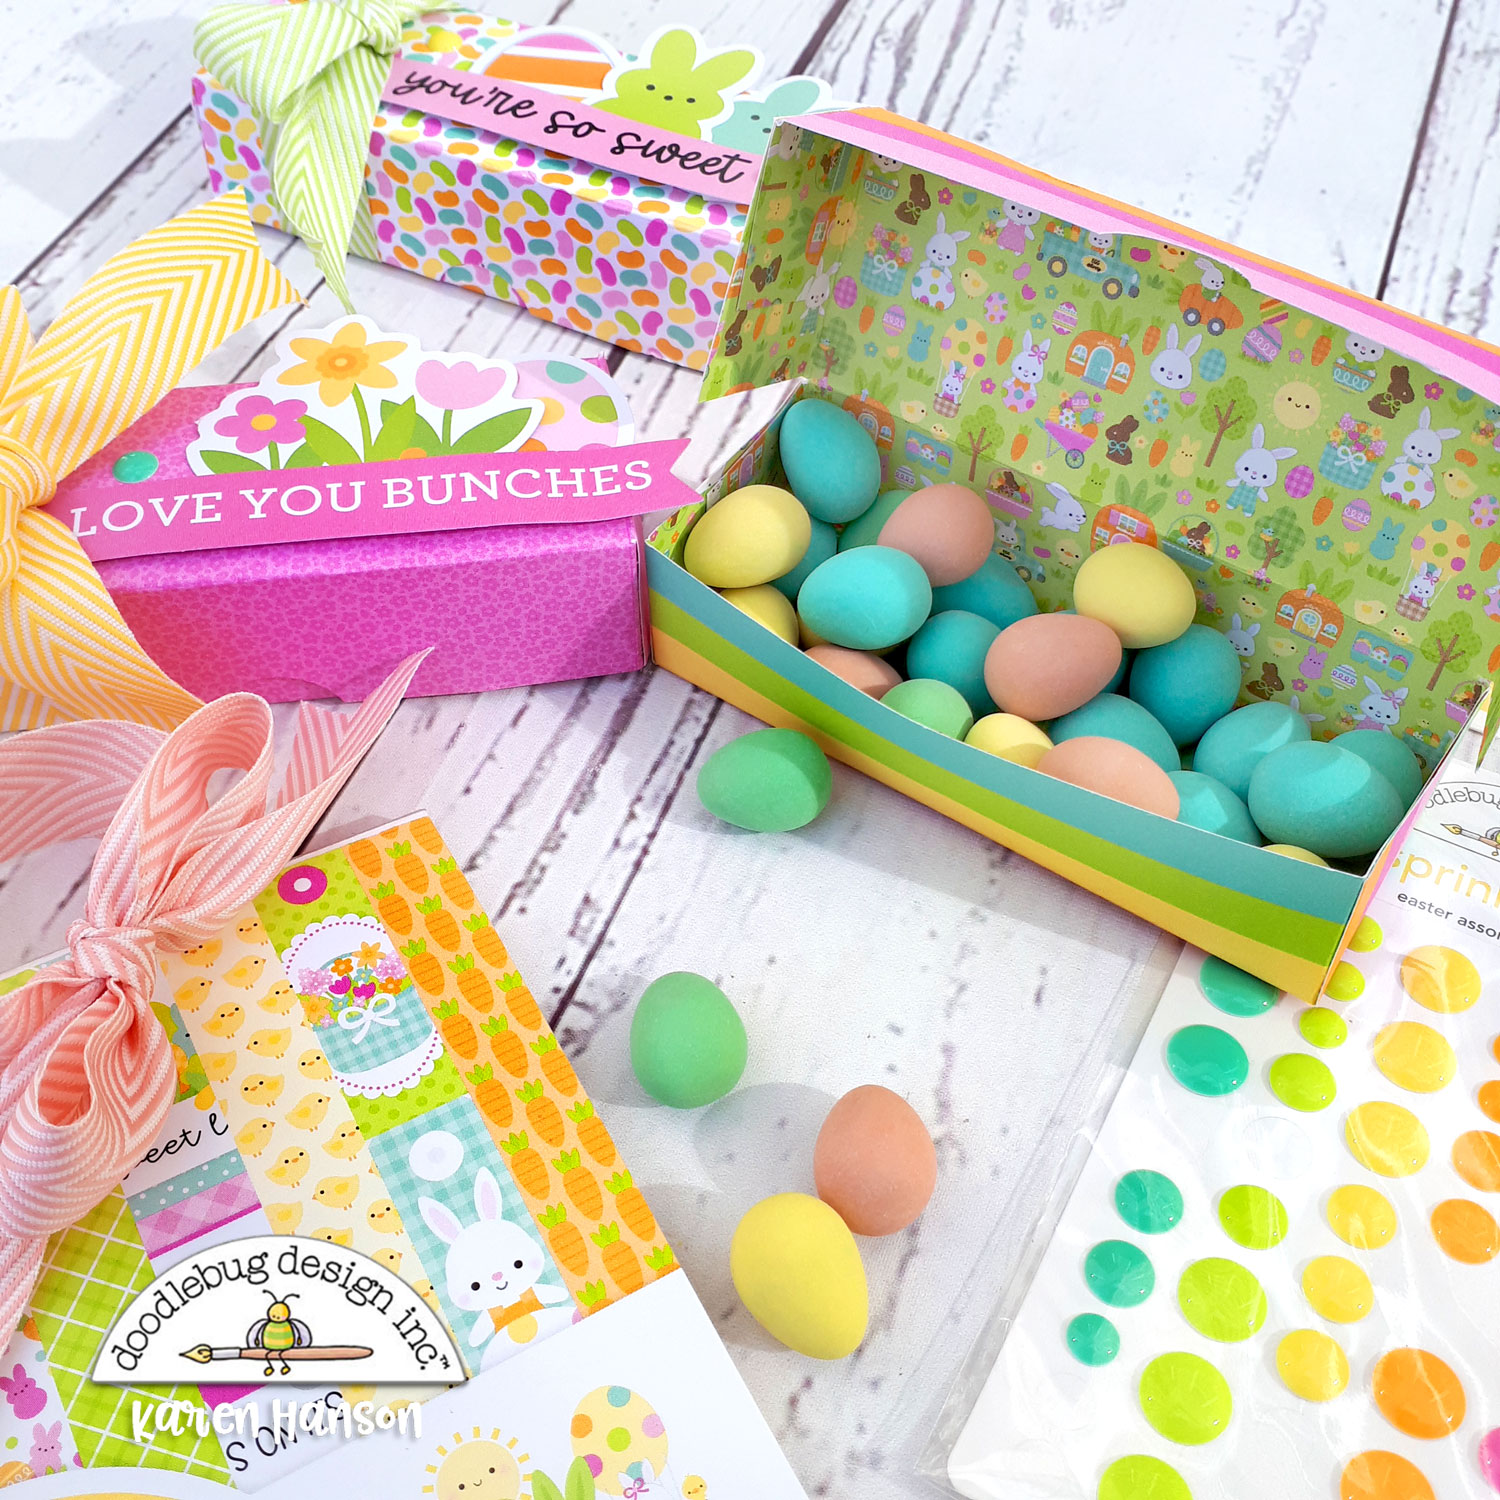
Boxes-open

For today's project, I created little boxes out of the 6x6 paper pads. The great thing about these boxes (besides the yummies inside) is that you can actually make 4 for every 12x12 sheet of paper if you want to go that route instead!

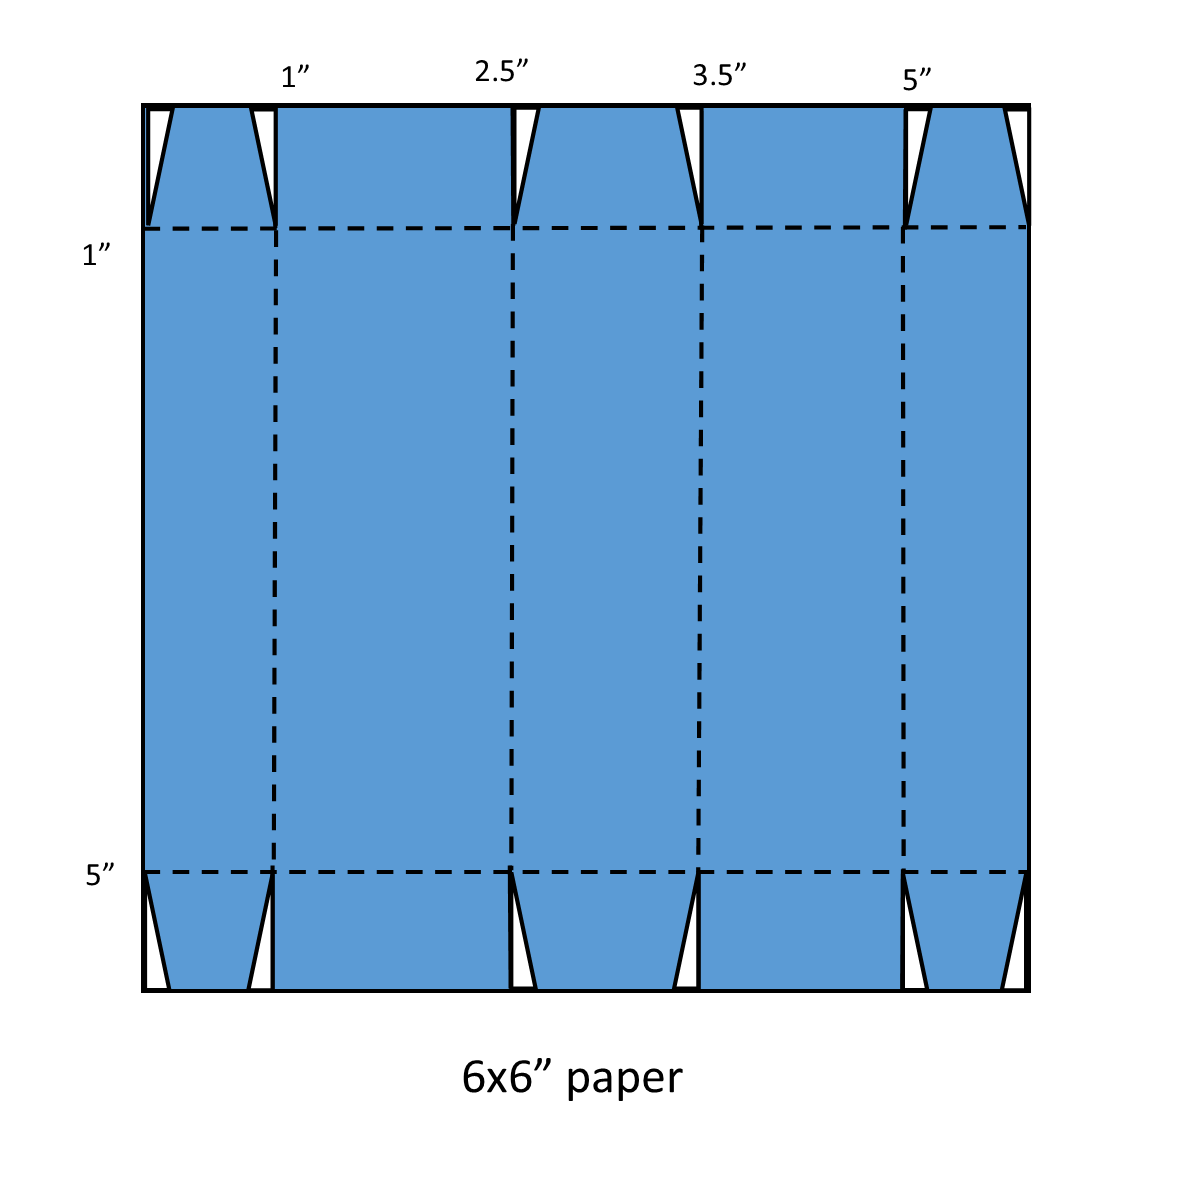
Publication1

I created a little cutting and scoring guide for you (black lines are cut lines and dotted lines are fold lines). Add a little adhesive on each of the 3-1" sections on each side and your box will come together just like that!

Closeup-1

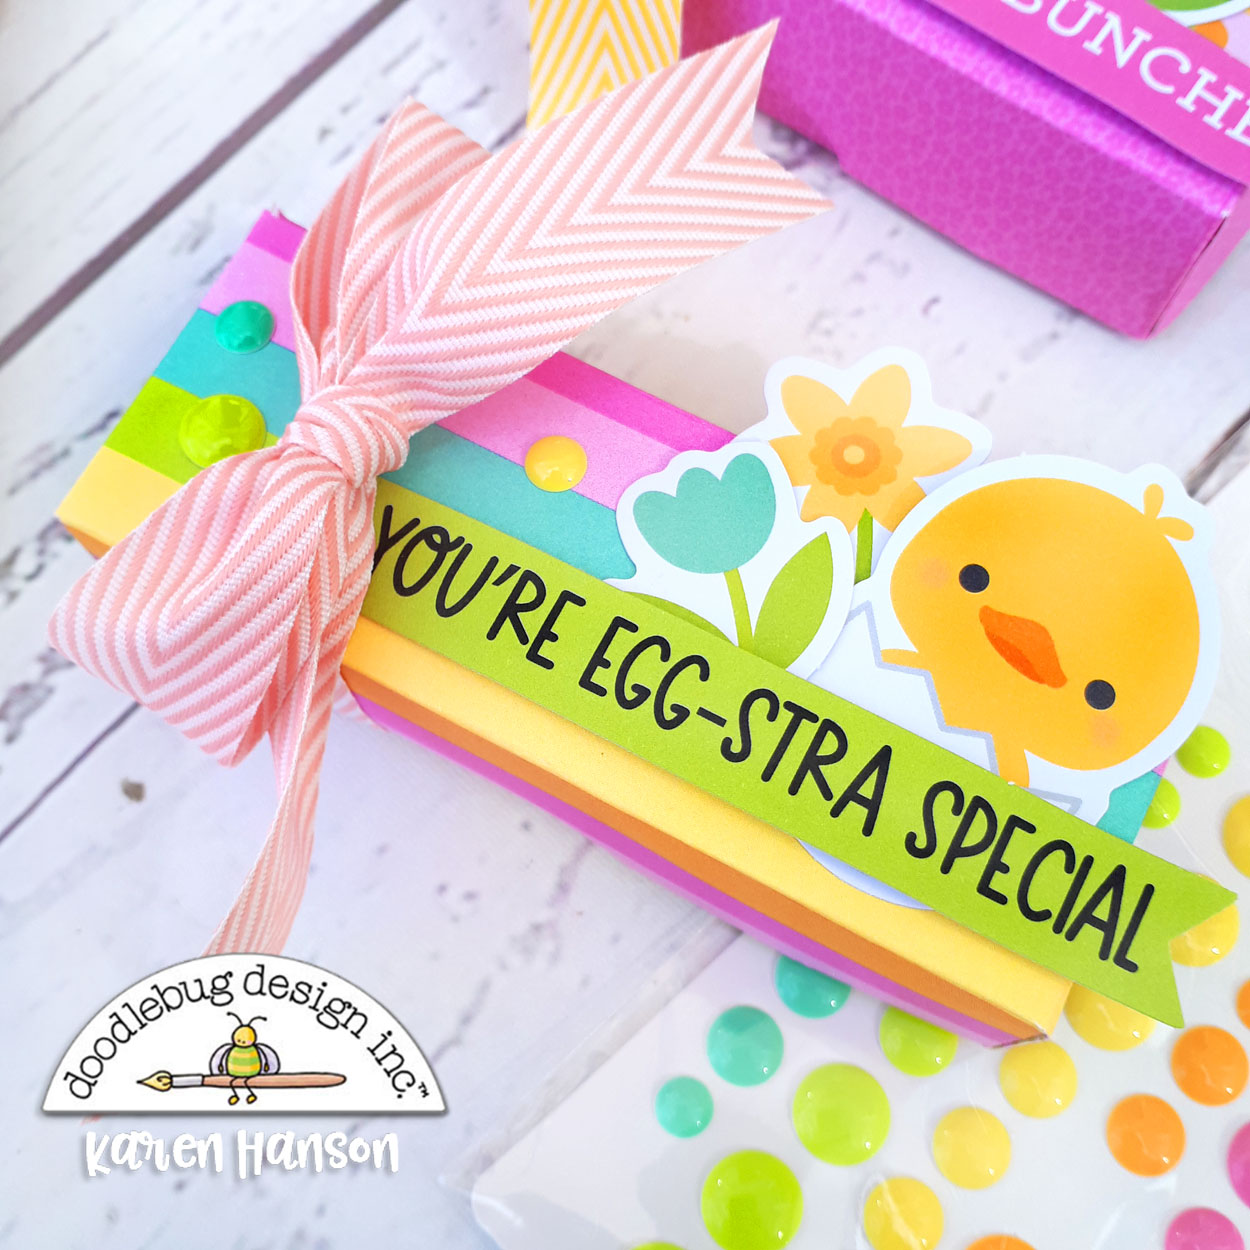
I embellished each one with a sentiment from the Chit Chat pack and some cute die cuts from the Odds and Ends pack. With a few Sprinkles to add some shine and a bit of ribbon to hold the lid down (I may have stuffed a few too many candies in them) I was all set.

Boxes-2

I think these would be really cute as place setting identifiers on your Easter breakfast or dinner table too. Or imagine a little Easter basket filled with them to give to the people you love! Actually, who cares what you use them for - just go make some and you can figure out all of that later! Thanks for stopping by!


BLOG | INSTAGRAM

DOODLEBUG PRODUCTS USED

Bunny Hop Collection
Sprinkles - Easter Assortment

OTHER

Adhesive
Ribbon

Tuesday, April 12, 2022

HIPPITY HOPPITY BUNNY TREAT CUPS | with Karen

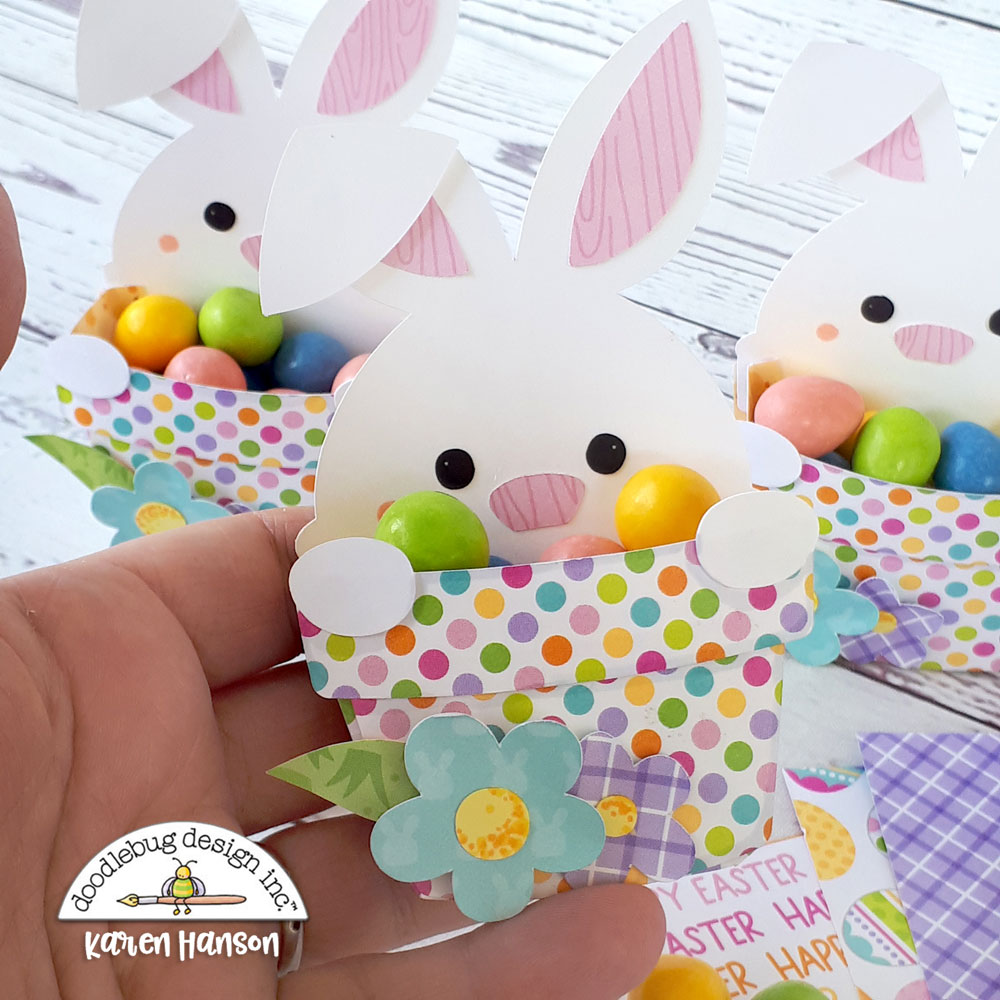
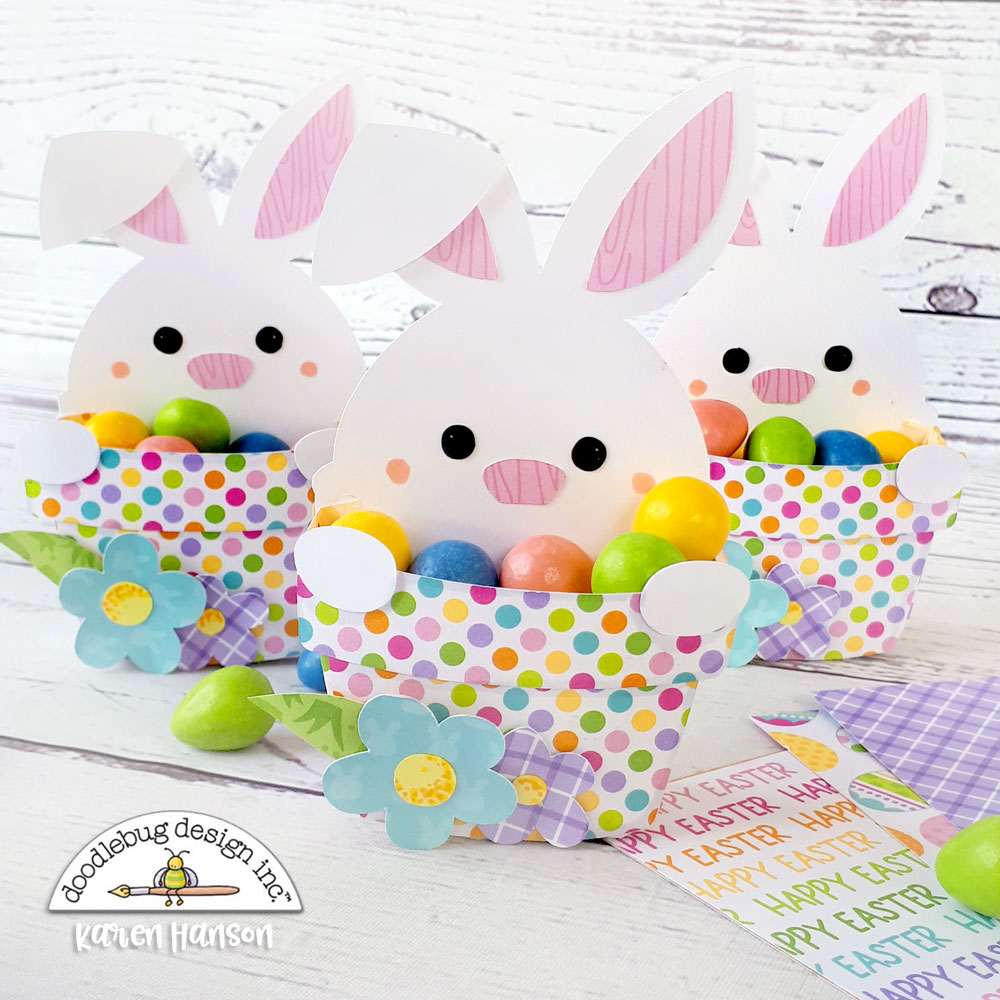
Easter is this week and it is a small miracle that there are still Easter chocolate treats in my house. Usually by now I have restocked at least once! I blame Doodlebug completely - their Easter collections are always so darn cute that I find myself using them this time of year to make all kinds of cute treat containers. And if you are making treat containers, one must take out the treats to make sure they work in the creations. And then one must sample the goods to make sure they are worthy of the cute treat containers. I know you know what I am talking about!

Hand-photo

db-hoppy-easter-bunny-3__22064.1551761357

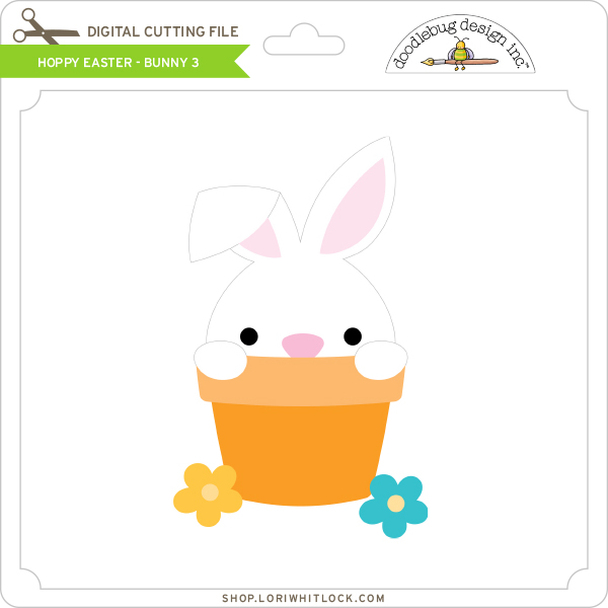
So for this week's project, I actually grabbed the Hippity Hoppity 12x12 papers and teamed them up with a darling Doodlebug cut file you can find at the Lori Whitlock store (Hoppy Easter - Bunny 3- link below).

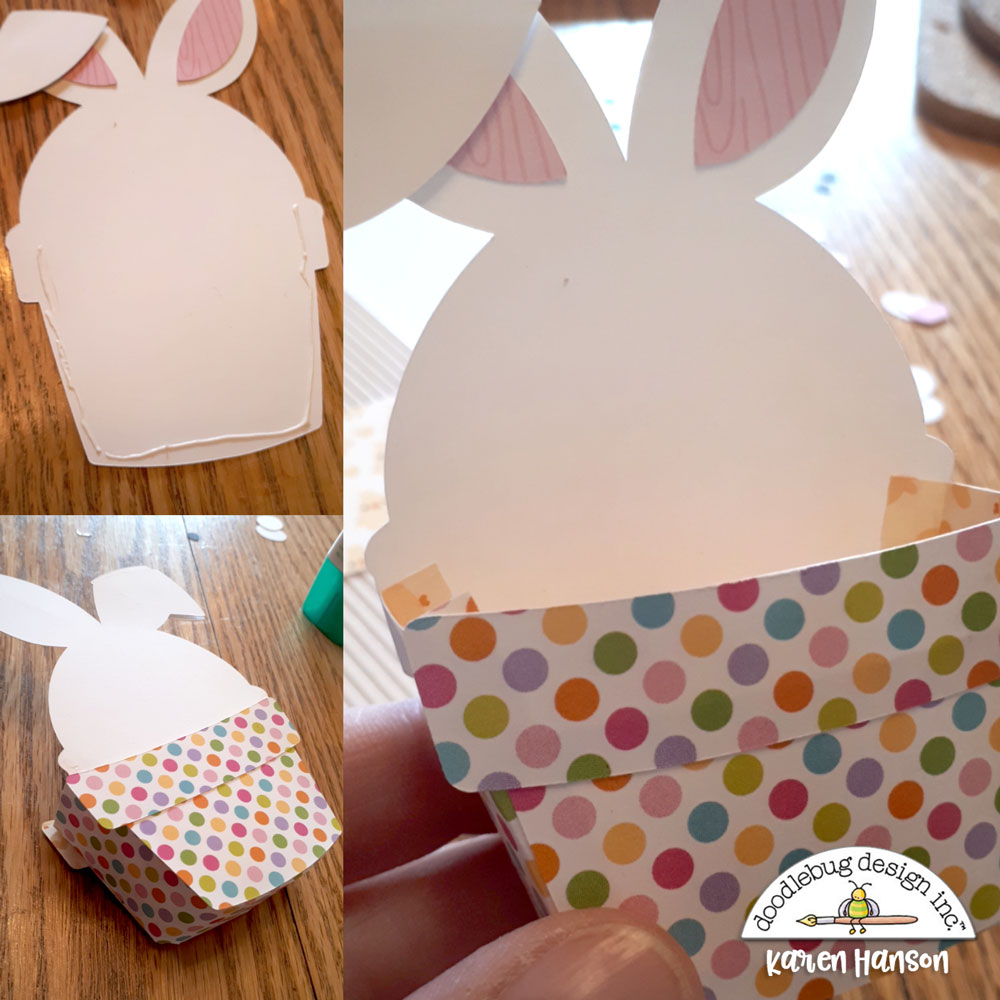
While this is a flat file, I figured I could turn it into a cute 3d treat box with just a little effort. Here are some tips if you would like to try it too:

Tutorial-1

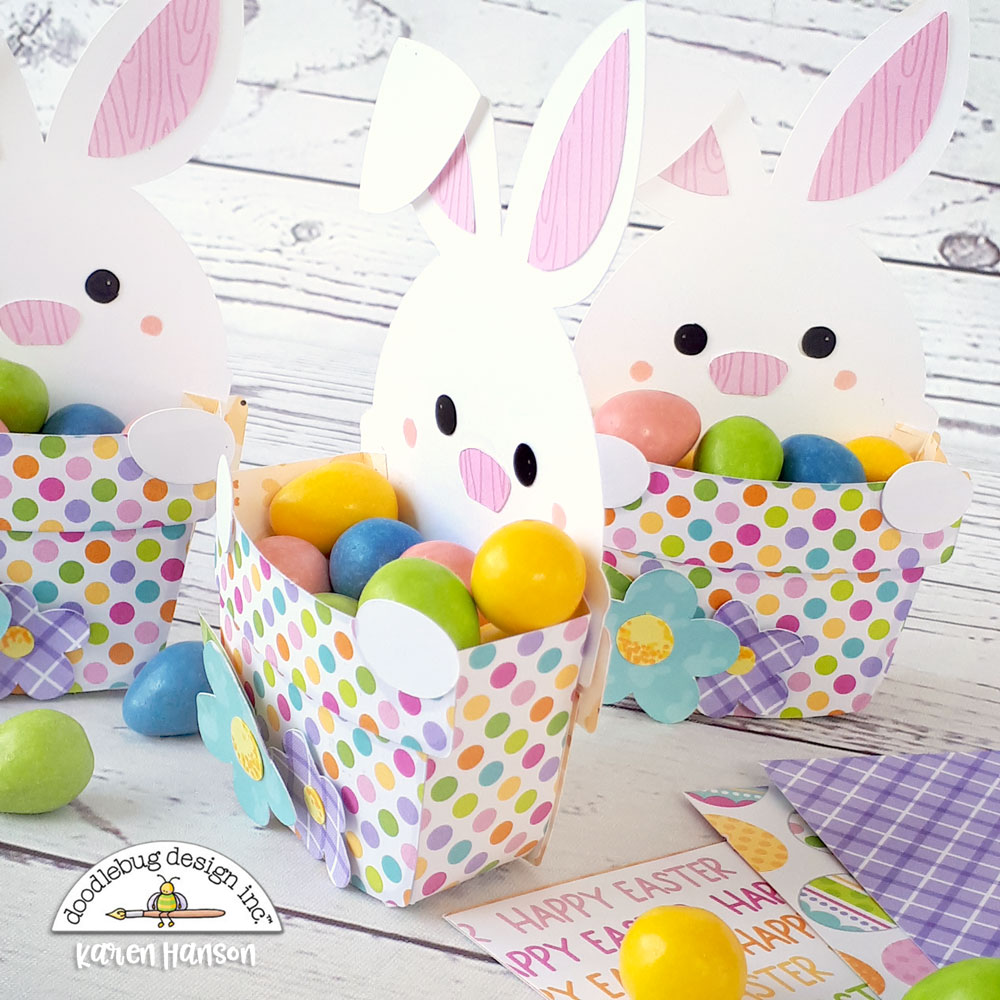
When you cut the file, cut an extra copy of the pot shapes. One will create the front of the treat box and the other will go on the back to make the treat container look a little more finished from the back. I also only glue around the edge of the back pot so I can add a little note into it as well.

Cut a strip of paper 1.5" wide and the length of your 12x12 paper. Score 1/4" from each long edge. This will create the side panel for your pot - the piece you need to create to turn this from a flat cut file to a 3D shape. Cut up along the long edge of the paper to the score line. Then use these tabs to secure the side panel to the front pot first...

Tutorial-2

...and then onto the large white cutout of the rabbit to close the shape. Trim off the excess. I printed the cut file at about 5.5" wide and needed about the same in length for the side panels. Add the second cutout of the pot to the back and then add the details.

All-3-1

I also modified the size of the flowers in the cut fil by making one larger just for a bit of a different look. Fill up your treat containers and you are all set to go.

Side-view

Here's a side view so you can see the 1.5" side panel in action.

Closeup

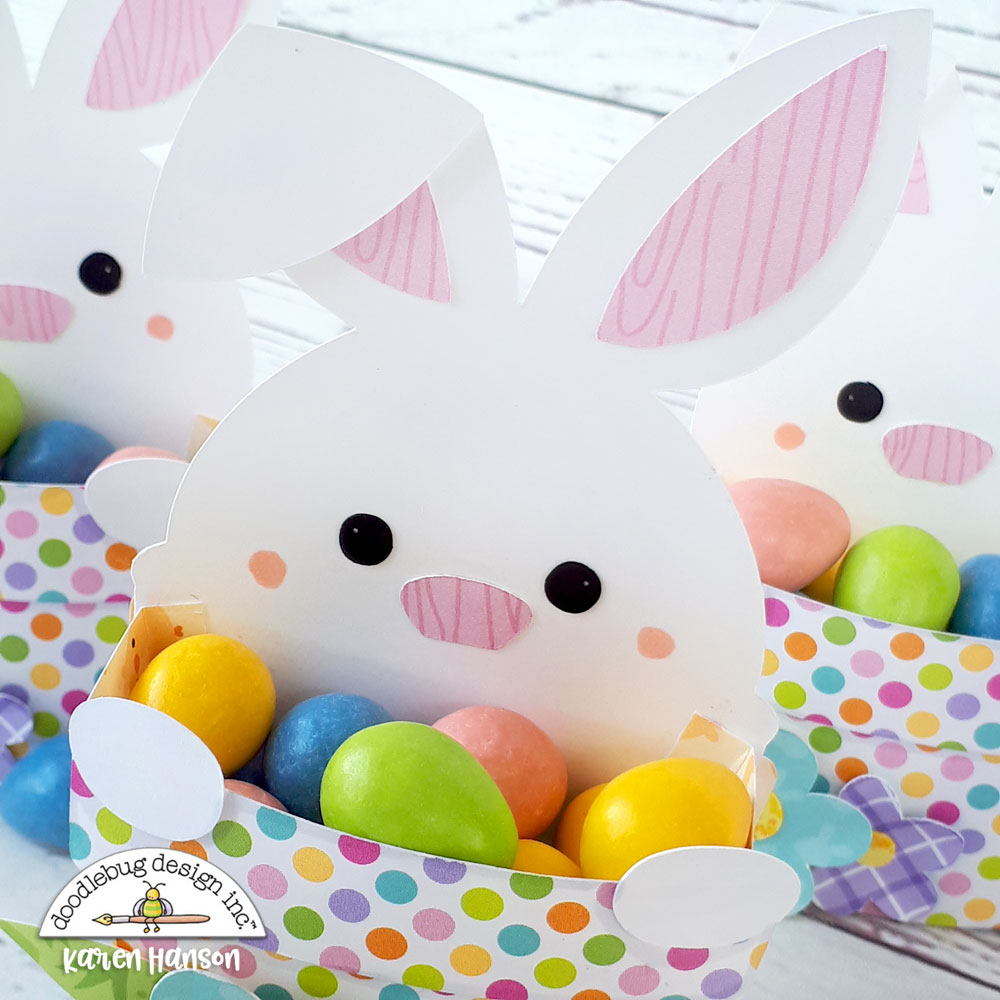
I really love how these turned out! I think I need to go check out the other Doodlebug cut files to see if I can modify them in this way as well - if the treats last that long, that is!  Thanks for stopping by!


BLOG | INSTAGRAM

Doodlebug Design Product:
Hippity Hoppity Collection
Petite Prints

Other Products:
Hoppy Easter - Bunny 3 SVG
Adhesive
White cardstock

Tuesday, March 13, 2018

Abigail Font Stickers | Easter Treat Box Tutorial by Karen

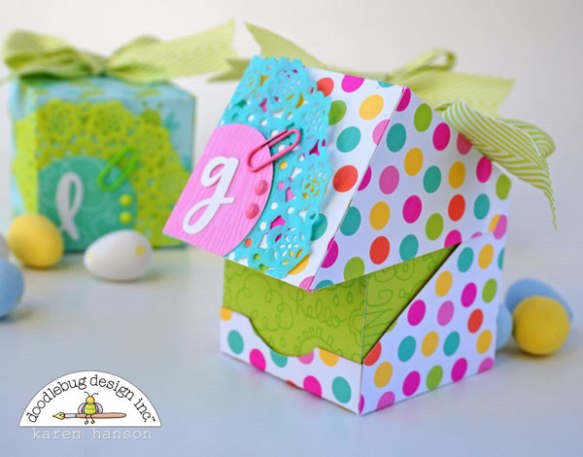
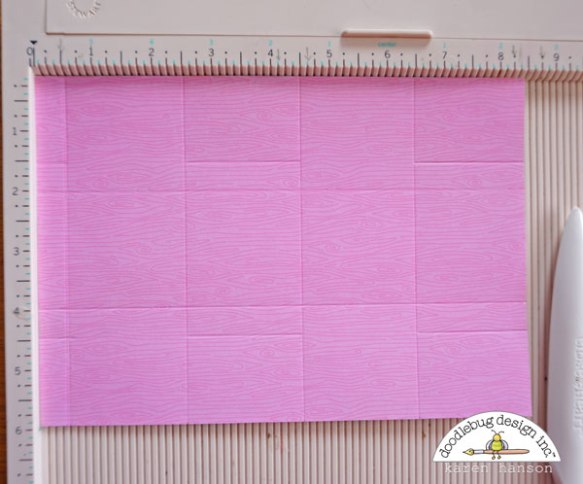
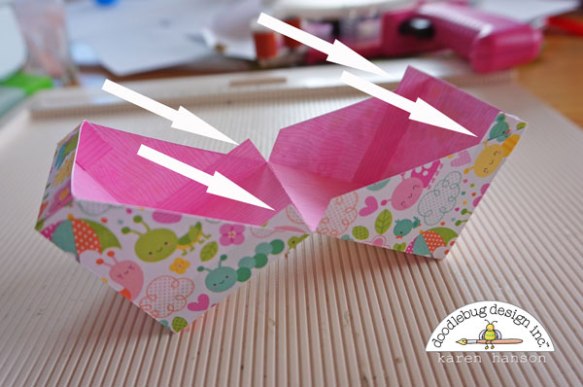
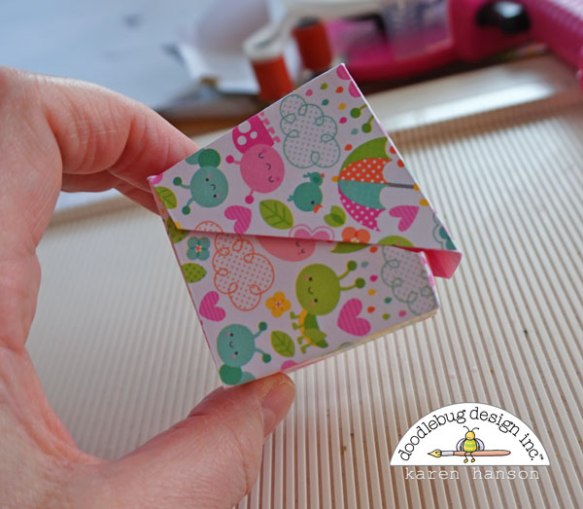
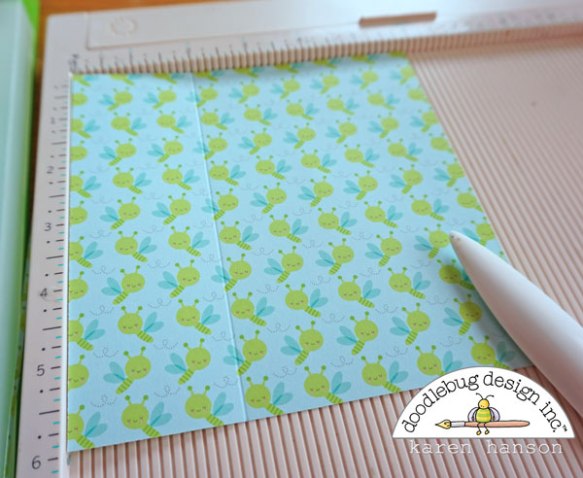
I have a confession to make - I love making little treat containers. And it's not just because I have an excuse to snack on some chocolate as I craft (because really, do I need an excuse?!) but also because they are a simple little craft that goes a long way to showing someone just how special they are to you, especially when you personalize them with Abigail letters! With Easter coming up around then bend, I thought it might be great to make some treat containers that could be used on the dinner table as both a little marker for each guest's spot as well as a little party favor for them to take home (or, well, eat right then and there as I might do...there is no shame in loving chocolate, right?). These cute little boxes, featuring a "box in box" design and one of my favourite collections -; Easter Express - pack a little bit of a "wow" punch when you open them up. And given that Doodlebug collections coordinate so well, if you tend to hoard your patterned papers a bit, you could mix and match with other papers like Petite Prints or even solid cardstocks! And can we just talk about these Abigail letters?! They are a perfect addition to these 2"x 2" boxes. In fact, you could even do first and last initials depending on your guests! I can't wait to have a table full of these cuties (the containers, not the chocolate, although...) Anyway, just in case you wanted to whip up a few of these for those that you celebrate with, I thought I would put together a step-by-step for you. Measure and cut as precisely as you can so it all comes together well! OUTER BOX 1. Cut a piece of double sided patterned paper - 6" x 8.5". Place the pattern you would like on the outside of your box facing down (so you are looking and working on the "wrong" side of the pattern). 2. With the 8" edge across the top of your scoring board, score at 0.5", 2.5", 4.5" and 6.5". 3. Turn your paper 90 degrees so the 6.5" edge is across the top. Score all the way down the paper at the 2" and 4" marks. 4. Now score at the 1.5" mark, skipping every second section. Repeat at the 4.5" mark. Your paper should look like the one above. 5. With the 8" edge across the top, cut up along the 0.5", 2.5", 4.5" and 6.5" stopping at the score mark that runs all the way across your paper. Turn your paper around 180 degrees and repeat on the other side. The top and bottom edges will now have 4 tabs. 6. Snip off the 3 sections on the top and bottom edges that you created with the interrupted score lines (the ones that did not go all the way across the paper at 1.5" and 4.5"). Your paper will look like the one 7. above. 7. With the smallest section on the left, draw diagonal lines across each of the four sections the extend out on the top and bottom edges. These will form the sides of your box. 8. Snip off these sections that were drawn. 9. Apply your favourite adhesive to each of the 0.5" sections that you have. 10. Starting with the smallest flap, fold it inward, adhering the 0.5" tabs on the inside of the larger diagonal pieces. Take that section and fold it up 90 degrees, adhering these diagonal pieces to the next set of flaps. 11. Repeat this process on the other end of the box (you will have one less flap to work with on this end). 12. Snip off the triangular pieces that stick up with a pair of scissors. 13. You are now finished the outside of the box. INNER BOX: 1. Cut a coordinating piece of paper to 5 15/16" x 5 15/16". Place it with the pattern you would like to show on the outside facing down. Score at the 2" mark. 2. Turn the paper 90 degrees and score again at the 2" mark. Repeat on the remaining two sides. 3. Snip up along the score lines stopping at the first score line you come across. 4. On each of the 4 outside tabs, trim off about half of the section and then angle cut each edge. This will remove the bulk of your box as you are folding it. 5. Fold in the tabs that you just cut, and run adhesive along each edge. 6. Fold these adhesive tabs up 90 degree and then pull up the long side to complete your box. 7. Slip the smaller box into the larger one, and you are set to have some fun embellishing, decorating and filling! So there you have it - a cute little treat box that would be perfect for any dinner table! tell me what you think - would you love these on your table, or would the temptation to empty them before hand be to great?! Thanks for stopping by! Hugs, Karen
Pin It button on image hover