Showing posts with label washi tape. Show all posts

Thursday, August 17, 2023

HELLO AGAIN JUST BE YOU LAYOUT | with Lisa

If you've read my last blog post, you already know how much I love the Hello Again Collection. The gold details everywhere, the colors, the flowers... are just stunning! This week, I decided to go crazy with fussy cutting again... haha :)


There's this gorgeous Flutterby washi tape included in the collection. I was really in the mood to fussy cut them out and use a lot of them on a layout. So to start, I adhered a few strips of washi tape onto white printer paper and then I fussy cut out the butterflies.


For my background, I used the brightside striped paper. I cut out two stripes of each color, tore off the ends of each stripe, creating strips of different sizes. I also distressed them. Then I adhered them to my white cardstock, always placing the two stripes of the same color next to each other and leaving a white space between the colors.


I used my sewing machine to stitch a gold zig-zag line through the middle of each color. Then I splattered some gold and white paint all over the layout. I used a photo of myself and used a few pieces from the rest of the brightside paper to matte it. I then adhered it to the layout using foam tape.


As a title, I used one of the die cuts from the Chit Chat pack and I backed it with the black floral side of the cute calico paper, from the 6x6 paper pad. I adhered it using foam dots. 
To embellish the layout, I used three Doodle-Pops and Shaker-Pops that represent things that I love. I placed them in a visual triangle.


Then I went ahead and adhered all my little butterflies. I only added a tiny bit of glue in the center of each butterfly to make sure the wings could be bent upwards and give all the butterflies a dimensional look.  I hope you're inspired to use the Flutterby washi tape too, haha... fussy cutting is a super amazing way to relax... just so you know... ;) See you soon,


DOODLEBUG PRODUCTS USED

Hello Again Collection

OTHER

White cardstock

Gold thread
Gold & White Paint

Wednesday, June 8, 2022

MY HAPPY PLACE HOME LAYOUT | with Erica

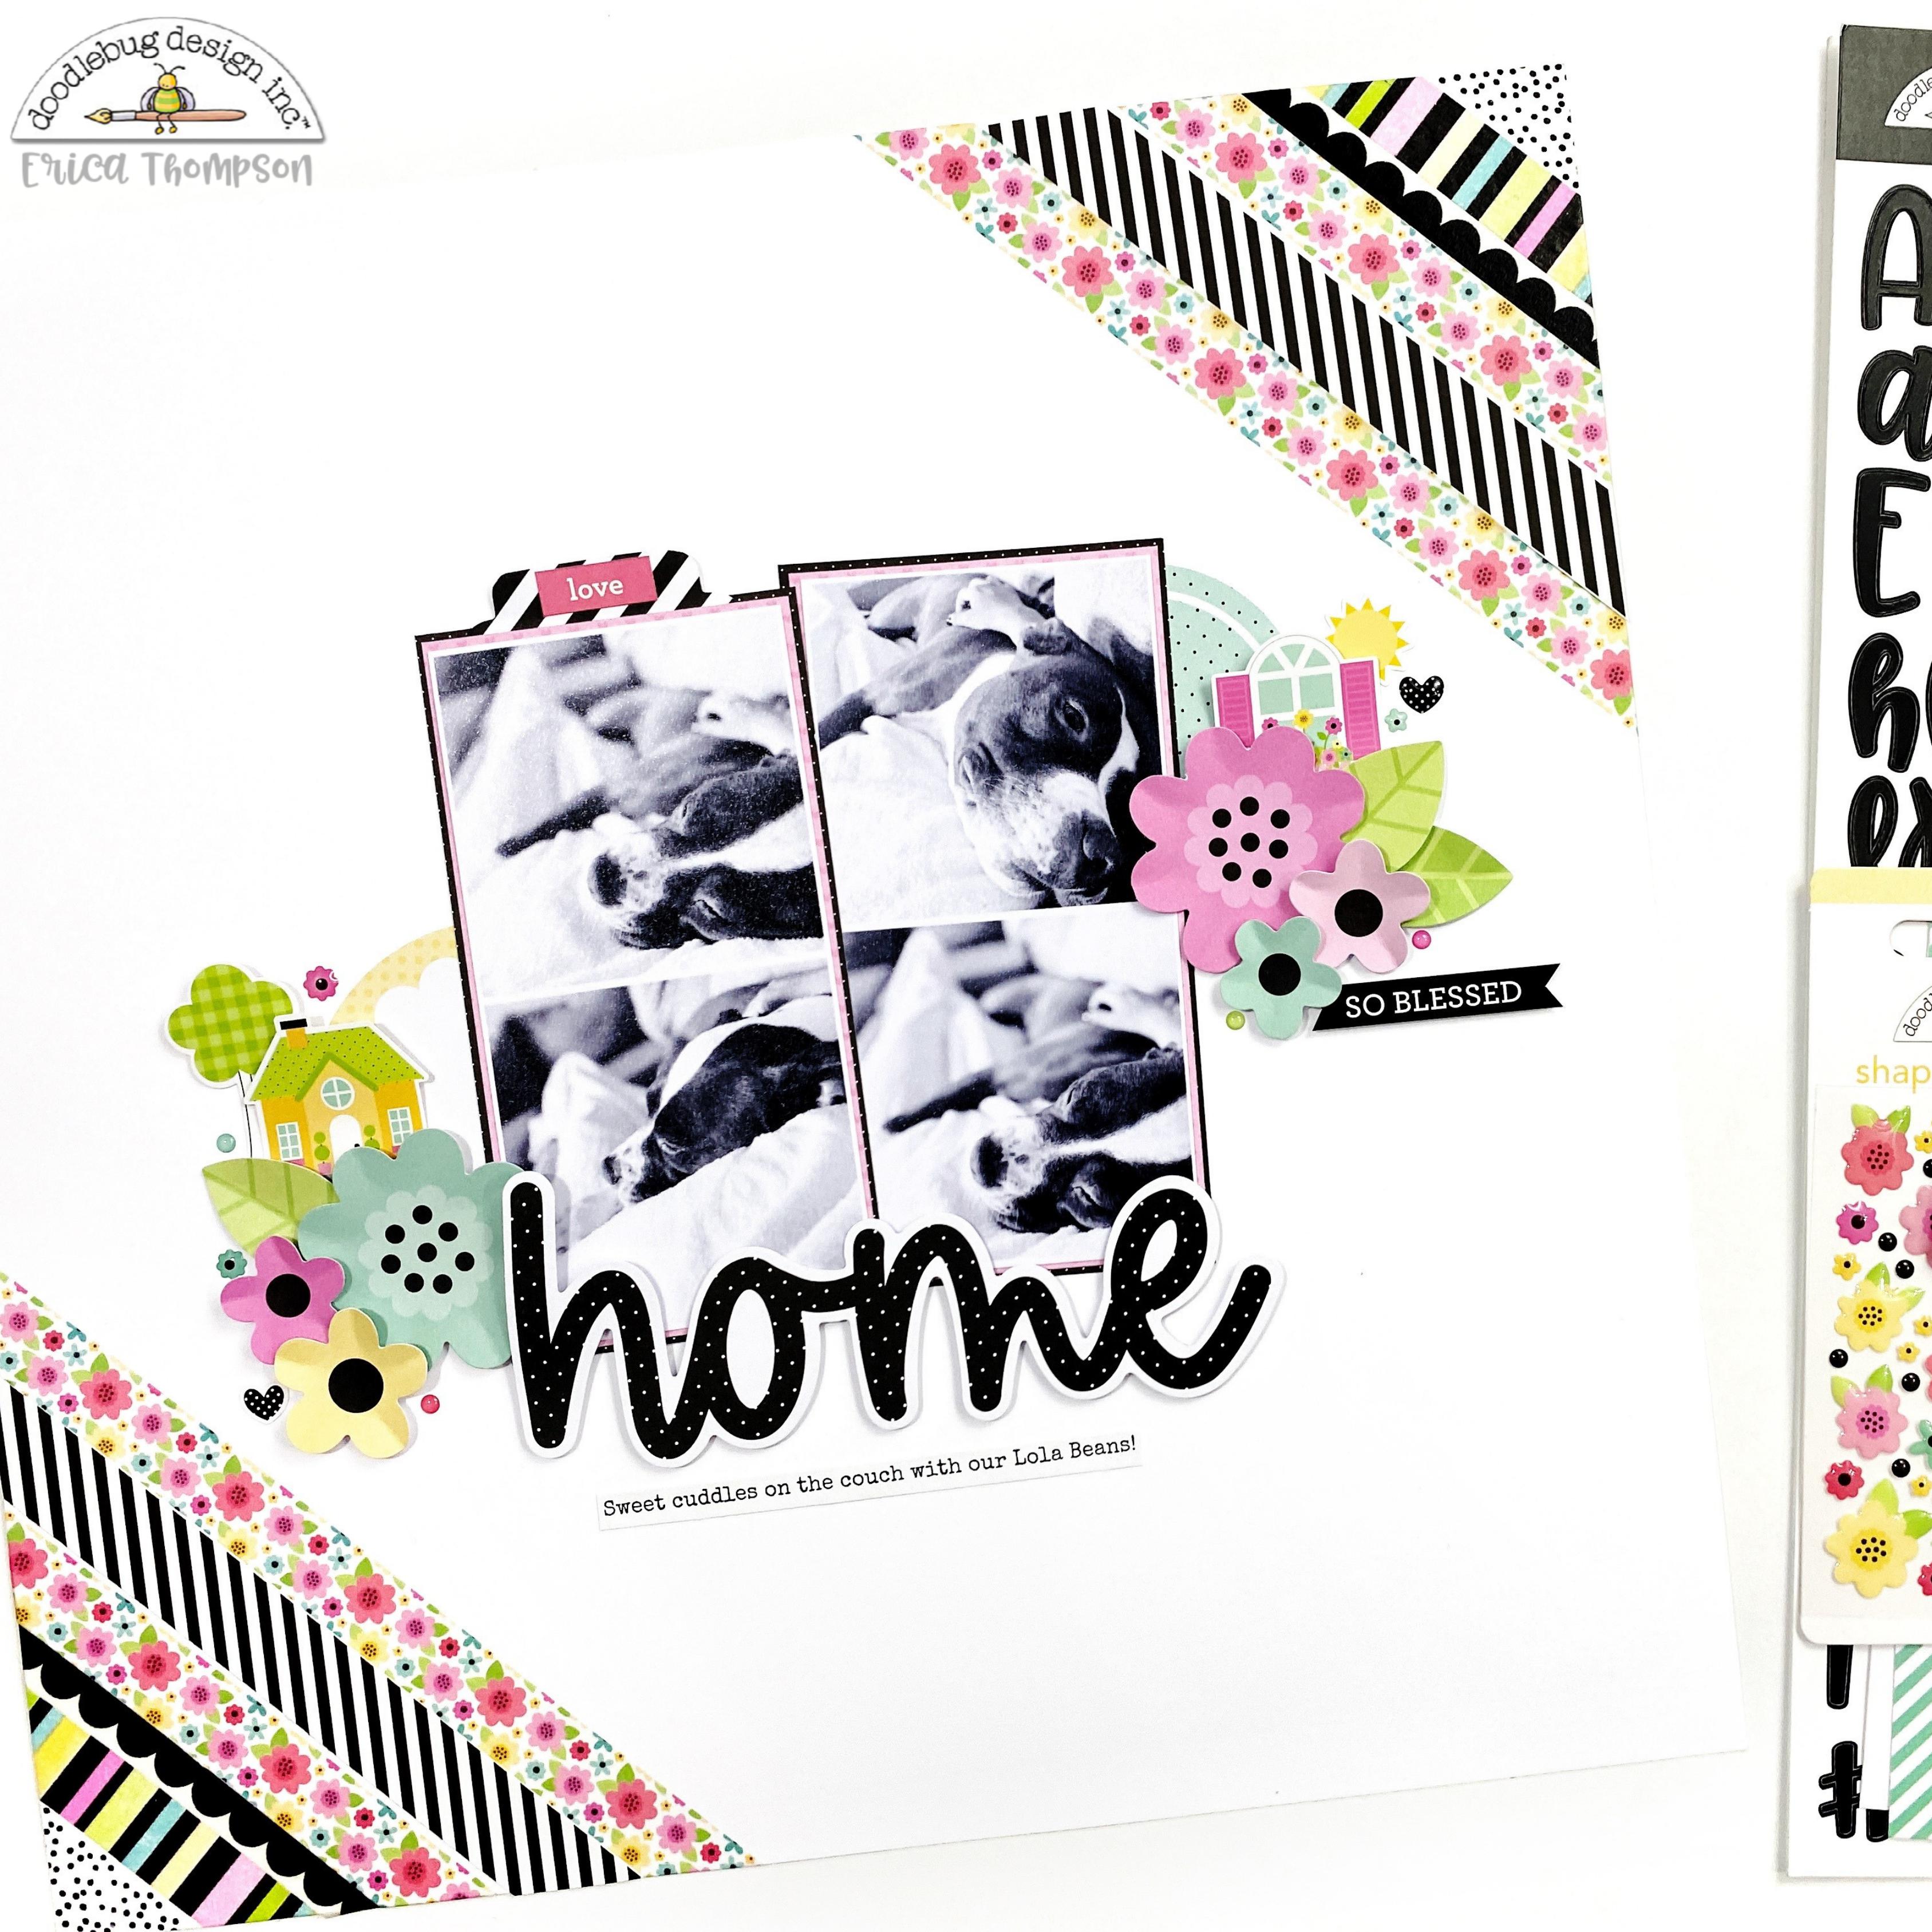
Hey friends! Erica here on the blog today and I am so excited to share my first layout using the My Happy Place collection!

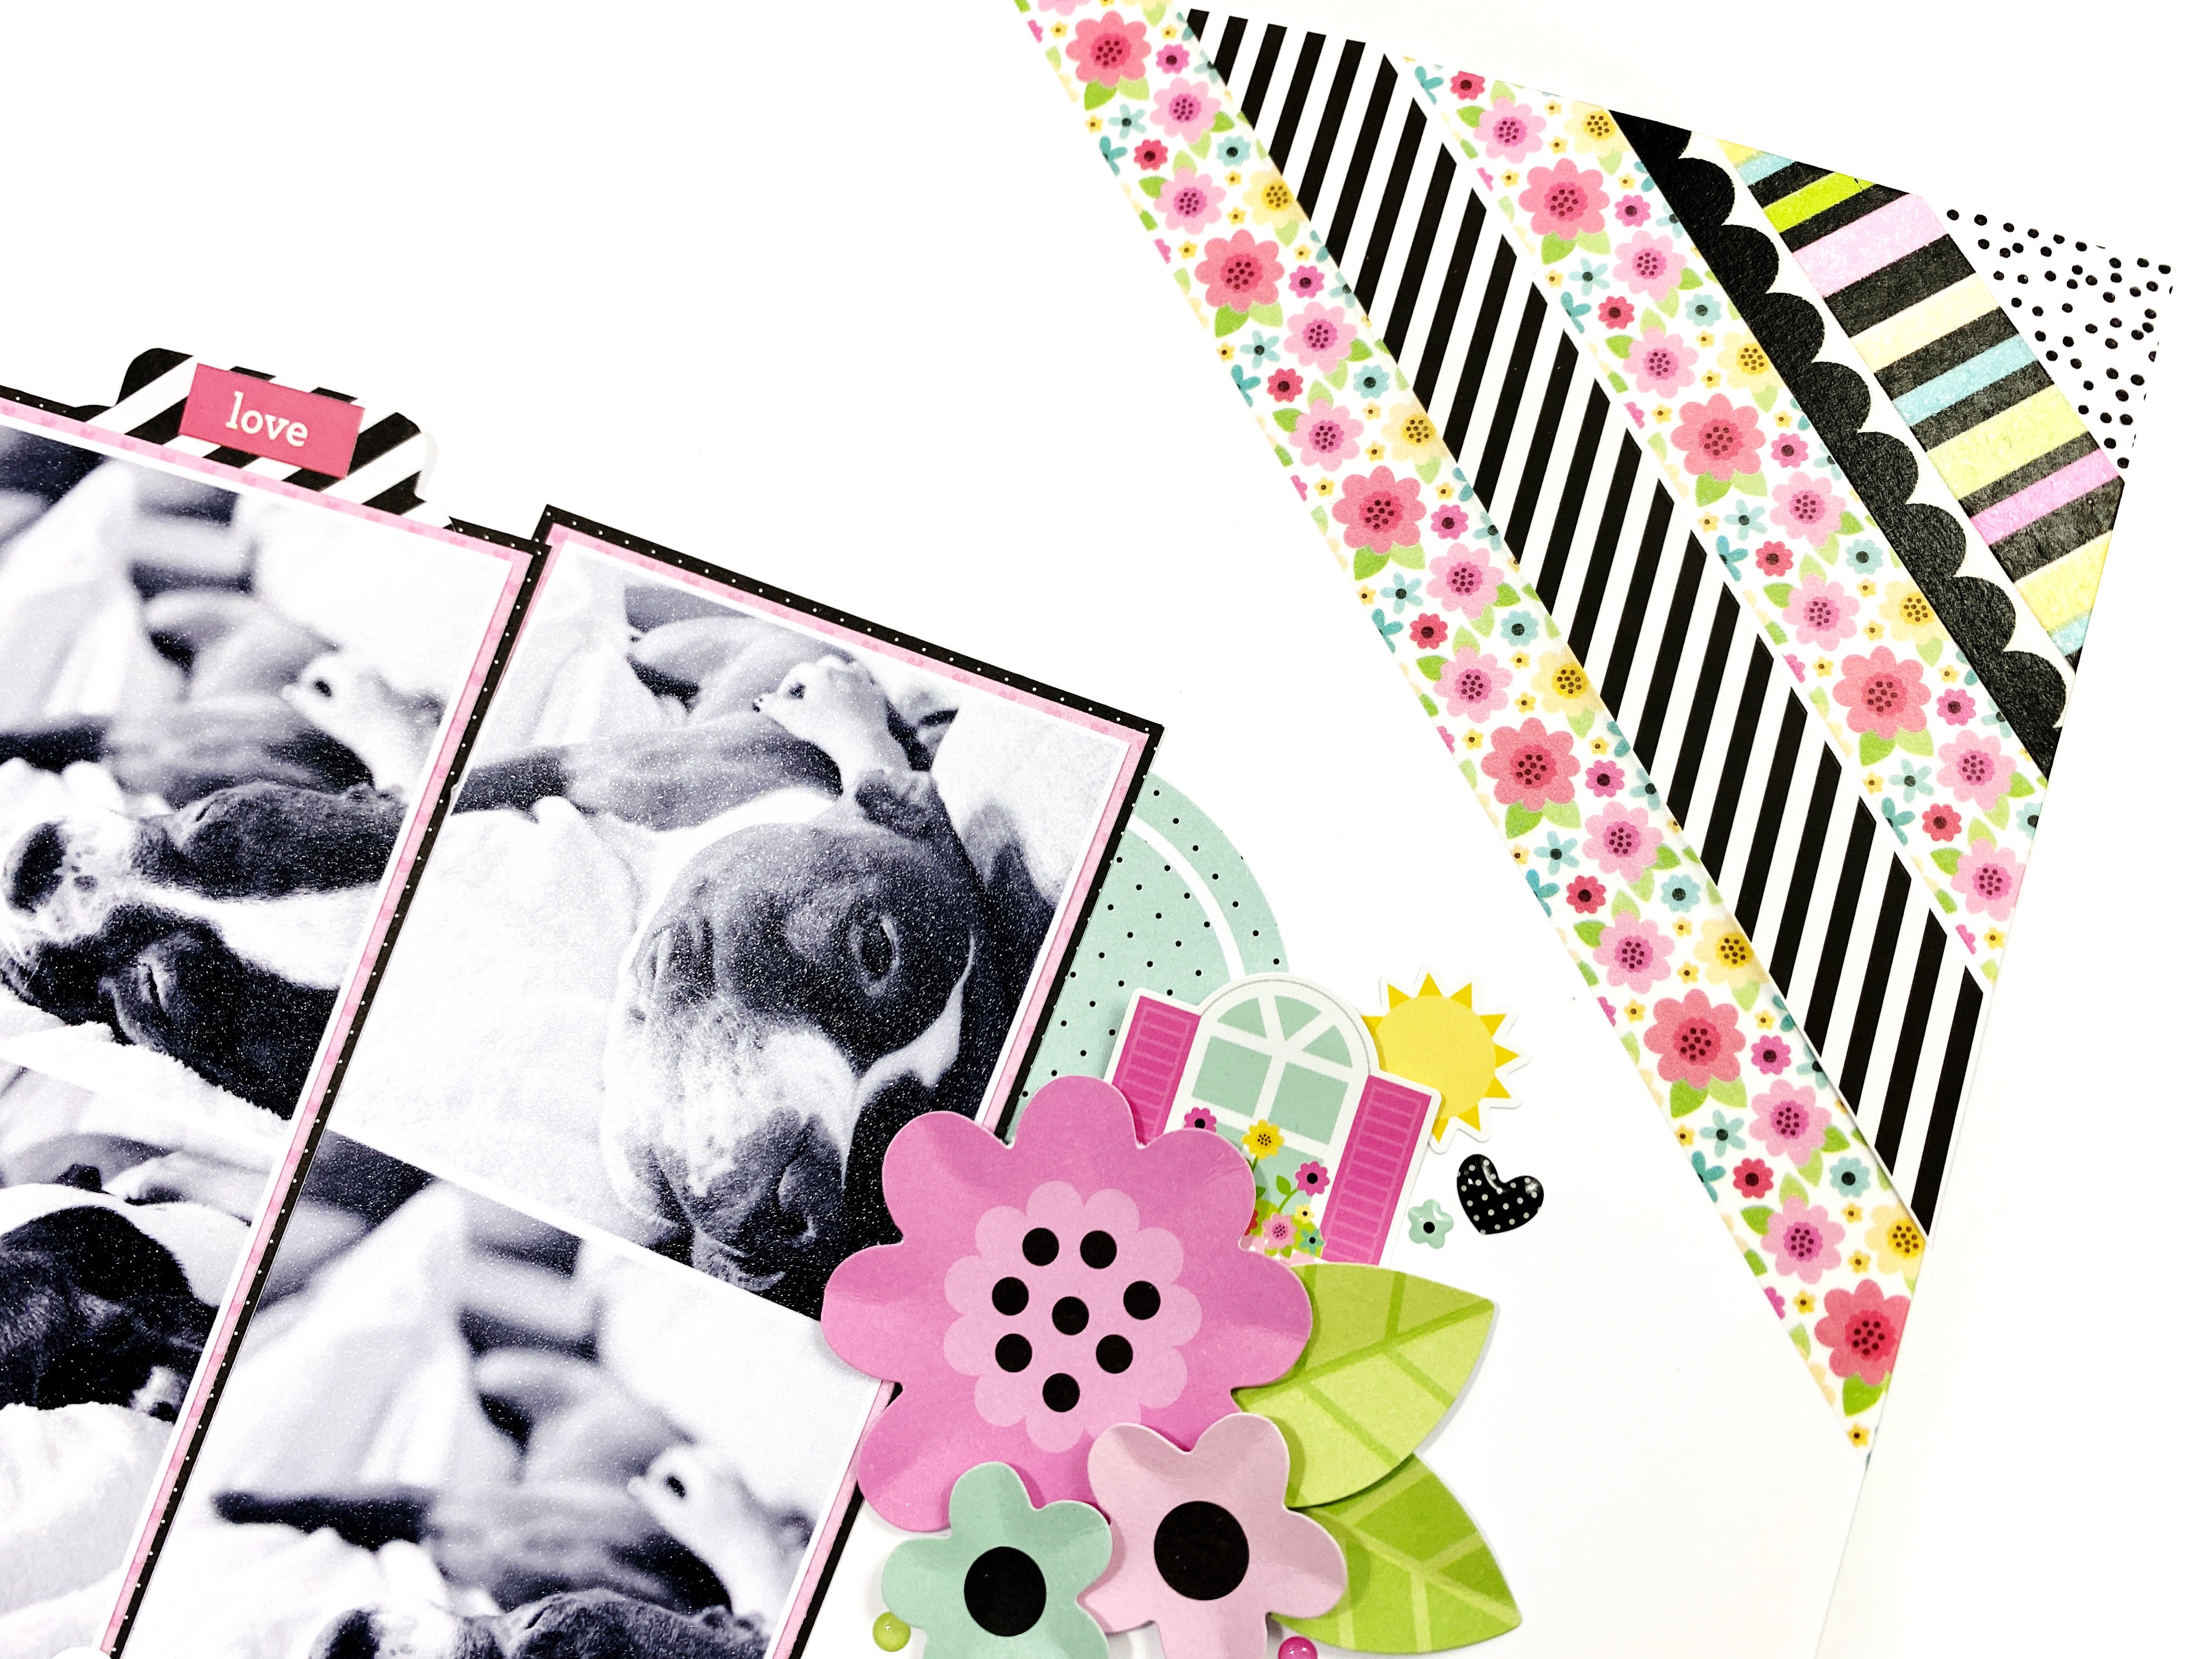
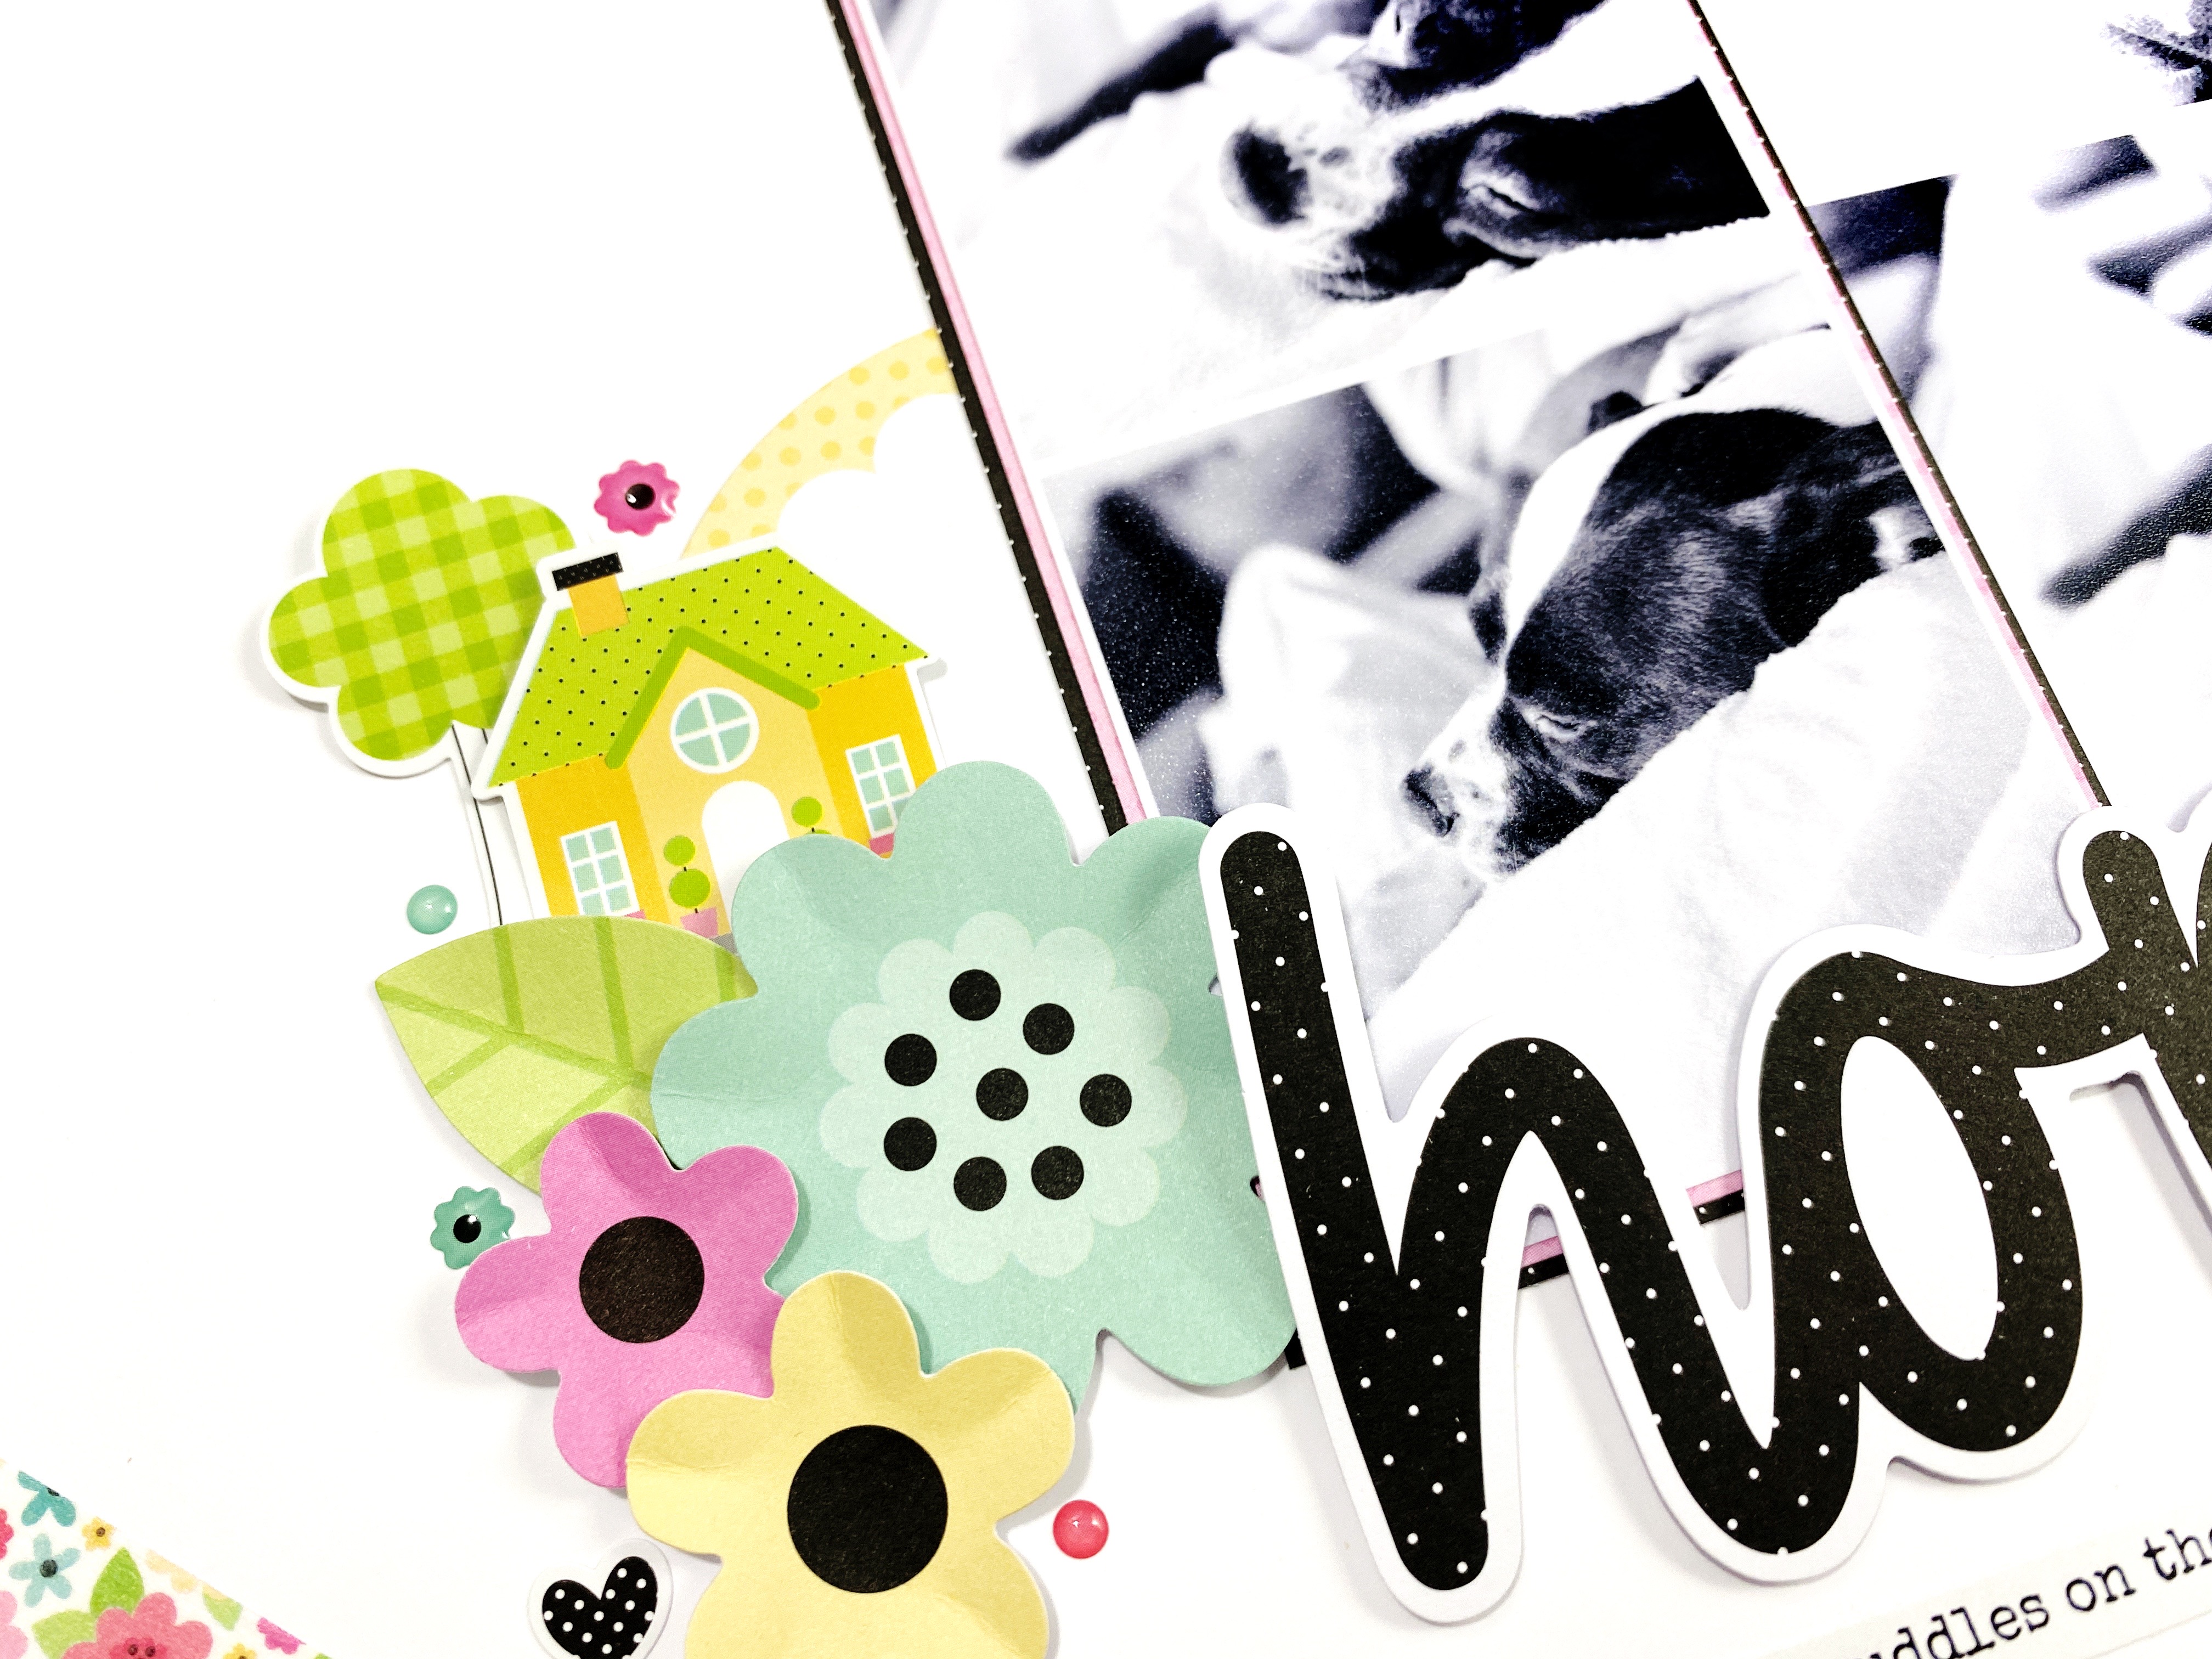
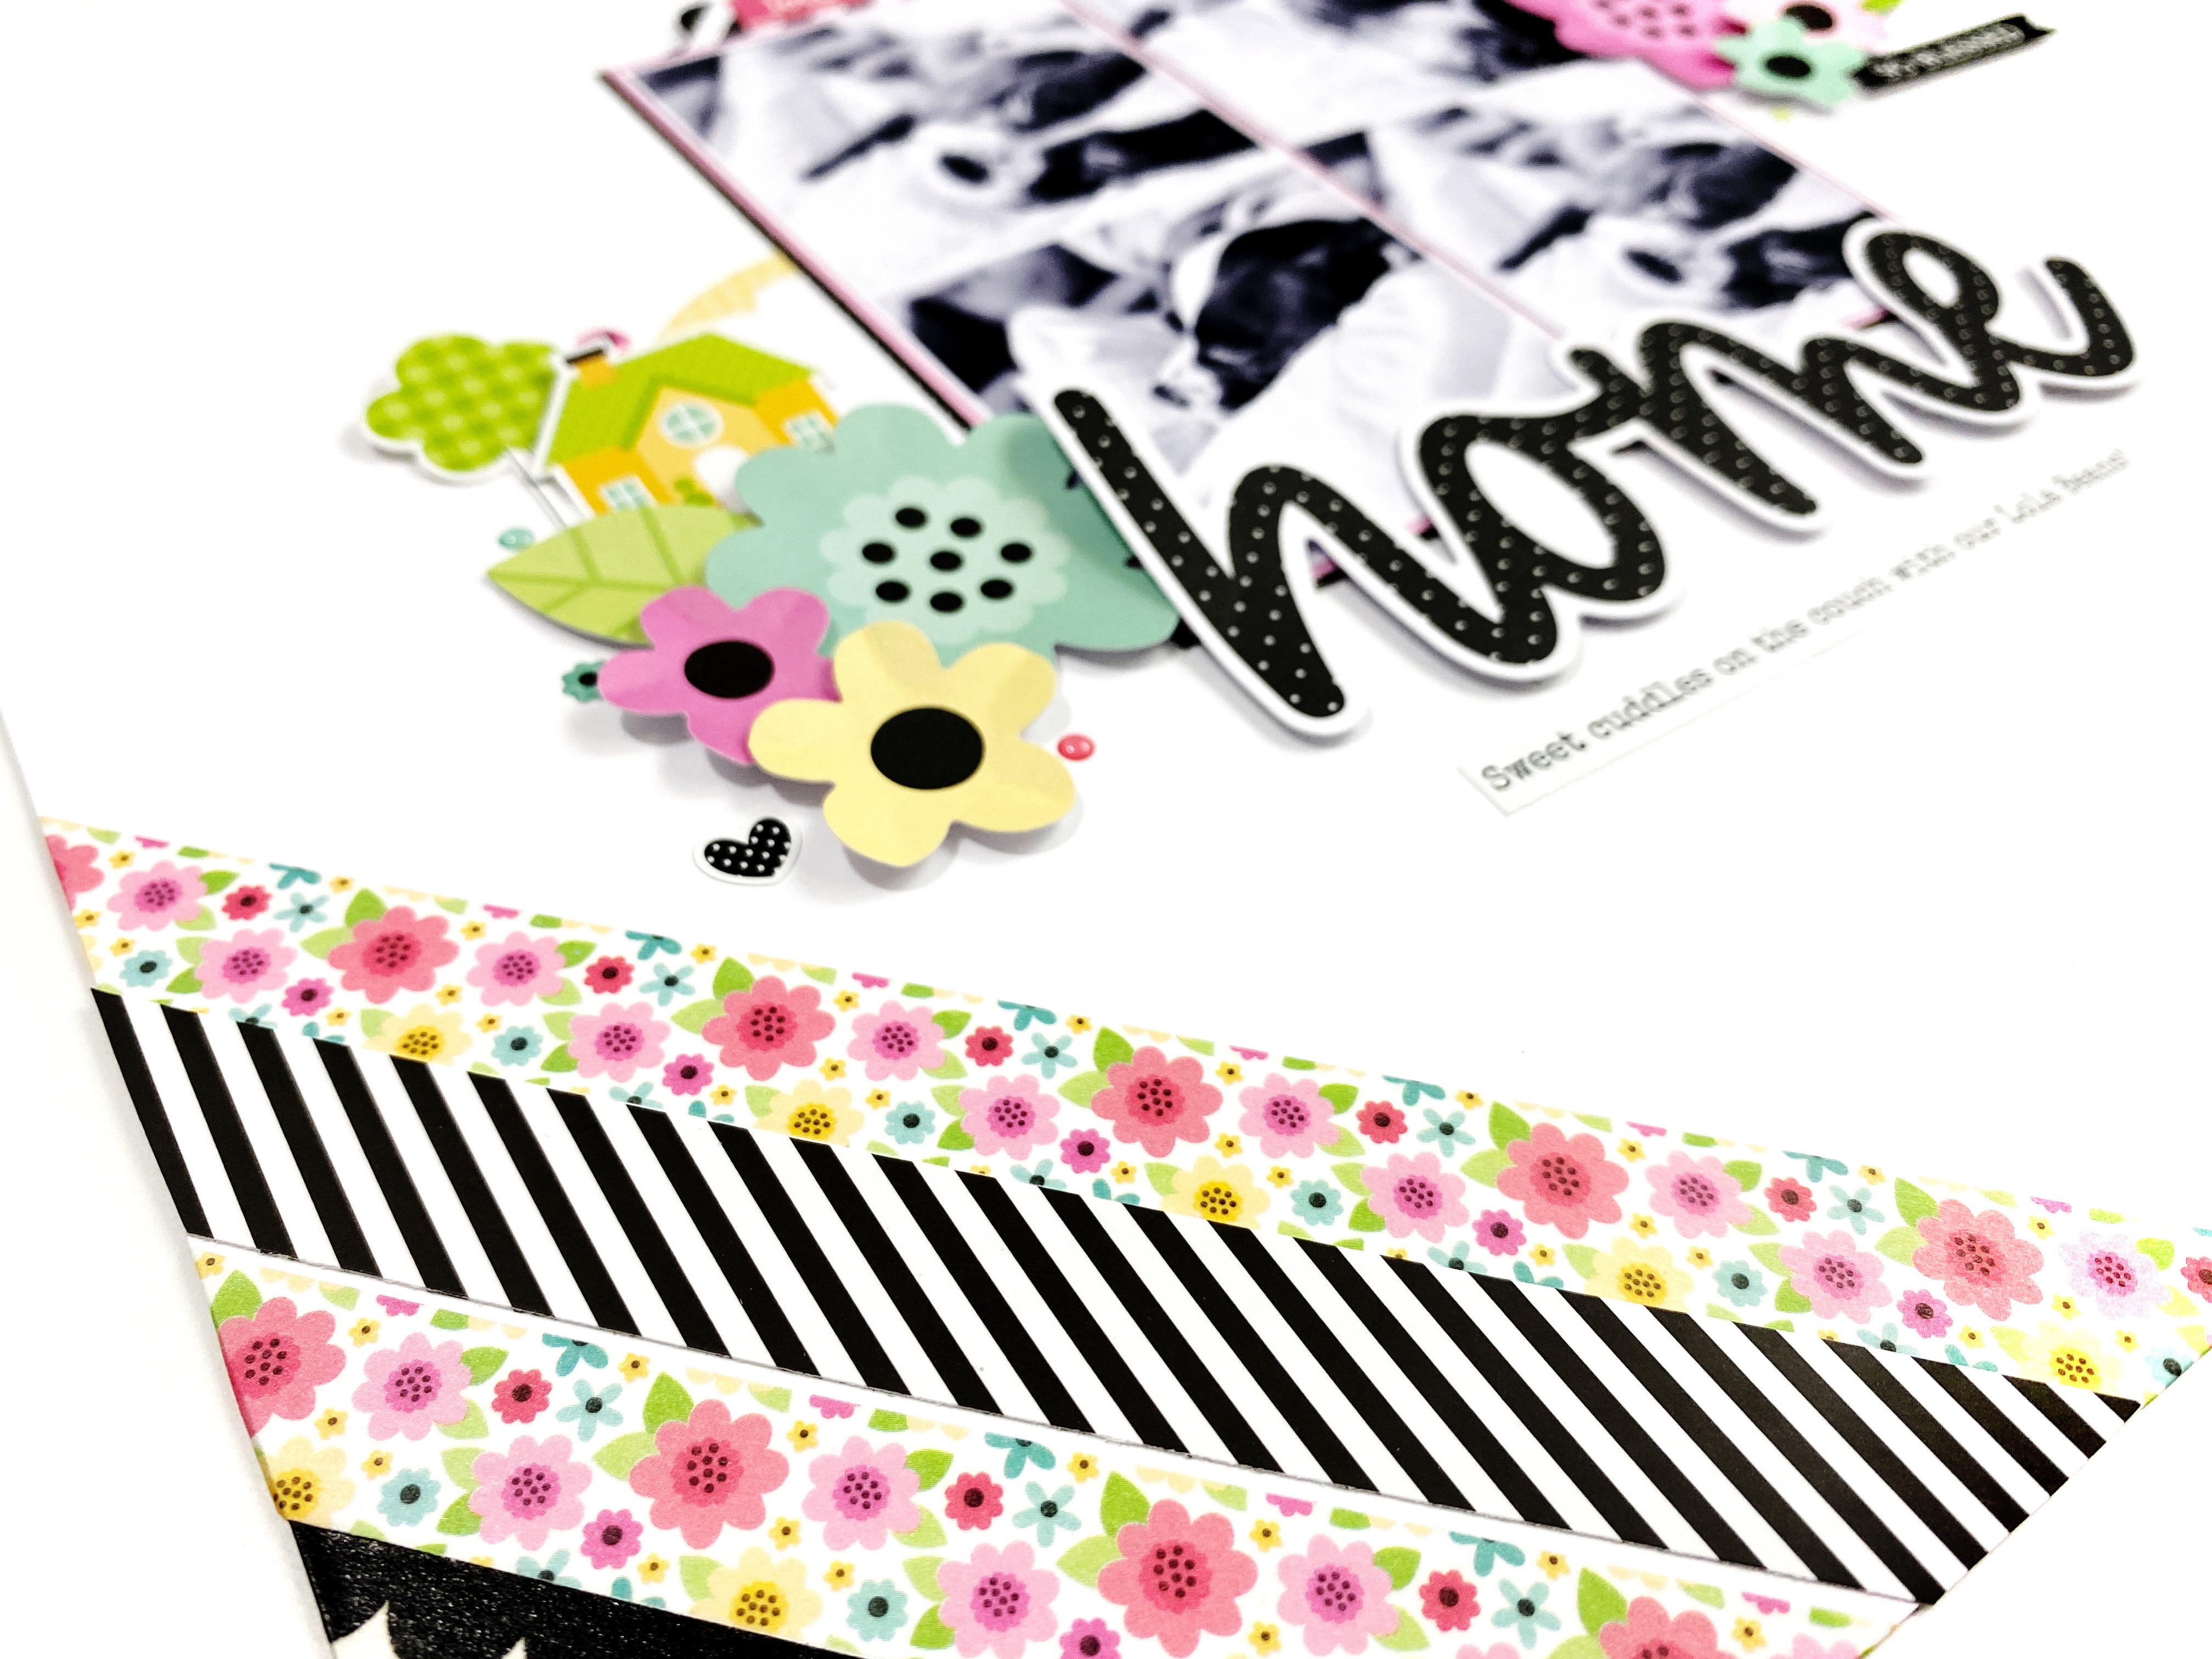
I wanted to play around with some washi tape on this layout so I pulled out the Flower Garden washi from this collection and some other Doodlebug Design washi from my stash! I added strips of washi in the bottom left corner and the top right! This creates a fun frame for the layout and brings in some color and patterns! It also leaves the perfect open spot in the center to build your layout!

I added 4 photos of our sweet Lola Bean cuddled up with me on the couch and matted them on some pattern paper from the 6x6 paper pad.

I knew I wanted to use some of the gorgeous florals in the Bits and Pieces pack too! This pack is my favorite and I will need to add a few more to my stash! Around the flower clusters I added in some mini icon stickers and some shape sprinkles!

This layout came together so quick and easy and I was happy to use up some of my washi! Let me know in the comments your favorite way to use your washi tape! Have a great day!

Doodlebug Products Used

My Happy Place Collection

Wednesday, April 6, 2022

SWEET ROLLS STICKERS EASTER EGGS | with Miguel

Altering objects is a fun way to dress up something plain!  I decorated these simple plastic eggs with with some Sweet Rolls Stickers.  The little rabbits and cute chicks are just the best!

I cut the Happy Easter from adhesive vinyl using my Silhouette.  I added some of the Sweet Rolls stickers to each and then I added washi tape around the egg to give more color to the project.  I love how they look!

I added some fun goodies inside each egg, color coordinated of course!


I say goodbye as always hoping that my work inspires you to continue creating. See you soon and Happy Easter.


DOODLEBUG PRODUCTS USED
Sweet Rolls Bunnies Stickers
Sweet Rolls Chickie Stickers
Washi Tape

OTHER
Adhesive Vinyl
Silhouette Cameo

Wednesday, May 6, 2020

USING WASHI TAPE ON YOUR LAYOUTS | with Maryám

Are you one of those people who have lots of washi tape rolls and had no idea how to use them? This is Maryám and today I'm going to be sharing a fun and colorful way on how to use washi tapes on a scrapbook layout.
To create my layout I started by cutting a piece of white cardstock at 4.5" x 11" inches. Next, I gathered some of my favorite colors from the Swiss Dot Washi Tape collection, rotated the paper about 45º degrees, and started adding washi tapes stripes in rainbow order.

The colors I used are- Cupcake, Bubblegum, Lady Bug, Tangerine, Bumblebee, Limeade, and Swimming Pool.

Next, I cut from the washi tape panel two stripes of 0.5" inches and adhered them on both ends of the page, and adhere the 4" inches panel at about 1 inch apart from the left border.

To embellish the page, I pulled out some of the embellishments the Love Notes collection and added some of my favorite stickers. I also added some shape sprinkles and sugar-coated sprinkles from the same collection for more texture and fun.

For the title, I adhered the Love You Bunches doodle-pop towards the left side of my photo and added a "love this" banner from the Chit Chat die cut set.


To finish up the page, I added some words stickers from the This&That sticker sheet with the help of foam dots.

Now, let's take a look at the finished layout.


That is it for today! I hope you guys enjoyed this post and liked the ideas I shared. Also, don’t forget that if you have any questions just leave a comment below or send me an email. Thanks for stopping by :)
Have an awesome day!


Doodlebug Products Used:
Love Notes Collection
Washi Tape: Cupcake Swiss Dot
Washi Tape: Bubblegum Swiss Dot
Washi Tape: Lady Bug Swiss Dot
Washi Tape: Limeade Swiss Dot
Washi Tape: Bumblebee Swiss Dot
Washi Tape: Tangerine Swiss Dot

Wednesday, April 8, 2020

DIY COLORING CLIPBOARDS | Maryám

During these crazy uncertain times, our lives are changing in ways we would never imagine and our reality is now a different one. Since most of us are staying at home right now, I thought it would be fun to share some simple DIY coloring clipboards to make with the kids.
I was inspired by the Doodlebug clipartTM line of clipboards to create mine. I started by cutting a piece of 2mm recycled chipboard sheet to about 4" x 5" inches. Next, I choose some pattern paper from my Doodlebug 6 x 6 paper pads and wrap the chipboard piece. I used liquid adhesive for this step.
Once I covered the entire piece of chipboard, I punched two holes on the top part with a distance of about 1.75" inches from each other and put an eyelet to protect them.
After that, I needed to make the coloring pages. To do this, I cut a 12" x 12" sheet of white cardstock in pieces of 3" x 4" inches, rounded the bottom corners, grabbed a bunch of my Doodle StampsTM and stamped different images. 

Each clipboard has ten pages. For some, I stamped little scenes and for some others, I just stamped one image so the kids can have fun creating their own scenes.
Following this, I punch holes at top of the coloring pages as well and used Doodlebug chunkybradsTM to keep them in place. In the end, I embellish each clipboard with some washi tape and stickers to give it more fun and interest.
Now, it is your turn to create coloring clipboards and spread some joy! Personally, I'll get my clipboards ready and will send them to my little cousins so they can have some fun coloring during the quarantine. 

I hope you guys enjoyed this new project and liked the ideas I shared. Also, don’t forget that if you have any questions you can always leave a comment below and I’ll be happy to help you.

Have a wonderful day!

Doodlebug Products Used: 
Love Notes Collection
School Days Collection
Gingham and Linen Petite Prints - Rainbow
Chunky Brads - Bon Appétit Assortment
Doodle Stamps - School Girl
Doodle Stamps - School Boy
Doodle Stamps - Let's Getaway
Doodle Stamps - Santa's Sweets
Washi Tape - Limeade Swiss Dot
Washi Tape - Swimming Pool Swiss Dot
Washi Tape - Bumblebee Swiss Dot

Other Products Used:
Black Pigment Ink
White Cardstock

Tuesday, December 3, 2019

CHRISTMAS MAGIC PLANNER ACCESSORIES WITH WASHI | with Anabelle

I am really enjoying creating items to use with the Micro Planner that I made using the Christmas Magic collection. Designing this planner, along with it's accessories has been a lot of fun! (My blog posts on November 5 and 19 show how I created the planner and the inserts.) Today I added some more accessories. And I used washi tape to create them all. Here is a photo of my creations. How many ways did I use the washi?
If you guessed 5, you're correct! I used it five different ways and I'm going to share with you what I did. The trick to making all of these embellishments is to use a length of washi that has been folded over itself. This creates a ribbon-y type of washi that can be used for different purposes. I have to admit, that it took a bit of practice to fold it so that it was even. I finally figured out that if I hold it on the table, I keeps it lined up and even.
The first thing that I made was a swag for the front of my planner. I absolutely love how it turned out. This was super easy to create. I took a fairly long length of doubled over washi and tied two bows. The red stripe washi bow was longer and made a larger bow. I made a smaller bow with the branch washi. I tied the two bows together using some twine. To finish it off, I added the enamel pin. This holds the bows in place AND looks so cute.


I clipped the bow to the front of my TN using one of the clothespins and VOILA it looks adorable!


The next thing I created for my planner was a washi card. I used packaging from the clothespins. I cut the tag shape from the plastic and then wrapped some washi around it. I am keeping it in the front pocket of my planner. I punched a hole at the top and added some twine, too.


Next up are some cute planner clips that I made. I started by wrapping the washi onto itself .


Next, I made a loop. I trimmed some of it off and left the loose end on the back. I squished it a bit in the middle and stapled it.


It doesn't matter if the staple is perfectly centered. It will be covered with more washi. Once I wrapped a small piece of the striped washi around the loop, I punched a hole and added these cute brads. I used a pencil to 'puff out' the edges and made it look like a bow.


Then, I hot glued them to some paper clips. Aren't they cute?

Next up is a fun pen holder that I made. I've made a few of these for my planners that don't have pen loops and they are SO convenient.


I used a length of the folded washi ribbon and wrapped it around the pen. The trick to this is to hold it tightly to the tag and staple it so that the pen is snugly inside of the loop. Once stapled, you can trim off the extra washi.

As you can see, I wrapped the red stripe washi onto a green pen and hot glued a pom pom to the top. I LOVE how it looks. Now I can slide the pen out of the holder. I keep the tag in my daily page and use it as a bookmark, as well.

As you can see, I was able to use the washi to make several fun additions to my planner. I hope you try one of these techniques. Would love to see what you create!


Doodlebug Products Used:
Christmas Magic Collection
Ladybug Twine
Christmas Clothespins

Other Supplies:
Green Pen
Red Pom Pom
Hot Glue Gun
Plastic Packaging

Wednesday, May 29, 2019

MINI ALBUM USING LEFT OVERS | with Shellye

Using just a few pieces of leftover patterned paper and sheets of heavy card stock, this mini album is so quick and easy to put together!  The assemblage is similar to a child's board book and is also very accommodating  for layered embellishments!


To begin I cut five sheets of 110lb. white card stock to measure:
9.75" X 6.25"
9.5" X 6.25"
9.25" X 6.25"
9" X 6.25"
8.75" X 6.25"
Next, I placed each of the sheets onto a scoring board. Each sheet was scored at 4.25" and then turned 180" and scored again at 4.25".  After folding all of the sheets along the score lines, I started building the pages beginning with the longest sheet first.  I added an extreme double-sided tape between all of the sheet's score lines and began assembling the pages.  


For all of the pages I used a 4" X 6" mat of patterned paper  and adhered to the center of the page.  As shown above, I cut a small strip of 1.25" X 6" paper and attached.

Below is a peek at all of the inner-pages that are photo-ready!  


I decided to leave a few of the pages blank so that larger photos could be added.  
The top of the album was finished off with a trio of Jelly Clips and now it's all ready for gift giving!

Thanks for joining me today!

Doodlebug Products Used:
5832: hello assortment glitter sprinkles
5892: gold scallop washi tape
5893: lots of love washi tape 
5896: beautiful blooms jelly clips 
5909: hello odds & ends 
5910: hello chit chat 
5912: hello mini icons sticker
5931: hello icons sticker
5932: hello this & that sticker 
5972: garden party foil double-sided cardstock 
5973: petite & pretty double-sided cardstock 
5975: tickled pink double-sided cardstock 
5976: lovely double-sided cardstock 
5977: good as gold foil double-sided cardstock 
5978: sitting pretty double-sided cardstock 
5979: navy stripe double-sided cardstock 
5980: strike a pose double-sided cardstock 
5981: poppy plaid double-sided cardstock 
6116: bumblebee dot-stripe petite prints CS 
4452: bubblegum doilies 
2474: Bumblebee Boutique Buttons
2477: Blue Jean Boutique Buttons 
4805: bubblegum chunky twine
3431: limeade teensy type CS stickers 
3433: blue jean teensy type CS stickers 
Pin It button on image hover