Showing posts with label 3D Embellishments. Show all posts

Sunday, March 17, 2024

BUNNY HOP EMBELLISHMENTS | with Guest Designer Shara Crane

Hello, its me Shara Crane and I am so happy to be sharing this little embellishment project with you using the new Bunny Hop collection. These can be given as gifts or used on cards, layouts, almost any project.  Follow these steps to create your own mini embellishments.


Step 1. 

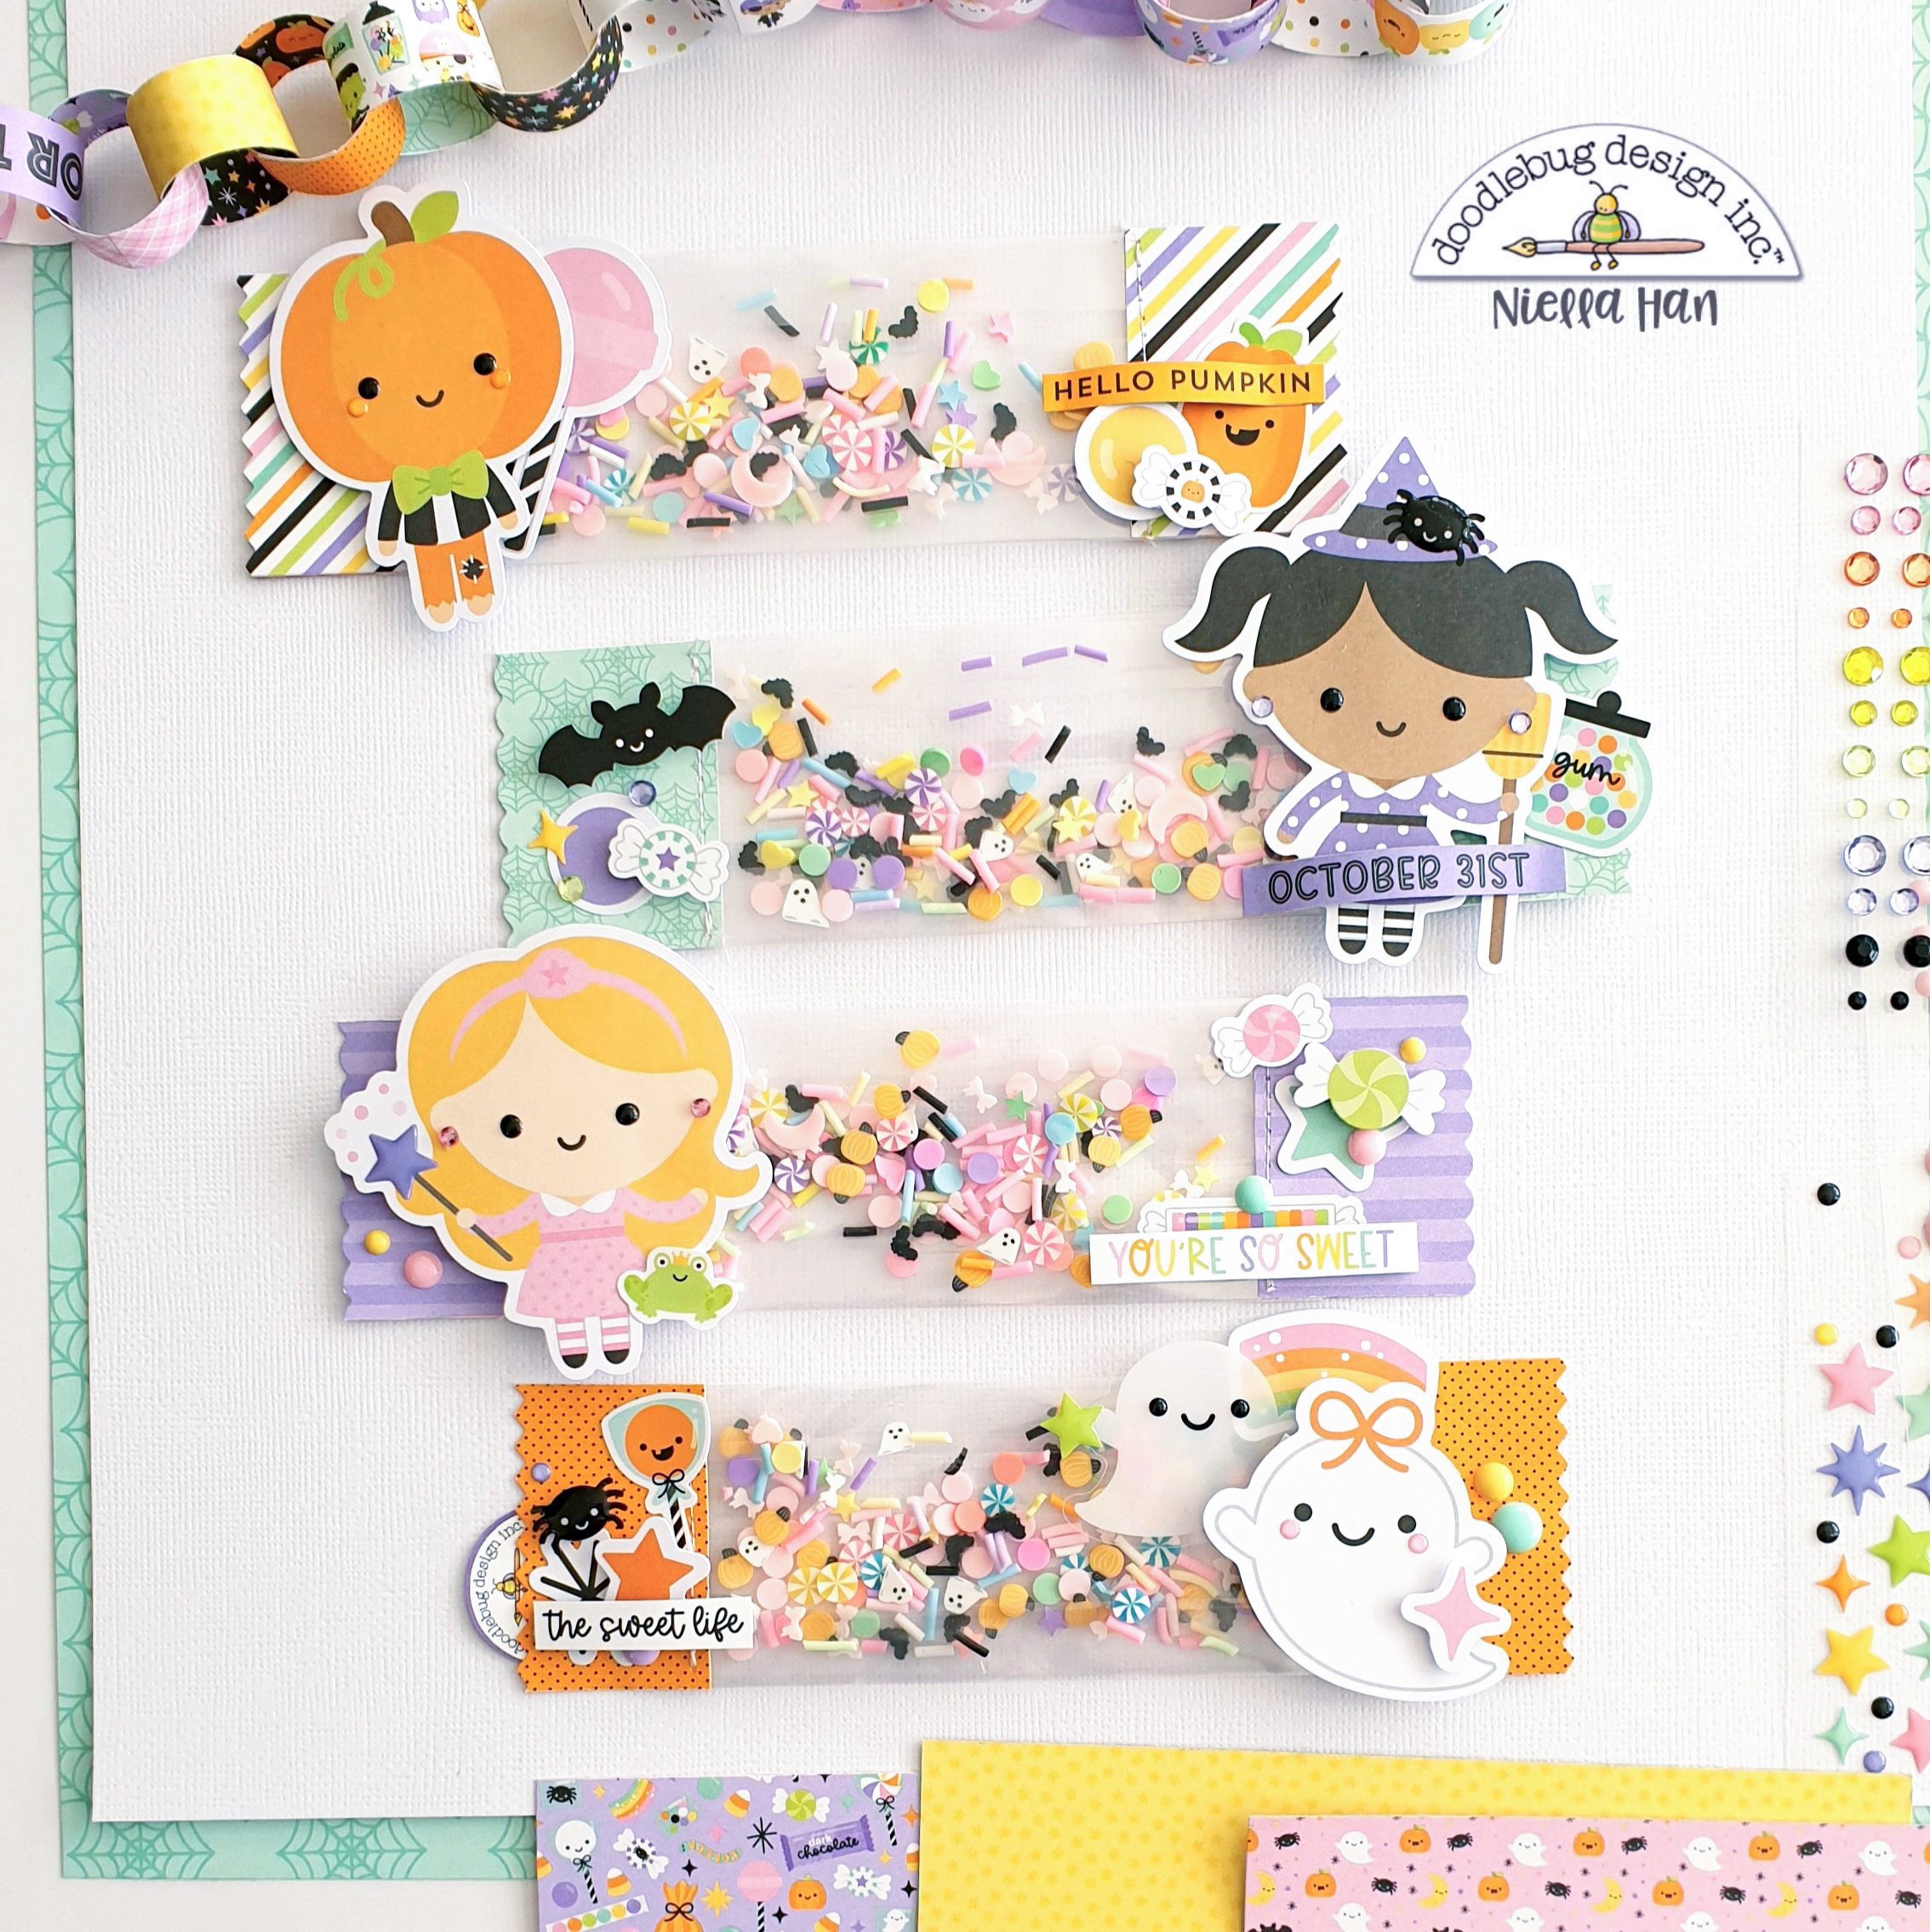
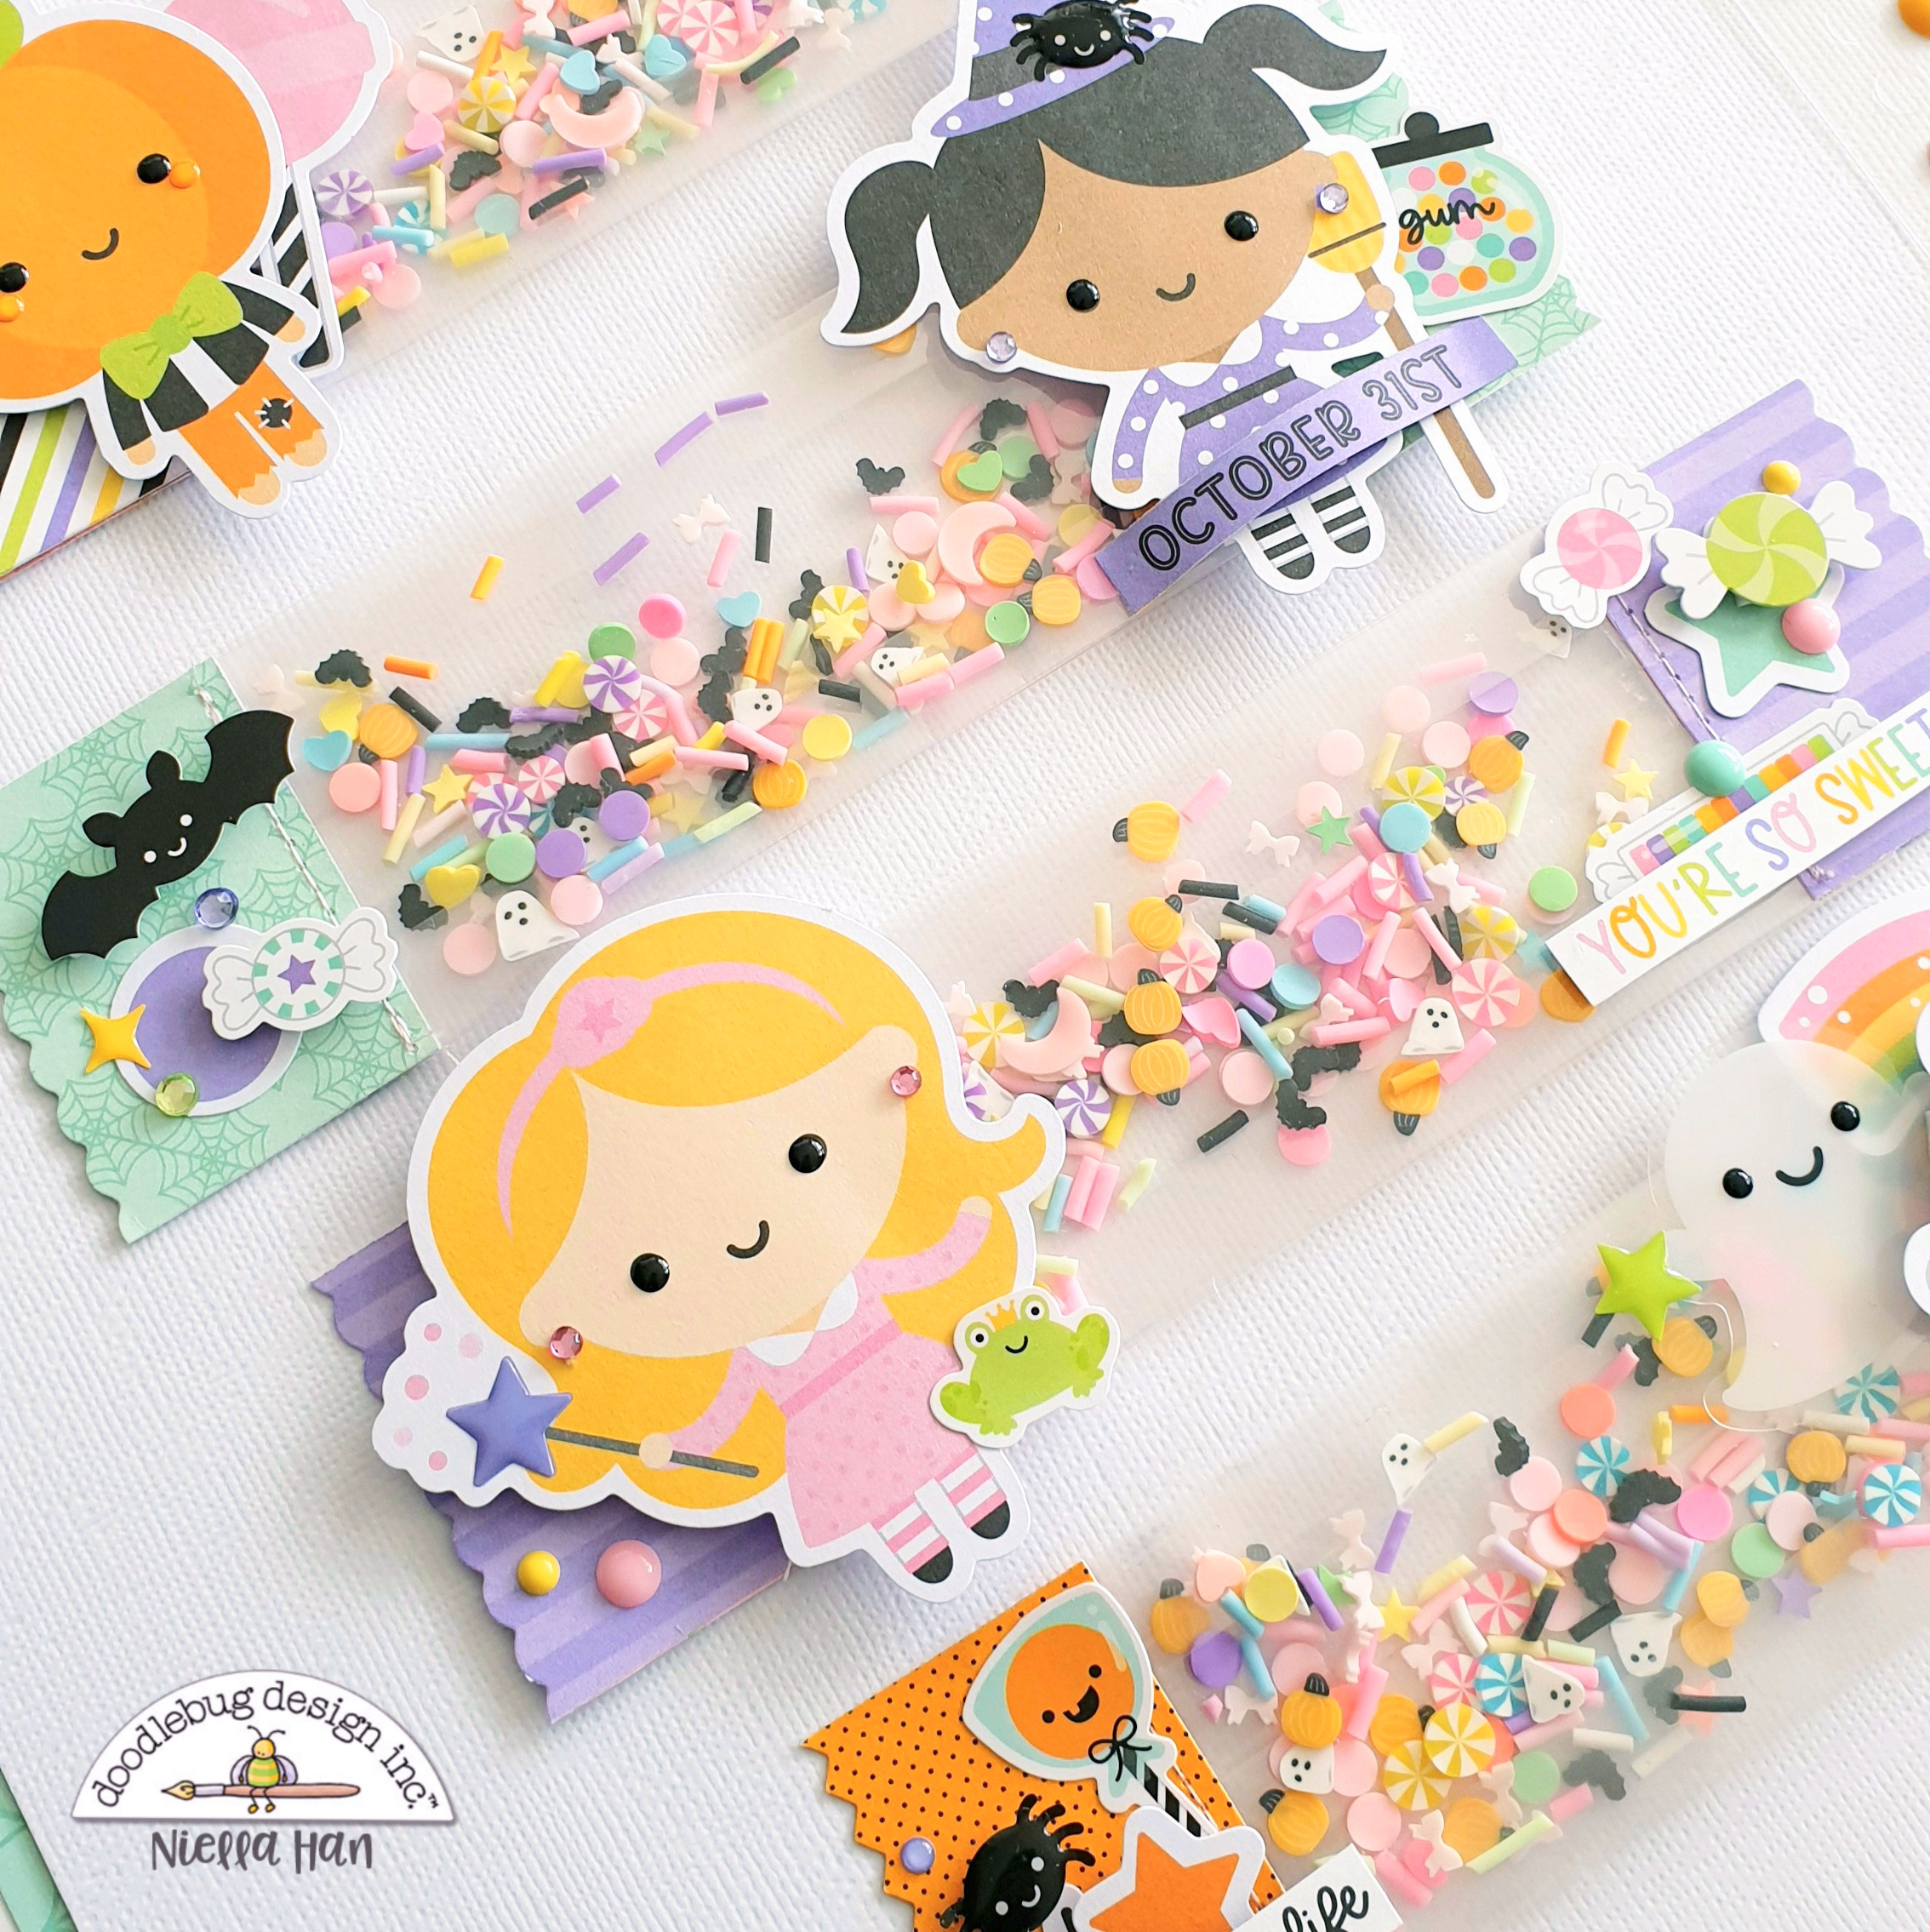
Cut your scraps into different banner shape sizes. I size them depending on what size my pop stick is. The pop sticks I used for this project are 4in long and the paperclips are 1in. My largest banner piece is 2x3/4in. Each piece you make will be folded in half around the bottom of the paperclip or the stem of the cake pop stick so make sure you keep that in mind. Cut a variety of different lengths and as many as you wish. The paper clips only have one of the 2x3/4 pieces, but the cake pop (page flags) have 3 different sizes.


2. Once you have all your pieces cut fold each on in half on a diagonal. This gives the effect of the banner blowing in the wind. After you make your fold, if you are sewing now is the time to do so. I sew the top of the front part of the banner and the top of the folded “back” of the banner so each part of the paper that is showing has the “top” sewing marks showing.

3. Once you decide where you want to place each piece it’s time to glue them to the cake pop stick (for the paperclip you slide one end through the largest part of the paper clip until the paperclip is touching the fold mark). This is also where you want to add your dimension tape. Make sure you add the tape in a spot that you won’t see it and in between the paper. I usually add it to one side, add my hot glue to the middle of the fold, place the pop stick in the fold where the glue is then close the banner around the stick and onto the dimension tape.

4. As always this is to me the best part. Time to decorate. Use all goodies from the Bunny Hop collection. Decorate as much or as little as you wish. I like lots of layers and different textures so I try to add a little it of everything. One you are done these make PERFECT gifts for your crafty friends or you can use them yourself and add them to any thing you wish to make you smile even more.

I hope you've enjoyed my project today! Xoxoxo, 


DOODLEBUG PRODUCTS USED

Bunny Hop Collection

OTHER

Cake pop sticks
Pom pom
Dimension tape
Paper clips
Hot glue gun and glue sticks
Sewing Machine (*Not required but I LOVE my sewing machine and use it on every paper project I make. It’s mymost used crafty item for sure!!)

Friday, September 15, 2023

SWEET & SPOOKY CANDY BAR WRAPPER SHAKERS | with Niella

Eeeeeeekk! Hi spooky boo crew! It's a super Spooky & Sweet day here so thanks for popping into today! Let's count down to October 31st together as we take a look at my first Sweet & Spooky project! Candy wrapper shakers... super spooktacular crafty friends because these are pretty fun to add to your crafty projects like greeting cards, tags, scrapbooking pages, journals and trick and treat packages!

You could use any packaging for these as well, cellophane packaging bags, folded over acetate, tracing paper or even vellum - that shaker sounds gets me every time! Fill with sequins, glitter, clay sprinkles - what ever you have in your stash! Make it colorful + fun!


I've used the Odds & Ends ephemera (every piece is darling and I wanted to use every piece) and the ones I've used today on my candy wrapper shakers are mister pumpkin, sweet witch, darling fairy godmother and boo boo ghosties! Then I embellished with mini Icon stickers, candies, icon stickers and sweet & spooky assorted sprinkles!  

Using foam dot and square adhesive really makes each element pop and gives valuable dimension. Shake, shake! For the word sentiments I cut these from the 6x6 matching paper pad, too cute! Arch the sentiments over the elements as well to give extra detailing!


Each sweet shaker measures approximately 6.5 x 1.75'' so they're perfect for anything! Can't give candy? No problem - make and give these! They can be used time and time again :-) Can't eat candy? no worries - make a cute batch of these! perfect for any theme as well! You know how much we appreciate versatile projects right!


Hope these have given you crafty inspiration today! Remember to check back tomorrow to see what tomorrow's fun project will be - and as always, please tag us in our your next Doodlebug Design collection; we adore seeing all your creations. Until next time, doodle boo! Heehee :-)


DOODLEBUG PRODUCTS USED

Sweet & Spooky Collection

OTHER

candy wrapper bags
foam squares
sprinkle clay mix


Tuesday, November 16, 2021

GREAT OUTDOORS EMBELLISHMENT BOX | with Ashley

Hi All! Today I am sharing a project using the new fall collection, Great Outdoors. I decided to make a little box full of embellishments! 

For the box, I used the 6 x 6 paper pad. I used a full sheet scored on all four sides at 1.5" for the base. And a 4 x 4 square scored at 0.5" on all four sides for the lid. I added some ephemera pieces to embellish and added a twine closure. 

This box perfectly fits the circle embellishments I made using my circle punches. Each circle is punched out twice, popped up with foam tape, and stitched. 

I love all the little animals in this collection and wanted to feature several of them layered on these embellishments. The embellishments have sprinkles from the collection and a sentiment from the 12 x 12 sticker sheet.

I hope you liked seeing details of this project! Happy Crafting! 

Doodlebug Products Used

Great Outdoors 12 x 12 and 6 x 6 Paper
Great Outdoors Odds & Ends and Chit Chat Packs|
Great Outdoors Sprinkles
Blue Jean Chunky Twine 


Friday, September 10, 2021

CUTE & CRAFTY TASSELS | with Lisa

Other than creating layouts and mini albums, I LOVE making tassels to hang on my creations. For today's post, I made super cute charm tassels with paper beads and Doodle-Pops. 


I have been on vacation the last two weeks. When I came back, some packages had arrived and they contained clasps and chain links in a lot of different colors. I went through my Cute & Crafty collection and thought it would be fun, using the Doodle-Pops, combined with my new things, to create super adorable tassels. 


To start I chose all the things I would need to make three tassels in different colors. I gathered the clasps, chain links, rings, Doodle-Pops, Doodle Twine, Jewels and patterned papers in three different colors: pink, blue and yellow. 
Then I started assembling everything.

I created the paper beads myself, using the 6x6 patterned papers. To do that, I cut super thin and long triangles, a bit like stripes of paper, but in a triangular shape. Then I rolled them up, starting at the wide end. Done! It's that easy :) I made 15 beads, 5 for each tassel.


For the yellow and pink embellishment, I created fluffy tassels, using the Doodlebug Chunky Twine. For the blue one, I used a piece of ribbon with polka dots, included in the Sweet Shoppe Assortment (tutti fruitti). 

I also made tiny tassels out of paper to attach to the colored chain links and I adhered two big jewels to the white chain links. To attach the Doodle Pop, I adhered it to a piece of patterned paper, created a loop on top by punching a small hole and cut the sticker out, leaving a border.


I love how they turned out!!! I attached the pink one to my Doodlebug traveler's notebook and it looks adorable. You can use these to put on your mini albums, cards or just as a gift. 


Hope you like the idea and are inspired to make some too.  See you soon... :)

Facebook Instagram YouTube


Doodlebug Products Used
Cute & Crafty Collection
Chunky Doodle Twine
Mini Jewels
Petite Prints Dot Stripe 6x6 Pad
Sweet Shoppe Assortment: tutti fruitti

Other
chain links
clasps
rings

Wednesday, January 30, 2013

DIY 3D Embellishments You'll Love

Although Doodlebug creates wonderful embellishments for your projects, we thought it woudld be fun to show ways to step them up to a new level. Check out the two layouts below to see what Stephanie and Tya did to make their own 3D Embellishments that we hope you'll love.

Baby Love

3D Embellishment Idea: Consider wrapping a chipboard alphabet letter with Doodlebug Twine to create a softer letter that really pops on your layout.

Date Night Layout
by Tya Smith

3D Embellishment Idea: Create a fun paper lolly to pop-up your cardstock stickers and add that extra pop like Tya's fun "You & Me" heart embellishment.


3D Embellishment Idea: We loved the fun Floral Doodle-pops on this fun sticker. Even though these are created for you, considering layer more then one type of sticker together to create this fun look.


Pin It button on image hover