Friday, September 16, 2022

GREAT OUTDOORS SMORE FUN LAYOUT | with Erica

Hello friends! Erica here with you today to share a fun 12x12 scrapbook layout using the Great Outdoors collection. One of our favorite things to do when the weather starts to cool down is have a fire out back and make smores! The kids absolutely love them and the Great Outdoors collection has the perfect pieces to document the memories!

I started with the Smore Fun cut file and backed it with papers from the Great Outdoors 6x6 paper pad! I used the Lily White Petite Prints dot-stripe as my background and matted it onto two different pattern papers from the Great Outdoors collection.

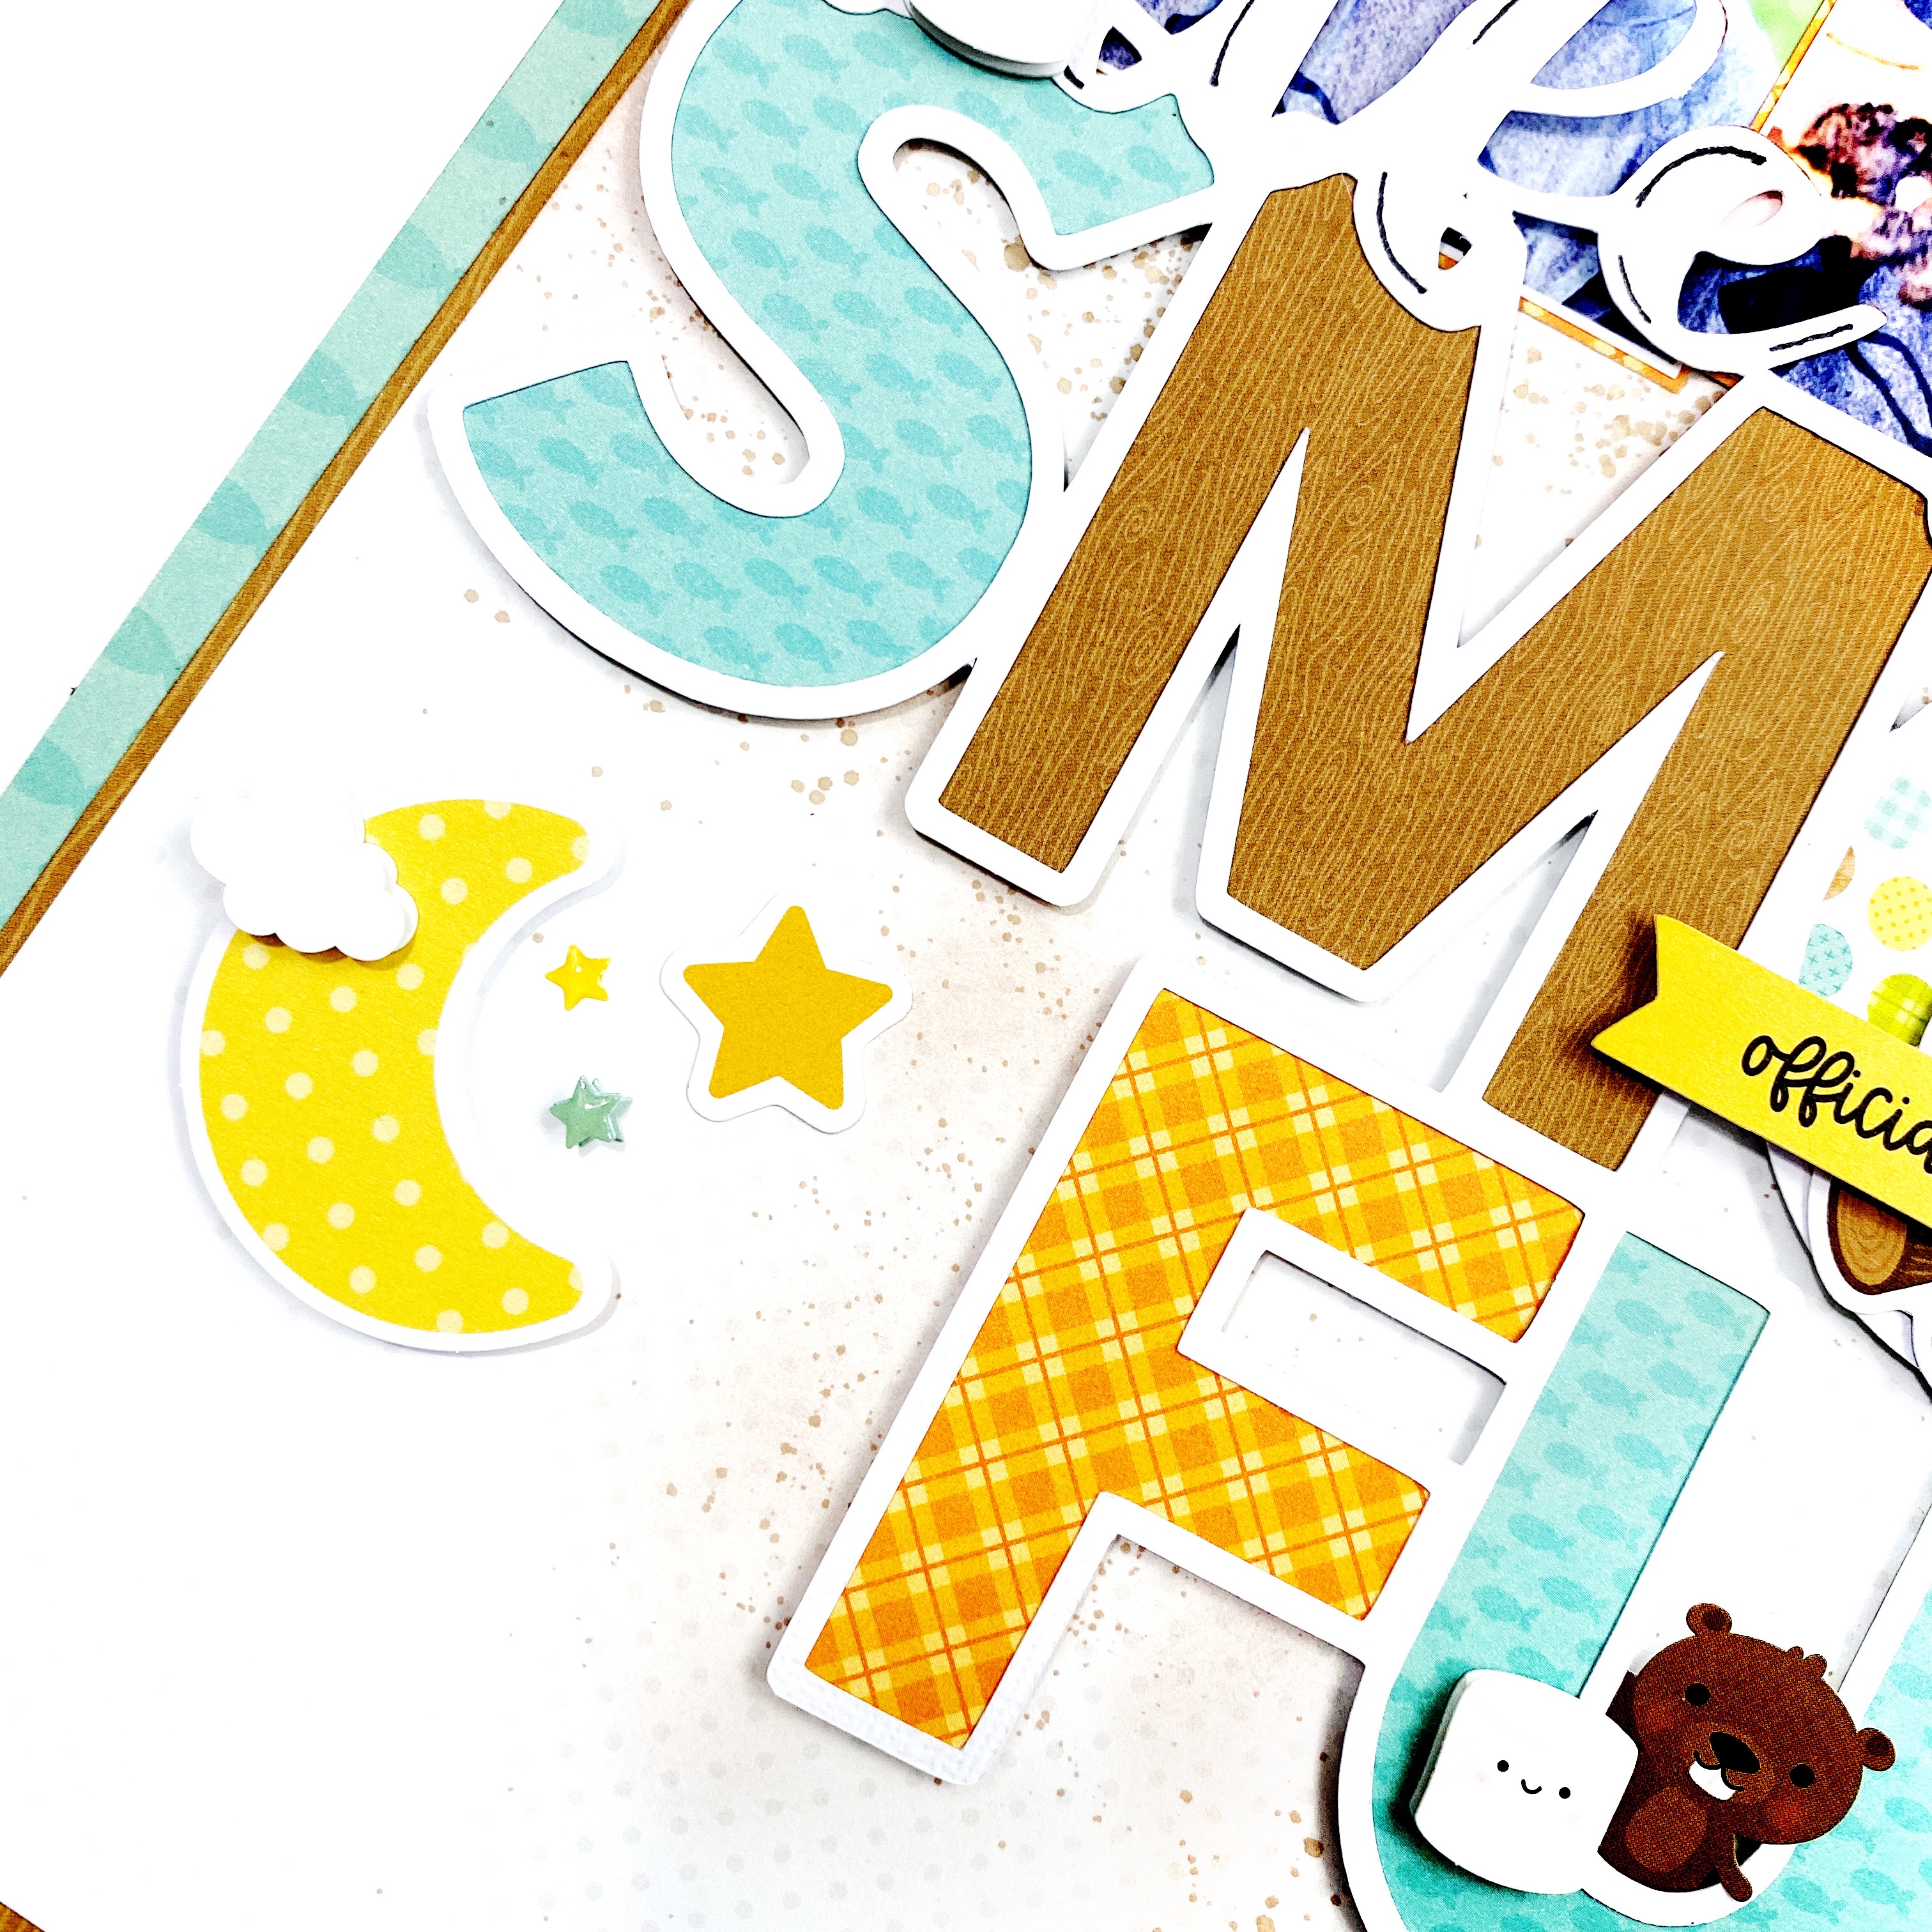
I used some Catherine Pooler Designs Ink in the color Sand Castle to add a little ink blending to the background and some splatters! I also used some around the marshmallows in the cut file!

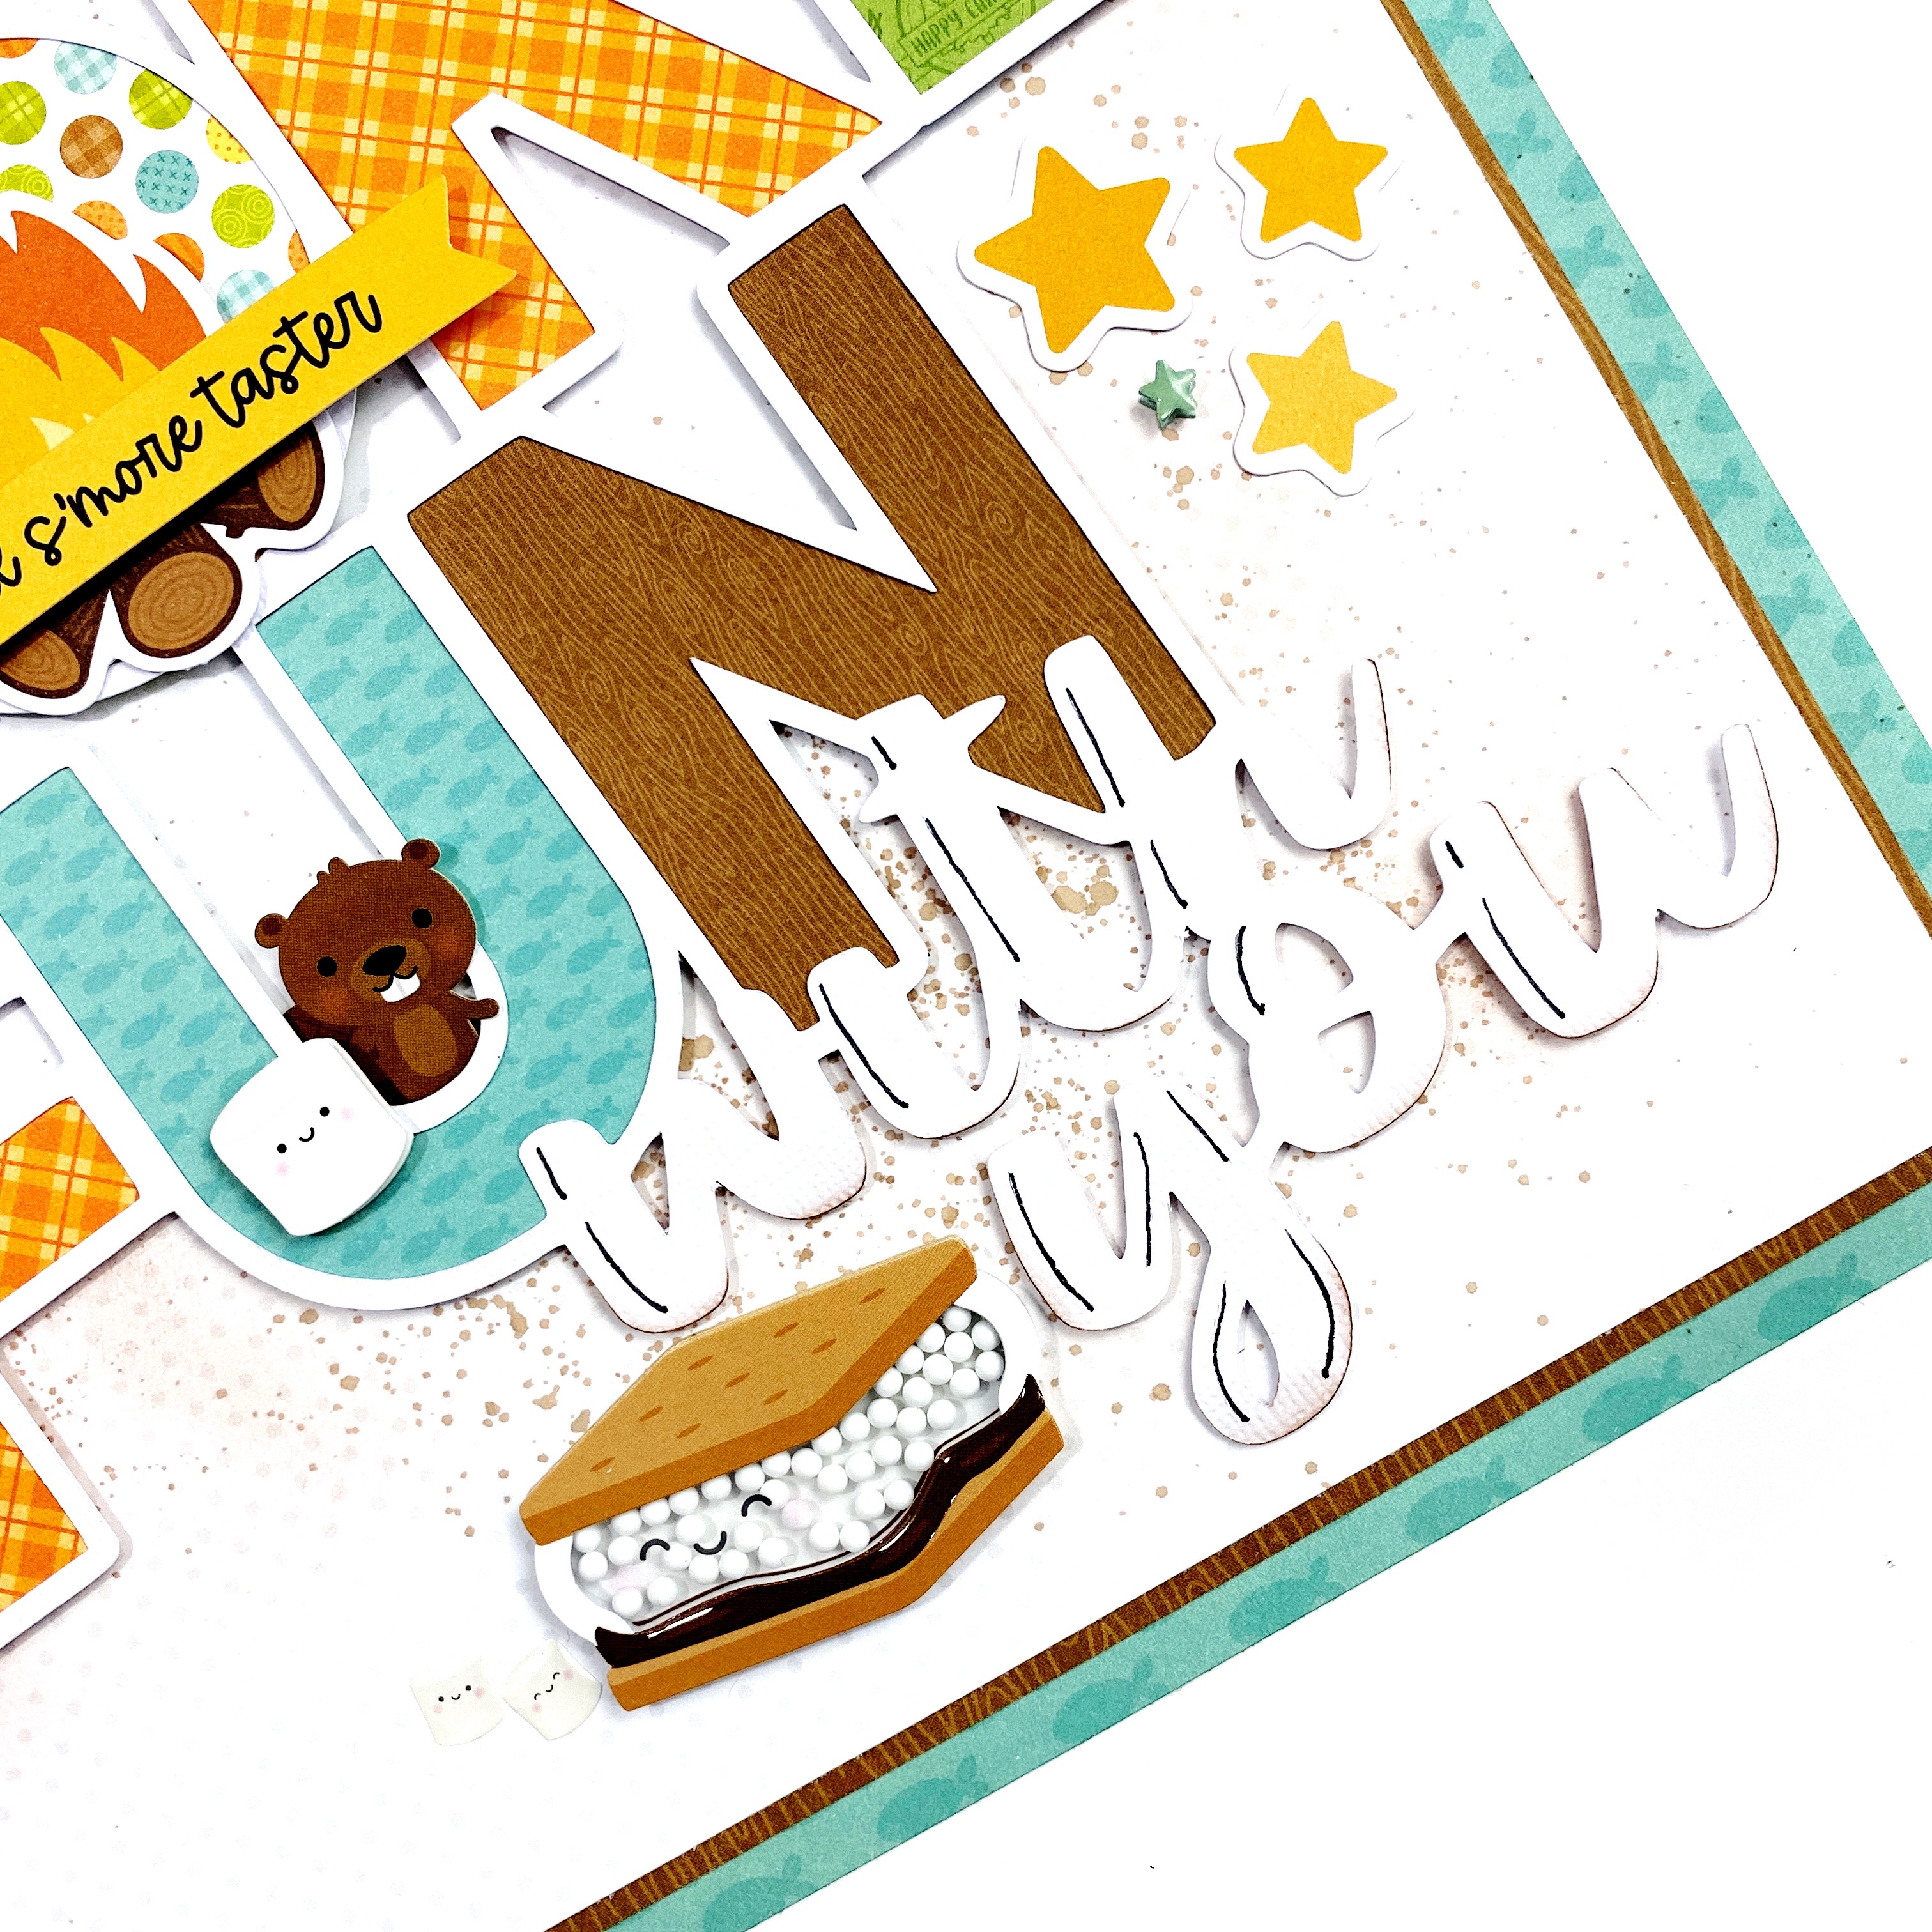
The adorable S'more Fun shaker pop had to go on this layout! I placed it down towards the bottom of my layout and added a few marshmallow sprinkles!

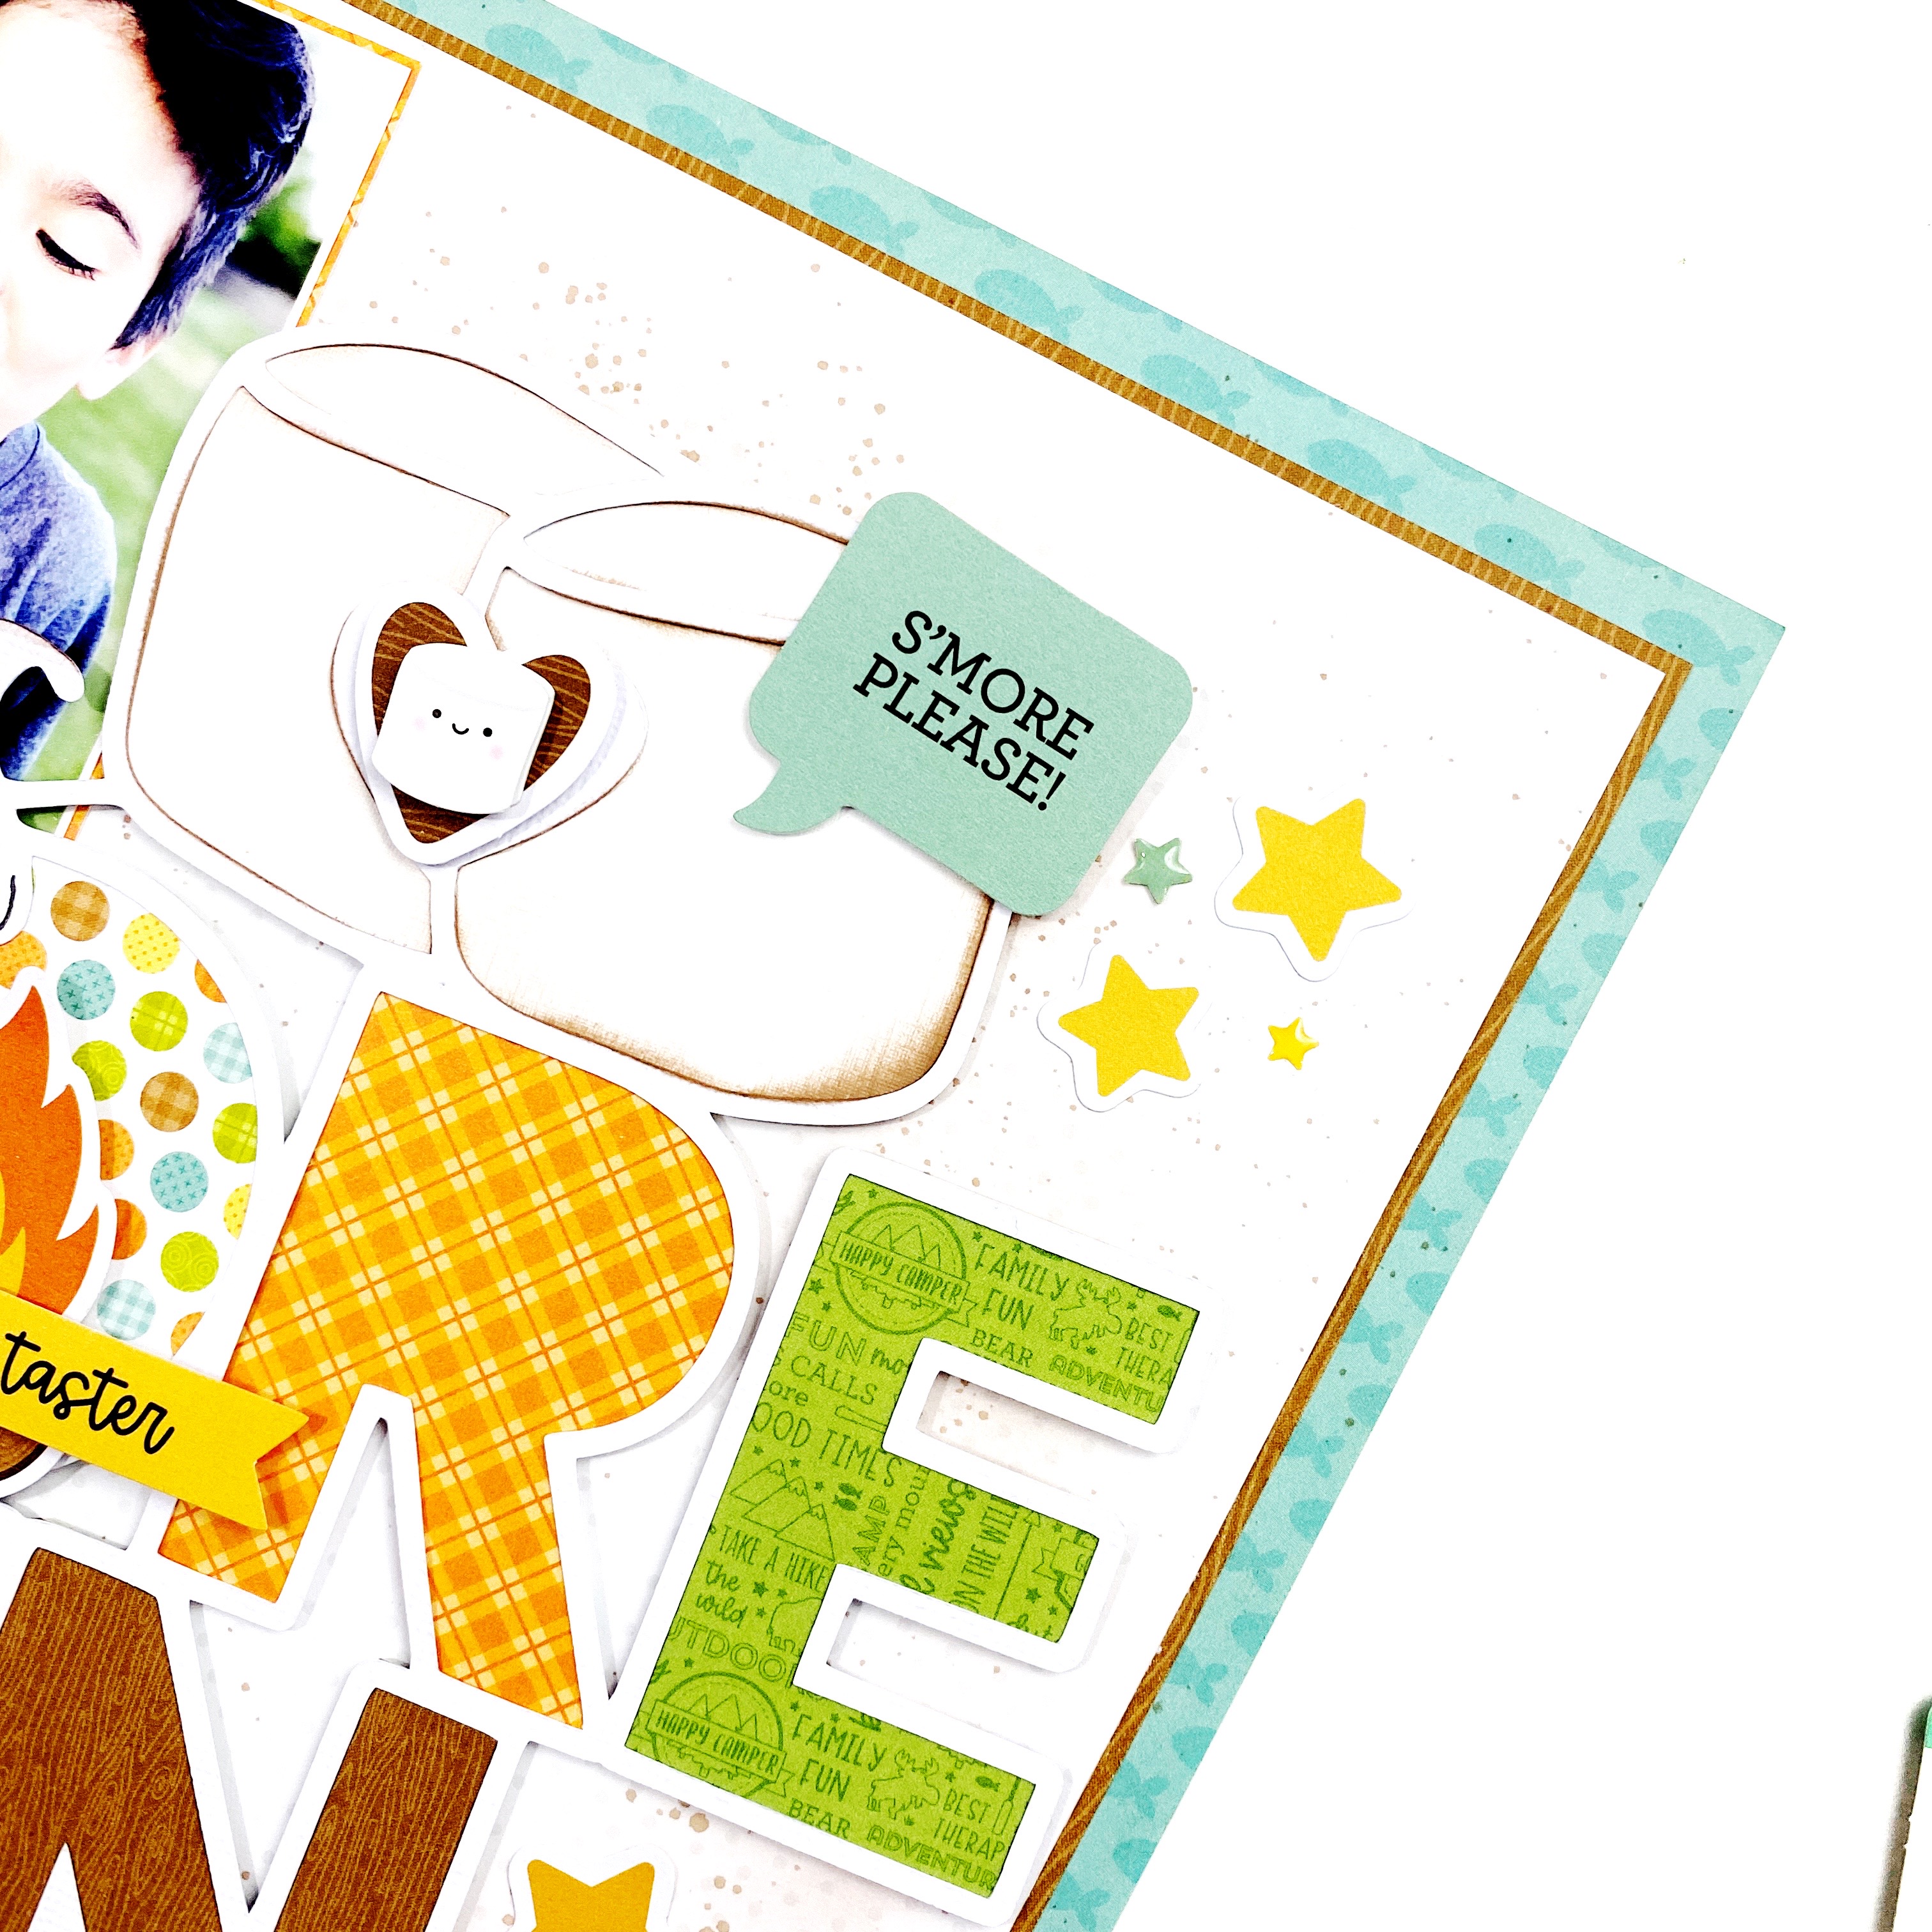
I embellished around the page using the Great Outdoors icon stickers, mini icon stickers and odds & ends!

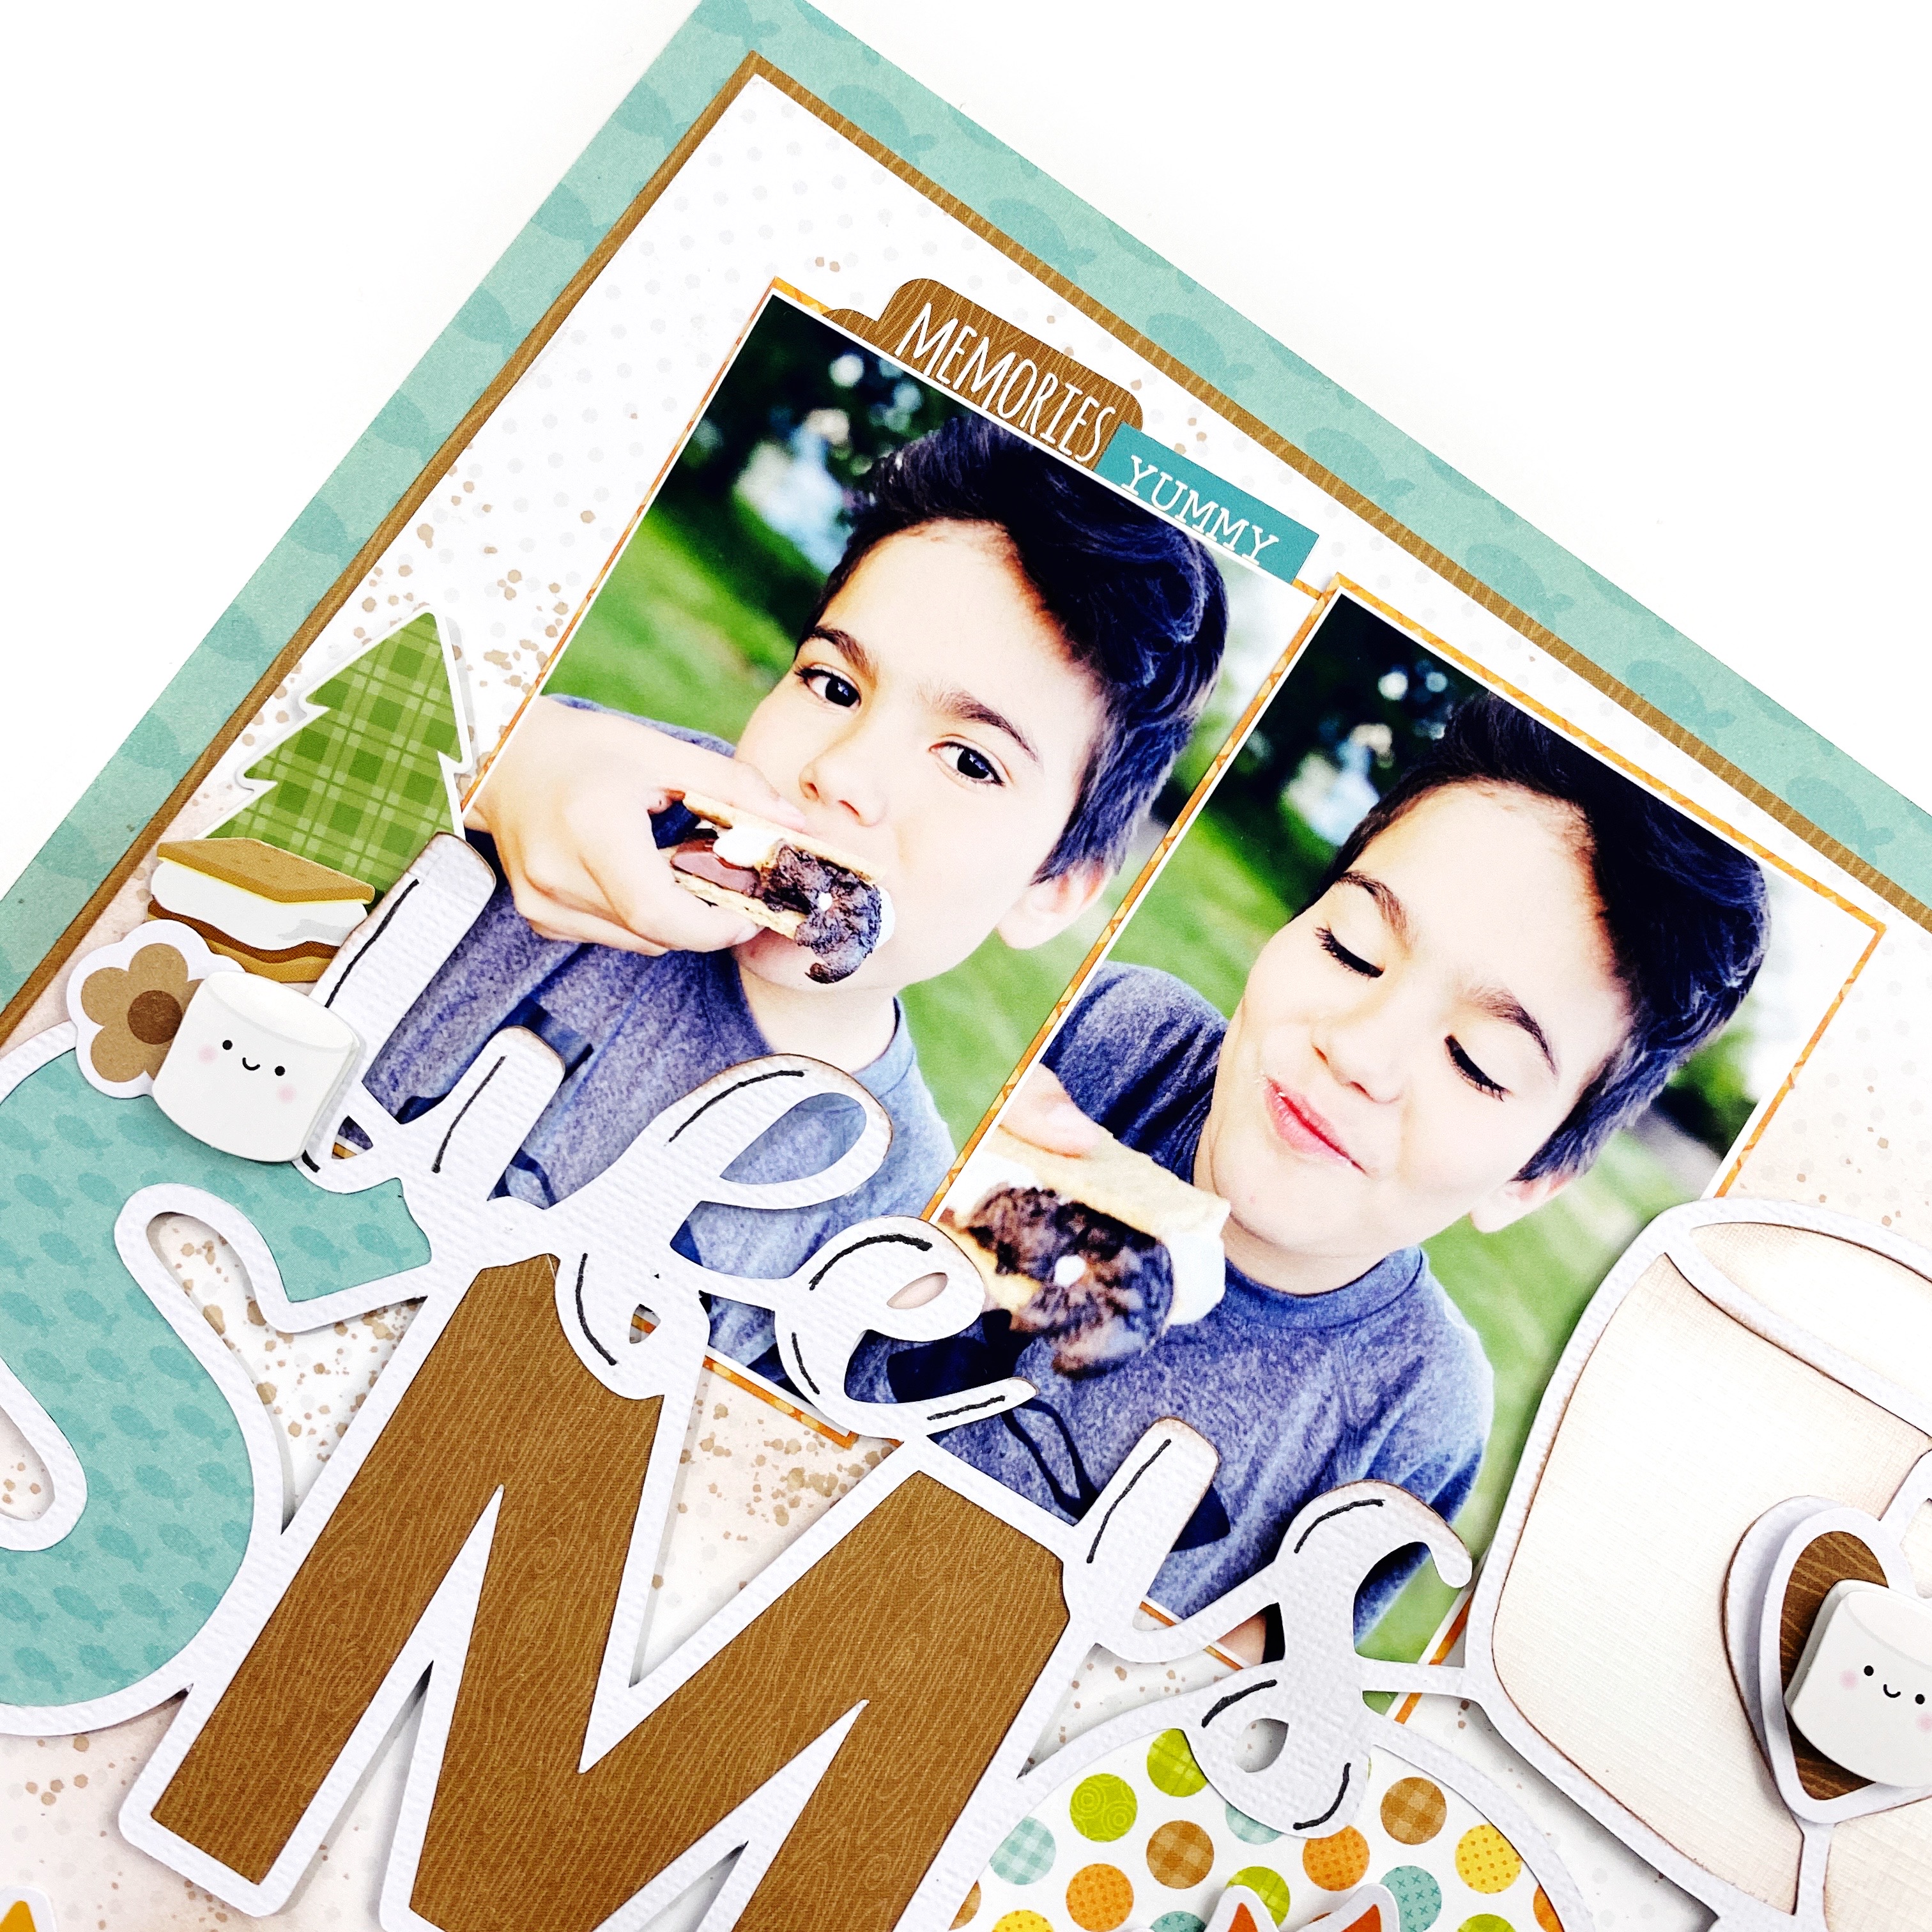
I had so much fun putting this layout together and using the super cute marshmallows in this collection! Here is a look a my completed layout!

Thanks so much for stopping by the Doodlebug Blog today! I hope you enjoyed my layout!

DOODLEBUG PRODUCTS USED

Great Outdoors Collection

OTHER

Cut File | Smore Fun
Catherine Pooler Designs Ink | Sand Castle

Thursday, September 15, 2022

GREAT OUTDOORS HAPPY CAMPER LAYOUT | with Traci

Hey guys! With summer coming to an end and fall just around the corner, I'm super excited about the change in seasons. So, I decided to create an autumn inspired 12x12 layout with the super cute Great Outdoors Collection. It's perfect for photos of the leaves changing colors, hiking, camping, and fun outdoor adventures!


For the base, I chose the cinnamon colored woodgrain paper. Then, I just layered lots of great prints from the collection one on top of another. Here are the measurements in case you want to replicate it ...
  • Cabin Fever, woodgrain - 12x12
  • Happy Camper, outdoor scene - 11.5"x11.5" 
  • Sleeping Bag, blue plaid - 10"x10"
  • White card stock - 9.5"x9.5" 
  • Great Outdoors, green mat - 4"x4"
  • My Favorite Flannel, orange mat - 4"x5"
  • Bits of nature, yellow mat - 5"x6" 
  • Wild Flowers, yellow floral 1"x3"


Once I was happy with the layout, it was time to decorate. Yay! The Happy Camper die cut is from the Chit Chat and the cute beaver and owl are from the Odds and Ends.


In this corner, I added the "memories" tab from the This & That Sticker sheet and a few more die cuts from the Odds & Ends. To give them the feeling of floating, I added some foam tape behind the star and mosquito.


At the bottom, I used a journal card from the 12x12 My Favorite Flannel print. It has a little tent scene on it so I tucked the corner behind the tree die cuts and I think it looks pretty cute!

 
To finish it off, I added the "outdoors" die cut from the Chit Chat. And voila! My colorful layout is done and ready for some fun hiking, camping and exploring photos! I'm ready for fall ... bring on the cool weather! 


DOODLEBUG PRODUCTS USED
Great Outdoors collection

Tuesday, September 13, 2022

GREAT OUTDOORS STICKY NOTE HOLDERS | with Karen

I am a sucker for stationary, and the only thing I love more than sticky notes, pens, pencils, paper clips (you know what I am saying) are cute little Doodlebug inspired containers designed to hold them all! So for this week's project, I decided to use the Great Outdoors collection for a fall themed sticky note easel holder.

  Front-both

Ummmm...can we say cuteness overload?!

Side-view

Here's a little side view so you can see how the sticky notes just fit into a little pocket on the easel. I used textured cardstock for the base and patterned paper for the pocket, but you could definitely use all patterned patterned paper or even reverse them.

Fox-front

And then I just embellished them with some die cutes from the Odds and Ends and Chit Chat packs, creating a little scene on each. It's a simple project that I think has a pretty awesome "wow" factor to it with the all the dimension! Here's how you can make one too:

Collage-tutorial

Easel Base (textured cardstock): 3 3/4" X 12"
Score at 4" (mountain fold), 8" (mountain fold), 9 3/4" (valley fold), 11 1/2" (mountain fold).
Glue the 1/2" section to the first 4" section.

Pocket (patterned paper - remember, you will see both sides so choose accordingly): 4 1/4" x 6 1/4"
Score on the short side at 1/2" and 3 3/4"; Score on the long side at 2 1/2" and 3"
Fold in the two panels along the long edge and trim inward at the small flap created by the 2 1/2" and 3" score. Fold these in. Crease other fold and then glue together to create the pocket. Glue the pocket onto the easel base.

Both-laying-down

And then have all sorts of fun embellishing with the Odds and Ends and Chit Chat packs. Fill them with a sticky note pad (full 3x3" notepads will fit or anything smaller) and you are all set to have these adorn your desk or the desk of someone special to you. I think I need to go make 100 of these! Thanks for stopping by!

Hugs,


BLOG | INSTAGRAM

Doodlebug Design Product:
Great Outdoors Collection
Textured Cardstock

Other Products:
Adhesive
White cardstock

Pin It button on image hover